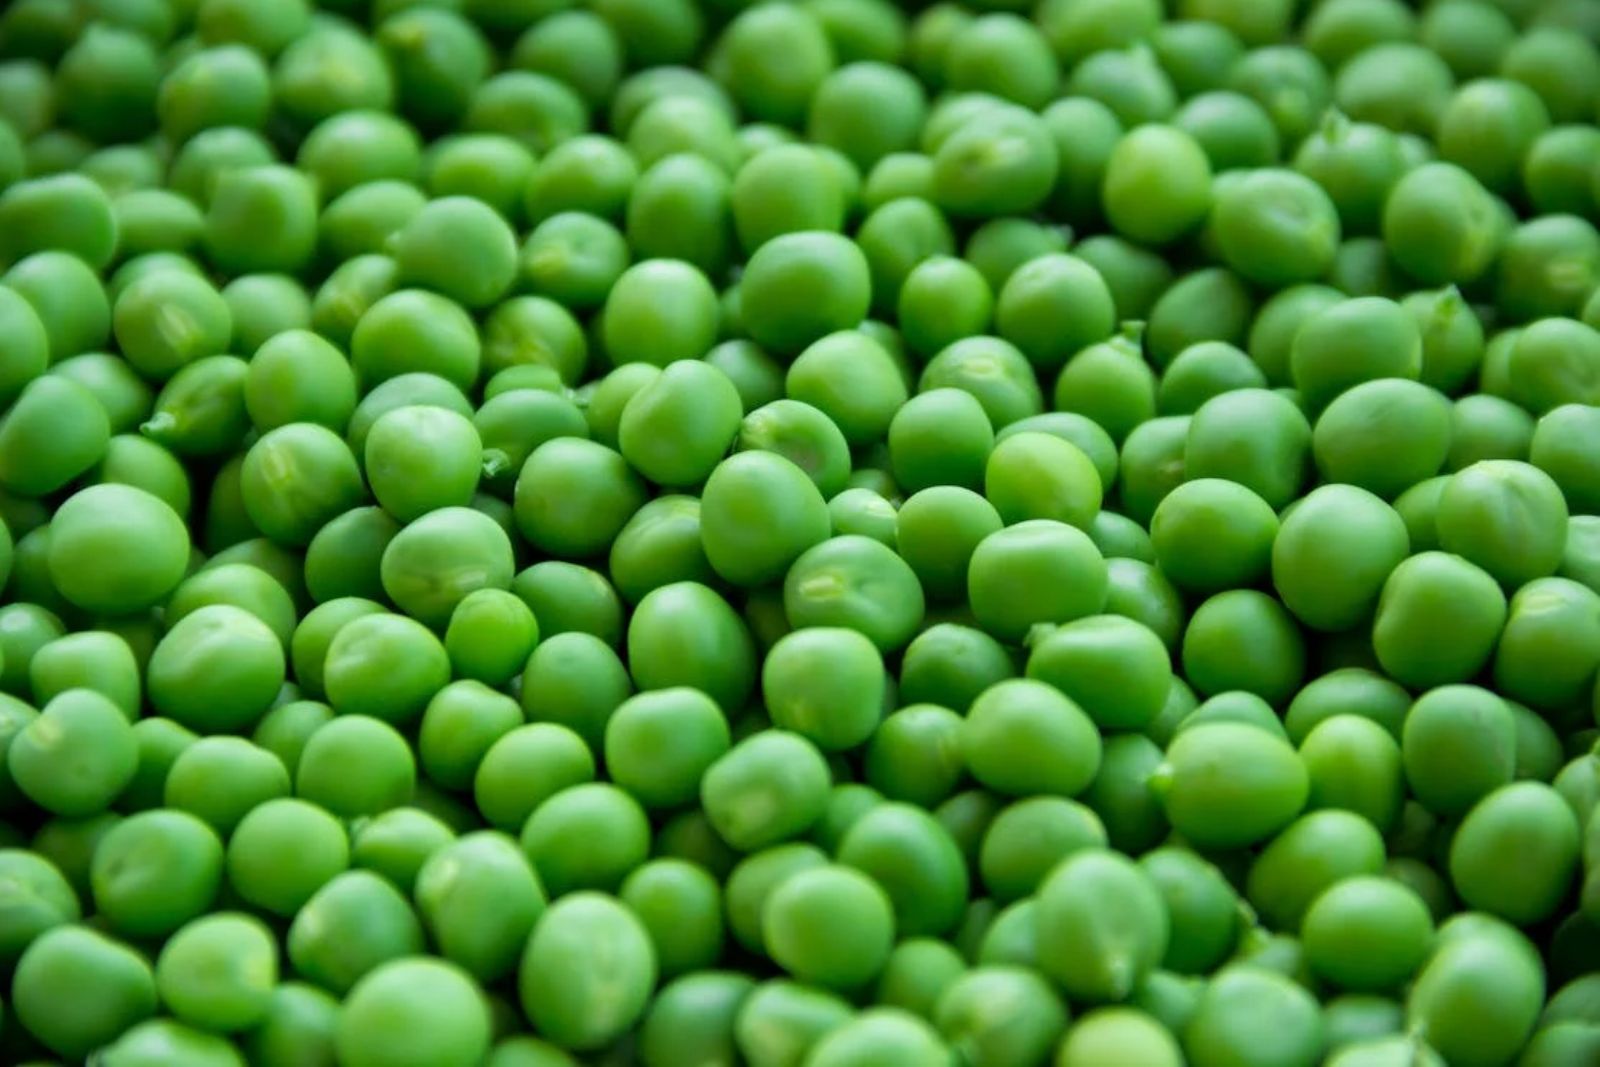
Acre peas, also known as Southern peas or field peas, are a beloved staple in many cuisines. These peas are versatile, flavorful, and packed with nutrients. They come in various types, such as black-eyed peas, crowder peas, and lady peas, each offering a unique taste and texture. Freezing acre peas ensures that you can enjoy their deliciousness even when they’re not in season. This article walks you through a step-by-step process of freezing acre peas while preserving their taste and quality for later use.
Learn how to freeze acre peas with the following steps:
Step 1: Choose high-quality acre peas
When embarking on the journey of freezing acre peas, the very first and pivotal step is to carefully handpick fresh, young acre pea pods. These pods are the vessels that safeguard the tender peas within, and selecting the right ones will profoundly influence the eventual taste and texture of the frozen peas.
A surefire sign of quality is the vibrant color of the pods. Opt for pods that display a rich, lively hue, indicating their peak ripeness and readiness for consumption. Vibrancy suggests that the peas within have developed optimally and are bursting with flavor.
Plumpness is another characteristic to prioritize. Gently squeeze the pods – they should feel firm and well-filled. The presence of plump peas within the pods ensures a satisfying bite and fullness in every serving.
Wilting or damage are attributes to avoid at all costs. Wilting is a sign of aging and diminishing freshness, which can lead to compromised flavor and texture. Furthermore, damaged pods can expose the peas to air and moisture, hastening their deterioration.
Step 2: Wash and prepare the pods
Once you’ve acquired a selection of prime acre pea pods, the next crucial step is to ensure their cleanliness and optimal preparation. By giving careful attention to washing, shelling, and trimming, you set the stage for the highest quality frozen peas that not only look appealing but also cook evenly and delight the palate.
- Gently Rinse the Pea Pods: Begin by gently rinsing the acre pea pods under cool, running water. This simple yet essential action serves to remove any surface dirt, dust, or impurities that may have accumulated during the harvesting and transportation process. A clean start guarantees that no unwanted elements find their way into your final frozen peas, preserving their pristine taste.
- Shell the Peas: After rinsing, gently open the pods and remove the peas within. The pods themselves are typically not consumed and can affect the texture of the frozen peas. By shelling the peas, you’re ensuring that only the most flavorful and tender part is frozen.
- Wash the Shelled Peas: Rinse the shelled peas under cool water to remove any remaining debris or residue.
- Trim if Necessary: If you notice any stem ends or imperfections on the shelled peas, trim them off using a sharp knife or kitchen scissors.
Step 3: Blanch the acre peas
The blanching process, a cornerstone of freezing acre peas, is a delicate yet essential technique that contributes significantly to the preservation of their visual appeal, flavor, and nutritional value. This step involves a strategic interplay of boiling and rapid cooling, aimed at enhancing the peas’ overall quality for the frozen journey that lies ahead.
To commence the blanching process, initiate by bringing a pot of water to a vigorous boil. The boiling water serves as the catalyst for the transformation that follows, inactivating enzymes within the peas that can contribute to the loss of color, flavor, and texture over time.
Subsequently, the shelled peas are submerged in the boiling water for a brief yet impactful period, typically ranging from 1 to 2 minutes. This minimal time frame ensures that the peas are subjected to the necessary enzyme deactivation while preventing excessive cooking that could result in texture degradation.
Upon completing the blanching process, a swift transition is orchestrated to halt the cooking. This is achieved by immediately immersing the blanched peas into a bath of ice water. This rapid cooling serves multiple purposes: it preserves the peas’ vibrant green color, halts the cooking process, and locks in the texture that characterizes fresh peas.
Can I freeze acre peas without blanching?
While it is possible to freeze acre peas without blanching, blanching is a recommended step to ensure the best quality frozen peas. Blanching inactivates enzymes that can lead to texture and flavor deterioration during storage. It also helps preserve the vibrant color and nutrients of the peas.
Step 4: Drain and cool
Following the blanching process, a critical juncture in freezing acre peas is the step of draining and cooling. This seemingly straightforward procedure plays a pivotal role in ensuring the peas’ texture and quality are preserved during their frozen sojourn.
Once the acre peas have undergone their transformative blanching experience, it’s imperative to allow them ample time to drain. This is accomplished by placing them in a colander—a perforated vessel that facilitates the escape of excess water. Allowing the peas to drain thoroughly is essential, as any lingering water droplets could contribute to the formation of unwanted ice crystals during freezing.
But the drainage process doesn’t conclude solely with the colander. To ensure that the peas are as dry as possible, it’s advisable to take an extra step. Carefully spread the blanched peas out on a clean kitchen towel or layers of absorbent paper towels. This step serves as a meticulous moisture-removal process, ensuring that the peas are free from excess water that might compromise their texture and quality during freezing.
Why is cooling the peas thoroughly before freezing such a pivotal practice? The answer lies in the formation of ice crystals. When warm or moist food items are introduced to a cold environment, such as a freezer, the residual moisture can freeze and crystallize. These ice crystals can lead to a phenomenon known as freezer burn, where the texture and flavor of the frozen food are compromised. By cooling the peas completely and removing excess moisture, you’re preemptively thwarting the formation of these damaging ice crystals.
Step 5: Arrange for freezing
As you embark on the journey of freezing acre peas, the meticulous arrangement of the blanched and cooled peas is a strategic move that plays a pivotal role in the final outcome. This step involves creating an environment that fosters individuality and prevents the peas from succumbing to the undesirable fate of clumping together during freezing.
Upon completing the draining and cooling process, the peas are primed for their next destination: a baking sheet or tray. The objective is to create a single layer of peas, spread out evenly across the surface. This arrangement is not just about aesthetics—it serves a practical purpose that significantly impacts the peas’ quality post-freezing.
Why is a single-layer arrangement so crucial? At the heart of this technique lies the notion of individual freezing. When items, in this case, acre peas, are frozen individually rather than in a solid mass, each piece maintains its unique identity. This is particularly relevant for peas, as their tendency to clump together can lead to difficulties in portioning them out when needed.
Imagine reaching into the freezer for a handful of frozen peas, only to find them stubbornly fused into a solid block. By arranging the peas in a single layer, you’re actively preventing this issue. Individual freezing ensures that the peas remain discrete units, making it effortless to measure out the exact quantity you desire for your recipes.
Furthermore, the single-layer arrangement allows for efficient and consistent freezing. Each pea is exposed to the cold air in the freezer, promoting a rapid and uniform freezing process. This contributes to the preservation of both texture and taste—two qualities that can be compromised if freezing occurs unevenly.
Can I freeze acre peas without a baking sheet?
Yes, you can freeze acre peas without a baking sheet. If a baking sheet is not available, you can use alternative flat, stackable containers or resealable plastic bags. The key is to arrange the peas in a single layer to prevent clumping during freezing.
Step 6: Quick-freeze the peas
The swift transition from their initial state to becoming frozen gems is a critical phase in the journey of acre peas. Quick-freezing, the process of rapidly reducing the temperature of the peas, serves as a safeguard against texture and quality deterioration. This technique preserves the individuality of each pea and prevents unwelcome sticking together, resulting in an optimal frozen outcome.
To embark on this quick-freezing journey, the blanched and carefully arranged acre peas take their place on a baking sheet or tray. The destination: the freezer, a realm of subzero temperatures. Placing the peas on a baking sheet ensures they maintain the single-layer arrangement, a practice you meticulously executed earlier.
As the peas enter the freezer’s frigid domain, the quick-freezing process begins. This involves exposing the peas to temperatures that are considerably lower than those of a standard refrigerator. The rapid reduction in temperature is essential for multiple reasons.
First and foremost, quick-freezing aids in maintaining the individual integrity of each pea. When liquids within food items freeze slowly, large ice crystals can form. These crystals have the potential to rupture cell walls, leading to changes in texture upon thawing. Swift freezing, however, results in smaller ice crystals, preserving the structure of the peas and ensuring they remain plump and appetizing.
Secondly, rapid freezing minimizes the time during which the peas are exposed to freezing temperatures. Prolonged exposure to cold can lead to freezer burn—a condition where moisture within the food sublimates, leaving the food dehydrated and potentially affecting its taste. By quickly freezing the peas, you’re reducing their vulnerability to freezer burn.
The duration of this quick-freezing phase typically spans about 1 to 2 hours, though this can vary based on factors such as the initial temperature of the peas and the efficiency of your freezer. Once the peas are firm to the touch, it’s an indicator that they’ve successfully undergone the quick-freezing process.
Step 7: Package and seal
The culmination of careful preparation and quick-freezing of acre peas leads to a pivotal step: the art of packaging and sealing. This phase is akin to giving your frozen peas a protective cocoon that shields them from the harsh elements of the freezer, ensuring their taste, texture, and nutrient value remain unscathed over time.
Upon confirming that the peas have undergone a successful quick-freezing process, it’s time to transfer them to their designated storage vessels. Airtight freezer-safe containers or resealable plastic bags are the chosen guardians for these frozen treasures. These vessels are specifically designed to keep the cold air inside and the potential threats of air and moisture outside.
As you begin this packaging endeavor, consider the principles of air and moisture prevention. Air is a potent agent that can contribute to freezer burn—a phenomenon where the moisture within food items evaporates, leaving behind undesirable textures and flavors. To counteract this, it’s crucial to minimize the presence of air within your storage containers.
When opting for airtight freezer-safe containers, ensure they are of good quality and have well-fitting lids. The peas should snugly fill the container, with minimal empty space. If resealable plastic bags are your choice, gently press out as much air as possible before sealing them shut. This step is essential to prevent air pockets from forming, which can lead to uneven freezing and potential quality loss.
Sealing is the next crucial step. Whether securing a lid onto a container or zipping a plastic bag shut, the goal is to create a barrier that’s resistant to air and moisture infiltration. Proper sealing is like placing a protective shield around your peas, ensuring their pristine condition until the day you decide to enjoy them.
Step 8: Label and date
As your journey of freezing acre peas nears its completion, there’s a crucial yet often overlooked step that can make a world of difference in the months to come. The practice of labeling and dating each container or bag that houses your frozen peas is a small but mighty action that bestows a host of benefits.
Imagine a freezer stocked with several containers or bags, each housing a different culinary treasure. Without labels, deciphering the contents of each container could be a perplexing puzzle, leading to inefficiency and potential disappointment when you open a package expecting one thing and finding another. This is where labeling shines as a guiding light.
Labeling each container or bag with a clear and concise description of its contents—a simple “Acre Peas,” for instance—provides instant clarity. This clarity translates into convenience when you’re seeking a specific ingredient for a recipe or meal.
Yet, labeling goes beyond identification; it extends to the vital dimension of time. By dating each package, you’re creating a timeline that tracks the peas’ journey within your freezer. This date serves as a record of when the peas were frozen, enabling you to gauge their freshness and make informed choices about when to use them.
Why is keeping track of freezing dates so essential? Frozen items have a lifespan, and while they remain safe to eat beyond their initial freezing, their quality can deteriorate over time. The concept of “first in, first out” applies here: by using the oldest frozen items before newer ones, you ensure that none of your precious acre peas languish unused and diminish in quality.
Step 9: Store properly
The conclusion of your journey to freeze acre peas culminates in the act of storage—a pivotal stage that determines the peas’ fate during their time in the frozen realm. Storing frozen acre peas appropriately is a commitment to maintaining their essence, taste, and nutritional value, ensuring they emerge from the freezer as flavorful and vibrant as the day they were preserved.
Upon sealing your acre peas within their designated containers or bags, it’s time to find them their spot in the freezer. Ideally, you’ll want to place them in the coldest part of the freezer. This often translates to the back of the freezer, where the temperature remains consistent and fluctuations are minimal. Placing the peas here guarantees a more stable environment, shielding them from the slight temperature fluctuations that can occur near the freezer door.
Temperature, the unsung hero of frozen preservation, plays a profound role in safeguarding the peas’ integrity. For the optimal preservation of taste, texture, and nutritional value, maintain a freezer temperature of 0°F (-18°C) or lower. This environment arrests the natural deterioration processes, such as enzyme activity, which can affect the color, flavor, and nutritional content of the peas over time.
By adhering to proper storage conditions, you’re ensuring that your frozen acre peas are poised for a lengthy stay in the freezer. When stored at the appropriate temperature and shielded from temperature variations, these peas can maintain their high quality for a span of 6 to 12 months.
However, while frozen acre peas may remain safe to eat beyond this window, their peak quality might start to diminish. As time progresses, slight changes in texture and flavor may become noticeable. Hence, consuming them within the suggested time frame ensures the most delightful frozen pea experience.
Other related questions
How do I defrost acre peas?
To defrost acre peas, transfer the sealed container or bag from the freezer to the refrigerator. Allow them to thaw slowly for several hours or overnight. Alternatively, place peas in a sealed bag and submerge in cold water, changing water every 30 minutes until thawed.
Can I use frozen acre peas directly in dishes without thawing?
Yes, you can use frozen acre peas directly in dishes without thawing. Frozen peas can be added directly to dishes that involve cooking, such as soups, stews, and stir-fries. The heat from cooking will thaw and cook the peas simultaneously.
Can I refreeze acre peas?
Refreezing acre peas is not recommended due to potential quality loss. Once thawed, peas can undergo texture changes and nutrient degradation. Consume thawed peas promptly; refreezing risks compromising taste and texture.
How do I know if the acre peas have gone bad after being frozen?
Signs of frozen acre peas going bad include freezer burn (dry, discolored patches), off-putting odor, or noticeable texture changes like excessive softness or mushiness. Thawed peas should appear vibrant, smell fresh, and retain a satisfactory texture. When in doubt, err on the side of caution and discard if quality seems compromised.
Can I freeze different types of acre peas in the same batch?
Yes, you can freeze different types of acre peas together in the same batch. Ensure similar sizes for uniform blanching and freezing. Mixing varieties can offer a diverse flavor and texture profile in your dishes.
What’s the best way to use frozen acre peas in recipes?
Thaw frozen acre peas in the fridge or cold water. Ideal for soups, stews, stir-fries, and salads. Their flavor and nutrients enhance a wide range of dishes.
Can I freeze acre pea pods for later use?
Yes, you can freeze acre pea pods for later use. However, it’s important to note that acre pea pods have a different texture and flavor compared to the peas inside. Freezing the pods might alter their texture further. Consider using frozen pods for making stocks or flavoring dishes rather than as a standalone vegetable.

