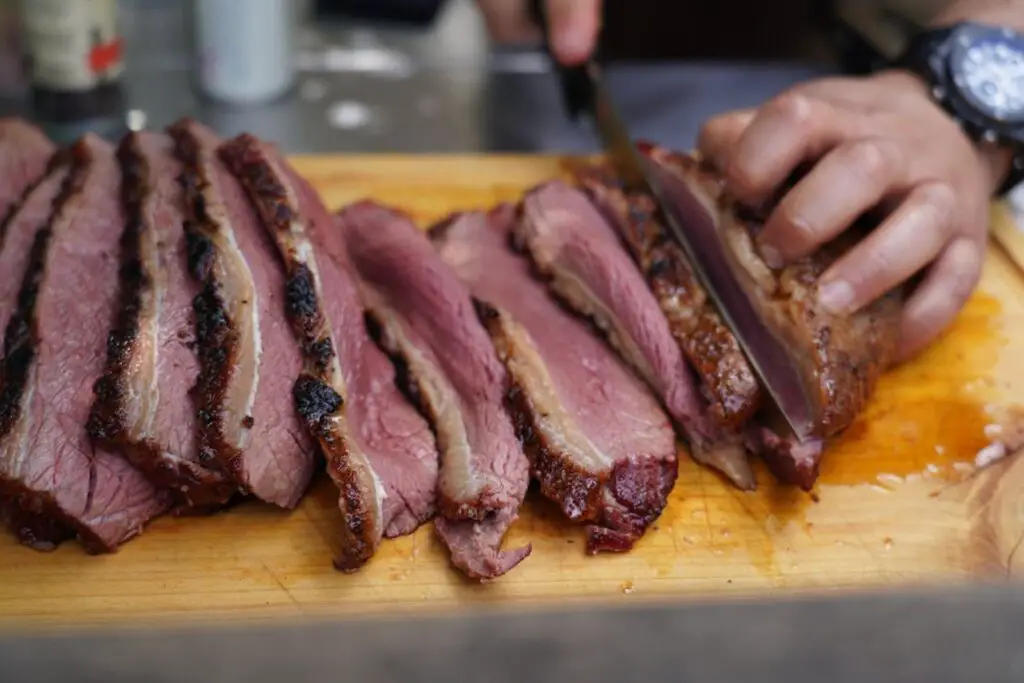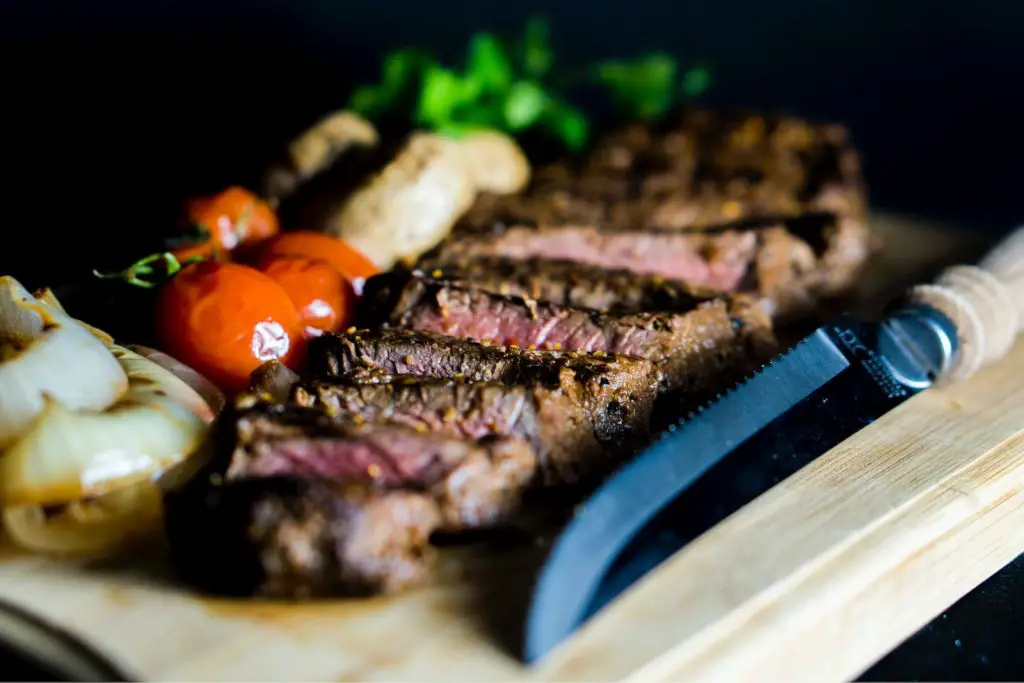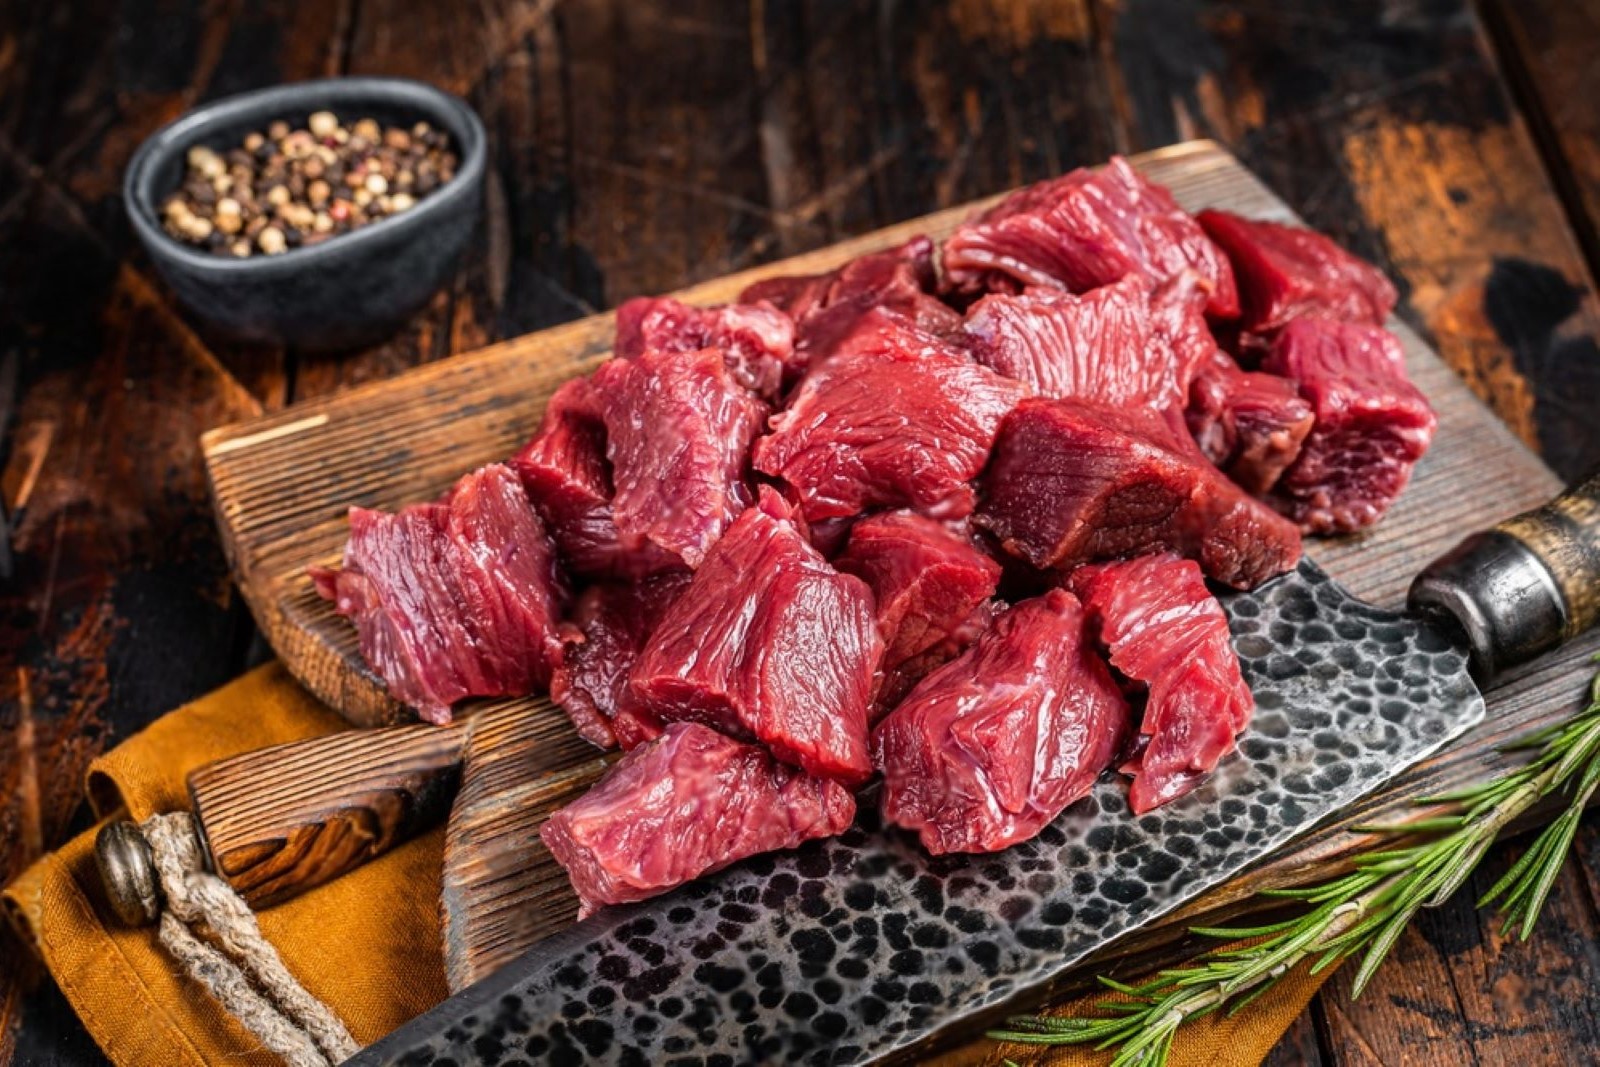
Venison, a prized and flavorful meat, embodies the essence of wild game cuisine, offering a unique taste that captivates the palates of adventurous food enthusiasts. Derived from deer, venison has a long history of being enjoyed by cultures across the world, from succulent steaks to hearty stews and sausages. Its leanness and rich, earthy flavor set it apart from traditional meats, making it a sought-after choice for those seeking a distinctive and nutritious protein source. However, when hunting or procuring venison during its season or acquiring it from specialty markets, it might be challenging to enjoy its premium quality before it starts to degrade.
Freezing venison emerges as a practical and effective method to preserve its exceptional taste and culinary appeal, ensuring that each bite retains its wild character and nutritional value, ready to elevate your meals with the essence of perfectly frozen venison, even when fresh cuts aren’t readily available or when you desire the richness of game meat at your convenience. In this guide, we will delve into the best practices for freezing venison, allowing you to savor the richness of this extraordinary meat and elevate your culinary experiences with the essence of perfectly preserved game, without the need for immediate consumption or concerns about flavor loss.
Here are the simple steps to freeze venison:
- Step 1: Choose High-Quality Venison
- Step 2: Clean and Prepare the Meat
- Step 3: Pre-Freeze for a Short Time
- Step 4: Portion and Wrap
- Step 5: Label with Details
- Step 6: Arrange in the Freezer
- Step 7: Freeze using the Flash-Freeze Method
- Step 8: Package for Long-Term Storage
- Step 9: Store and Maintain Temperature
Step 1: Choose High-Quality Venison
When embarking on the journey of freezing venison, the foundation of success lies in your choice of meat. Opting for fresh and high-quality venison is paramount to achieving a superior end result once the freezing process is complete. Venison, derived from deer, offers a unique and delectable flavor profile, but this exquisite taste can only be fully appreciated if the meat is of exceptional quality from the outset.
- Why Quality Matters:
Selecting the finest cuts of venison ensures that the rich flavors and tender textures are preserved even after freezing. High-quality meat boasts optimal moisture content and minimal connective tissue, factors that contribute to the meat’s tenderness and succulence.
- The Significance of Well-Trimmed Cuts:
As you make your selection, prioritize cuts that have been expertly trimmed. Trimming involves removing excess fat and silver skin, which are more prone to deterioration during the freezing process. Fat can become rancid over time, leading to undesirable flavors and odors. By choosing well-trimmed cuts, you minimize the risk of these negative effects and enhance the overall quality of the frozen venison.
- Identifying Spoilage:
Examine the venison cuts closely to identify any visible signs of spoilage. Spoilage indicators can include changes in color, an off-putting odor, or a slimy texture. Any meat that shows such signs should be avoided, as freezing will not reverse the effects of spoilage and could potentially compromise the quality of the entire batch.
- A Better Culinary Experience:
Ultimately, the effort you invest in selecting high-quality venison will translate into a better culinary experience. The initial quality of the meat sets the stage for the freezing process, allowing you to savor the natural flavors and textures of venison when you finally decide to thaw and prepare it. Whether you’re planning to create a hearty stew or a succulent roast, starting with top-notch venison ensures that your culinary endeavors will be met with success.
Freezing venison involves a careful selection process. By choosing fresh, well-trimmed cuts that are free from signs of spoilage, you establish the foundation for a remarkable end product. Remember, quality meat is not just a prerequisite; it’s an investment in the culinary pleasures that lie ahead.
Step 2: Clean and Prepare the Meat
Once you’ve procured high-quality venison, the next critical step in the freezing process is to clean and prepare the meat. This step is essential not only for hygiene reasons but also to ensure that your frozen venison retains its freshness, flavor, and texture during storage.
- Thorough Cleaning for Optimal Quality:
Start by giving your venison cuts a thorough cleaning. This involves removing any residual blood, dirt, or debris that might be present on the surface. While it’s natural for meat to have some blood on it, excessive amounts can lead to off-putting flavors and odors when frozen. Cleaning the meat thoroughly minimizes the risk of these issues.
- Trimming for Practicality and Quality:
Trimming the venison cuts serves both practical and quality-related purposes. Excess fat and silver skin, though flavorful in moderation, can become problematic during freezing. Fat has a tendency to turn rancid over time, and silver skin can toughen when subjected to freezing temperatures. Trimming these elements off before freezing eliminates potential sources of degradation in quality.
- Preventing Freezer Burn:
One of the key considerations when freezing meat is avoiding freezer burn, which occurs when moisture is drawn from the meat’s surface due to exposure to air. Excess fat and silver skin can exacerbate this issue. As fat oxidizes, it releases water, which can lead to increased moisture on the surface of the meat and contribute to freezer burn. By removing excess fat and silver skin, you reduce the chances of moisture loss and freezer burn.
- Preserving Flavor and Texture:
Properly cleaning and trimming the venison ensures that the flavors you associate with this remarkable meat are retained even after freezing. By removing any unwanted elements, you allow the natural essence of venison to shine through without interference from undesirable flavors or textures.
- Hygiene and Food Safety:
Maintaining cleanliness during this step is not only crucial for the quality of the venison but also for food safety. Removing any residual contaminants minimizes the risk of bacterial growth and potential foodborne illnesses. Practicing good hygiene during the cleaning and preparation process is a fundamental aspect of safe food handling.
The meticulous cleaning and trimming of venison cuts are essential steps in the freezing process. By removing excess blood, dirt, and debris, as well as trimming off any excess fat or silver skin, you set the stage for a successful freezing experience. These actions not only contribute to the overall quality of the frozen meat but also enhance its safety for consumption. Through this careful preparation, you’re ensuring that the venison you freeze will deliver an exceptional culinary experience when it’s eventually thawed and prepared.
Step 3: Pre-Freeze for a Short Time
In the process of freezing venison, a subtle yet beneficial technique is pre-freezing the meat for a brief period. While this step is not mandatory, it can offer valuable advantages that contribute to the overall quality of the frozen product. Pre-freezing involves placing the venison cuts in the freezer for a relatively short duration, typically around 30 minutes, before proceeding with further preparation.
- Enhanced Slicing Ease:
One of the primary benefits of pre-freezing is the improved ease of slicing the venison. When raw meat is at room temperature, it tends to be soft and pliable, which can sometimes make clean and precise slicing a bit challenging. By subjecting the meat to a brief pre-freezing period, it becomes firmer and less prone to squishing under the knife. This enhanced firmness facilitates smoother and more controlled slicing, resulting in more uniform portions.
- Mitigating Moisture Loss:
During the freezing process, moisture loss can occur due to the formation of ice crystals on the meat’s surface. These crystals can draw moisture out of the meat, potentially leading to changes in texture and flavor when the meat is thawed. Pre-freezing the venison for a short time actually helps mitigate excessive moisture loss during the subsequent freezing process. The brief exposure to cold temperatures causes the meat’s exterior to firm up slightly, creating a protective barrier that reduces the speed at which moisture is lost.
- Maintaining Quality:
The ultimate goal of pre-freezing is to uphold the quality of the venison. The firmer texture achieved through this method aids in achieving clean and precise cuts, which contributes to a more visually appealing final product. Additionally, by reducing moisture loss, the meat maintains its natural juiciness and succulence, enhancing the eating experience when the venison is eventually cooked and served.
- Limitations and Considerations:
While pre-freezing offers distinct benefits, it’s important to note that extended freezing can affect the meat’s cellular structure, potentially leading to textural changes. This is why the pre-freezing period is relatively short – around 30 minutes – to strike a balance between firmness and preservation of meat quality.
Pre-freezing venison for a short duration before proceeding with further freezing steps can be a valuable technique to enhance slicing ease and minimize moisture loss. While not obligatory, this step demonstrates how attention to detail can significantly impact the overall quality of the frozen meat. By ensuring that your venison is pre-frozen effectively, you’re taking an extra measure to guarantee that the meat retains its ideal texture and flavor, promising a delightful culinary experience in the future.
Step 4: Portion and Wrap
As you continue the process of freezing venison, the task of portioning and wrapping the meat emerges as a pivotal step in preserving its quality and ensuring optimal storage. This step involves dividing the venison into manageable portions that align with your culinary plans and then taking the necessary measures to wrap each portion effectively for freezer storage.
- Creating Suitable Portions:
Begin by determining the portion sizes that best suit your intended use. Whether you envision hearty stews, succulent roasts, or elegant medallions, selecting appropriate portion sizes ensures that you have the right amount of venison readily available when you’re ready to cook. Smaller portions can also expedite thawing and cooking processes.
- The Significance of Individual Wrapping:
After portioning the venison, the next crucial step is individual wrapping. This entails enclosing each portion in its own protective covering. The primary objectives of individual wrapping are to prevent freezer burn and maintain the meat’s quality during storage. Freezer burn occurs when moisture is drawn from the surface of the meat, resulting in texture changes and potential flavor degradation. Proper wrapping acts as a barrier against these negative effects.
- Materials for Wrapping:
Two common materials for wrapping venison are plastic wrap and vacuum-seal bags. Plastic wrap is a convenient choice for smaller portions and is readily available. It forms a protective layer that shields the meat from air and moisture. Vacuum-seal bags, on the other hand, offer an airtight and secure environment by removing excess air from the packaging. This method is particularly effective at preventing freezer burn.
- Wrapping Technique:
When wrapping the venison, ensure that each portion is tightly enclosed. If using plastic wrap, press out any excess air before sealing. If using vacuum-seal bags, follow the manufacturer’s instructions to ensure a proper seal. The goal is to create an airtight environment that preserves the meat’s quality and flavor over an extended period.
Portioning and wrapping venison are critical steps in the freezing process. By creating suitable portions and carefully wrapping each one, you’re taking essential steps to prevent freezer burn, maintain quality, and streamline your cooking process. These actions ensure that when you retrieve your frozen venison for a culinary adventure, it remains as succulent, flavorful, and enjoyable as the day it was portioned and wrapped.
Step 5: Label with Details
In the process of freezing venison, one of the often-overlooked but crucial aspects is labeling each package with specific details. Proper and clear labeling plays a pivotal role in maintaining organization, tracking freshness, and ensuring a seamless experience when you decide to use the frozen venison. This step involves providing essential information on each package to streamline your culinary endeavors in the future.
- Identify the Venison Cut:
Start by indicating the type of venison cut contained in each package. This simple detail eliminates any guesswork when you’re planning meals down the line. Whether it’s a tenderloin, succulent ribs, or versatile ground meat, identifying the cut at a glance allows you to make informed decisions about how to best utilize each portion.
- Date of Freezing:
Dating each package is equally important. The date of freezing provides a reference point for determining how long the venison has been in storage. This information is critical for maintaining the best quality. Different cuts of meat have varying freezer storage durations, and having the freeze date readily available ensures you adhere to recommended storage times to prevent degradation of flavor and texture.
- Additional Notes for Precision:
In some cases, you might want to include additional notes to enhance precision. For instance, if you marinated the venison before freezing or if you have specific plans for a particular cut, jotting down these details can save time and guide your culinary creativity when the time comes to prepare the meat.
- Organizational Advantage:
Labeling each package offers organizational advantages. When you can quickly identify what’s inside each package without the need to open and inspect, you save time and minimize unnecessary exposure to air and temperature fluctuations. This can contribute to maintaining the overall quality of your frozen venison.
- Using the Oldest Portions First:
A key reason for clear labeling is to ensure that you use the oldest portions of venison first. As you accumulate frozen meat over time, it’s easy for items to become lost in the freezer’s depths. Clear labeling allows you to prioritize consumption based on the freeze date, reducing the risk of keeping meat stored for too long and potentially compromising its quality.
Labeling each package with essential details is a small yet invaluable step in freezing venison. By providing information about the type of cut, freeze date, and any relevant notes, you empower yourself to make informed decisions when cooking with the frozen venison. This level of organization not only simplifies meal planning but also contributes to a more efficient, satisfying, and enjoyable culinary experience, ensuring that the venison you ultimately serve is a testament to your careful preparation and attention to detail.
Step 6: Arrange in the Freezer
As you progress in freezing venison, the arrangement of the wrapped portions within your freezer becomes a strategic step that can significantly impact the overall quality of the frozen meat. Placing the wrapped venison portions in a well-organized manner is not just about space optimization; it’s about ensuring uniform freezing, minimizing the risk of sticking, and preserving the individual integrity of each portion.
- Single Layer Arrangement:
Once your venison portions are securely wrapped, the first step is to place them in a single layer on a baking sheet or tray. This initial arrangement serves multiple purposes. Firstly, a single layer prevents the portions from coming into direct contact with each other. This is crucial because if the portions touch and freeze together, it becomes difficult to separate them without damaging the wrapping, potentially leading to moisture loss or exposure to air.
- Uniform Freezing:
Placing the portions in a single layer ensures that the cold air in your freezer can circulate around each package effectively. This circulation is vital for uniform freezing. When food items freeze at a consistent rate, it helps maintain the meat’s texture and flavor. Uneven freezing can result in the formation of larger ice crystals, which can impact the overall quality of the venison once it’s thawed and cooked.
- Preventing Sticking:
Another advantage of arranging the venison portions in a single layer is that it prevents them from sticking to each other as they initially freeze. As moisture within the meat freezes, it can cause portions to bond together if they are in direct contact. This is especially true if the wrapping is not completely airtight. By keeping a small space between portions during the initial freezing process, you safeguard against this sticking issue.
- Easy Handling and Storage:
Once the venison portions are individually frozen on the baking sheet or tray, they can be easily transferred to a more organized storage arrangement within the freezer. Placing them in freezer-safe bags or containers, while maintaining the same spacing between portions, ensures that the efforts you’ve invested in wrapping and arranging them are not in vain.
Arranging the wrapped venison portions in a single layer on a baking sheet or tray before placing them in the freezer is a step that contributes to the overall success of your freezing process. This method helps prevent sticking, promotes uniform freezing, and ultimately preserves the quality of the meat. By investing a little extra time in thoughtful arrangement, you’re taking measures to ensure that the venison maintains its texture, flavor, and individual integrity, making it a delight to prepare and enjoy when the time comes.
Step 7: Freeze using the Flash-Freeze Method
As you progress through the process of freezing venison, employing the flash-freeze method is a valuable technique that ensures the rapid and effective freezing of the arranged venison portions. Flash-freezing involves exposing the meat to very low temperatures in a short period, creating a barrier that locks in freshness and prevents the formation of large ice crystals, which could negatively impact texture and flavor.
- The Rapid Freezing Advantage:
The flash-freeze method involves quickly freezing the venison portions in the freezer for a few hours. Unlike traditional freezing, which allows the meat to gradually reach its freezing point, flash-freezing brings the temperature down swiftly. This rapid decrease in temperature helps to form smaller ice crystals within the meat, minimizing the cellular damage that can occur due to the expansion of larger ice crystals.
- Preserving Texture and Flavor:
The smaller ice crystals formed during flash-freezing contribute to preserving the natural texture and flavor of the venison. When ice crystals are smaller, they cause less disruption to the cell structure of the meat, resulting in less moisture loss and maintaining the meat’s succulence upon thawing and cooking.
- Preventing Sticking Together:
Flash-freezing also plays a crucial role in preventing the venison portions from sticking together. By freezing the portions quickly, there’s less time for moisture to migrate between them and cause sticking. As a result, the individual portions remain separate and can be easily stored without worrying about having to pry them apart in the future.
- Determining the Right Time:
The duration for flash-freezing can vary depending on the thickness of the meat and the efficiency of your freezer. A general guideline is to leave the venison portions in the freezer for a few hours or until they are firm to the touch. Once they reach this state, you can confidently transfer them to a more organized space in the freezer for longer-term storage.
Flash-freezing is a valuable technique to employ during the venison freezing process. By quickly exposing the arranged portions to very low temperatures, you’re preserving the meat’s quality by minimizing ice crystal formation and moisture loss. This approach not only helps maintain the meat’s texture and flavor but also prevents portions from sticking together. By incorporating the flash-freeze method into your freezing process, you’re ensuring that the venison you eventually enjoy will be a testament to your meticulous preservation techniques.
Step 8: Package for Long-Term Storage
Following the flash-freezing process, your venison portions are now primed for long-term storage. This step involves carefully transferring the pre-frozen venison portions to airtight containers or heavy-duty freezer bags. The goal is to create a secure and protective environment that safeguards the meat from air exposure and potential freezer burn.
- Selecting the Right Packaging:
When it comes to packaging for long-term storage, your choice of containers is crucial. Opt for airtight containers specifically designed for freezer use or heavy-duty freezer bags. These options are designed to prevent air and moisture from infiltrating the packaging, which can compromise the quality of the venison over time.
- Minimizing Air Exposure:
Air exposure is the enemy when it comes to freezer storage. Oxygen can lead to freezer burn and negatively impact the texture and flavor of the meat. To minimize air exposure, ensure that your containers or bags are tightly sealed. This is particularly important after flash-freezing, as any moisture present on the surface of the venison could cause ice crystals to form and contribute to freezer burn.
- Squeezing Out Air:
An effective technique to reduce air inside the packaging is to squeeze out as much air as possible before sealing. With freezer bags, press down on the bag as you seal it to force out excess air. If using airtight containers, leave as little headspace as possible to minimize the air volume within the container.
- Preventing Freezer Burn:
By transferring your pre-frozen venison portions to airtight packaging and minimizing air exposure, you’re actively preventing freezer burn – a phenomenon that can negatively affect the quality of frozen meat. Freezer burn occurs when moisture evaporates from the surface of the meat and then re-condenses as ice crystals, leading to textural changes and flavor degradation.
- Organized Storage:
Once properly packaged, arrange the venison portions in your freezer in an organized manner. Keeping similar cuts or portions together can make it easier to locate what you need when you’re ready to cook. Additionally, stacking items neatly and efficiently can help maximize your freezer space.
Packaging the pre-frozen venison portions for long-term storage is a crucial step to maintain the meat’s quality and prevent freezer burn. By choosing airtight containers or heavy-duty freezer bags, squeezing out excess air, and creating a protective barrier against moisture and oxygen, you’re ensuring that your carefully preserved venison remains in optimal condition until you’re ready to unleash its delectable flavors in your culinary creations.
Step 9: Store and Maintain Temperature
As you approach the final phase of freezing venison, the way you store the packaged meat and the temperature at which you store it become crucial factors in ensuring the meat’s long-term quality and safety. Proper storage conditions play a pivotal role in preserving the flavors, textures, and overall integrity of the venison over an extended period.
- Ideal Storage Location:
Once you’ve packaged the venison portions, it’s essential to place them in the coldest part of your freezer. This could be the back of the freezer, where temperatures tend to be lower and more consistent. By positioning the meat in the coldest area, you’re optimizing the conditions for preserving its freshness and quality.
- Recommended Temperature:
Maintaining the right temperature is paramount for keeping your venison in the best possible state. Set your freezer to a temperature of 0°F (-18°C) or lower. At this temperature, bacterial growth is significantly slowed down, reducing the risk of spoilage and foodborne illnesses. Additionally, the lower temperature helps prevent the growth of ice crystals, which can cause freezer burn and negatively affect the texture and flavor of the meat.
- Consistent Freezing Temperature:
Equally important as setting the right temperature is ensuring that your freezer maintains a consistent temperature. Fluctuations in temperature can lead to the formation of larger ice crystals, which can compromise the quality of the venison over time. A consistent freezing temperature helps keep the meat‘s cellular structure intact and preserves its natural attributes.
- Rotation and Accessibility:
When placing the packaged venison portions in the freezer, consider the accessibility and rotation of the items. It’s advisable to place the oldest packages at the front and the newer ones towards the back. This practice ensures that you use the oldest portions first, preventing any packages from being forgotten or remaining in storage for too long.
- Long-Term Preservation:
By adhering to proper storage practices and maintaining the recommended freezing temperature, you’re maximizing the potential longevity of your frozen venison. When stored correctly, venison can remain in good condition for several months, allowing you to enjoy its exquisite flavors and textures long after the hunting season or the purchase date.
The final step of freezing venison involves placing the carefully packaged portions in the coldest part of your freezer, ideally at 0°F (-18°C) or lower. This attention to storage conditions, including temperature and consistency, ensures that the quality of the venison is upheld over an extended period. By following these guidelines, you’re setting the stage for culinary delights well into the future, as your frozen venison remains as fresh and flavorful as the day you prepared it for freezing.
Other related questions
How do you defrost venison?
Defrost venison in the refrigerator by placing it on a plate to catch drips. Allow ample time for gradual thawing, typically 24 hours for every 5 pounds. Alternatively, use the defrost setting on a microwave or submerge sealed venison in cold water, changing water every 30 minutes. Always cook promptly after defrosting.
Can you refreeze venison?
Refreezing venison is possible, but it should be approached with caution. Once thawed, venison quality may decline due to moisture loss and texture changes. If you plan to refreeze, cook thawed venison first, then cool and refreeze promptly to minimize quality loss and safety concerns.
How do I know if the venison has gone bad after being frozen?
Signs of spoiled frozen venison include changes in color, off or rancid odors, freezer burn appearance, or slimy texture. Ice crystals forming inside packaging can suggest improper storage. Trust your senses and discard any venison exhibiting these signs to ensure safety and quality.
Can I freeze venison sausages or jerky?
Yes, you can freeze venison sausages or jerky for extended storage. Ensure sausages are tightly wrapped in plastic wrap and sealed in a freezer-safe bag. Jerky should be vacuum-sealed or placed in an airtight container, labeled with the freezing date for optimal quality retention.
Are there specific guidelines for freezing ground venison?
Certainly, freezing ground venison follows general freezing guidelines. Divide into portions for easy use, wrap tightly in plastic wrap, and seal in freezer-safe bags. Label with date and avoid refreezing to maintain texture and flavor.
Can I freeze marinated venison?
Yes, marinated venison can be frozen, preserving its flavor. Pat dry before freezing to prevent excess moisture. Properly wrap and seal, noting marination date, for best results when thawed and cooked.

