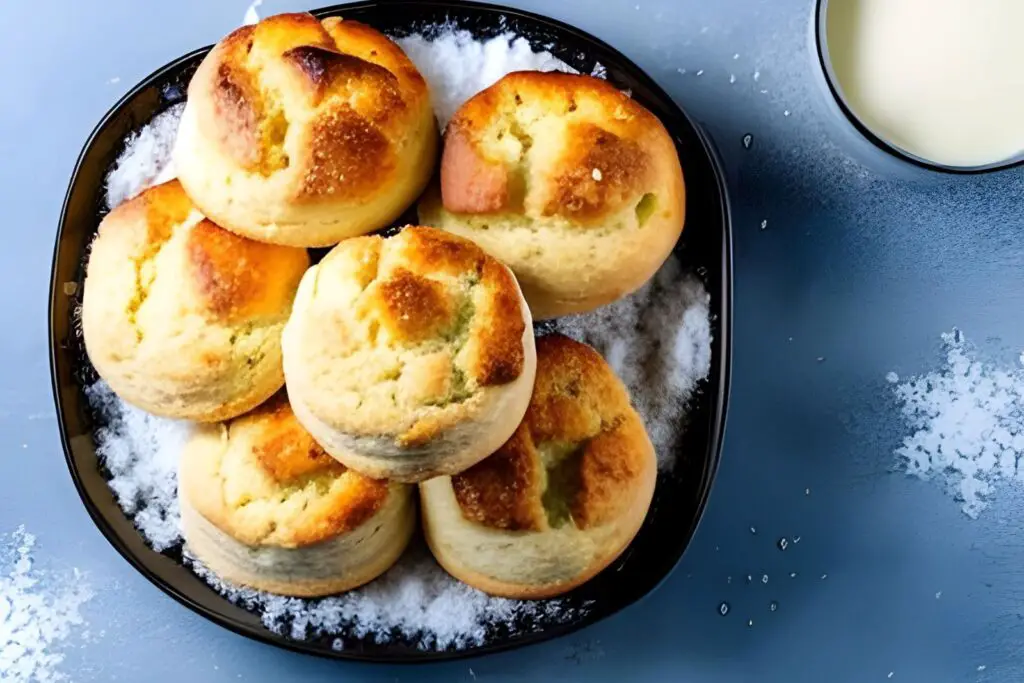
Yeast rolls, cherished for their softness and irresistible aroma, stand as a staple of comforting baked goods that grace holiday feasts and everyday meals alike. Crafted from a mixture of flour, yeast, water, and a touch of sweetness, these rolls promise a delightful experience with their tender texture and warm flavor. The process of kneading and fermentation brings the dough to life as yeast transforms sugars into carbon dioxide, causing the dough to rise and develop its signature attributes. However, when preparing yeast rolls for special occasions or seeking to save time on busy days, it can be challenging to enjoy them all at their peak freshness. Freezing yeast rolls presents a practical and effective approach to preserving their delightful essence and culinary allure, ensuring that each roll retains its softness and delectable taste, ready to elevate your meals with the essence of perfectly frozen yeast rolls, even when freshly baked rolls aren’t readily available or when you desire the comforting embrace of homemade goodness at your convenience. In this guide, we will delve into the best practices for freezing yeast rolls, allowing you to savor the richness of these beloved creations and elevate your culinary experiences with the essence of perfectly frozen rolls, without the need for continuous baking efforts or concerns about freshness. Prepare to embrace the tradition and comfort of yeast rolls, with a freezer stocked with these delectable bites that await to add a touch of homemade warmth to your meals year-round.
Here are the simple steps to freeze yeast rolls:
Step 1: Prepare the Yeast Rolls
The first step in the process of freezing yeast rolls involves preparing the rolls themselves. This step is crucial as it sets the foundation for preserving the rolls’ taste, texture, and overall quality during the freezing and thawing processes. Here’s a closer look at why this step is important and how to execute it effectively:
Importance of Starting with Freshly Baked or Excellent Condition Rolls:
When it comes to freezing yeast rolls, beginning with rolls that are either freshly baked or in excellent condition is key. Freshly baked rolls are preferred because they are at their peak of flavor and texture. Their warmth and tenderness make them ideal for freezing as they are more likely to retain these qualities during the freezing and thawing stages.
Similarly, if you have leftover yeast rolls from a recent meal or event, ensure they are in excellent condition before proceeding to freeze them. This means they should not be stale, dry, or overly moist, as these factors can impact their quality after freezing.
Guidelines for Preparing the Yeast Rolls:
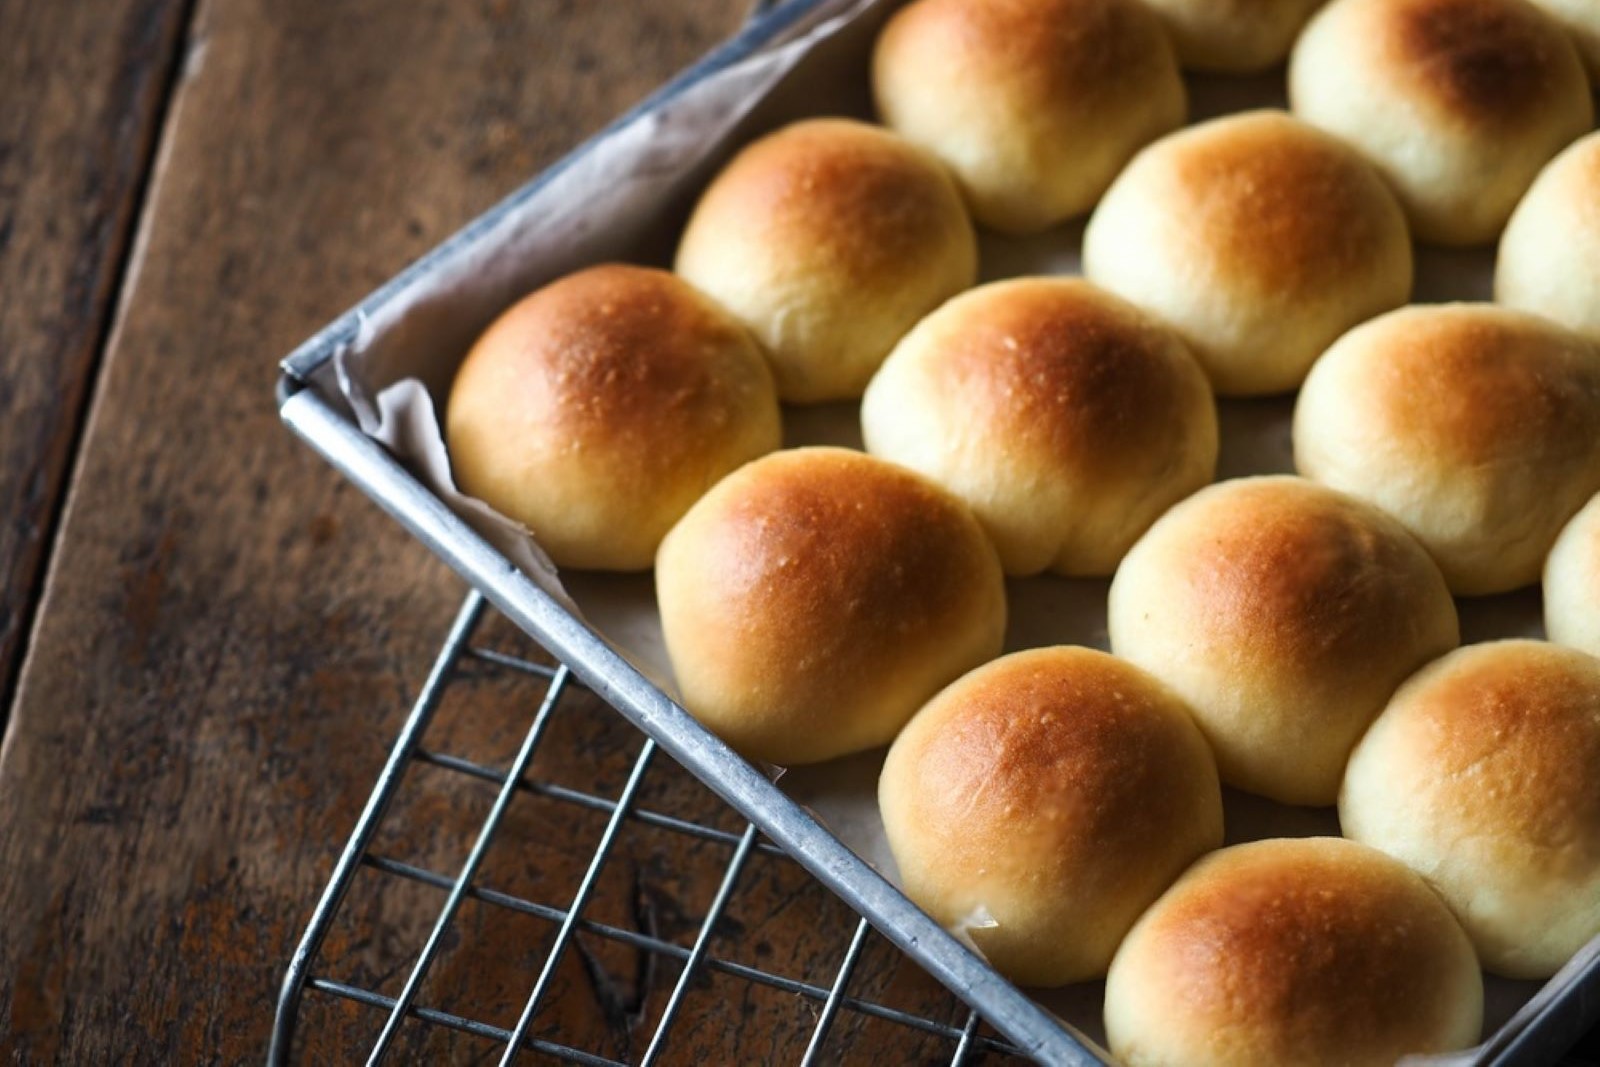
- Fully Cooked and Golden-Brown Color: Whether you’re baking yeast rolls at home or using store-bought ones, ensure that they are fully cooked. Baking the rolls until they achieve a golden-brown color indicates that they have been properly baked and have developed the desired flavor and texture. Undercooked rolls might not hold up well during freezing and may not taste as good after thawing.
- Cooling Period: After removing the rolls from the oven, allow them to cool completely. This cooling period is essential because it prevents excess moisture from being trapped within the rolls’ packaging during the freezing process. Excess moisture can lead to freezer burn or soggy rolls upon thawing.
By starting with yeast rolls that are either freshly baked or in excellent condition, and ensuring they are fully cooked and properly cooled, you’re setting the stage for successful freezing and thawing. The initial quality of the rolls significantly impacts how well they will maintain their taste and texture once they are taken out of the freezer. Following this step carefully helps guarantee that your frozen yeast rolls will deliver a delightful experience when you decide to enjoy them in the future.
Step 2: Allow the Rolls to Cool
After baking your yeast rolls to perfection, the next important step in the process of freezing them is allowing them to cool completely. This step might seem simple, but it plays a critical role in ensuring the quality and texture of the rolls are preserved during the freezing process. Here’s a closer look at why allowing the rolls to cool is essential and how it contributes to successful freezing:
Importance of Cooling the Rolls:
When yeast rolls are freshly baked, they retain a considerable amount of moisture and heat. Allowing them to cool serves multiple purposes that contribute to maintaining their quality:
- Prevents Moisture Build-Up: While yeast rolls are cooling, excess moisture that might be present on their surface will begin to evaporate. If you were to package the rolls immediately after baking, this trapped moisture could lead to the formation of ice crystals during freezing, resulting in freezer burn. Cooling the rolls before freezing reduces the risk of moisture-related issues.
- Maintained Texture: Yeast rolls have a delicate and airy texture when they are freshly baked. Allowing them to cool naturally helps retain this texture. If rolls are packaged while still warm, the steam they release inside the packaging can cause them to become soggy or lose their intended lightness.
Proper Cooling Process:
- Remove from the Oven: Once your yeast rolls have achieved a golden-brown color and are fully baked, carefully remove them from the oven. Use oven mitts or heat-resistant gloves to prevent burns.
- Wire Rack Placement: Place the freshly baked rolls on a wire cooling rack. This elevated position allows air to circulate around the rolls, facilitating even cooling. Avoid placing the rolls on a flat surface immediately, as this can trap residual heat and moisture.
- Complete Cooling: Give the yeast rolls ample time to cool completely. Depending on the size and thickness of the rolls, this might take around 1 to 2 hours. Patience is key at this stage to ensure that the rolls’ interior cools down, reducing the risk of steam formation when they are packaged.
Allowing the yeast rolls to cool thoroughly before packaging and freezing them is an essential step that significantly contributes to their overall quality preservation. By preventing excess moisture from forming inside the packaging and maintaining their intended texture, you’re setting the foundation for successful freezing and, eventually, a delightful eating experience once the rolls are thawed and reheated.
Step 3: Arrange the Rolls for Freezing
Once your yeast rolls have been baked to perfection and allowed to cool completely, the next crucial step in the freezing process involves arranging the rolls in a manner that promotes optimal freezing and prevents them from sticking together. Properly arranging the rolls on a baking sheet or tray is essential for maintaining their individual shapes and ensuring they can be easily stored without damage. Here’s why this step is important and how to execute it effectively:
Importance of Proper Arrangement:
- Preserves Individual Shapes: Yeast rolls have a distinct and desirable shape that contributes to their presentation and texture. When rolls come into contact with each other during freezing, they can become misshapen or flattened, altering their appearance and potentially affecting their texture upon thawing.
- Prevents Sticking: If rolls are frozen in direct contact with each other, there’s a risk that they may stick together as they freeze. This can make it difficult to separate the rolls when you want to use only a portion. Moreover, attempting to separate frozen rolls could lead to damaging their delicate structures.
Guidelines for Arranging the Rolls:
- Prepare a Baking Sheet or Tray: Line a baking sheet or tray with parchment paper. The parchment paper prevents the rolls from adhering to the surface, making it easier to remove them once they are frozen.
- Use Adequate Spacing: Place the cooled yeast rolls on the parchment paper, ensuring they are not touching each other. Leave a small gap between each roll to provide enough space for air circulation during freezing. This space prevents moisture buildup and maintains the individual integrity of each roll.
- Avoid Overcrowding: If you have a large number of rolls to freeze, you might need to use multiple baking sheets or trays to avoid overcrowding. Overcrowding can lead to uneven freezing and may result in some rolls sticking together despite your efforts.
Benefits of Using Parchment Paper:
- Non-Stick Surface: Parchment paper’s non-stick properties prevent rolls from adhering to the tray, making them easy to remove once frozen.
- Easy Transfer: Once the rolls are frozen, you can easily transfer them from the baking sheet to individual packaging without any issues.
- Clean-Up: Parchment paper simplifies the cleaning process since any residual moisture from the rolls is absorbed by the paper.
By arranging your cooled yeast rolls on a parchment-lined baking sheet with sufficient spacing between them, you’re taking steps to preserve their individual shapes and prevent them from sticking together. This careful arrangement ensures that your frozen rolls will maintain their original appearance and can be conveniently used without the hassle of dealing with stuck-together rolls.
Step 4: Pre-Freeze the Rolls
After arranging your yeast rolls on a baking sheet with proper spacing, the next important step is to pre-freeze them for a period of about 1 to 2 hours. Pre-freezing is a crucial step in the freezing process that serves multiple purposes, including preserving the rolls’ shape and ensuring they maintain their individual integrity when they are eventually packaged for long-term storage. Let’s delve into the significance of pre-freezing and how it contributes to successful freezing:
Importance of Pre-freezing:
- Shape Preservation: Yeast rolls have a delicate structure that can be easily deformed or flattened if they are packaged for freezing while still soft. Pre-freezing the rolls for a brief period helps set their shape and structure, making them more resistant to deformation during the packaging process.
- Prevents Sticking: During pre-freezing, any residual moisture on the surface of the rolls begins to freeze. This preliminary freezing prevents the rolls from sticking together when they are packaged in storage containers or bags. Stuck-together rolls can be challenging to separate and might result in damage to their texture and appearance.
- Enhances Individuality: By pre-freezing the rolls individually on a baking sheet, you ensure that each roll maintains its distinct shape and identity. This is particularly important for presentation and for ensuring that the rolls will look and taste their best when thawed and reheated.
Guidelines for Pre-freezing:
- Transfer the Baking Sheet to the Freezer: Once you’ve arranged the yeast rolls on the baking sheet with parchment paper, place the sheet in the freezer. Make sure the rolls are placed in a way that they are not touching each other, allowing air to circulate around them.
- Pre-freeze Time Frame: Allow the rolls to pre-freeze for approximately 1 to 2 hours. The exact duration may vary based on factors such as the size and thickness of the rolls and the efficiency of your freezer.
- Monitor the Rolls: Check the rolls periodically during the pre-freezing period to ensure they are firm to the touch and have begun to freeze. You don’t want them to be fully frozen at this stage, but rather just firm enough to hold their shape when handled.
By pre-freezing the yeast rolls for a short period on a baking sheet before final packaging, you’re taking a proactive measure to maintain the rolls’ individuality, prevent sticking, and safeguard against deformation. This preparation step ensures that your yeast rolls will retain their quality and appearance when they’re eventually thawed and served.
Step 5: Package the Rolls
After the yeast rolls have been pre-frozen to retain their shape and prevent sticking, the next critical step is to package them effectively for long-term freezer storage. This step involves carefully wrapping each roll individually or placing multiple rolls in a suitable container to ensure they remain protected from freezer burn, maintain their texture, and are easy to access when needed. Here’s a detailed explanation of why this step is important and how to go about it:
Importance of Proper Packaging:
- Freezer Burn Prevention: Freezer burn occurs when food is exposed to air and moisture in the freezer for an extended period. This can lead to texture changes, loss of flavor, and reduced quality. Proper packaging helps create a barrier that minimizes the risk of freezer burn.
- Texture Preservation: Yeast rolls have a delicate, soft texture that can be affected by moisture loss. Proper packaging helps retain the rolls’ moisture content, preventing them from becoming dry and tough.
- Convenience: Well-packaged rolls are easy to store and retrieve from the freezer without hassle. Individual packaging also allows you to take out only the desired quantity without thawing the entire batch.
Guidelines for Packaging:
- Remove from Freezer: Once the rolls have been pre-frozen and are firm to the touch, take the baking sheet out of the freezer and place it on a flat surface.
- Individual Wrapping: One option is to individually wrap each roll using plastic wrap or aluminum foil. Start by wrapping the roll tightly, ensuring there are no gaps or exposed areas. This creates a protective layer that guards against freezer burn.
- Resealable Plastic Bags: Alternatively, you can place multiple pre-frozen rolls in a resealable plastic bag. Before sealing the bag, try to remove as much air as possible. This can be done by gently pressing on the bag to release excess air before sealing it shut.
Choosing the Right Packaging Material:
- Plastic Wrap: Plastic wrap is suitable for individual rolls as it provides a tight seal and prevents air exposure. It’s especially effective for short-term storage.
- Aluminum Foil: Aluminum foil offers good protection against freezer burn and can be used for individual rolls. It’s a bit sturdier than plastic wrap and can work for both short- and medium-term storage.
- Resealable Plastic Bags: These are convenient for storing multiple rolls. Make sure the bags are designed for freezer use to prevent air from entering.
By properly packaging the pre-frozen yeast rolls using appropriate materials, you’re taking measures to maintain their quality, texture, and flavor over an extended period in the freezer. Whether you opt for individual wrapping or resealable plastic bags, this step ensures that your yeast rolls will be well-preserved and easily accessible whenever you’re ready to enjoy them.
Step 6: Label and Date
After properly packaging the pre-frozen yeast rolls, the next crucial step is to label each package with essential information, including the contents and the date they were frozen. This labeling process serves as an organizational strategy that helps you keep track of your frozen rolls, ensuring that you consume them in the right order and maximize their freshness. Here’s a detailed explanation of why labeling and dating are important and how they contribute to efficient freezer management:
Importance of Labeling and Dating:
- Prioritize Consumption: Over time, you may accumulate various frozen items in your freezer. By labeling and dating each package, you create a system that allows you to prioritize consuming the oldest items first. This prevents food from staying in the freezer for too long and ensures that you enjoy your yeast rolls at their best quality.
- Easy Identification: Labeling each package with its contents and the freezing date makes it easy to identify what’s inside without having to open the package. This saves time and helps you plan your meals effectively.
- Reduce Waste: Proper labeling prevents food from being forgotten or left unused for too long. This reduces the likelihood of food going to waste because you’ll be aware of what needs to be consumed soon.
Guidelines for Labeling and Dating:
- Contents: Clearly write “Yeast Rolls” or a similar descriptive label on each package. This helps you identify the rolls easily and prevents any confusion with other frozen items.
- Freezing Date: Use a marker or a label to write the date when the rolls were frozen. Include the month, day, and year. This information is crucial for determining the freshness of the rolls and prioritizing consumption.
- Legibility: Make sure your labels are clear and easy to read. You want to be able to quickly identify the contents and freezing date without any ambiguity.
- Placement: Place the label in a visible and accessible location on the package. This could be on the front or top of the package, where it’s easily noticeable.
By taking a few moments to label and date each package of pre-frozen yeast rolls, you’re implementing a practical strategy that helps you manage your freezer inventory effectively. This simple step ensures that you make the most of your frozen rolls while minimizing waste and maintaining a streamlined approach to freezer organization.
Step 7: Place in the Freezer
Once your yeast roll packages have been properly labeled and dated, the next essential step is to arrange them within the freezer. How you position and store the packages inside the freezer can impact the preservation of the rolls’ quality and prevent any potential issues that may arise from improper storage. Here’s a detailed explanation of the importance of this step and how to go about it:
Importance of Proper Freezer Placement:
- Prevent Crushing: Yeast rolls have a delicate structure, and improper storage within the freezer could lead to their deformation or being crushed under the weight of other items. Properly placing the packages ensures that the rolls maintain their shape and texture.
- Avoid Odor Absorption: Some foods have strong odors that can be absorbed by other items in the freezer. By storing yeast roll packages away from foods with potent odors, you prevent the rolls from taking on unwanted flavors or aromas.
Guidelines for Freezer Placement:
- Gentle Handling: Carefully place the wrapped yeast roll packages into the freezer. Avoid dropping or forcefully stacking packages, as this can cause damage to the rolls.
- Spacing: Ensure that there is enough space around each package to allow for proper air circulation. Adequate airflow prevents temperature fluctuations and helps maintain a consistent freezing environment.
- Avoid Overcrowding: While maximizing freezer space is important, avoid overcrowding the freezer to the point where packages are squeezed together. This can lead to uneven freezing and make it challenging to remove items without disturbing others.
- Separation from Odorous Foods: Whenever possible, store yeast roll packages away from foods that release strong odors. Foods like fish, onions, and garlic can impart their flavors onto nearby items.
By following proper freezer placement practices, you’re safeguarding the integrity of your yeast roll packages and ensuring they remain in good condition until you’re ready to enjoy them. Thoughtful storage prevents damage, maintains the rolls’ taste and texture, and helps you avoid any unwanted flavors from other items in the freezer.
How long can yeast roll last in the freezer?
Yeast rolls can last in the freezer for about 1 to 2 months while maintaining their quality. Beyond this period, they may start to develop freezer burn and lose their original texture and flavor. Proper packaging and labeling help extend their freezer storage life.
Other related questions
How do you defrost yeast rolls?
To defrost yeast rolls, transfer them from the freezer to the refrigerator and let them thaw slowly for several hours. Alternatively, you can warm them in an oven at a low temperature or microwave them briefly with a damp paper towel to retain moisture. Avoid rapid thawing methods to preserve their texture and taste.
Can you refreeze yeast rolls?
Refreezing yeast rolls is not recommended due to potential quality loss. Once thawed, yeast rolls can experience texture and flavor changes. It’s best to consume them after the initial thawing to maintain their taste and integrity.
How do I know if the yeast rolls have gone bad after being frozen?
Inspect for signs of freezer burn, such as dry, discolored patches or ice crystals. If yeast rolls have an off-odor, unusual texture, or taste, discard them. Trust your senses and discard any rolls that appear compromised.
Can I freeze yeast rolls that have been partially baked?
Yes, you can partially bake yeast rolls before freezing. Bake until they’re set but not fully golden. Cool, then freeze. When ready to serve, finish baking to achieve a fresh, golden crust.
Can you freeze different types of yeast rolls?
Yes, you can freeze various types of yeast rolls, like cinnamon, dinner, sweet, and savory rolls. Follow similar freezing methods with slight adjustments. Thaw and bake as needed for delicious results with different roll variations.

