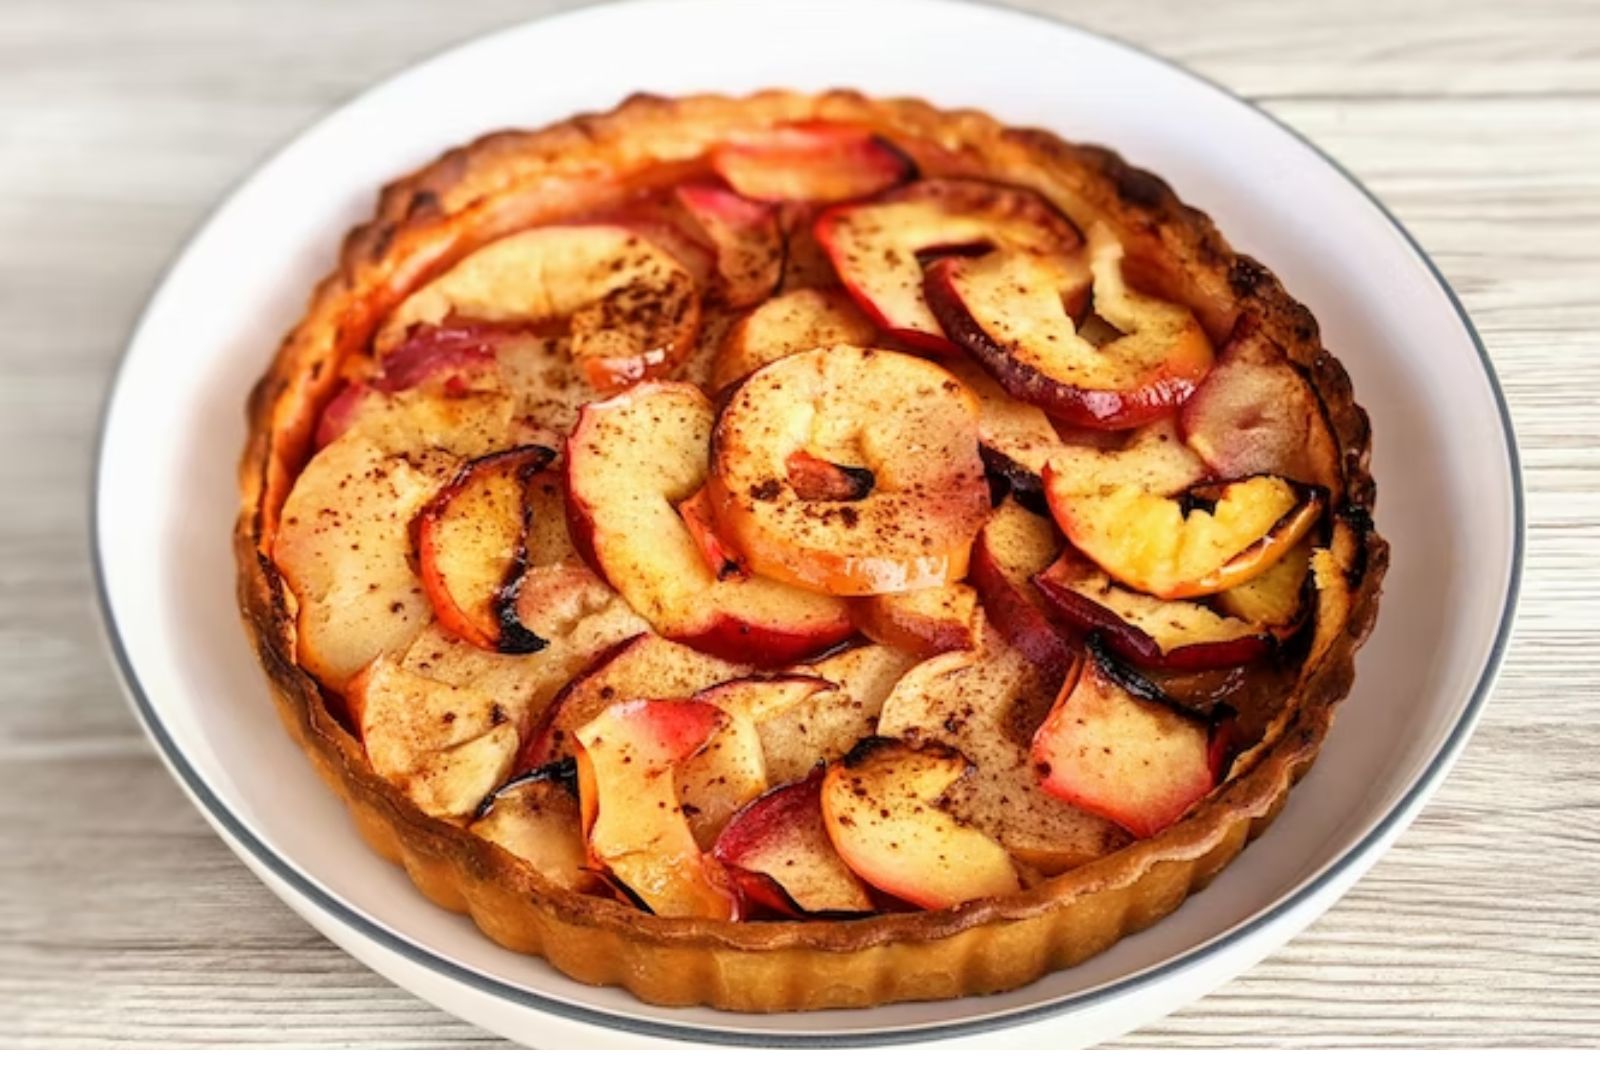
Apple tart, a delightful dessert that celebrates the natural sweetness and beauty of apples in a stunning pastry creation. Apple tart, also known as tarte aux pommes, is a beloved French pastry that showcases thinly sliced apples arranged atop a buttery, flaky crust. With its elegant presentation and harmonious blend of textures and flavors, apple tart is a timeless classic that never fails to impress. The tender apples, sprinkled with sugar and spices, turn beautifully golden and caramelized during baking, creating a luscious filling that pairs perfectly with the crisp pastry base. Whether enjoyed warm with a dollop of whipped cream or savored cold as a delicate treat, apple tart is a dessert that delights the senses. If you wish to savor the deliciousness of apple tart beyond its initial serving, freezing it is a wonderful way to extend its shelf life while maintaining its exquisite taste and texture. In this guide, we’ll explore the art of freezing apple tart, providing you with expert tips and techniques to ensure that you can enjoy this delectable dessert at your convenience, allowing you to savor the flavors of France anytime inspiration strikes.
Here are the simple steps to freeze apple tart:
Step 1: Choose the Right Apple Tart
Before you embark on the freezing process, it’s crucial to start with a well-prepared and fully baked apple tart. The quality of the tart before freezing will greatly impact its taste and texture when thawed and reheated later. Here’s what you need to consider:
- Preparation: Follow your preferred apple tart recipe or explore different options available online. Look for recipes that have been tried and tested, or consult trusted sources for recommendations. This will ensure that you have a delicious tart as a base for freezing.
- Baking and Cooling: Once your apple tart is baked to perfection, remove it from the oven and allow it to cool completely. Cooling is essential before freezing as it helps prevent condensation and ice crystals from forming during the freezing process. A fully cooled tart will also be easier to handle and wrap.
- Taste Preference: Everyone has different preferences when it comes to apple tart. Some may prefer a sweeter filling, while others enjoy a more tart flavor. Consider your taste buds and choose a recipe that aligns with your preferences. You can experiment with different spices, sugar levels, or types of apples to create a unique flavor profile.
- Customization: Apple tarts can be customized with various additions such as cinnamon, nutmeg, raisins, or even a streusel topping. Feel free to add your favorite ingredients to elevate the taste and create a unique twist. Just remember to consider any dietary restrictions or preferences of those who will be enjoying the tart later.
By taking the time to choose the right apple tart recipe and ensuring that it is fully baked and cooled, you set the stage for a successful freezing process. With a well-prepared tart, you can look forward to enjoying the same scrumptious flavors and textures when you thaw and serve it in the future.
Step 2: Prepare to Freeze
Once you have your fully baked and cooled apple tart, it’s time to prepare it for the freezing process. Follow these simple steps to ensure that your tart remains intact and doesn’t stick to any surfaces:
- Remove Toppings or Garnishes: Before freezing, it’s important to remove any toppings or garnishes that may not freeze well or could be added later when serving the thawed tart. This includes whipped cream, powdered sugar, or any other decorative elements. Set these aside for later use.
- Transfer to a Baking Sheet: Carefully transfer the apple tart from its original baking dish or pan onto a baking sheet lined with parchment paper. The parchment paper will prevent the tart from sticking to the baking sheet, making it easier to handle during the freezing process. If your tart is large, you may need to cut it into individual portions before transferring to the baking sheet.
- Maintain the Shape: As you transfer the tart, be mindful of preserving its shape. If the edges or crust have become fragile, use a spatula or a large, flat utensil to support them as you move the tart. Take your time to ensure that the tart retains its appearance as much as possible.
- Allow Space Between Tarts: If you are freezing multiple apple tarts, make sure to leave some space between each tart on the baking sheet. This will prevent them from sticking together during freezing. If necessary, use multiple baking sheets or separate the tarts with pieces of parchment paper.
By removing any toppings or garnishes, transferring the tart onto a parchment-lined baking sheet, and taking care to maintain its shape, you’re ensuring that your apple tart freezes evenly and remains intact throughout the freezing process. This preparation step sets the foundation for a successful freezing experience and helps preserve the quality of your tart for future enjoyment.
Step 3: Flash Freeze
Flash freezing is a crucial step in the freezing process that helps maintain the quality and texture of your apple tart. Here’s why to properly flash freeze your tart:
- Arrange in the Freezer: Once your apple tart is on the baking sheet lined with parchment paper, place the sheet in the freezer. Make sure the sheet lies flat and is not in contact with any other items in the freezer. This ensures that the tart freezes evenly and doesn’t get distorted or damaged.
- Avoid Overcrowding: It’s essential to give each tart enough space to freeze individually. Avoid overcrowding the baking sheet with multiple tarts or placing other items on top of the tart. This prevents the tarts from sticking together and allows air to circulate around each tart, facilitating faster freezing.
- Freezing Time: Let the apple tart remain in the freezer for about 1-2 hours or until it becomes solid. The exact freezing time may vary depending on the size and thickness of the tart. The goal is to freeze it rapidly, minimizing the formation of large ice crystals.
- Benefits of Flash Freezing: Flash freezing involves quickly freezing the tart at a very low temperature. This process helps to preserve the tart’s texture by preventing the formation of large ice crystals. When ice crystals are small and evenly distributed, they cause less damage to the structure of the tart, resulting in better texture and taste upon thawing.
By flash freezing your apple tart, you are taking an important step to maintain its quality during the freezing process. The rapid freezing helps preserve the tart’s texture and prevents the formation of large ice crystals, ensuring that your tart retains its deliciousness when it’s time to thaw and serve it in the future.
Step 4: Wrap the Frozen Apple Tart
After your apple tart has been flash frozen and is solidly frozen, it’s important to wrap it properly to protect it during long-term storage. Follow these steps to ensure the tart stays fresh and free from freezer burn:
- Remove from the Baking Sheet: Take the frozen apple tart off the baking sheet. Carefully lift it using a spatula or other flat utensil, ensuring that it remains intact. If needed, allow it to thaw slightly at room temperature for a few minutes to ease removal.
- Wrap with Plastic Wrap: Begin by wrapping the frozen apple tart tightly with several layers of plastic wrap. Start by covering the tart’s top surface, then fold the plastic wrap over the sides, making sure to seal it securely. The plastic wrap acts as a barrier against moisture and prevents the tart from drying out or developing freezer burn.
- Eliminate Exposed Areas and Gaps: Pay attention to any exposed areas or gaps in the wrapping. These areas can be susceptible to freezer burn and affect the quality of the tart. Smooth out the plastic wrap and ensure there are no openings where air can seep in.
- Additional Protection: To provide an extra layer of protection, place the wrapped tart in a freezer-safe resealable plastic bag or an airtight container. This adds an extra barrier against freezer odors and helps maintain the tart’s freshness. If using a bag, press out any excess air before sealing it. If using a container, ensure it is tightly sealed.
- Label for Identification: Before placing the wrapped tart in the freezer, label the container or bag with the date of freezing. This will help you keep track of the tart’s freshness and easily identify it among other frozen items in the future.
By wrapping the frozen apple tart tightly with plastic wrap, placing it in a freezer-safe bag or container, and labeling it appropriately, you are taking measures to protect the tart from freezer burn and maintain its quality during storage. These steps ensure that when you’re ready to thaw and enjoy the tart, it will taste just as delightful as when it was first baked.
Step 5: Store and Thaw the Frozen Apple Tart
Once your apple tart is properly wrapped, it’s time to store it in the freezer and plan for future enjoyment. Follow these steps for storing and thawing your frozen apple tart:
- Freezer Storage: Place the wrapped apple tart in the freezer. Ensure it is stored in a location where it won’t be disturbed or crushed by other items. The tart can remain in the freezer for up to three months without significant loss of quality. Beyond that, the tart may still be safe to eat but could experience a decline in taste and texture.
- Thawing in the Refrigerator: When you’re ready to enjoy your frozen apple tart, remove it from the freezer and place it in the refrigerator. Thawing in the refrigerator is the recommended method as it allows for a slow and controlled thawing process. Place the tart on a plate or dish to catch any potential condensation.
- Gradual Thawing: Thawing the tart in the refrigerator overnight is typically sufficient. The gradual thawing helps preserve the texture and flavors of the tart. Avoid rushing the thawing process at room temperature or using the microwave, as these methods can lead to uneven thawing and compromise the tart’s quality.
- Reheating: Once the apple tart is fully thawed, you can choose to serve it at room temperature or reheat it for a warm and fresh appeal. To reheat, preheat your oven to a low temperature (around 300°F or 150°C) and place the tart in the oven for a few minutes until warmed through. This gentle reheating process will help revive the tart’s flavors and bring back a comforting warmth.
By storing the wrapped apple tart in the freezer and thawing it gradually in the refrigerator, you are ensuring that the tart retains its deliciousness and quality. This method allows you to enjoy a perfectly thawed and reheated apple tart that will satisfy your cravings for a delightful homemade treat.
Other related questions
Can you refreeze apple tart?
Refreezing apple tart is generally not recommended. Once the tart has been thawed, the texture and quality may be compromised if refrozen. It is best to consume the apple tart after thawing, or if you have leftover frozen tart, it’s advisable to portion it before freezing and thaw only the desired amount for consumption.
How do I know if the apple tart has gone bad after being frozen?
To determine if an apple tart has gone bad after being frozen, inspect it for any signs of spoilage. Look for mold growth, off odors, or a significant change in texture or color. If the tart exhibits any of these signs or if you have concerns about its safety, it is advisable to discard it to avoid the risk of foodborne illness.
Are there any special considerations for freezing apple tart with a custard filling?
When freezing apple tart with a custard filling, there are a few special considerations to keep in mind. Custard can become watery or separate when frozen, so it’s recommended to use a stabilized custard recipe or pre-bake the custard before freezing. Additionally, ensure that the tart is thoroughly cooled before freezing to prevent condensation. Proper wrapping and storage will help maintain the custard’s texture and prevent freezer burn.
Is it necessary to blind bake the crust before freezing the apple tart?
Blind baking the crust before freezing the apple tart is not always necessary, but it is recommended for optimal results. Blind baking helps to prevent a soggy crust when the tart is later thawed and baked. It ensures that the crust is partially or fully cooked before adding the filling, maintaining its texture and preventing a gummy or undercooked base.
Can I freeze an apple tart made with a gluten-free crust?
Yes, you can freeze an apple tart made with a gluten-free crust. Gluten-free crusts can be more delicate, so it’s important to handle them with care during freezing. Wrap the tart securely in multiple layers of plastic wrap and place it in a freezer-safe container or bag to protect it from freezer burn. Thaw and bake the frozen gluten-free apple tart following the same instructions as a regular apple tart, adjusting the baking time as needed.
Are there any specific recommendations for freezing mini apple tarts?
When freezing mini apple tarts, there are a few specific recommendations to ensure optimal results. Firstly, wrap each mini tart individually in plastic wrap to prevent them from sticking together. Place the wrapped tarts in a freezer-safe container or bag, taking care not to overcrowd them. Lastly, label the container with the date of freezing for easy identification and consume the frozen mini apple tarts within 2-3 months for the best taste and texture.
Should you glaze or add powdered sugar to the apple tart before freezing?
It is generally not recommended to glaze or add powdered sugar to the apple tart before freezing. Glazes and powdered sugar can become sticky or absorb moisture during the freezing process, potentially affecting the texture and appearance of the tart. It is best to add glazes or powdered sugar after the tart has been thawed and right before serving.
Can frozen apple tart be served cold?
Yes, frozen apple tart can be served cold if desired. Once the frozen tart is thawed in the refrigerator, it can be enjoyed without reheating. The texture and flavor of the tart may be slightly different compared to when it is served warm, but it can still be a delicious dessert when served chilled.

