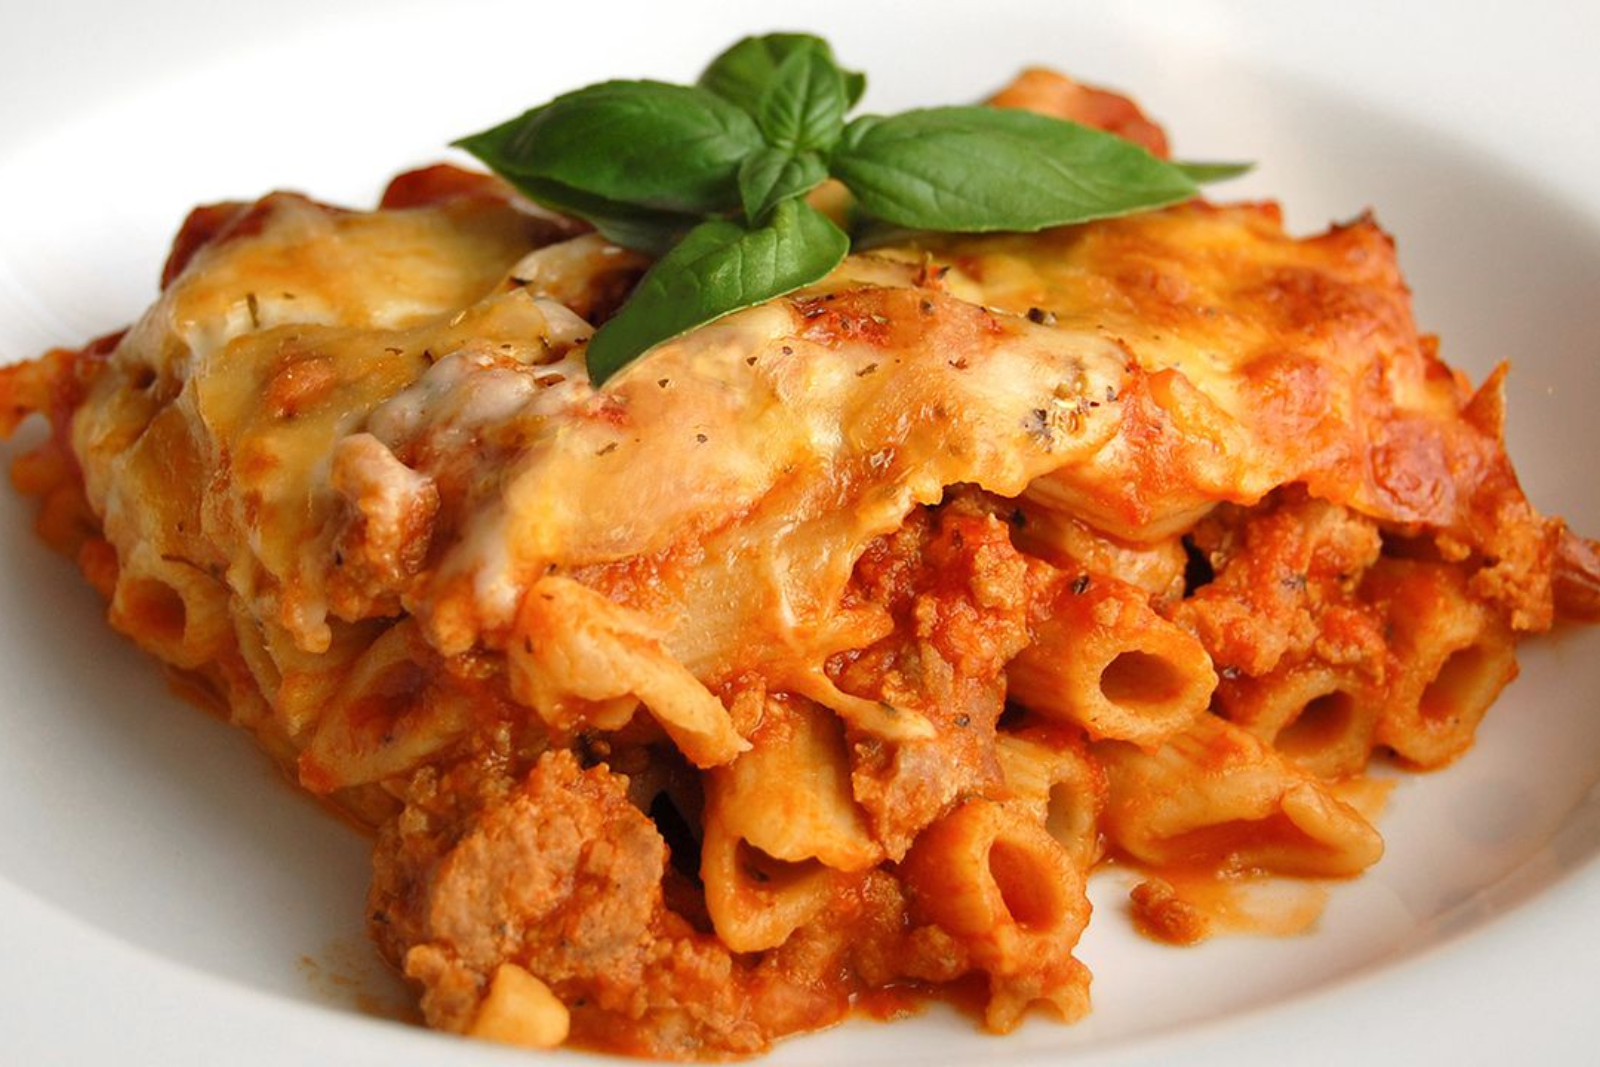
Baked ziti is a delicious and comforting Italian-American dish that consists of ziti pasta, tomato sauce, cheese, and various other ingredients. It’s a favorite among many families and is often prepared in large batches. If you find yourself with leftovers or want to make a big batch in advance, freezing baked ziti is a convenient option. Freezing allows you to preserve the flavors and textures of the dish, ensuring that it remains just as tasty when you’re ready to enjoy it again. In this article, we will provide you with a step-by-step guide on how to freeze baked ziti properly, so you can have a satisfying meal anytime you want.
Here’s a guide on how to freeze baked ziti:
Step 1: Prepare the baked ziti
Before freezing your baked ziti, it’s crucial to have a fully cooked dish ready to go. You can either follow your favorite baked ziti recipe or prepare it according to your taste preferences. The beauty of baked ziti lies in its versatility, allowing you to customize it with various ingredients such as different types of cheeses, vegetables, or meats.
When cooking the pasta for your baked ziti, it’s important to ensure that it is cooked al dente, which means it should be tender but still have a slight bite to it. This is because the pasta will continue to cook slightly during the reheating process. If you overcook the pasta initially, it may become mushy and lose its texture when you later thaw and reheat the dish.
To achieve al dente pasta, follow the cooking instructions on the pasta package but reduce the cooking time by 1-2 minutes. This will result in slightly undercooked pasta that will finish cooking perfectly when you bake or reheat the dish later.
By preparing the baked ziti with perfectly cooked al dente pasta, you can ensure that even after freezing and reheating, the pasta retains its desired texture and doesn’t become overly soft or mushy. The other ingredients, such as the tomato sauce, cheese, and any additional toppings, will also meld together beautifully during the baking process, creating a flavorful and comforting dish that freezes and reheats exceptionally well.
Step 2: Portion the baked ziti
After preparing your delicious baked ziti, the next step before freezing is to portion the dish. Portioning involves dividing the baked ziti into individual servings or family-sized portions, depending on your specific needs.
Portioning is an important step for several reasons. Firstly, it allows for easier and more convenient thawing and reheating in the future. Instead of having to defrost the entire batch of baked ziti, portioning enables you to take out only the amount you need for a particular meal. This way, you can avoid waste and ensure that each portion is reheated to perfection without any leftovers going to waste.
Secondly, portioning helps maintain the overall quality of the dish. By separating the baked ziti into individual servings, you minimize the risk of repeatedly thawing and refreezing the entire batch, which can lead to changes in texture and taste. Each portion can be treated independently, preserving the flavors and textures of the dish more effectively.
Additionally, portioning makes it easier to control portion sizes according to your preferences or the number of people you’ll be serving. Whether you prefer smaller portions for individual meals or larger portions for family-sized servings, dividing the baked ziti beforehand allows for flexibility and portion control.
To portion the baked ziti, you can use individual containers or freezer-safe bags. Consider using containers that are suitable for the freezer, such as glass or plastic containers with airtight lids. Alternatively, you can wrap individual portions tightly with aluminum foil or plastic wrap before placing them in a larger freezer bag. Make sure to remove as much air as possible to prevent freezer burn and maintain the quality of the baked ziti.
Can I freeze individual baked ziti portions in silicone molds?
Yes, silicone molds can be used to freeze individual baked ziti portions. The flexibility of silicone molds makes it easy to remove the portions once frozen. Ensure that the molds are freezer-safe and cover them with foil or place them in freezer bags for added protection.
Step 3: Cool the baked ziti
Once you have portioned your baked ziti, it’s crucial to allow it to cool completely at room temperature before proceeding with the freezing process. This step is essential to prevent condensation from forming inside the packaging, which can result in freezer burn and compromise the quality of the dish.
When you remove the baked ziti from the oven, it’s still hot, and the steam generated from the heat can create moisture. If you immediately place the hot dish in the freezer or packaging, the trapped moisture will turn into ice crystals, leading to freezer burn. Freezer burn occurs when the moisture on the surface of the food evaporates and leaves behind dehydrated, discolored patches, resulting in changes in taste and texture.
By allowing the baked ziti to cool completely at room temperature, you give the steam a chance to dissipate, reducing the moisture content on the surface of the dish. Cooling also helps the flavors to settle and the textures to stabilize before freezing.
To cool the baked ziti effectively, place the portioned dish on a wire rack or a heat-resistant surface. This allows air to circulate around the dish, facilitating faster cooling. Avoid covering the baked ziti while it’s cooling, as this can trap the steam and delay the cooling process.
The cooling time will depend on the room temperature and the size of the portions. Typically, it takes around 1 to 2 hours for baked ziti to cool down completely. However, larger portions may require more time. You can check the temperature by lightly touching the dish to ensure that it has cooled to room temperature.
Step 4: Wrap the baked ziti
After the baked ziti has cooled completely, the next step is to wrap each portion tightly with aluminum foil or plastic wrap before placing them in the freezer. This wrapping process ensures that the entire dish is covered and there are no exposed areas. By doing so, you can maintain the moisture content and prevent freezer burn, thus preserving the quality of the baked ziti.
Wrapping the baked ziti provides a protective barrier against air and moisture, which are the main culprits behind freezer burn. Freezer burn occurs when the surface of the food comes into contact with dry air, causing moisture to evaporate and leaving behind dehydrated patches. This can lead to changes in flavor, texture, and overall quality of the dish.
By tightly wrapping each portion of baked ziti, you create a sealed environment that helps retain the moisture within the dish. This moisture helps prevent the formation of ice crystals and maintains the integrity of the ingredients. It also contributes to keeping the dish moist and flavorful during the freezing process.
When choosing between aluminum foil and plastic wrap, consider the duration of freezing. Aluminum foil is generally more effective for longer-term storage, as it provides better protection against air and moisture. Plastic wrap, on the other hand, is suitable for shorter-term freezing or if you plan to transfer the wrapped portions into freezer-safe containers or bags.
To wrap the baked ziti, place the portion in the center of a sheet of aluminum foil or plastic wrap. Bring the sides of the wrap over the dish, ensuring it is completely covered. Then, fold and secure the edges tightly to create a sealed package. Make sure there are no gaps or exposed areas that can allow air or moisture to enter.
Step 5: Place in freezer-safe containers
If you prefer an extra layer of protection and airtightness for your frozen baked ziti, it is recommended to transfer the wrapped portions into freezer-safe containers or resealable freezer bags. This step ensures better insulation, minimizes the risk of freezer burn, and helps maintain the quality of the dish.
Freezer-safe containers are specifically designed to withstand low temperatures and protect food from freezer burn. These containers are made from materials that are less likely to crack or break when exposed to freezing temperatures. They provide a secure and sturdy enclosure for your baked ziti, reducing the chances of air and moisture permeating the dish.
Resealable freezer bags are another practical option for storing your wrapped portions of baked ziti. They are convenient and allow you to remove excess air, creating a tight seal. Removing excess air from the bags helps reduce the potential for freezer burn as it minimizes the contact between the food and the air inside the bag.
When transferring the wrapped portions into containers or bags, ensure that they are properly sealed to maintain the airtight environment. This prevents the absorption of odors from other foods in the freezer and helps retain the flavors and freshness of the baked ziti.
Step 6: Label and date the containers
After placing the wrapped portions of baked ziti in freezer-safe containers or bags, it is important to label each container or bag with the name of the dish and the date of freezing. This simple step helps you keep track of the contents in your freezer and ensures that you use the oldest portions first.
Labeling the containers or bags with the name of the dish allows for easy identification, especially if you have multiple types of frozen meals or ingredients in your freezer. By clearly indicating that it contains baked ziti, you can quickly locate it when you’re ready to thaw and reheat a specific dish.
In addition to the name of the dish, it is crucial to include the date of freezing on the label. This helps you establish a system of rotation and ensures that you use the oldest portions of baked ziti first. Over time, frozen food can lose its quality and taste, so it’s best to consume the oldest portions before moving on to the newer ones. By dating the containers, you can keep track of how long the baked ziti has been in the freezer and prioritize its consumption accordingly.
Using a permanent marker is recommended for labeling, as it is resistant to smudging and won’t fade over time. Write the name and date clearly on the container or bag, making sure it is easily readable.
Step 7: Store in the freezer
After properly labeling the containers or bags, it’s time to store the baked ziti in the freezer. This step is crucial to maintain the quality and freshness of the dish until you’re ready to thaw and reheat it. When storing the baked ziti, it’s important to consider proper air circulation and the optimal placement within the freezer.
Start by finding a suitable spot in your freezer for the containers or bags. Ideally, choose the coldest part of the freezer, such as the back or bottom shelf. These areas tend to have more consistent temperatures, minimizing temperature fluctuations that can affect the quality of the baked ziti.
Make sure to leave enough space between the containers or bags to allow proper air circulation. This helps maintain an even distribution of cold air and ensures that the baked ziti freezes uniformly. It also prevents any potential transfer of odors between different foods in the freezer.
When placing the containers or bags, stack them neatly to maximize space utilization. However, avoid overpacking or compressing them too tightly, as this can lead to uneven freezing and potentially affect the quality of the baked ziti.
Proper storage in the freezer helps maintain the integrity of the baked ziti by preserving its flavors, textures, and overall quality. The consistent cold temperature prevents the growth of bacteria and slows down the natural deterioration of the food. This way, your baked ziti will retain its deliciousness and be ready to enjoy whenever you desire a comforting meal.
By following these storage guidelines, you ensure that your frozen baked ziti remains in optimal condition until you’re ready to thaw and savor its delightful flavors.
How long can I keep frozen baked ziti?
Frozen baked ziti can be safely stored for up to 3 months. However, for the best quality, it is recommended to consume it within 1-2 months. Proper storage, including airtight packaging and consistent freezer temperatures, helps maintain its taste and texture.
Step 8: Thaw and reheat
When the time comes to enjoy your frozen baked ziti, it’s essential to thaw and reheat it properly to ensure that it is heated through and maintains its delicious taste and texture. Here’s how to do it:
- Transfer from the freezer to the refrigerator: Start by taking the desired portion(s) of frozen baked ziti from the freezer and transferring them to the refrigerator. Place the container or bag on a plate or in a shallow dish to catch any potential drips as it thaws. Allow the baked ziti to thaw in the refrigerator overnight or for at least 24 hours. Thawing slowly in the refrigerator ensures a safe and even thawing process, minimizing the risk of bacterial growth.
- Reheating in the oven: Once the baked ziti has thawed, it’s time to reheat it. Preheat your oven to 350°F (175°C) to ensure even and thorough heating. If you’re reheating individual portions, transfer them to an oven-safe dish. If the baked ziti is still in a freezer-safe container, you can leave it in that container for reheating.
- Cover and reheat: If you prefer to prevent excessive browning on top, cover the dish with aluminum foil. This will help trap moisture and prevent the dish from drying out. Place the covered dish in the preheated oven and heat it until it is heated through. The reheating time can vary depending on the portion size and the starting temperature, but it usually takes around 20-30 minutes.
- Remove foil for a crispy top: During the last few minutes of reheating, remove the foil to allow the top of the baked ziti to become crispy and golden brown. This step adds texture and visual appeal to the dish.
- Check for doneness: To ensure that the baked ziti is thoroughly reheated, use a food thermometer to check the internal temperature. It should reach a minimum internal temperature of 165°F (74°C) to ensure food safety.
Once the baked ziti is heated through, remove it from the oven and let it cool for a few minutes before serving. This allows the flavors to settle and makes it easier to handle.
Other related questions
Can I refreeze baked ziti?
No, it is not recommended to refreeze baked ziti once it has been thawed and reheated. Refreezing the dish can lead to a loss of quality, as the texture and flavors may become compromised. It is best to portion and freeze baked ziti in individual servings to avoid the need for refreezing.
How do I know if the baked ziti has gone bad after being frozen?
To determine if frozen baked ziti has gone bad, first, examine its appearance. Look for signs of freezer burn, such as dry or discolored patches. Next, assess the texture and smell. If the baked ziti has become excessively dry, mushy, or has an off odor, it is likely spoiled and should not be consumed. When in doubt, it’s safest to discard the baked ziti to avoid the risk of foodborne illness.
Can I freeze baked ziti without sauce?
Yes, you can freeze baked ziti without sauce. However, the sauce helps maintain moisture and enhances the flavors of the dish. If you choose to freeze baked ziti without sauce, ensure that it is adequately wrapped and stored to prevent freezer burn and maintain its overall quality.
Can I freeze leftover baked ziti from a restaurant?
It is generally safe to freeze leftover baked ziti from a restaurant, as long as it has been handled and stored properly. Make sure to transfer it to a freezer-safe container or bag, label it with the date, and follow the recommended thawing and reheating instructions for the best results.
Can I freeze baked ziti with different types of cheese?
Absolutely! You can freeze baked ziti with different types of cheese. However, keep in mind that the texture of the cheese may change slightly upon freezing and reheating. It’s recommended to use cheeses that freeze well, such as mozzarella or cheddar, for the best results.
Can I freeze baked ziti with vegetables?
Yes, you can freeze baked ziti with vegetables. However, some vegetables may become slightly softer upon freezing and reheating. It’s best to blanch or lightly cook the vegetables before incorporating them into the baked ziti. This helps maintain their color, texture, and nutritional value during the freezing process.
Can I freeze baked ziti with gluten-free pasta?
Yes, you can freeze baked ziti made with gluten-free pasta. Gluten-free pasta freezes well and can be used in the same way as regular pasta. Just ensure that the pasta is cooked al dente before assembling and freezing the baked ziti.
Can I freeze unbaked assembled baked ziti?
Yes, you can freeze unbaked assembled baked ziti. Assemble the dish with all the ingredients, cover it well with foil or plastic wrap, and freeze. When you’re ready to enjoy it, thaw it in the refrigerator and bake it according to your recipe instructions.


