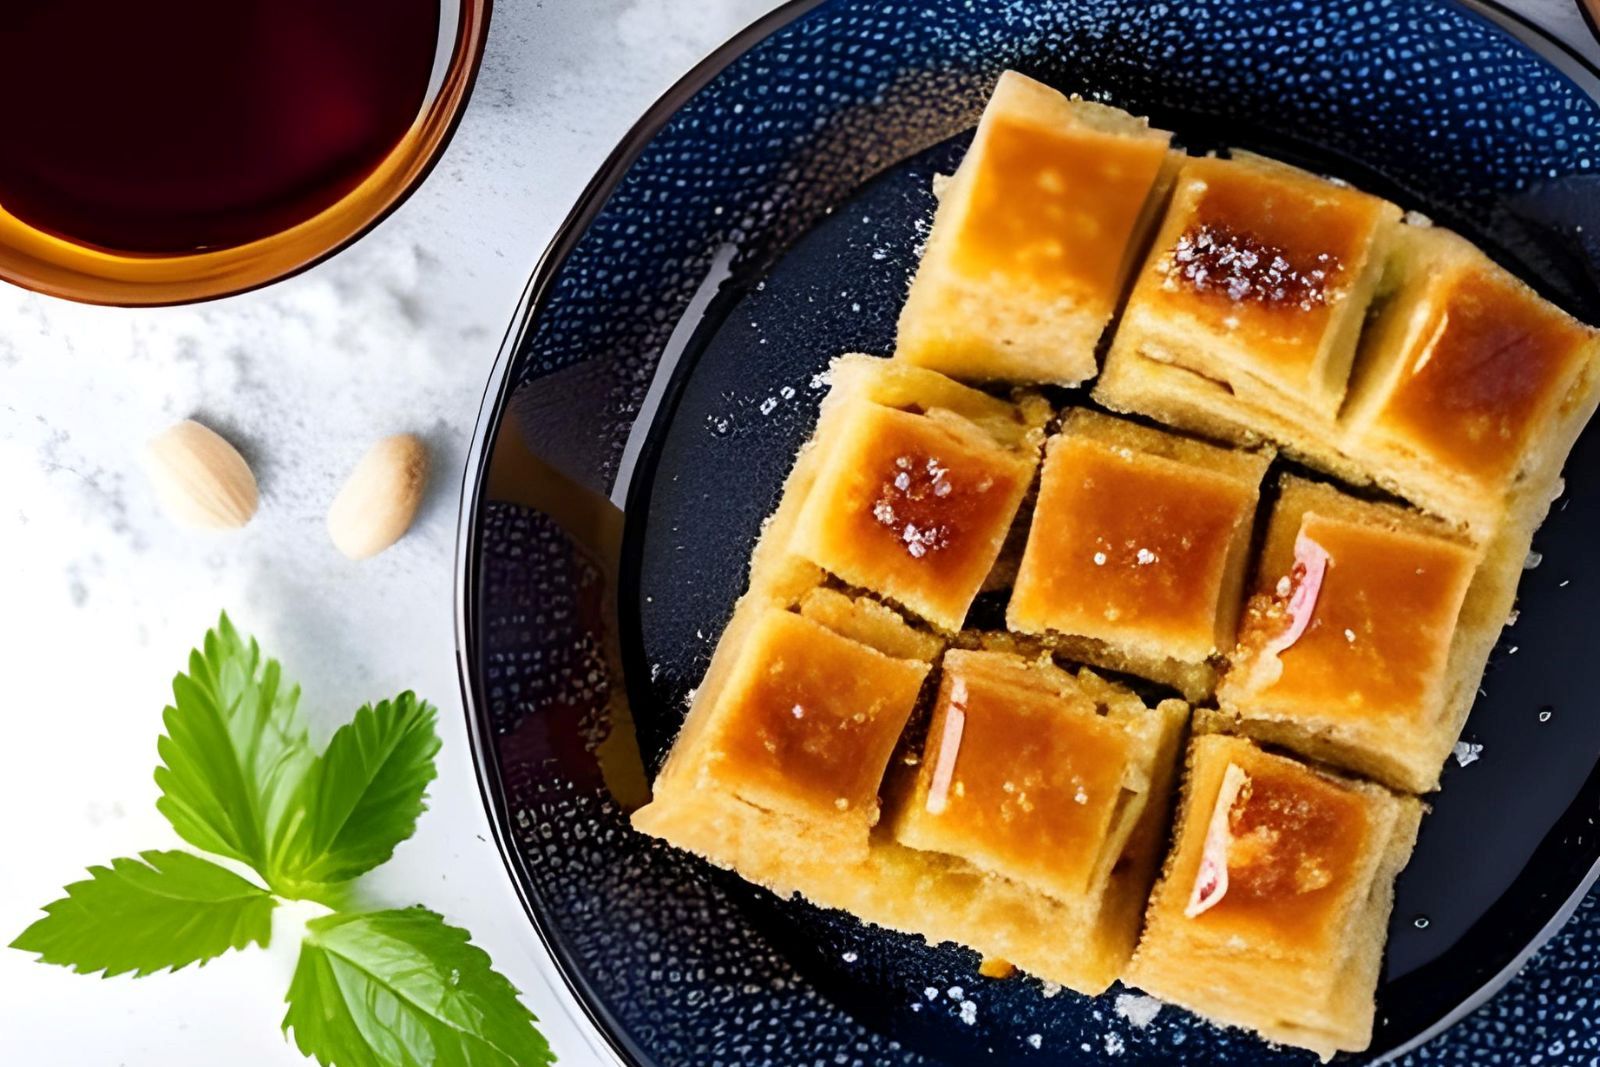
Baklava is a delectable pastry made with layers of phyllo dough, chopped nuts, and honey syrup. Whether you have leftovers or want to make a big batch in advance, freezing baklava is a great way to preserve its texture and flavor. However, it is important to freeze it properly to prevent freezer burn and keep its quality intact. In this article, we will guide you through the simple steps to freeze baklava.
Here are the simple steps for freezing Baklava:
Step 1: Allow the baklava to cool down
Allowing the baklava to cool down before freezing is an important step because it helps prevent condensation from forming on the pastry. When warm baklava is placed in the freezer, the moisture from the heat can cause the pastry to form ice crystals, which can lead to freezer burn. Freezer burn causes the texture of the pastry to become dry and tough, and can also affect the taste and aroma of the baklava.
By cooling the baklava completely before freezing, you are allowing the moisture to evaporate from the pastry, which helps prevent the formation of ice crystals. This helps preserve the texture, taste, and aroma of the baklava, ensuring that it maintains its quality while in the freezer. Therefore, it is important to allow the baklava to cool down completely before wrapping and freezing it.
Step 2: Cut the baklava into portions
Cutting the baklava into portions before freezing is an essential step that will make it easier to thaw and serve the pastry later on. Freezing an entire baklava can make it challenging to thaw evenly and may take longer to thaw completely. By cutting it into portions, you can take out only what you need, saving time and making it easier to enjoy fresh baklava whenever you want.
Using a sharp knife is crucial when cutting the baklava into portions. A dull knife may crush the layers of the pastry, making it challenging to distinguish between the layers once it’s thawed. A sharp knife, on the other hand, will slice through the pastry cleanly and efficiently, preserving the texture and presentation of the baklava.
Additionally, cutting the baklava into portions allows you to control the serving size. This is particularly useful when you want to serve it as a dessert for a group of people, or if you want to portion it out for individual servings.
Step 3: Wrap each portion in plastic wrap
Wrapping each portion of baklava tightly in plastic wrap is an essential step to ensure the pastry stays fresh while in the freezer. It prevents air from getting in, which can lead to freezer burn and affect the texture and taste of the baklava.
Plastic wrap is an ideal material to use when wrapping baklava because it is airtight and flexible, making it easy to wrap around the pastry without causing damage. It is also important to wrap each portion completely and seal it well to prevent air from getting in. If air gets in, it can cause ice crystals to form on the surface of the baklava, leading to freezer burn.
When wrapping each portion of baklava, it is also important to ensure that the plastic wrap is in contact with the surface of the pastry. This helps prevent any gaps or air pockets from forming, which can lead to freezer burn. A good way to ensure this is to press the plastic wrap gently against the surface of the pastry, making sure there are no gaps or air pockets.
Wrapping each portion of baklava tightly in plastic wrap is an essential step that helps ensure the pastry stays fresh while in the freezer. It prevents air from getting in and freezer burn from forming, which helps maintain the texture and taste of the baklava.
Step 4: Wrap the plastic-wrapped baklava in aluminum foil
Wrapping the plastic-wrapped baklava in aluminum foil is an important step that provides an extra layer of protection against freezer burn. Freezer burn occurs when moisture in the food evaporates and then re-condenses on the surface of the food. It can cause the texture and flavor of the baklava to degrade, making it less enjoyable to eat.
Aluminum foil is an ideal material to use when wrapping baklava because it is airtight and helps to keep the moisture in the pastry. It also provides an extra layer of protection against freezer burn by keeping the air out and preventing the moisture from evaporating. This can help preserve the freshness and flavor of the baklava for a longer period of time.
When wrapping the baklava in aluminum foil, it is important to make sure that it is tightly wrapped and that there are no gaps or holes in the foil. This will help ensure that the pastry stays fresh and free from freezer burn. You may want to wrap the baklava in a double layer of aluminum foil to provide extra protection.
Wrapping the plastic-wrapped baklava in aluminum foil provides an additional layer of protection against freezer burn, helping to preserve the texture and flavor of the pastry. It is an essential step that should not be skipped if you want to enjoy fresh and delicious baklava even after it has been frozen for an extended period of time.
Step 5: Label and date the package
Labeling and dating the package is the final step when freezing baklava. It is a crucial step as it helps you keep track of the baklava in your freezer, ensuring that you use it before its quality deteriorates.
When labeling the package, include the date you froze the baklava, so you know how long it has been in the freezer. This is especially important as baklava can only be stored for a maximum of three months in the freezer before its texture and flavor start to deteriorate. By labeling and dating the package, you can easily determine when the baklava needs to be used or discarded.
In addition to the date, it is also essential to label the package with the contents. This will help you identify what is in the package without having to unwrap it. It can also be helpful if you have multiple types of baklava in the freezer and want to quickly identify which one you are looking for.
Labeling and dating the package can be done using a permanent marker or a sticker. Place the label on the top or front of the package, making sure it is visible and easy to read. Labeling and dating the package is an important step that should not be skipped when freezing baklava. It helps you keep track of the baklava in your freezer, ensuring that you use it before its quality deteriorates.
Step 6: Freeze the baklava
After wrapping and labeling the baklava, the final step is to freeze it. Freezing the baklava will help to preserve its texture and flavor for up to three months.
To freeze the baklava, place the wrapped portions in an airtight container or freezer bag. Make sure to remove as much air as possible from the container or bag to prevent freezer burn. It is also important to store the baklava in the coldest part of your freezer, such as the back or bottom, to ensure that it remains frozen and does not thaw accidentally.
Using an airtight container or freezer bag will also help prevent any odors from other foods in the freezer from affecting the baklava’s flavor. Make sure the container or bag is large enough to hold the baklava portions without crushing or squishing them.
When it’s time to thaw the baklava, remove it from the freezer and let it come to room temperature while still wrapped. This will prevent condensation from forming on the pastry. Once it has thawed, you can remove the plastic wrap and aluminum foil and serve the baklava at room temperature or reheat it in the oven to restore its crispness.
Does freezing baklava dry them out?
Freezing baklava can cause it to lose moisture and become dry due to the formation of ice crystals. However, wrapping it tightly and storing it in an airtight container or heavy-duty freezer bag, labeling it with the date of freezing, and freezing it for no more than 3 months can help minimize this effect.
Step 7: Thaw the baklava
After freezing the baklava, the final step before serving is to properly thaw it. Thawing the baklava at room temperature is important because it allows it to come back to its original texture and flavor without becoming soggy or losing its crispness.
To thaw the frozen baklava, remove it from the freezer and let it sit at room temperature for at least an hour or until it has completely thawed. Avoid trying to speed up the process by using a microwave or oven, as this can cause the pastry to become soggy and lose its texture. Additionally, microwaving or heating the baklava can also cause it to lose its signature crispy texture and flaky layers.
It is important to let the baklava thaw gradually and evenly. This means avoiding leaving it out in direct sunlight or in a warm area that could cause it to thaw unevenly. Thawing the baklava at room temperature will take some time, so it is best to plan ahead and take it out of the freezer well in advance before you plan to serve it.
Once the baklava has thawed completely, you can remove the plastic wrap and aluminum foil and serve it at room temperature. Alternatively, you can reheat it in the oven for a few minutes to restore its crispness before serving.
Properly thawing frozen baklava is just as important as freezing it correctly. By letting the baklava thaw slowly and evenly at room temperature, you can ensure that it retains its signature texture and flavor, providing a delicious treat for you and your guests.
How do you reheat frozen baklava?
To reheat frozen baklava, preheat your oven to 350°F. Remove the plastic wrap and aluminum foil from the baklava and place it on a baking sheet. Bake the baklava for 10-15 minutes or until it is heated through and the pastry is crisp.
Can you microwave frozen baklava?
Yes, you can microwave frozen baklava, but it’s not the best option as it can cause the pastry to become soggy. It’s better to let it thaw in the refrigerator for several hours before serving or heat it up in a preheated oven at 350°F for about 10-15 minutes to restore its crispy texture.
Other related questions
How do I know if my frozen baklava has gone bad?
If your frozen baklava has gone bad, you may notice changes in its texture, flavor, or appearance. Signs of spoilage may include a stale or rancid taste, a mushy or soggy texture, or the growth of mold or other visible signs of decay. If you are unsure about the quality of your frozen baklava, it is best to err on the side of caution and discard it.
Can I freeze baklava with honey syrup?
Yes, you can freeze baklava with honey syrup. However, the syrup may crystallize and become grainy after freezing. To prevent this, you can omit the syrup and brush it onto the baklava after thawing. Alternatively, you can freeze the baklava without syrup and prepare a fresh batch when ready to serve.
How long can I freeze baklava?
Baklava can be frozen for up to 3 months if stored properly in an airtight container or wrapped tightly with plastic wrap and foil. After 3 months, the texture and taste may be affected. Labeling the container with the date of freezing can help you keep track of how long it has been frozen.
Should I store baklava in the freezer or the refrigerator?
It’s recommended to store baklava in the freezer rather than the refrigerator. Baklava contains a high amount of sugar and butter, which can cause it to spoil quickly at room temperature. Freezing helps to preserve its freshness and flavor for a longer time. Once thawed, the baklava should be consumed within a few days and not stored at room temperature for an extended period.
Will the texture and taste of the baklava be affected after freezing and thawing?
The texture and taste of baklava may be slightly affected after freezing and thawing. The phyllo pastry may become slightly softer, and the syrup may not be as sticky as fresh baklava. However, proper storage and thawing can minimize these effects. The taste of the baklava should still be delicious and enjoyable.

