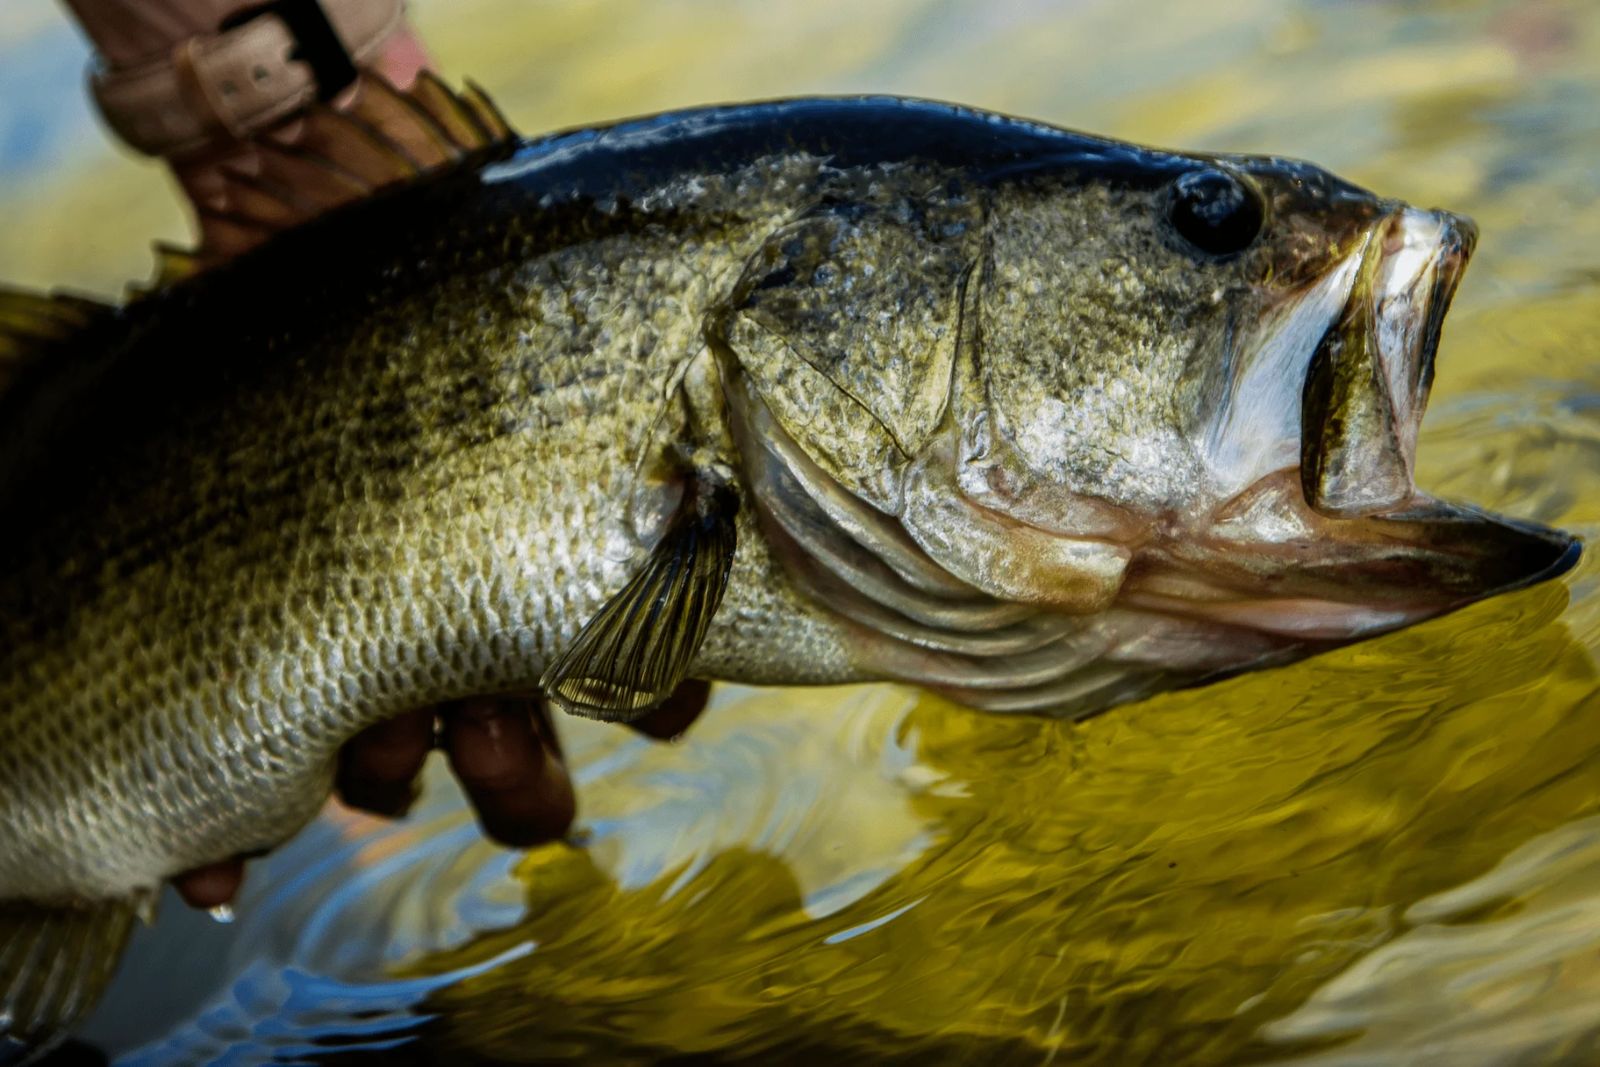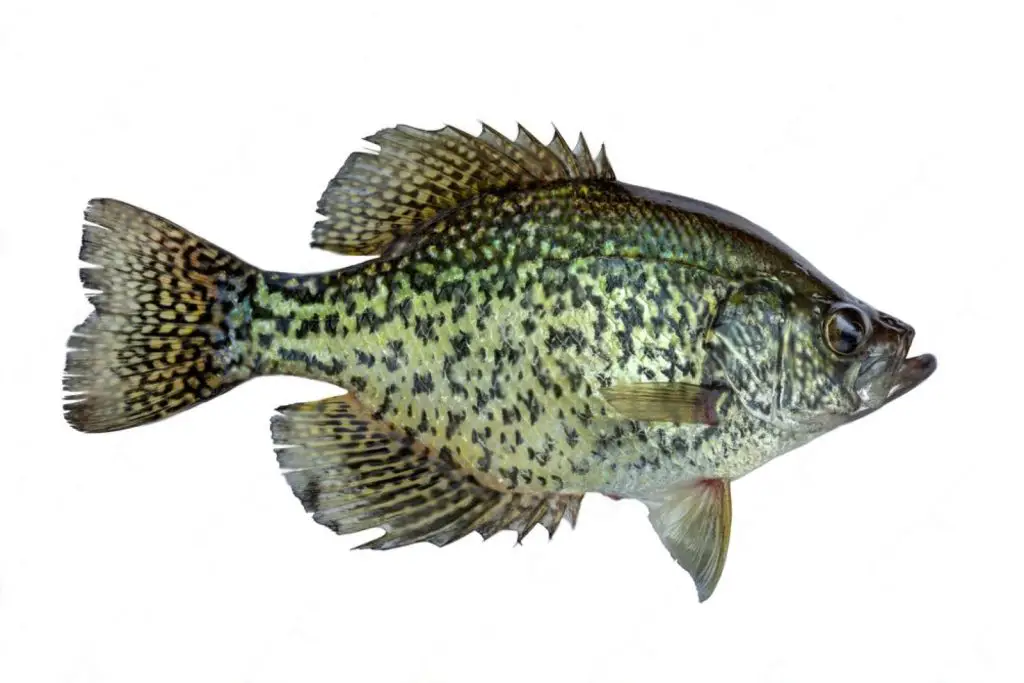
Bass, with its firm and flavorful flesh, is a prized catch for anglers and a delicacy for seafood enthusiasts. Whether you’ve reeled in more bass than you can enjoy in a single meal or want to savor the delectable fish beyond its season, freezing bass is an excellent solution. Freezing preserves the taste and texture of the fish, allowing you to relish its goodness at your convenience. This article presents a comprehensive outline on how to freeze bass properly, ensuring its exceptional quality remains intact for your future culinary endeavors.
To freeze bass successfully, follow these steps:
Step 1: Choose Fresh Bass
When embarking on the journey of freezing bass, the importance of starting with the freshest catch cannot be overstated. The quality of the bass at the moment it enters the freezer plays a pivotal role in determining the flavor, texture, and overall appeal of the fish when it’s eventually prepared and served.
Selecting bass that is freshly caught ensures that you’re capturing the peak of its flavor and nutritional value. Fish that is caught recently has a firm texture and a vibrant color, indicating that it’s at its prime. Moreover, it is devoid of any undesirable odors that might hint at the fish’s age or potential spoilage. These undesirable odors are often a result of bacterial growth or degradation of the fish’s flesh, and freezing such bass would only preserve these negative qualities.
Discoloration can also be a sign of deterioration. Fresh bass should have a clean and uniform color, whether it’s the familiar olive-green of largemouth bass or the distinct silvery hue of striped bass. Any pronounced discoloration, such as patches of brown or yellow, could indicate that the fish is no longer at its best.
When you freeze bass that’s not at its peak freshness, you’re essentially locking in its current state. This means that any imperfections or deterioration present before freezing will still be noticeable when you eventually thaw and prepare the fish. On the other hand, by opting for bass that’s freshly caught and in excellent condition, you’re setting the stage for a delightful culinary experience even after freezing.
Step 2: Clean and Fillet the Fish
As you embark on the process of freezing bass, ensuring that the fish is properly cleaned and filleted is a crucial step that sets the stage for successful preservation and future culinary enjoyment.
- Thorough Cleaning for Optimal Flavor:
Cleaning the bass involves more than just removing visible dirt; it’s about preparing the fish for freezing in a way that preserves its natural flavor and minimizes any potential off-notes. Bass, like any fish, can carry residual substances from its environment, such as mud or algae. Thoroughly cleaning the fish helps eliminate these unwanted elements, ensuring that the fish’s flavor shines through when you eventually decide to cook it.
- Removing Scales and Entrails:
Scales are not only unsightly when left on the fish, but they can also trap dirt and bacteria. Therefore, the first step in cleaning is to remove the scales. Using a scaler or a knife, gently scrape the scales off the fish’s skin, paying attention to the entire body.
- Once the scales are removed, the next essential task is removing the entrails. This involves carefully opening the belly of the fish and taking out its internal organs. By doing so, you’re not only eliminating parts that are not typically consumed, but you’re also preventing any potential contaminants from affecting the flesh during freezing.
- Skillful Filleting for Ease of Use:
Fillet the fish to create boneless sections that are not only easier to work with but also more convenient to consume. Filleting involves separating the flesh from the bones, allowing you to enjoy the succulent portions of the fish without worrying about bones.
- Cold Water Rinse for Freshness:
After filleting, it’s important to give the fillets a gentle rinse under cold water. This serves two purposes: first, it helps remove any remaining bits of scales or entrails that might still be clinging to the fillets; second, it ensures that the fish is clean and fresh before you move on to the freezing process.
Can I freeze whole bass or should I fillet them first?
Freezing filleted bass is recommended for better results. Fillets are easier to handle, thaw, and cook. Whole bass might require more storage space and may not freeze uniformly.
Step 3: Wrap for Protection
In the process of freezing bass, the act of individually wrapping each fillet might seem like an extra step, but it’s a critical one that ensures the preservation of the fish’s quality and flavor. Proper wrapping safeguards the fillets from freezer burn while also preventing them from becoming a frozen mass, making them more convenient to use when the time comes to cook.
- Safeguarding Against Freezer Burn:
Freezer burn occurs when the surface of frozen food is exposed to air, causing moisture to evaporate and leaving behind dehydrated patches. These patches can result in altered texture, off-flavors, and a generally unappetizing eating experience. By wrapping each fillet in plastic wrap or aluminum foil, you create a barrier that reduces the exposure of the fish’s surface to air, minimizing the risk of freezer burn. This barrier effectively locks in the natural moisture and flavors of the fish, preserving its quality.
- Preventing Fillets from Sticking Together:
When fillets come into direct contact with each other during freezing, they can freeze together into a solid mass. This not only makes it challenging to separate the fillets when you’re ready to use them, but it can also cause them to tear or lose their shape during the separation process. By wrapping each fillet individually, you’re ensuring that they maintain their distinct forms, allowing for easy separation and a more visually appealing presentation when you cook them.
- Tips for Wrapping:
When wrapping the fillets, make sure they are completely dry before wrapping. Any moisture on the surface can lead to ice crystals forming, which can contribute to freezer burn. Wrap each fillet tightly but not overly tight, ensuring that the wrap or foil is snug against the flesh to create an effective protective barrier.
Step 4: Arrange for Freezing
The process of freezing bass requires careful attention to detail to preserve the fish’s texture and appearance. Arranging the wrapped bass fillets in a single layer on a baking sheet or tray might seem like a simple step, but it serves a vital purpose in ensuring the quality of the frozen fillets.
- Preventing Clumping and Maintaining Individual Shapes:
When fish fillets are placed directly on top of each other during freezing, there’s a risk of them sticking together as they freeze. This can lead to the formation of a solid block of fillets, making it difficult to separate them without causing damage. By arranging the wrapped bass fillets in a single layer on a baking sheet or tray, you’re ensuring that there’s sufficient space between each fillet. This prevents them from touching and sticking together as they freeze, preserving their individual shapes.
- Even Freezing for Consistent Quality:
Placing the fillets in a single layer also allows for more even freezing. The cold air in the freezer can circulate around each fillet, ensuring that they freeze at a consistent rate. This even freezing helps maintain the quality of the fish by preventing the formation of large ice crystals, which can potentially affect the texture and flavor of the fillets.
- Ease of Handling and Storing:
When the bass fillets are initially frozen in a single layer, they become rigid and maintain their distinct forms. This makes them easier to handle and package for long-term storage. Once they are partially frozen and no longer pliable, you can then transfer them to airtight containers or freezer-safe bags without worrying about them losing their shape or sticking together.
- Tips for Arranging:
Choose a baking sheet or tray that fits comfortably in your freezer. If you’re freezing a large quantity of fillets, you can use multiple trays or bake them in batches. Make sure the fillets are not overcrowded on the tray, allowing at least a small gap between each one.
Step 5: Initial Freezing
As you progress through the process of freezing bass, the “initial freezing” step, often referred to as “flash freezing,” holds a key role in maintaining the quality and individuality of each fillet. This technique involves placing the tray of wrapped bass fillets into the freezer and allowing them to firm up for about an hour. The benefits of this step extend beyond basic freezing—it’s about creating a solid foundation for preserving the fish’s texture and appearance.
- Preserving Individuality Through Flash Freezing:
Flash freezing serves as a preventive measure against fillets adhering to one another. When the fillets are placed in the freezer at this early stage, they start to freeze individually. This rapid freezing prevents the water molecules within the fish from forming large ice crystals. These crystals can potentially rupture the delicate cellular structure of the fish, leading to texture degradation and a loss of flavor. By allowing the fillets to firm up individually during the initial freezing, you’re minimizing the chances of them sticking together and forming a solid mass.
- Ensuring Convenience and Ease of Handling:
Flash freezing also contributes to the convenience of using the frozen bass fillets in the future. Once they’re partially frozen and firm to the touch, they are much easier to handle without the risk of distortion or breakage. This is particularly important when it’s time to transfer them into storage containers or freezer bags. The individual fillets will retain their shapes and remain intact during the transfer, ensuring that you have well-preserved, usable portions at your disposal.
- Maintaining Quality for Longer Storage:
The flash freezing technique helps maintain the overall quality of the fish during prolonged storage. When fillets are rapidly frozen, the cells within the fish are preserved in a state that’s closer to their fresh state. This means that when you eventually thaw and cook the fillets, you’ll experience a closer resemblance to the texture and flavor of freshly caught bass, enhancing your culinary experience.
- Best Practices for Flash Freezing:
Make sure the tray with the fillets is placed on a flat surface in the freezer, ensuring that the fillets don’t touch each other or the sides of the freezer. An hour is usually sufficient for the fillets to firm up, but you can adjust the timing based on the thickness of the fillets and the temperature of your freezer.
Step 6: Package and Seal
As you continue your journey of freezing bass, the process of packaging and sealing the partially frozen fillets is a pivotal step that ensures the longevity of their quality and taste. This step involves transferring the fillets from their initial freezing arrangement to airtight freezer-safe bags or containers. Removing excess air from the bags before sealing is an essential practice that minimizes the risk of freezer burn and enhances the preservation of the fish.
- Preserving Freshness and Flavor:
Transferring the partially frozen fillets to airtight packaging is crucial for maintaining the quality of the bass over an extended period. Airtight containers or bags create a barrier that prevents moisture loss and limits the exposure of the fillets to the cold, dry air of the freezer. This preservation of moisture ensures that the fish retains its natural juiciness, texture, and flavor when it’s eventually thawed and cooked.
- Mitigating Freezer Burn:
Freezer burn occurs when moisture on the surface of frozen food evaporates, leaving behind dehydrated patches. These patches can result in altered texture and flavor, compromising the overall eating experience. By using airtight packaging and removing excess air, you’re minimizing the air’s contact with the fillets’ surfaces, reducing the risk of freezer burn. The tightly sealed packaging acts as a barrier that helps maintain the fillets’ quality and prevents the development of unappetizing freezer-burned areas.
- Tips for Effective Packaging:
When transferring the fillets to bags or containers, ensure that they are still partially frozen. This makes them easier to handle and reduces the risk of moisture accumulation within the packaging. If using bags, consider double-bagging for an added layer of protection against air and potential leaks.
- Removing Excess Air:
Removing excess air from the packaging is vital to prevent freezer burn. Excess air contains moisture that can contribute to ice crystal formation on the fillets’ surfaces. To remove air from bags, gently press the bag to push out as much air as possible before sealing it. For containers, choose sizes that closely fit the fillets to minimize the air space within.
Step 7: Label and Date
In the process of freezing bass, the seemingly simple act of labeling and dating each package holds significant importance in maintaining an organized and efficient approach to utilizing your frozen fillets. By clearly labeling each package with the contents (bass fillets) and the date of freezing, you’re implementing a system that not only helps you keep track of storage duration but also ensures that you prioritize using the oldest fillets first.
- Tracking Storage Duration:
Properly labeling and dating each package allows you to track how long the bass fillets have been in the freezer. Over time, frozen foods can experience changes in texture and flavor due to the effects of freezer storage. By having a clear indication of when each package was frozen, you can make informed decisions about the best timing for consumption. This helps you avoid using fillets that might have been stored for an extended period, preserving the overall quality of your frozen bass.
- First-In, First-Out (FIFO) Principle:
The practice of labeling and dating your frozen bass packages aligns with the “first-in, first-out” (FIFO) principle. This principle recommends using the oldest items first to ensure that nothing sits in the freezer for too long. As you continue to freeze new batches of bass fillets, older packages might get pushed to the back of the freezer. Without proper labeling, it’s easy to lose track of their freezing dates. By implementing the FIFO principle through labeling, you’re minimizing the chances of forgotten fillets and ensuring that you enjoy your bass at its finest.
- Avoiding Food Waste:
With clear labels indicating freezing dates, you’re empowered to make conscious choices about utilizing your frozen bass. You can plan meals in a way that optimally utilizes the fillets based on their storage durations. This reduces the likelihood of unused fillets sitting in the freezer past their prime and eventually being discarded as food waste.
- Maintaining Culinary Excellence:
When you take the time to label and date your bass fillet packages, you’re demonstrating a commitment to maintaining culinary excellence. You’re ensuring that the flavor and texture of your frozen bass are preserved, providing you with the opportunity to enjoy the same level of satisfaction as if the fish were freshly caught.
Step 8: Store in Freezer
As you near the completion of the process of freezing bass, the final step of storing the properly packaged fillets in your freezer is paramount to ensuring their long-term preservation and top-notch quality. This step involves placing the fillets in the coldest part of your freezer, ideally at a temperature of 0°F (-18°C) or below. Storing your bass fillets at this temperature provides an environment that maintains their freshness and taste for an extended period.
- Optimal Temperature for Preservation:
Freezing bass at the recommended temperature of 0°F (-18°C) or below is crucial for preserving the quality of the fish. At this temperature range, the growth of microorganisms that can cause spoilage and degradation is significantly slowed down or halted altogether. This means that the flavor, texture, and overall appeal of the bass fillets are better preserved, allowing you to enjoy them as if they were freshly caught.
- Minimizing Texture and Flavor Loss:
Temperature fluctuations within the freezer can lead to changes in the structure of frozen foods. By storing the bass fillets at a consistent and low temperature, you’re minimizing the formation of large ice crystals and the potential for cellular damage. This translates to a minimized loss of moisture, texture degradation, and flavor alterations—ensuring that your frozen bass fillets remain in excellent condition until you’re ready to cook them.
- Ensuring Proper Packaging Placement:
To maximize the benefits of storing your bass fillets at the recommended temperature, ensure that they are placed in the coldest part of your freezer. This is often towards the back or at the bottom of the freezer compartment, where the temperature remains most stable. Proper placement also ensures that the fillets are shielded from temperature fluctuations that might occur when you open and close the freezer door.
- Long-Term Enjoyment:
Storing your bass fillets at the optimal temperature not only preserves their quality but also extends their storage life. When properly frozen and stored, bass fillets can remain of high quality for several months. This allows you to enjoy the bounty of your fishing adventures even when the fishing season has long passed.
How long can bass last in the freezer?
Bass can be stored in the freezer for 3-6 months at 0°F or below. Quality declines after 3 months, so prioritize consumption within that time. Proper packaging is vital for preservation.
Other related questions
How do I defrost bass?
To defrost bass, use the refrigerator. Keep the bass in its packaging or transfer to a sealed bag, place it in a dish to catch moisture, and let it thaw slowly for several hours or overnight. Avoid room temperature thawing, as it can promote bacteria growth. Once fully thawed, cook promptly. Patience is vital for safe and quality thawing.
Can I refreeze bass?
Refreezing bass is generally discouraged due to potential quality loss. Once thawed, bacteria can multiply. Consume after initial thaw for best quality and safety.
How do I know if the bass has gone bad after being frozen?
Signs of frozen bass going bad include off-putting odor, discoloration, sliminess, and freezer burn. Loss of firmness and texture degradation are common. Trust senses and discard if quality is compromised.
Can I marinate bass before freezing?
Marinating before freezing is not recommended. Marinades can alter the fish’s texture during freezing and thawing. It’s better to freeze the bass and then marinate after thawing.
What dishes can I prepare with frozen bass?
Frozen bass can be used in various dishes. Grill or bake fillets for a simple and flavorful meal. Make fish tacos, stews, or chowders. Thaw in the fridge before cooking for best results.
Can I freeze the bass that’s been cooked?
Yes, you can freeze cooked bass. Allow it to cool before packaging and freezing. Keep in mind that the texture may change upon thawing.


