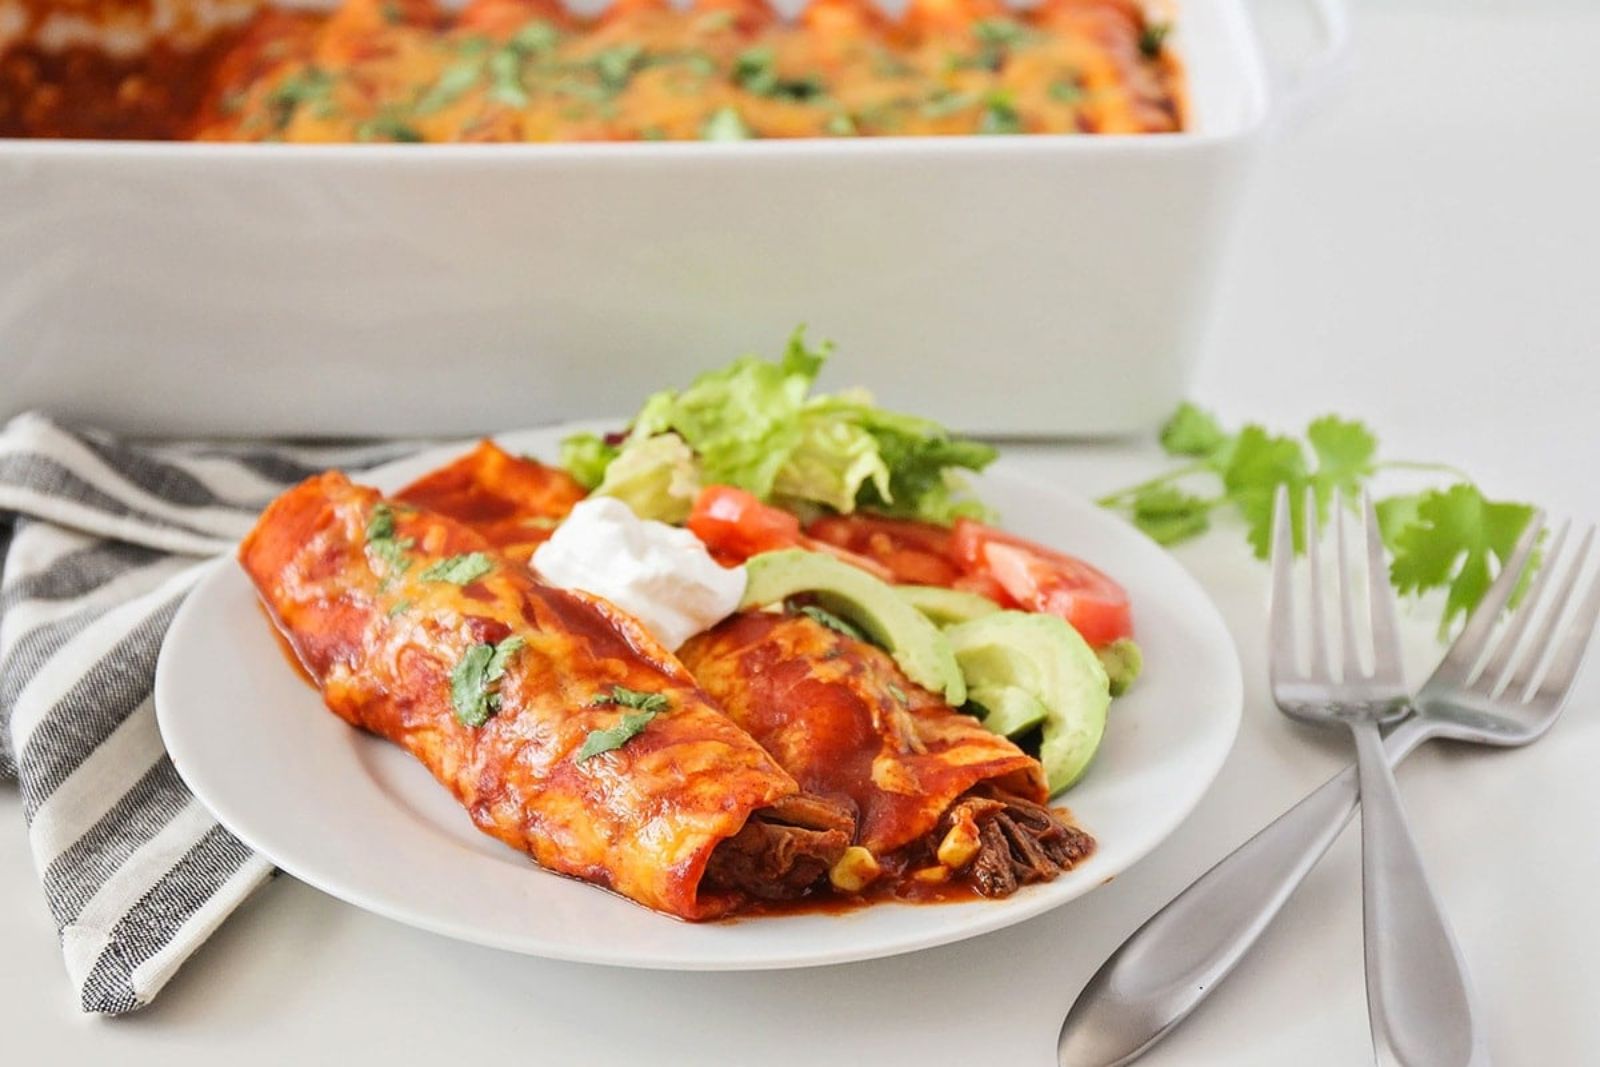
Beef enchiladas are a delicious and satisfying Mexican dish that combines tender beef, flavorful spices, and melted cheese wrapped in soft tortillas. Whether you’ve made a large batch or have leftover enchiladas, knowing how to properly freeze them can help preserve their taste and allow you to enjoy them at a later time. Freezing beef enchiladas is a convenient way to extend their shelf life and have a ready-to-eat meal on hand whenever you need it. In this article, we will guide you through the step-by-step process of freezing beef enchiladas, ensuring that their quality is maintained and you can savor their flavors whenever you crave them.
Here are the simple steps to freeze beef enchiladas:
Step 1: Allow the Beef Enchiladas to Cool
The first step in freezing beef enchiladas is to allow them to cool down completely before packaging them for the freezer. This step is crucial because hot or warm food can create condensation when placed in a cold environment, such as the freezer. The condensation can lead to freezer burn, which affects the texture and taste of the enchiladas.
To cool down the beef enchiladas, place them on a cooling rack or a flat surface. This allows air to circulate around the enchiladas, promoting even cooling. It is important to avoid stacking the enchiladas at this stage, as it can trap heat and prolong the cooling process. Giving the enchiladas enough time to reach room temperature ensures that they are no longer warm to the touch and eliminates the risk of condensation during the freezing process.
Cooling the enchiladas also helps them retain their shape and integrity when frozen. If the enchiladas are still hot or warm when packaged, they may become mushy or lose their structure during freezing and thawing.
By allowing the beef enchiladas to cool down completely before freezing, you are taking a crucial step to preserve their quality. This simple precaution prevents the formation of condensation and ensures that your frozen enchiladas will maintain their flavor and texture until you are ready to enjoy them.
Step 2: Decide on Portion Sizes
When preparing to freeze beef enchiladas, it is important to consider the portion sizes that best suit your needs. This step allows you to plan ahead and conveniently defrost and reheat only the amount you require for each meal.
First, think about the number of people you want to serve with each portion of beef enchiladas. If you’re freezing them for individual meals, consider dividing the enchiladas into single-serving portions. This way, you can easily take out and thaw only what you need, minimizing food waste.
Alternatively, you can choose to freeze the entire batch of beef enchiladas together if you anticipate serving a larger group or if you prefer to have the flexibility of reheating the whole batch at once.
Dividing the enchiladas into portion sizes also helps with even freezing and thawing. Smaller portions freeze and thaw more quickly and evenly than a larger bulk. This ensures that the enchiladas maintain their texture and taste throughout the freezing process.
By deciding on portion sizes before freezing, you can save time and effort in the future. This step allows you to defrost and reheat only what you need, ensuring that each meal is freshly prepared and minimizing food waste.
Step 3: Wrap each Portion Tightly
After determining the portion sizes for your beef enchiladas, it’s essential to wrap each portion tightly to protect them from freezer burn and maintain their quality during freezing. This step involves using plastic wrap to create a protective barrier around the enchiladas.
Begin by placing an individual portion of beef enchiladas on a clean surface. Unroll a sheet of plastic wrap and carefully wrap it around the enchiladas, making sure to cover all sides completely. The plastic wrap acts as a barrier against moisture and helps to prevent freezer burn, which can negatively affect the flavor and texture of the enchiladas.
While wrapping, be mindful to press out any excess air trapped inside the plastic wrap. This helps to minimize the risk of freezer burn and maintain the quality of the enchiladas. Ensure that the plastic wrap is snugly wrapped around the enchiladas, leaving no gaps or exposed areas.
By wrapping each portion of beef enchiladas tightly with plastic wrap, you create a protective seal that helps preserve their taste and texture during freezing. The plastic wrap acts as a barrier against moisture and reduces the chances of freezer burn, ensuring that your enchiladas stay delicious and appetizing until you’re ready to enjoy them.
Step 4: Wrap the Enchiladas in Aluminum Foil
After tightly wrapping each portion of beef enchiladas with plastic wrap, the next step is to provide an additional layer of protection by wrapping them in aluminum foil. This extra layer of packaging helps to maintain the enchiladas’ moisture and flavor during the freezing process.
To begin, take a sheet of aluminum foil and place the plastic-wrapped portion of beef enchiladas in the center. Make sure that the enchiladas are positioned in a way that allows you to fold and seal the foil securely around them.
Start by bringing the sides of the aluminum foil together over the enchiladas. Fold the edges over each other and make tight creases to ensure a sealed package. Then, fold and seal the ends of the foil to completely enclose the enchiladas.
By wrapping the wrapped enchiladas in aluminum foil, you create an additional barrier against air. This helps to prevent freezer burn and maintain the moisture and flavor of the enchiladas while they are stored in the freezer.
The aluminum foil also provides a sturdy and protective layer that helps to preserve the shape and integrity of the enchiladas. It acts as an insulator, keeping the enchiladas at a consistent temperature and reducing the risk of any external odors affecting their taste.
Step 5: Label and Date
Properly labeling and dating the packages of frozen beef enchiladas is an important step to maintain organization and ensure you consume them within their recommended storage time. This simple yet crucial step helps you keep track of the contents and makes it easier to identify and rotate your frozen enchiladas.
Using a permanent marker, write the name of the dish, which in this case is “Beef Enchiladas,” directly on the aluminum foil covering each portion. Be sure to write legibly and clearly to avoid any confusion later on. This labeling allows you to quickly identify the contents of each package without having to unwrap them.
Next, write the date of freezing on the foil. Indicate the day, month, and year that the beef enchiladas were frozen. This helps you track how long the enchiladas have been stored in the freezer and ensures that you consume them within their recommended storage time.
Labeling and dating the packages helps you easily identify the beef enchiladas in your freezer and maintain proper rotation. This means consuming the oldest batches first to ensure freshness. It also helps you keep track of the storage time, as frozen beef enchiladas are best consumed within a certain period to maintain their taste and quality. Proper labeling and dating of the packages of frozen beef enchiladas contribute to efficient freezer management and ensure that you enjoy the enchiladas at their best.
Step 6: Store in the Freezer
After completing all the previous steps, the final step is to store the wrapped beef enchiladas in the freezer. Proper storage is essential to maintain the quality and flavor of the enchiladas throughout their freezing period.
Choose a suitable spot in your freezer where the wrapped packages won’t be crushed or disturbed. It’s best to place them on a flat surface or on a shelf where they can remain undisturbed until you’re ready to use them.
It is recommended to store the enchiladas in a single layer whenever possible. This allows for more efficient freezing and ensures that each portion freezes evenly. Stacking or overcrowding the packages may impede proper airflow and result in uneven freezing or potential damage to the enchiladas.
Additionally, be mindful not to overload your freezer with other items. Overpacking the freezer can restrict airflow and affect the overall freezing performance. It’s important to maintain proper airflow to ensure consistent and optimal freezing conditions for the beef enchiladas.
By storing the wrapped beef enchiladas in a suitable spot in your freezer and maintaining proper airflow, you are ensuring that they freeze efficiently and remain in good condition until you’re ready to enjoy them. Remember to keep the enchiladas in a designated area of the freezer and avoid moving them around frequently, as this can cause temperature fluctuations and compromise their quality.
How long can beef enchiladas last in the freezer?
Beef enchiladas can last in the freezer for up to 3 months if stored properly. It is important to wrap them tightly in plastic wrap and aluminum foil to prevent freezer burn and maintain their quality. Beyond the 3-month mark, while still safe to eat, the enchiladas may experience a decline in taste and texture.
Other related questions
How do you defrost beef enchiladas?
To defrost beef enchiladas, it is recommended to transfer them from the freezer to the refrigerator and allow them to thaw slowly. This can take anywhere from 24 to 48 hours depending on the thickness of the enchiladas. Alternatively, you can use the defrost setting on your microwave, but be cautious to follow the manufacturer’s instructions to prevent uneven thawing or partial cooking of the enchiladas.
How long can beef enchiladas last in the freezer?
Beef enchiladas can last in the freezer for up to 3 months if stored properly. It is important to wrap them tightly in plastic wrap and aluminum foil to prevent freezer burn and maintain their quality. Beyond the 3-month mark, while still safe to eat, the enchiladas may experience a decline in taste and texture.
Can you refreeze beef enchiladas?
Refreezing beef enchiladas is generally not recommended as it can impact the quality and safety of the dish. When food is thawed, harmful bacteria can multiply, and refreezing can further promote their growth. It is best to plan portion sizes appropriately to avoid the need for refreezing and ensure the optimal taste and safety of the beef enchiladas.
How do I know if the beef enchiladas have gone bad after being frozen?
To determine if beef enchiladas have gone bad after being frozen, there are a few signs to look for. Firstly, check for any unusual or off-putting odors. If the enchiladas have a sour or foul smell, it is an indication of spoilage. Additionally, inspect the enchiladas for any visible signs of freezer burn, such as discoloration or dry, shriveled areas. If the texture of the enchiladas appears significantly altered, such as being mushy or excessively dry, it is another potential sign of deterioration. When in doubt, it is safest to discard the beef enchiladas to avoid the risk of foodborne illness.
Can I freeze beef enchiladas that contain cheese?
Yes, it is possible to freeze beef enchiladas that contain cheese. However, it’s important to note that the texture and taste of the cheese may slightly change upon thawing. Some cheeses, particularly those with high moisture content like fresh mozzarella, may become slightly watery or grainy after freezing. It’s recommended to use cheeses that are more suitable for freezing, such as cheddar or Monterey Jack, for better results.

