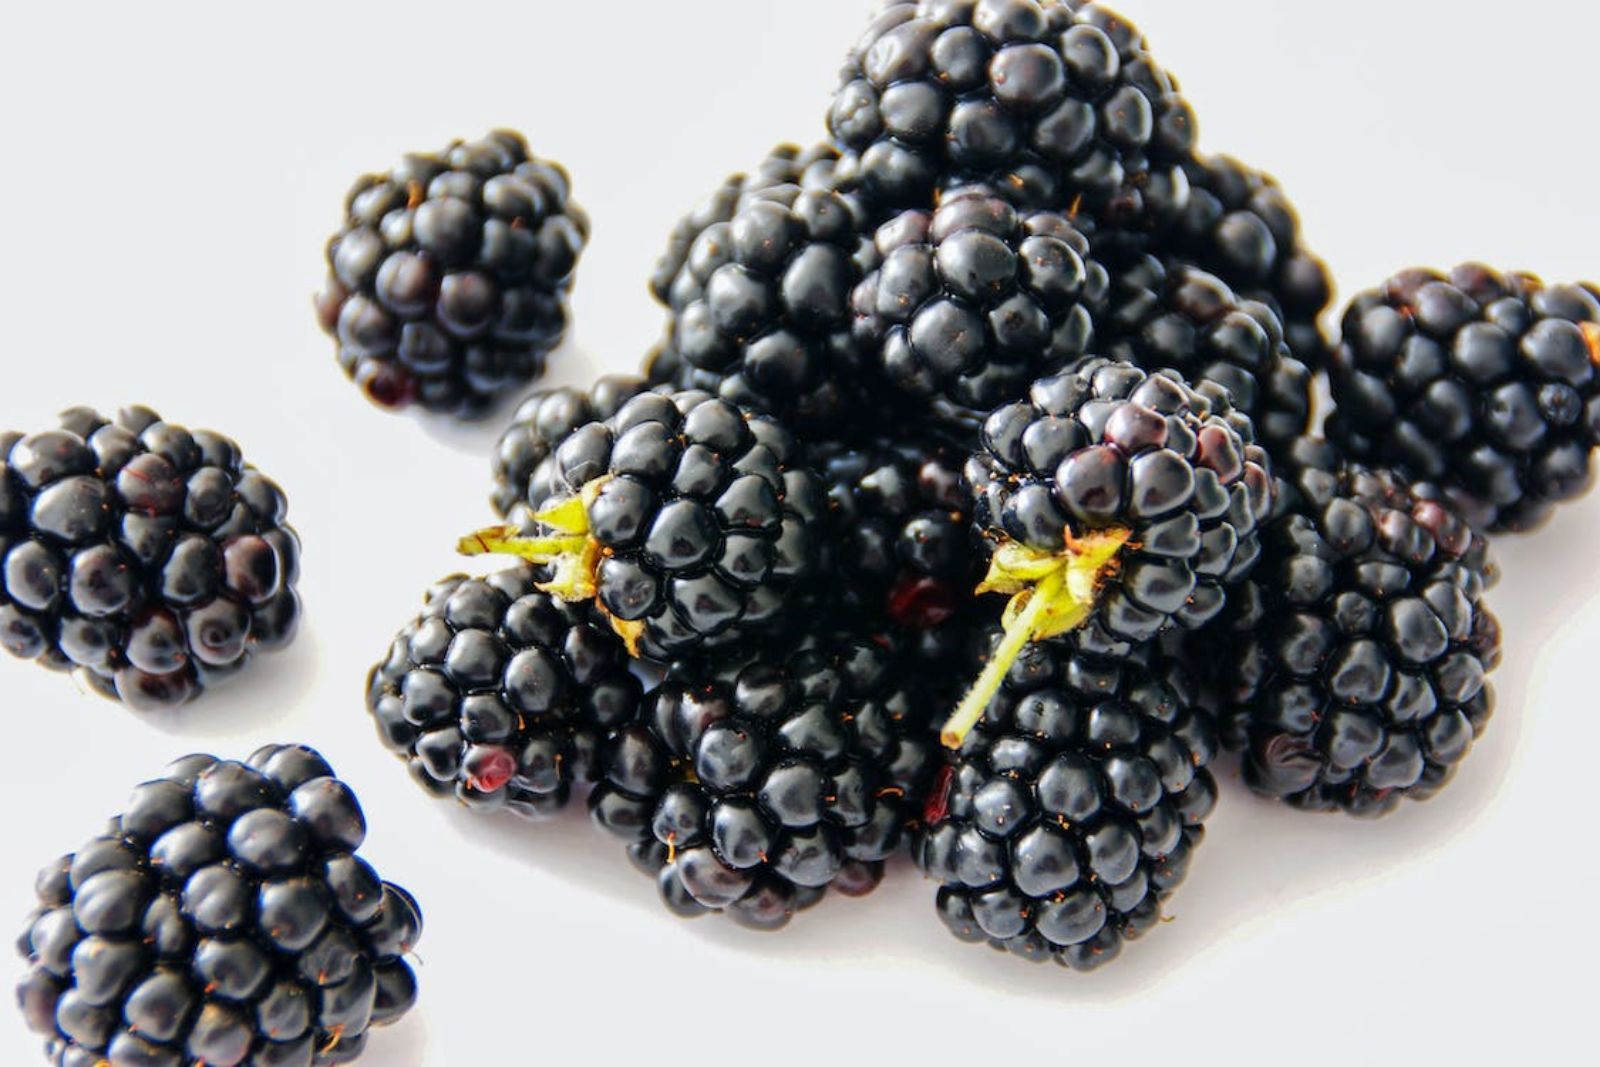
Blackberries are nature’s juicy jewels, offering a vibrant combination of sweet and tart flavors. These succulent berries are packed with antioxidants, vitamins, and fiber, making them a healthy and delicious choice. Freezing blackberries is a wonderful way to preserve their freshness and enjoy their juicy goodness long after their peak season. Whether you have picked a bountiful harvest from your own garden or bought a large quantity from the store, freezing blackberries properly will ensure they retain their flavor and texture.
Here is a step-by-step guide on how to freeze blackberries:
- Step 1: Select fresh and ripe blackberries
- Step 2: Wash the blackberries
- Step 3: Dry the blackberries
- Step 4: Arrange the blackberries on a baking sheet
- Step 5: Flash freeze the blackberries
- Step 6: Transfer the blackberries to freezer-safe containers
- Step 7: Label and date the containers
- Step 8: Store the blackberries in the freezer
Step 1: Select fresh and ripe blackberries
Selecting fresh and ripe blackberries is crucial to ensure the best flavor and quality when freezing them.
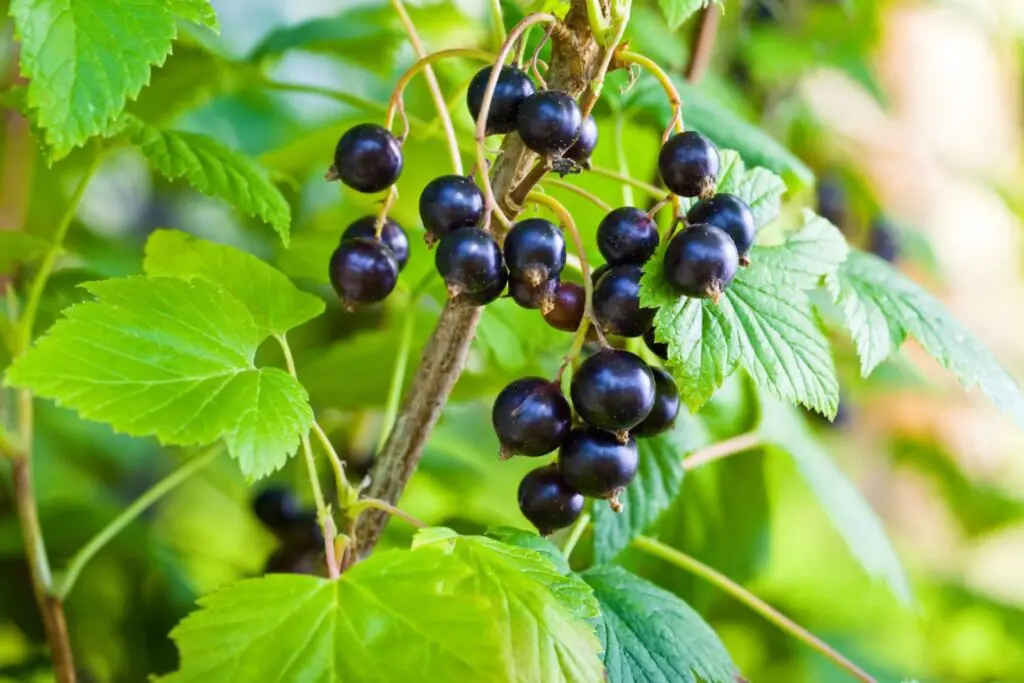
When choosing blackberries, look for ones that are plump and firm, indicating that they are fully ripe. Ripe blackberries have a deep, rich color and a glossy appearance. Avoid blackberries that are overly soft or mushy, as they may have started to spoil.
Inspect the blackberries closely and make sure they are free from any signs of mold, bruises, or damage. Damaged blackberries can affect the overall taste and texture of the frozen berries.
Freezing blackberries at their peak of ripeness ensures that they are packed with maximum flavor and sweetness. As blackberries ripen, their natural sugars develop, enhancing their taste profile. By selecting fully ripe blackberries, you’ll be capturing their peak flavors and preserving them for later enjoyment.
Remember, the quality of the blackberries you choose at the beginning will greatly impact the quality of the frozen blackberries. So take your time to select the freshest and ripest blackberries available to ensure a delightful and flavorful frozen treat.
Can I freeze blackberries that are slightly overripe?
Yes, you can freeze slightly overripe blackberries. While their texture may be softer compared to perfectly ripe berries, freezing them can still help preserve their flavor and prevent further deterioration. It’s important to note that slightly overripe blackberries may have a higher water content, so they might become slightly mushy after thawing. However, they can still be used in various recipes like smoothies, sauces, or baked goods.
Step 2: Wash the blackberries
To wash the blackberries, start by placing them in a colander or strainer. Gently rinse them under cold running water, allowing the water to flow over the berries and remove any dirt, debris, or potential pesticides that may be present.
It’s important to handle blackberries with care during the washing process. Blackberries are delicate fruits and can easily become waterlogged if soaked for too long. Therefore, it’s recommended to rinse them briefly and avoid immersing them in water for an extended period.
Gently swish the blackberries in the water or use your fingers to lightly rub them, ensuring that all surfaces of the berries are cleaned. This will help dislodge any remaining dirt or particles that may be clinging to the skin.
Once you have rinsed the blackberries thoroughly, give them a final quick rinse to remove any soap residue or impurities. Shake off excess water gently or lightly pat them dry with a clean kitchen towel or paper towels.
Can I freeze blackberries without washing them?
It is generally recommended to wash blackberries before freezing them. Washing removes dirt, debris, and potential pesticides, ensuring a cleaner product. However, if you prefer not to wash them, make sure they are free from any visible contaminants and properly dry them before freezing to maintain their quality and minimize the risk of spoilage.
Should I remove the stems before freezing blackberries?
It is generally recommended to remove the stems before freezing blackberries. The stems can be tough and detract from the overall texture and eating experience. Removing the stems also allows for easier portioning and prevents any potential bitterness that can sometimes be associated with the stems.
Step 3: Dry the blackberries
Drying the blackberries after washing is an important step to prevent excess moisture from affecting their texture and quality during freezing.
After rinsing the blackberries, transfer them onto a clean kitchen towel or layer of paper towels. Gently pat them with the towel to remove any excess moisture. Be careful not to apply too much pressure or squeeze the berries, as they are delicate and can easily get damaged.
Allow the blackberries to air dry for a few minutes. This brief period of air drying helps to evaporate any remaining water droplets and ensures that the berries are completely dry before freezing.
Ensuring that the blackberries are dry before freezing is important because excess moisture can lead to the formation of ice crystals and affect the texture of the berries. It can also contribute to freezer burn, which can negatively impact their flavor and quality over time.
By taking the time to dry the blackberries thoroughly, you set them up for successful freezing. Dry berries freeze more efficiently and maintain their individual integrity, making it easier to portion them out or use them in recipes later on.
So, by gently patting the washed blackberries dry and allowing them to air dry briefly, you ensure that they are in the best possible condition for freezing, preserving their quality and flavors until you’re ready to enjoy them.
Step 4: Arrange the blackberries on a baking sheet
Arranging the blackberries in a single layer on a baking sheet before freezing is a crucial step to prevent them from sticking together and facilitate easy portioning later on.
Line a baking sheet with parchment paper or a silicone mat to create a non-stick surface. This helps prevent the blackberries from adhering to the baking sheet, making it easier to remove them once frozen.
Spread the blackberries out in a single layer on the prepared baking sheet. By ensuring that the berries are not touching or overlapping, you create space between them, reducing the likelihood of them freezing together in clumps.
When blackberries freeze, their juices solidify and can cause them to stick together. By arranging them in a single layer, you allow for better airflow and even freezing. This prevents the berries from freezing into a solid mass, making it effortless to remove individual blackberries or portion them out as needed later on.
Freezing the blackberries in a single layer also allows for easier portioning. Once frozen, you can transfer the individual berries to freezer-safe containers or resealable bags without them sticking together. This way, you can take out the desired amount of blackberries for recipes or snacking without having to thaw a large clump.
Can I freeze blackberries in ice cube trays for portioning?
Yes, you can freeze blackberries in ice cube trays for convenient portioning. Simply place the blackberries in the compartments of the ice cube tray, making sure not to overcrowd them. Once frozen, transfer the blackberry-filled cubes into a labeled freezer-safe bag or container for easy storage and retrieval. This method allows you to conveniently portion out the desired amount of blackberries for smoothies, desserts, or other recipes without the need to thaw a large batch.
Step 5: Flash freeze the blackberries
After arranging the blackberries in a single layer on the baking sheet, place the sheet in the freezer. Let the blackberries freeze for about 1 to 2 hours, or until they are firm.
Flash freezing involves rapidly freezing the blackberries at a very low temperature. This process helps to freeze the berries quickly, preventing the formation of large ice crystals that can affect their texture and taste.
By individually freezing the blackberries on the baking sheet, each berry freezes separately. This preserves their shape and integrity, making it easier to handle and portion them out later on.
Flash freezing also helps prevent the blackberries from clumping together. When berries are frozen together, they can become difficult to separate, and you may end up thawing more than you need. Flash freezing ensures that the blackberries remain separate, allowing you to easily measure and use the desired amount without any hassle.
Step 6: Transfer the blackberries to freezer-safe containers
Transferring the frozen blackberries to freezer-safe containers or resealable plastic bags is essential to protect them from freezer burn and maintain their quality over time.
Once the blackberries are frozen and firm, carefully remove the baking sheet from the freezer. Gently lift the individual berries from the sheet, making sure to handle them with care to avoid any damage.
Transfer the frozen blackberries to freezer-safe containers or resealable plastic bags. Choose containers or bags specifically designed for freezer storage, as they provide better insulation and protection against freezer burn.
When transferring the blackberries, it is important to remove as much air as possible from the containers or bags. Excess air can cause freezer burn, which can result in a loss of flavor and texture. Press out any excess air by gently squeezing the bags or using a vacuum sealer if available. Alternatively, you can use the straw method by partially sealing the bag, inserting a straw, and sucking out the air before sealing it completely.
Ensuring a tight seal is crucial to maintain the quality of the blackberries. A proper seal prevents air and moisture from entering the containers or bags, preserving the flavor, texture, and nutritional value of the berries.
Properly stored blackberries can maintain their quality for up to one year in the freezer, although it is recommended to consume them within six to eight months for the best flavor. Labeling the containers or bags with the current date is also helpful for keeping track of their storage time and using the oldest blackberries first.
Step 7: Label and date the containers
With a permanent marker, clearly label the containers or bags with the current date before placing them back in the freezer. This simple step helps you easily identify when the blackberries were frozen, allowing you to track their storage time accurately.
Labeling the containers or bags ensures that you can use the oldest blackberries first when you’re ready to thaw and enjoy them. It helps maintain an organized system, preventing the blackberries from being forgotten or left unused for an extended period.
As time passes, frozen blackberries may gradually lose some of their quality, including flavor and texture. By dating the containers, you can ensure that you prioritize the use of the blackberries based on their storage time. This way, you can consume the oldest blackberries first while they are still at their best.
Additionally, labeling the containers or bags helps prevent confusion when you have multiple batches of frozen blackberries or other frozen fruits in your freezer. It allows you to easily identify and locate the specific batch you need without any guesswork.
Step 8: Store the blackberries in the freezer
Carefully place the labeled containers or bags of blackberries in the freezer, making sure they are positioned in a way that allows for efficient use of space. Arrange them in a manner that maximizes freezer space while ensuring easy access when you need to retrieve them.
Organizing the frozen blackberries in the freezer helps you optimize the available space and avoid unnecessary clutter. It also makes it easier to locate and retrieve the desired amount of blackberries without disturbing the rest.
When positioning the containers or bags, consider stacking them if space allows, but be mindful not to overload or place excessive weight on top, as it may damage the containers or squish the berries. Alternatively, you can place them side by side in a designated area of the freezer, keeping them easily accessible.
It’s essential to maintain a consistent and freezing temperature in the freezer to ensure the quality and longevity of the blackberries. Keep the freezer temperature at or below 0°F (-18°C) to prevent any potential thawing and refreezing, which can negatively impact the texture and taste of the berries.
How long can blackberries last in the freezer?
Blackberries can last in the freezer for approximately 9 to 12 months. Properly stored and sealed blackberries can maintain their quality for this extended period, retaining their flavor and texture. However, it is recommended to consume them within 6 to 8 months for the best taste and overall quality.
Other related questions
How do I defrost blackberries?
To defrost blackberries, transfer the desired amount from the freezer to the refrigerator and place them in a bowl or on a plate. Allow them to thaw slowly in the refrigerator for several hours or overnight. Avoid using heat or microwaving, as it can cause the berries to become mushy.
Can I refreeze blackberries?
Refreezing blackberries is not recommended as it can affect their texture and overall quality. When blackberries are thawed, their cell structure changes, resulting in a loss of firmness and juiciness. Additionally, repeated freezing and thawing cycles can increase the risk of bacterial growth and compromise the safety of the berries. Therefore, it is advisable to use the thawed blackberries promptly and avoid refreezing them.
How do I know if the blackberries have gone bad after being frozen?
To determine if frozen blackberries have gone bad, observe their appearance, smell, and texture. If the blackberries appear discolored, have a mushy texture, or emit a foul odor, they may have spoiled and should be discarded. Additionally, if there are any signs of mold or excessive ice crystals, it is an indication of deterioration. Always prioritize safety and discard any frozen blackberries that show signs of spoilage.
Are frozen blackberries suitable for baking or cooking?
Frozen blackberries are suitable for baking and cooking purposes. They can be used in a variety of recipes such as pies, cakes, muffins, sauces, and jams. While the texture of frozen blackberries may be slightly softer than fresh ones, they still retain their flavor and nutritional value, making them a convenient option for culinary applications.
Can I freeze blackberries with sugar or syrup?
Yes, you can freeze blackberries with sugar or syrup. Adding sugar or syrup helps to preserve their texture and flavor during the freezing process. To do so, mix the blackberries with the desired amount of sugar or syrup before freezing, ensuring they are well-coated. This method is particularly useful if you plan to use the blackberries for sweet desserts or as a topping.
Can I freeze blackberries with other fruits?
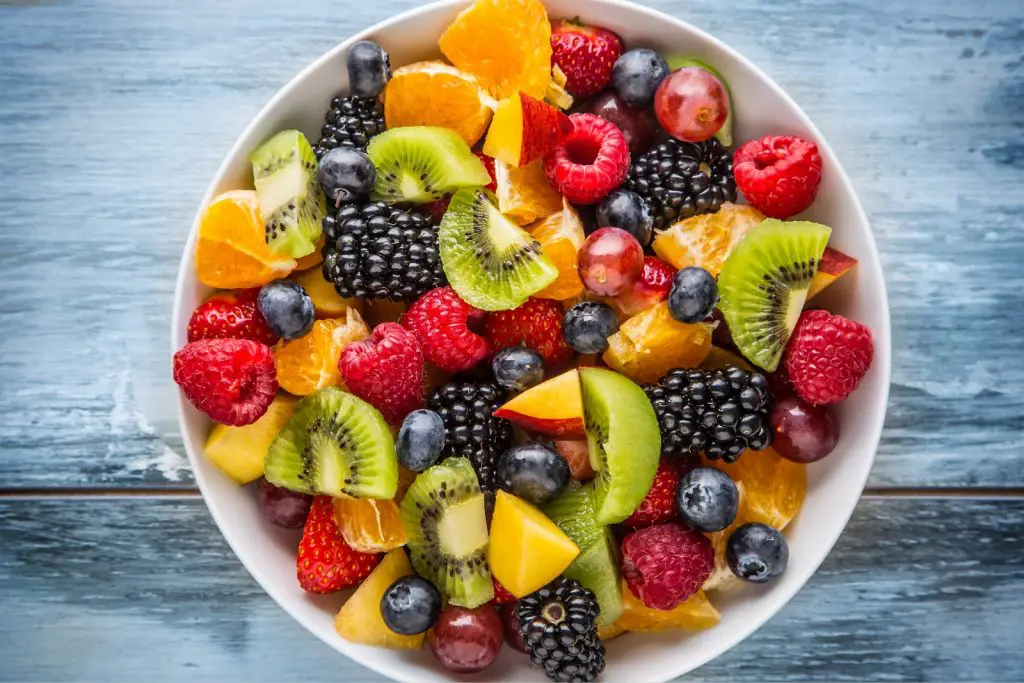
Yes, you can freeze blackberries with other fruits. Mixing blackberries with other fruits before freezing can create flavorful and convenient fruit blends for future use. Ensure the fruits are washed, properly prepared, and cut into desired sizes before combining them for freezing. This allows you to have a variety of fruits readily available for smoothies, desserts, or other culinary creations.
Are there any special considerations for freezing wild blackberries?
When freezing wild blackberries, there are a few special considerations to keep in mind. Firstly, wild blackberries may be more delicate and prone to bruising, so handle them with care during the freezing process. Secondly, wild blackberries may have a slightly different flavor profile compared to cultivated ones, so it’s important to sample and assess their taste before freezing. Lastly, ensure that you thoroughly wash wild blackberries to remove any dirt or insects that may be present.

