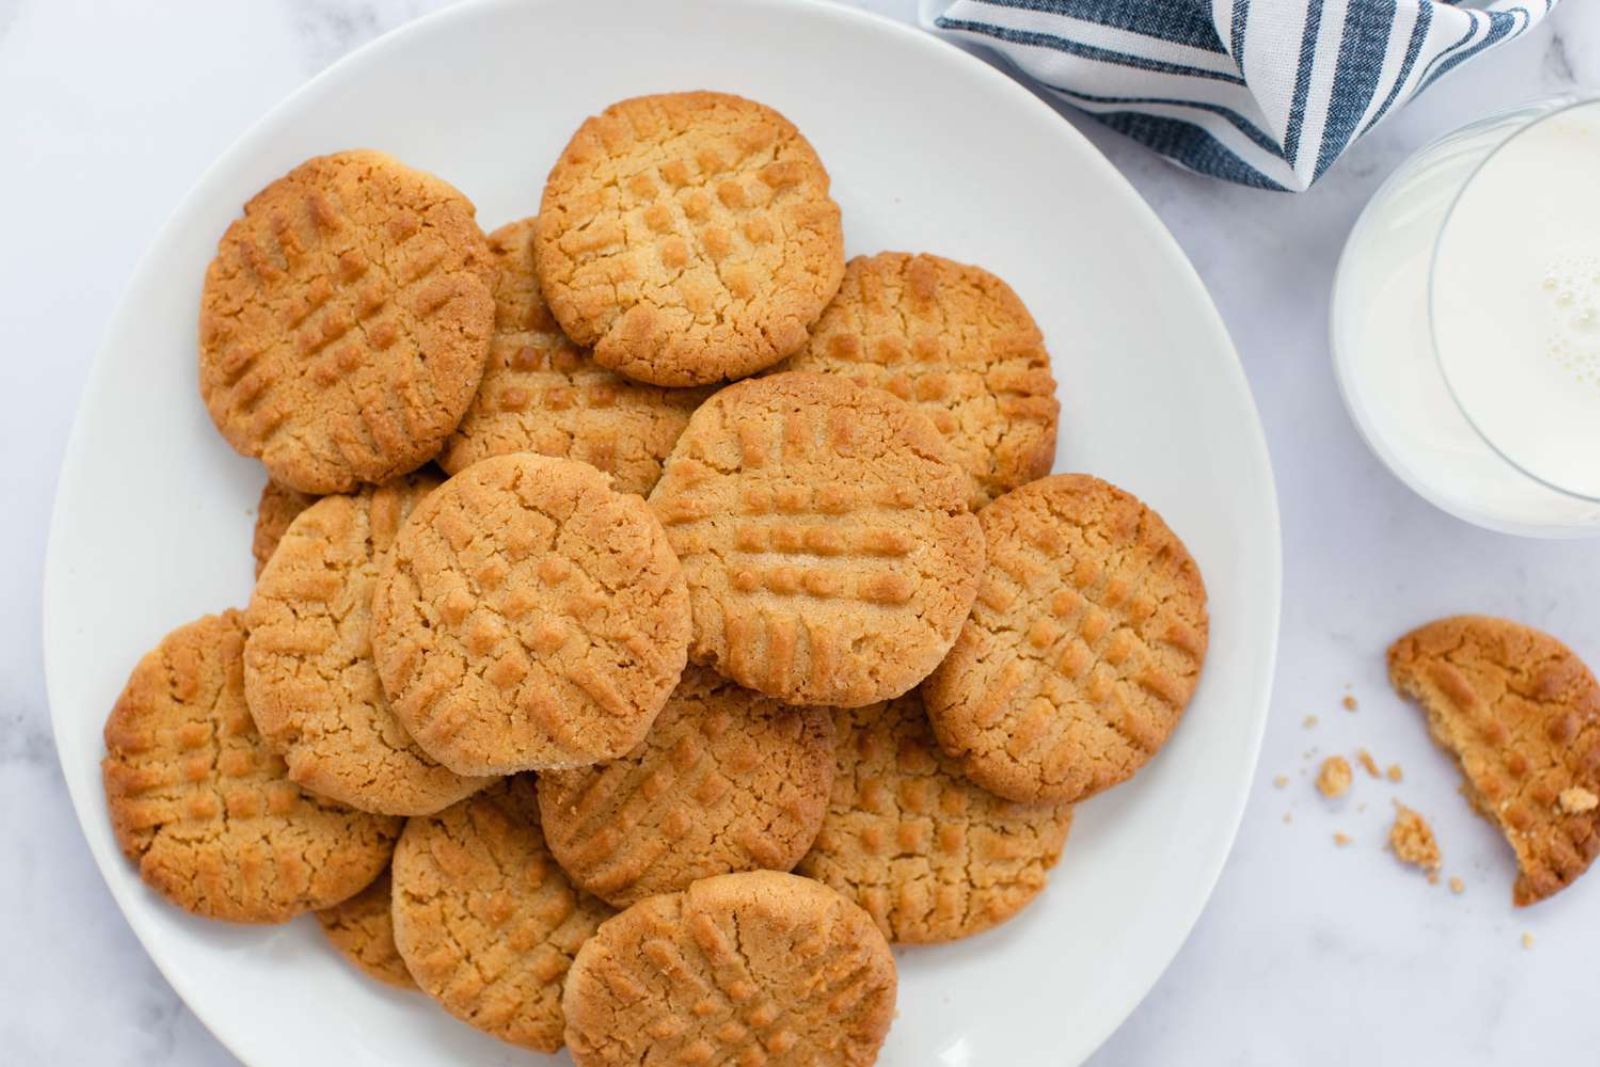
Butter cookies are tender and crumbly treats that melt in your mouth with every bite. Butter cookies are a classic favorite, loved for their rich buttery flavor and delicate texture. Whether you enjoy them plain, decorated with colorful sprinkles, or sandwiched with a sweet filling, butter cookies are a delightful indulgence for any occasion. While it’s tempting to devour a fresh batch of butter cookies right away, sometimes you may find yourself with more cookies than you can consume immediately. Freezing butter cookies is a wonderful solution to extend their shelf life and ensure that you always have a sweet treat on hand. By freezing butter cookies, you can preserve their freshness, flavor, and texture, allowing you to savor their deliciousness at your own pace. In this guide, we will explore the process of freezing butter cookies, providing you with helpful tips on how to properly store, package, and thaw them for optimal enjoyment. Whether you’re preparing for a special event, looking to stock up for unexpected guests, or simply want to enjoy a homemade butter cookie whenever the craving strikes, freezing them is a fantastic way to keep these delightful treats at their best.
Here are the simple steps to freeze butter cookies:
Step 1: Choose Freshly Baked Butter Cookies
When it comes to freezing butter cookies, selecting freshly baked ones is essential for optimal results. Freshly baked cookies have not been exposed to prolonged storage, which means they are at their prime in terms of taste, texture, and overall quality.
By choosing freshly baked butter cookies, you ensure that they retain their original flavors and textures after freezing. The buttery richness, delicate crumb, and crispness of the cookies are best preserved when they are frozen soon after baking.
Allow the cookies to cool completely to room temperature before proceeding with the freezing process. This step is crucial because warm cookies can create condensation when placed in the freezer, leading to sogginess and loss of texture.
If you have baked a large batch of cookies, it’s recommended to let them cool on a wire rack for a sufficient amount of time. This allows for proper airflow, preventing any residual heat from causing moisture buildup.
Additionally, choosing freshly baked butter cookies ensures that you freeze them at their freshest state, avoiding any potential staleness that may occur over time. Stale cookies can lose their desirable taste and texture, even after freezing.
By selecting freshly baked butter cookies, you set the foundation for a successful freezing process. This will ultimately result in frozen cookies that taste just as delightful as when they were freshly baked, allowing you to enjoy them at your convenience.
Step 2: Prepare the Cookies to Freeze
Before placing the butter cookies in the freezer, it’s important to prepare them properly to ensure their quality is maintained during the freezing process. If the cookies are individually wrapped or stored in containers, it is recommended to remove any excess wrapping or packaging.
The reason for removing excess wrapping or packaging is to prevent moisture accumulation. Moisture can lead to the formation of ice crystals on the cookies, which can affect their texture and overall quality. It can result in soggy or mushy cookies when thawed.
By removing excess wrapping or packaging, you allow the cookies to be exposed to the cold air in the freezer more directly. This helps in maintaining the cookies’ original texture and taste. It also prevents any potential condensation from forming between the cookies and their packaging, which can contribute to a loss of quality.
By properly preparing the cookies for freezing and removing excess wrapping or packaging, you ensure that they remain in the best possible condition while in the freezer. This step helps preserve the cookies’ taste, texture, and overall quality, making sure they are as delicious when thawed as they were before freezing.
Step 3: Arrange the Cookies in a Container
Once you have prepared the butter cookies for freezing, the next step is to arrange them in a suitable container that is safe for freezer storage. This will help maintain the cookies’ shape, prevent them from sticking together, and make it easier to remove individual cookies when needed.
To begin, select a freezer-safe container or an airtight plastic bag that is appropriate for storing food in the freezer. These containers are designed to withstand low temperatures and prevent moisture from seeping in, ensuring the cookies remain in optimal condition.
Before placing the cookies in the container, it’s beneficial to line it with parchment paper or wax paper. This additional layer serves multiple purposes. Firstly, it prevents the cookies from sticking together, which can be a common issue when frozen cookies come into contact with each other. The paper acts as a barrier, ensuring that each cookie remains separate and easily removable.
Secondly, the parchment paper or wax paper makes it convenient to take out individual cookies without disturbing the rest of the batch. When you want to enjoy a specific number of cookies, you can easily lift the paper and remove the desired amount, keeping the remaining cookies intact and well-arranged.
By arranging the cookies in a freezer-safe container with a lining of parchment paper or wax paper, you ensure that they maintain their individual shapes, flavors, and textures throughout the freezing process. This step promotes ease of access and prevents any undesirable sticking or clumping, allowing you to enjoy your butter cookies without any hassle when you’re ready to indulge.
Step 4: Layer the Cookies
When freezing butter cookies, it is important to layer them properly within the container to maintain their individual shapes and prevent them from sticking together. This step ensures that each cookie remains intact and easily accessible when you want to enjoy them later.
Start by placing a single layer of butter cookies in the container, making sure they are not touching one another. This spacing between cookies is crucial because it prevents them from freezing together, which can make them difficult to separate and may result in damage to their appearance and texture.
If you have a large quantity of cookies to freeze, it may be necessary to create multiple layers. In this case, you can add another sheet of parchment or wax paper on top of the first layer of cookies before placing the next layer on it. This additional layer serves as a divider between the cookie layers, preventing them from coming into contact with one another and minimizing the risk of sticking.
By creating distinct layers with appropriate spacing and using parchment or wax paper as separators, you ensure that the cookies freeze individually and maintain their original shapes. This layering technique helps preserve the cookies’ textures and prevent them from clumping together, allowing you to easily retrieve and enjoy them one by one when desired.
Properly layering the butter cookies not only helps in maintaining their visual appeal but also contributes to their overall quality and enjoyment.
Step 5: Seal the Container or Bag
After arranging the butter cookies in the freezer-safe container, it is crucial to seal it tightly to create a barrier that prevents air and moisture from entering. This step is vital for maintaining the freshness, taste, and texture of the cookies while protecting them from freezer burn.
Freezer burn occurs when food is exposed to air, causing moisture to evaporate from the surface. It can lead to dryness, changes in flavor, and a decline in overall quality. By sealing the container or bag properly, you create an airtight environment that minimizes the risk of freezer burn.
If you’re using a container, ensure that the lid or cover is securely fastened. Check for any gaps or openings and make sure they are tightly sealed. This prevents air from reaching the cookies and helps maintain their moisture content.
For those using an airtight plastic bag, remove as much air as possible before sealing it. Squeeze out the excess air from the bag and then seal it tightly. Consider using a double-sealing method for added protection, such as using a zip-top bag and then placing it inside another zip-top bag.
By creating a strong seal, you not only prevent air from entering but also minimize the chance of moisture getting to the cookies. This safeguards their texture and taste, preserving their freshly baked qualities for an extended period.
Sealing the container or bag effectively protects the butter cookies during their time in the freezer. This step ensures that when you retrieve them for consumption, they will still be as delicious and enjoyable as when they were first frozen.
Step 6: Label and Date
To maintain organization and keep track of the storage time of your frozen butter cookies, it is important to label the container or bag with clear information. By doing so, you can easily identify the cookies and ensure that you consume them within an appropriate timeframe.
Using a marker or adhesive labels, clearly write the contents of the package. This can be as simple as writing “Butter Cookies” on the container or bag. This labeling ensures that you can quickly identify the specific contents without needing to open or inspect the package.
In addition to labeling the contents, it is essential to include the date of freezing. Write down the exact date when the butter cookies were frozen. This step helps you keep track of their storage time, ensuring that you consume them within a recommended timeframe for the best quality and taste.
By labeling and dating the package, you create a system that allows for easy identification and organization in your freezer. It saves you the time and effort of guessing or inspecting each package to determine its contents. Instead, you can quickly locate the frozen butter cookies when you’re in the mood to enjoy them.
Furthermore, the labeled date serves as a reminder of how long the cookies have been in the freezer. It helps you prioritize the consumption of older batches and ensures that you don’t inadvertently keep them frozen beyond their recommended storage time.
Taking a few seconds to label and date the package may seem like a small step, but it can greatly enhance your overall freezer organization and enable you to enjoy your butter cookies at their best.
Step 7: Place in the Freezer
Once you have sealed the container or bag containing the butter cookies, it is time to carefully place them in the freezer. Proper placement and handling in the freezer are important to preserve the shape, texture, and overall quality of the cookies during storage.
When selecting a spot in the freezer, look for a flat and stable surface where the cookies won’t be at risk of getting crushed or damaged. Ensure that the area is clean and free from any potential contaminants that might affect the cookies’ flavor or hygiene.
It is advisable to place the container or bag in a way that allows for easy access and retrieval. This way, you can conveniently reach for the cookies without disturbing the rest of the freezer contents. Avoid overcrowding or tightly packing the freezer to maintain proper airflow, which aids in preserving the cookies’ freshness.
Another crucial point to remember is to avoid placing heavy items on top of the cookies. The weight from other frozen foods or objects can deform or crush the cookies, altering their shape and texture. Keep the cookies in a location where they are protected and isolated, allowing them to maintain their original form.
By placing the sealed container or bag in a suitable location in the freezer, you ensure that the butter cookies are stored safely and securely. This step helps maintain their integrity, preventing any damage or deformation that might compromise their visual appeal or taste.
Taking care in how you position the cookies in the freezer demonstrates your commitment to preserving their quality. This attention to detail ensures that when you retrieve the cookies later, they will still look and taste as delicious as when they were first frozen.
How long can butter cookies last in the freezer?
Butter cookies can typically last in the freezer for up to 3-4 months if properly stored in airtight containers or freezer bags. It’s important to adhere to the recommended storage time to maintain their quality. However, it’s always advisable to check for any specific instructions provided with the recipe or packaging for the best results.
Step 8: Thaw the Frozen Butter Cookies
After successfully freezing the butter cookies, the time will come when you’re ready to savor their deliciousness once again. When that moment arrives, follow these steps to thaw and enjoy your frozen treats.
First, remove the desired amount of butter cookies from the freezer. Depending on your preference and the number of cookies you wish to enjoy, take out a few or the entire package. Make sure to reseal the container or bag promptly to prevent any potential thawing and refreezing cycles for the remaining cookies.
Next, place the frozen butter cookies on a plate or a clean surface at room temperature. Allow them to thaw naturally for approximately 20 to 30 minutes. During this time, the cookies will gradually soften and regain their original texture and taste, as if they were freshly baked.
It’s important to note that the recommended thawing time can vary depending on the size and thickness of the cookies. Thinner cookies may thaw more quickly, while thicker ones might require a bit more time. Keep an eye on the cookies as they thaw to ensure they reach the desired consistency.
Avoid using any artificial heat sources or microwaving the frozen cookies to speed up the thawing process. These methods can result in uneven thawing, potential overheating, and compromised texture. Patience is key to achieving the best results.
Once the butter cookies have thawed to your liking, they are ready to be enjoyed. Take a bite and savor the buttery goodness, appreciating the fact that they have retained their taste and quality despite being frozen. Indulge in their softness, delicate crumb, and irresistible flavors, just as if they were freshly baked.
By thawing the frozen butter cookies, you ensure that they regain their desired texture and taste, providing you with a delightful treat whenever you’re ready to enjoy them.
Other related questions
Can you refreeze butter cookies?
It is generally not recommended to refreeze butter cookies once they have been thawed. Refreezing can lead to changes in texture, taste, and overall quality of the cookies. It is best to consume the thawed butter cookies within a reasonable time frame to ensure the best eating experience.
How do I know if the butter cookies have gone bad after being frozen?
After being frozen, if butter cookies develop an off smell, unusual taste, or show signs of mold growth, they may have gone bad. Additionally, if the texture becomes significantly altered, such as becoming excessively dry, soggy, or crumbly, it could indicate spoilage. It is important to trust your senses and use discretion when evaluating the quality of frozen butter cookies before consuming them.
Can I freeze butter cookies with chocolate chips?
Yes, you can freeze butter cookies that contain chocolate chips. However, it’s important to consider that the texture and taste of the chocolate chips may slightly change after freezing and thawing. To freeze butter cookies with chocolate chips, follow the same steps for freezing regular butter cookies, ensuring proper packaging to protect the cookies and minimize any potential moisture or air exposure.
Can I freeze butter cookie dough instead of baked cookies?
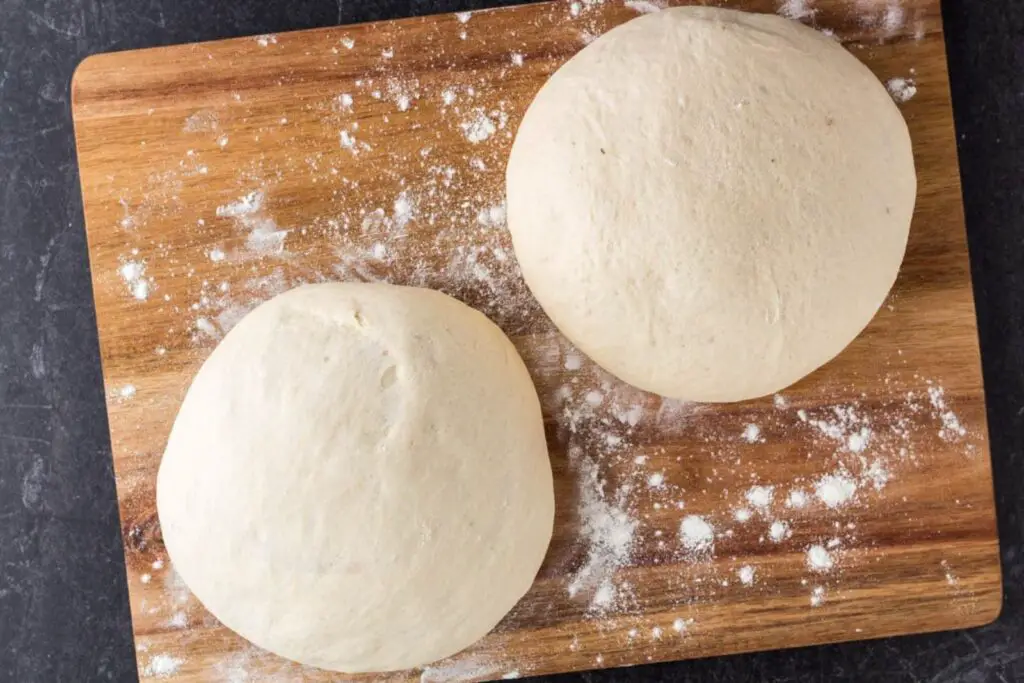
Yes, you can freeze butter cookie dough instead of baking the cookies right away. Freezing the dough allows you to have freshly baked cookies whenever you desire. Form the dough into individual portions or shape it into a log, wrap it tightly in plastic wrap or place it in an airtight container, and freeze. When ready to bake, simply thaw the dough in the refrigerator, slice or portion it, and bake according to the original recipe instructions.

