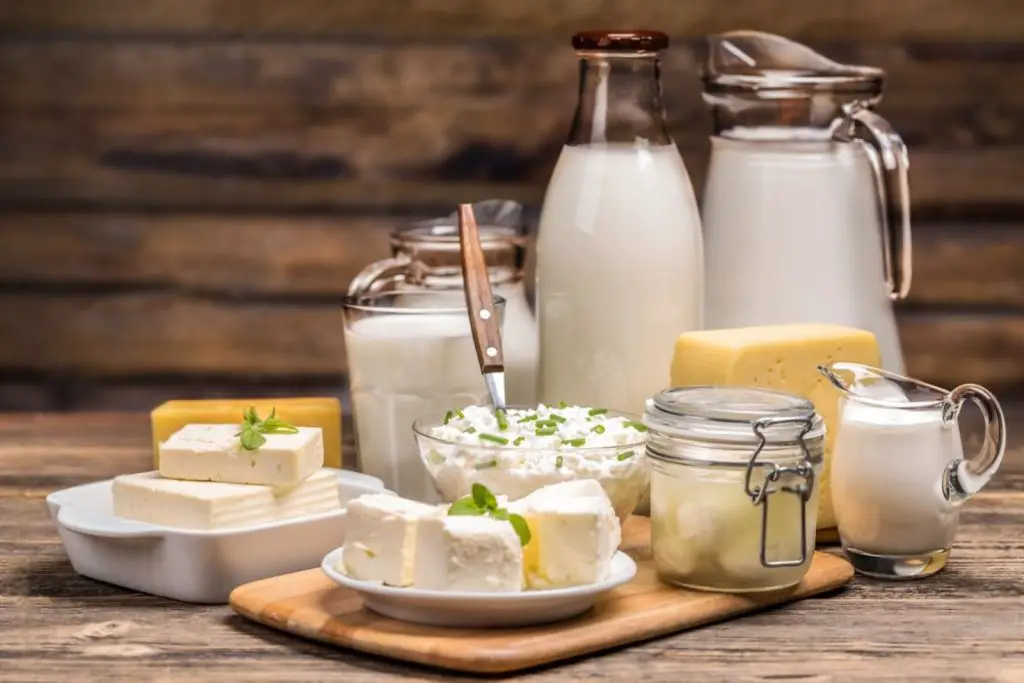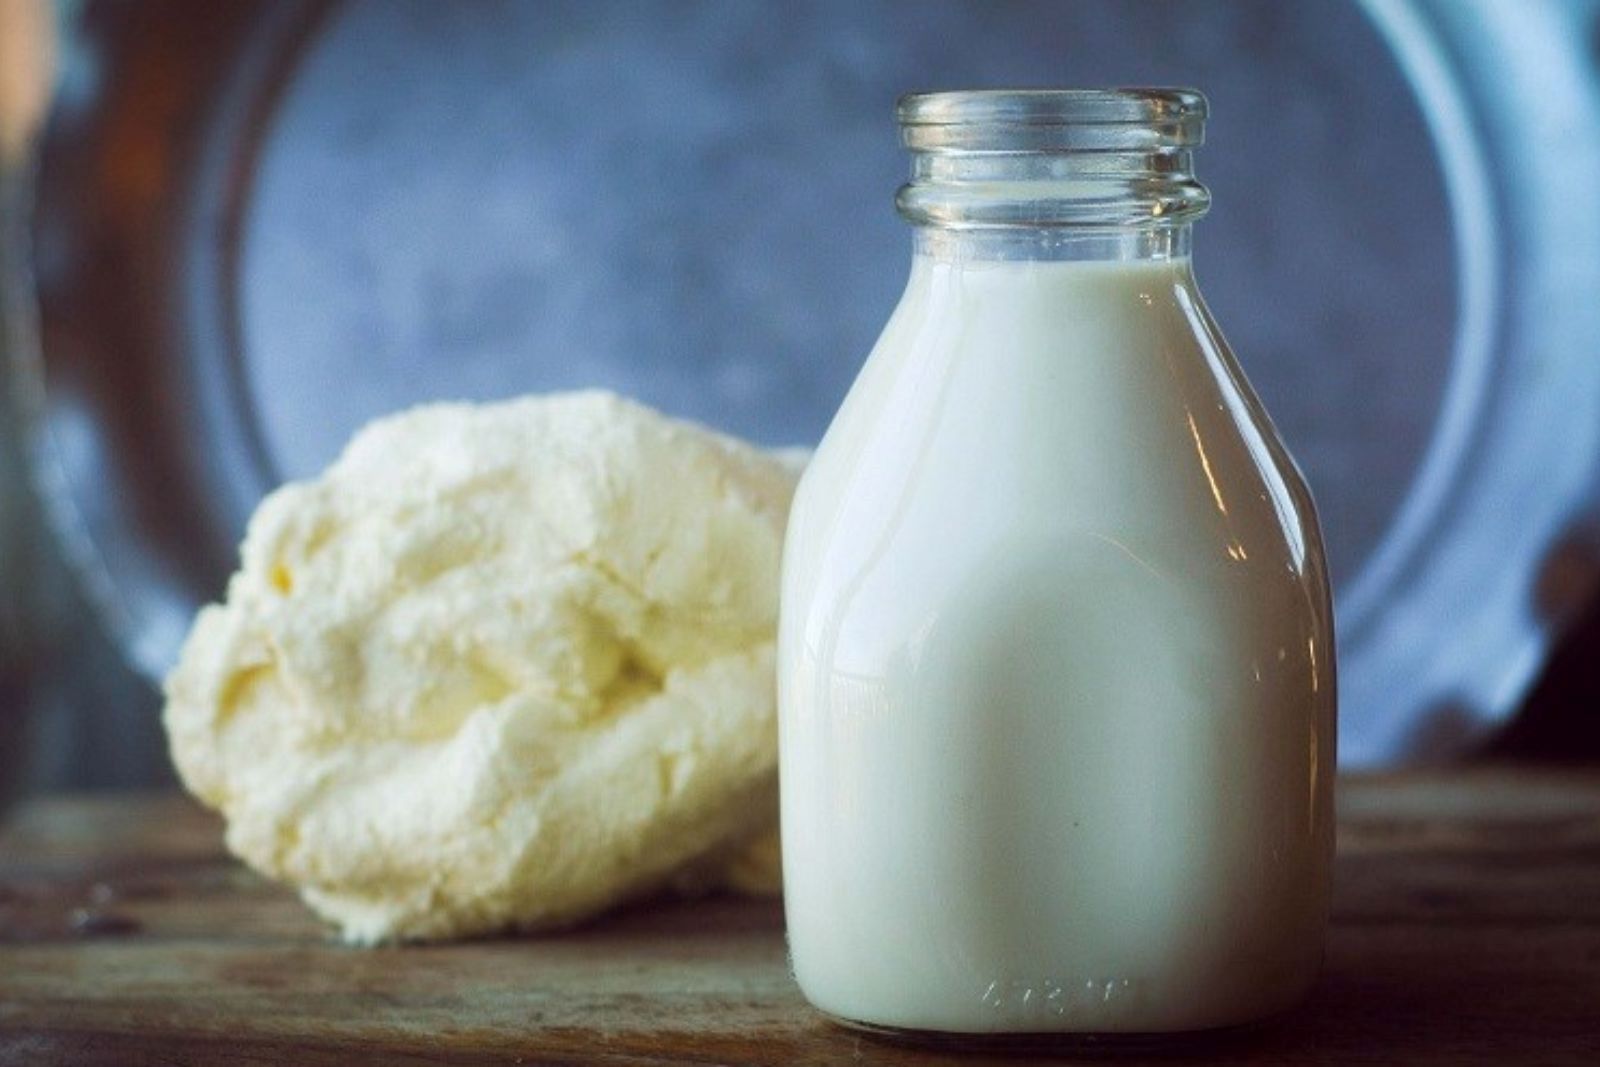
Buttermilk is a tangy, slightly acidic dairy product that is traditionally made as a byproduct of butter production. It can be either the liquid left after churning butter or cultured buttermilk made by fermenting milk with specific bacteria. Buttermilk is commonly used in baking to improve texture and flavor in recipes like pancakes, biscuits, and cakes. It is also valued for its nutritional content, including calcium, potassium, vitamin B12, and protein. Freezing buttermilk is a convenient way to preserve this tangy dairy product for future use. Whether you have an excess amount of buttermilk or want to stock up for later, freezing it properly will help maintain its freshness and quality.
Here are the simple steps to freeze buttermilk:
Step 1: Prepare the buttermilk
Before freezing buttermilk, it is important to prepare it properly to maintain its consistency and quality when thawed. Start by giving the buttermilk a good shake or stir to ensure it is well mixed. Over time, buttermilk can separate, with the liquid and solids separating into distinct layers.
Thoroughly blending the buttermilk helps distribute any separation that may have occurred, ensuring that the liquid and solids are evenly combined. This step is crucial because if the buttermilk is not well mixed before freezing, it may result in an uneven texture and affect the overall quality of the thawed buttermilk.
Step 2: Choose the right containers
Choosing the appropriate containers for freezing buttermilk is important to ensure its quality and prevent any issues such as leakage or freezer burn. Here’s why it matters and what you should consider:
- Freezer-safe containers: Use containers that are specifically designed for freezer storage. These containers are made of materials that can withstand freezing temperatures without cracking or becoming brittle. Avoid using containers that are not meant for freezing, such as regular plastic containers or glass jars that may break due to the expansion of the liquid during freezing.
- Tight-sealing lids: Opt for containers with tight-sealing lids to create an airtight and leak-proof seal. This helps to prevent air from entering the container, which can lead to freezer burn and degrade the quality of the buttermilk. A secure lid also prevents any potential spills or leaks that could create a mess in the freezer.
- Freezer bags for liquids: Alternatively, you can use freezer bags that are specifically designed for liquids. These bags are made of thicker, more durable material and have a strong seal to prevent leaks. They are convenient for storing smaller portions of buttermilk and can be stacked or laid flat in the freezer to save space.
- Clean and dry containers: Before pouring the buttermilk into the chosen containers, ensure that they are clean and dry. Any residue or moisture in the containers can affect the quality of the frozen buttermilk and potentially lead to contamination. Wash the containers with hot, soapy water, rinse thoroughly, and allow them to air dry completely before use.
Can I freeze buttermilk in its original carton?
It is generally not recommended to freeze buttermilk in its original carton. The carton may not provide sufficient protection against freezer burn and can affect the quality of the buttermilk. It is best to transfer the buttermilk to a freezer-safe container or bag, ensuring proper sealing to maintain its flavor and texture during freezing.
Can I freeze buttermilk in silicone molds?
Freezing buttermilk in silicone molds is possible but may not be the most practical option. Silicone molds are typically designed for baking and may not offer the necessary protection against freezer burn. It is advisable to use freezer-safe containers or bags instead, ensuring proper sealing and leaving room for expansion during freezing for optimal preservation of the buttermilk.
Can I freeze buttermilk in metal containers?
Freezing buttermilk in metal containers is not recommended. Metal containers may not provide sufficient protection against freezer burn and can affect the quality of the buttermilk. It is best to use freezer-safe plastic or glass containers, ensuring proper sealing, to maintain the optimal flavor and texture of the buttermilk during freezing.
Step 3: Portion the buttermilk
When freezing buttermilk, it is beneficial to consider the amount you typically use in your recipes and freeze it in portions that are convenient for your future needs. Here’s why portioning is important and how you can do it effectively:
- Convenience and waste reduction: Freezing buttermilk in portions that align with your recipe needs makes it more convenient when you later use it. Instead of having to thaw a large container of buttermilk when you only need a small amount, portioning allows you to thaw only what you require, reducing waste and ensuring you have the right amount on hand.
- Consider your typical usage: Think about the recipes you commonly prepare that require buttermilk. Assess the typical amount you use, whether it’s a few tablespoons or a specific measurement. This will help you determine the appropriate portion sizes for freezing.
- Using ice cube trays: For smaller quantities, pouring the buttermilk into ice cube trays can be an effective method. Each ice cube compartment holds approximately two tablespoons, making it easy to measure and thaw only the amount needed for a particular recipe. Once frozen, you can transfer the buttermilk cubes into a resealable freezer bag for organized storage.
- Alternative portioning methods: If you often use larger quantities of buttermilk, you can pour it into small, freezer-safe containers or use freezer bags. Consider the portion sizes that work best for your recipes and lifestyle. Ensure that each portion is adequately sealed to prevent air exposure and maintain the quality of the frozen buttermilk.
Step 4: Pour the buttermilk into containers
When freezing buttermilk, it is important to pour it into containers carefully and leave some headspace at the top. Here’s why it’s necessary and how to do it properly:
- Expansion during freezing: Buttermilk, like most liquids, expands as it freezes due to the formation of ice crystals. If the container is completely filled, there won’t be enough space for expansion, which can cause the container to burst or crack. Leaving some headspace allows the buttermilk to expand without causing any damage.
- Preventing quality loss: Overfilling containers with buttermilk can also compromise its quality during freezing and thawing. The excess liquid may expand and push against the lid or cause leakage, leading to freezer burn or a change in taste and texture. By avoiding overfilling, you can maintain the desired quality of the buttermilk.
- How to pour and leave headspace: Carefully pour the buttermilk into the selected containers, ensuring a steady and controlled flow. Leave approximately 1/2 inch (1.25 cm) of headspace at the top of each container. This space provides enough room for expansion without risking damage to the container or compromising the quality of the buttermilk.
- Adjusting portion sizes: If using smaller containers or ice cube trays, pour the buttermilk into each compartment, leaving a small gap at the top. This allows room for expansion within each individual portion.
Step 5: Seal and label the containers
After pouring the buttermilk into the containers, it is crucial to seal them tightly and label them properly. Here’s why this step is vital and how to do it effectively:
- Preventing air exposure: Air exposure can lead to freezer burn, which affects the quality and taste of the buttermilk. By ensuring that the lids or seals of the containers are tightly secured, you create a barrier that prevents air from entering and coming into contact with the buttermilk. This helps maintain its freshness and preserves its flavor and texture.
- Maintaining quality: Freezer burn occurs when moisture in the food evaporates and then re-condenses, forming ice crystals on the surface. This can result in a dry, discolored appearance and a loss of flavor. A tight seal on the containers prevents this moisture loss and helps maintain the quality of the buttermilk during storage.
- Labeling for organization: It is essential to label each container with the date of freezing. This allows you to keep track of the storage time and ensures that you use the oldest buttermilk first. By following the “first in, first out” principle, you can prevent the buttermilk from being stored for too long and potentially losing its quality over time.
- How to seal and label: Check that the lids or seals of the containers are securely closed, ensuring a tight seal. If using freezer bags, press out any excess air before sealing them. Once the containers are sealed, use a permanent marker or labels to write the date of freezing on each container. Place the labels where they are easily visible for quick reference.
Step 6: Freeze the buttermilk
Once you have sealed and labeled the containers of buttermilk, it is time to freeze them. Follow these steps to ensure proper freezing and efficient storage:
- Find a flat surface: Locate a flat surface in your freezer where the containers can sit undisturbed. Clear out enough space to accommodate the containers and ensure they won’t be bumped or jostled during freezing.
- Position for proper airflow: Arrange the containers in a way that allows for proper airflow within the freezer. This helps maintain a consistent temperature and promotes efficient freezing. Avoid overcrowding the containers, as it may impede the airflow and hinder the freezing process.
- Ice cube tray transfer (if applicable): If you froze buttermilk in ice cube trays, you can transfer the frozen buttermilk cubes into a resealable freezer bag. This makes storage more convenient and frees up space in the freezer. Ensure the bag is sealed tightly to prevent any air from entering and causing freezer burn.
- Avoid temperature fluctuations: Try to minimize the opening and closing of the freezer to prevent temperature fluctuations. This helps maintain a stable freezing environment and preserves the quality of the buttermilk.
- Freezing time: The exact freezing time for buttermilk will depend on various factors, including the size of the containers or cubes and the temperature of your freezer. Generally, buttermilk should freeze within a few hours or overnight. It’s advisable to check the containers periodically and make sure they are completely frozen before long-term storage.
Other related questions
How long buttermilk can last in the freezer?
Buttermilk can last in the freezer for up to 3 months without a significant loss in quality. Properly stored buttermilk, tightly sealed and protected from air exposure and freezer burn, can maintain its flavor and texture for this duration. However, it is best to use the frozen buttermilk within the first few months for optimal taste and freshness.
How do I defrost buttermilk?
To defrost buttermilk, transfer the frozen container or bag to the refrigerator. Allow it to thaw slowly in the refrigerator for 24-48 hours until fully defrosted. Alternatively, you can defrost buttermilk using the defrost setting on a microwave, using short bursts of low power to prevent overheating. Once defrosted, gently stir or shake the buttermilk to recombine any separated components before using it in your recipes.
Can I use frozen buttermilk directly in recipes?
Yes, frozen buttermilk can be used directly in recipes without the need to thaw it completely. Simply measure out the desired amount and add it to your recipe. The buttermilk will thaw during the cooking or baking process.
Can I refreeze buttermilk?
Refreezing buttermilk is not recommended as it can lead to a decline in quality and texture. Freezing and thawing buttermilk more than once alters its composition and can result in changes in taste and consistency. It is best to use thawed buttermilk promptly and avoid refreezing it to maintain its optimal flavor and texture.
How do I know if the buttermilk has gone bad in the freezer?
To determine if buttermilk has gone bad in the freezer, inspect its appearance, smell, and texture upon thawing. If the buttermilk has developed an off-color, such as darkening or unusual discoloration, or emits a sour or rancid odor, it may indicate spoilage. Additionally, if the texture appears lumpy or separated, it is a sign that the buttermilk has deteriorated. When in doubt, it is advisable to discard the buttermilk to avoid any potential health risks.
Can I freeze homemade buttermilk?
Yes, homemade buttermilk can be frozen for later use. Ensure the homemade buttermilk is fresh and has not exceeded its expiration date before freezing. Follow the same freezing procedures as store-bought buttermilk, such as using appropriate containers, leaving headspace, and sealing tightly to maintain its quality during freezing.
Can I freeze buttermilk that has already been opened?
Yes, you can freeze buttermilk that has already been opened. Ensure that the buttermilk is in a suitable container, tightly sealed to prevent air exposure and potential contamination. Follow the same freezing procedures as with unopened buttermilk, such as leaving sufficient headspace for expansion. Thawed buttermilk should be used promptly and not refrozen.
Can I freeze buttermilk that is close to its expiration date?
Freezing buttermilk that is close to its expiration date is possible and can help extend its shelf life. However, it is important to freeze the buttermilk before the expiration date to maintain its quality. Thawed buttermilk should be used within a few days to ensure optimal taste and freshness.

