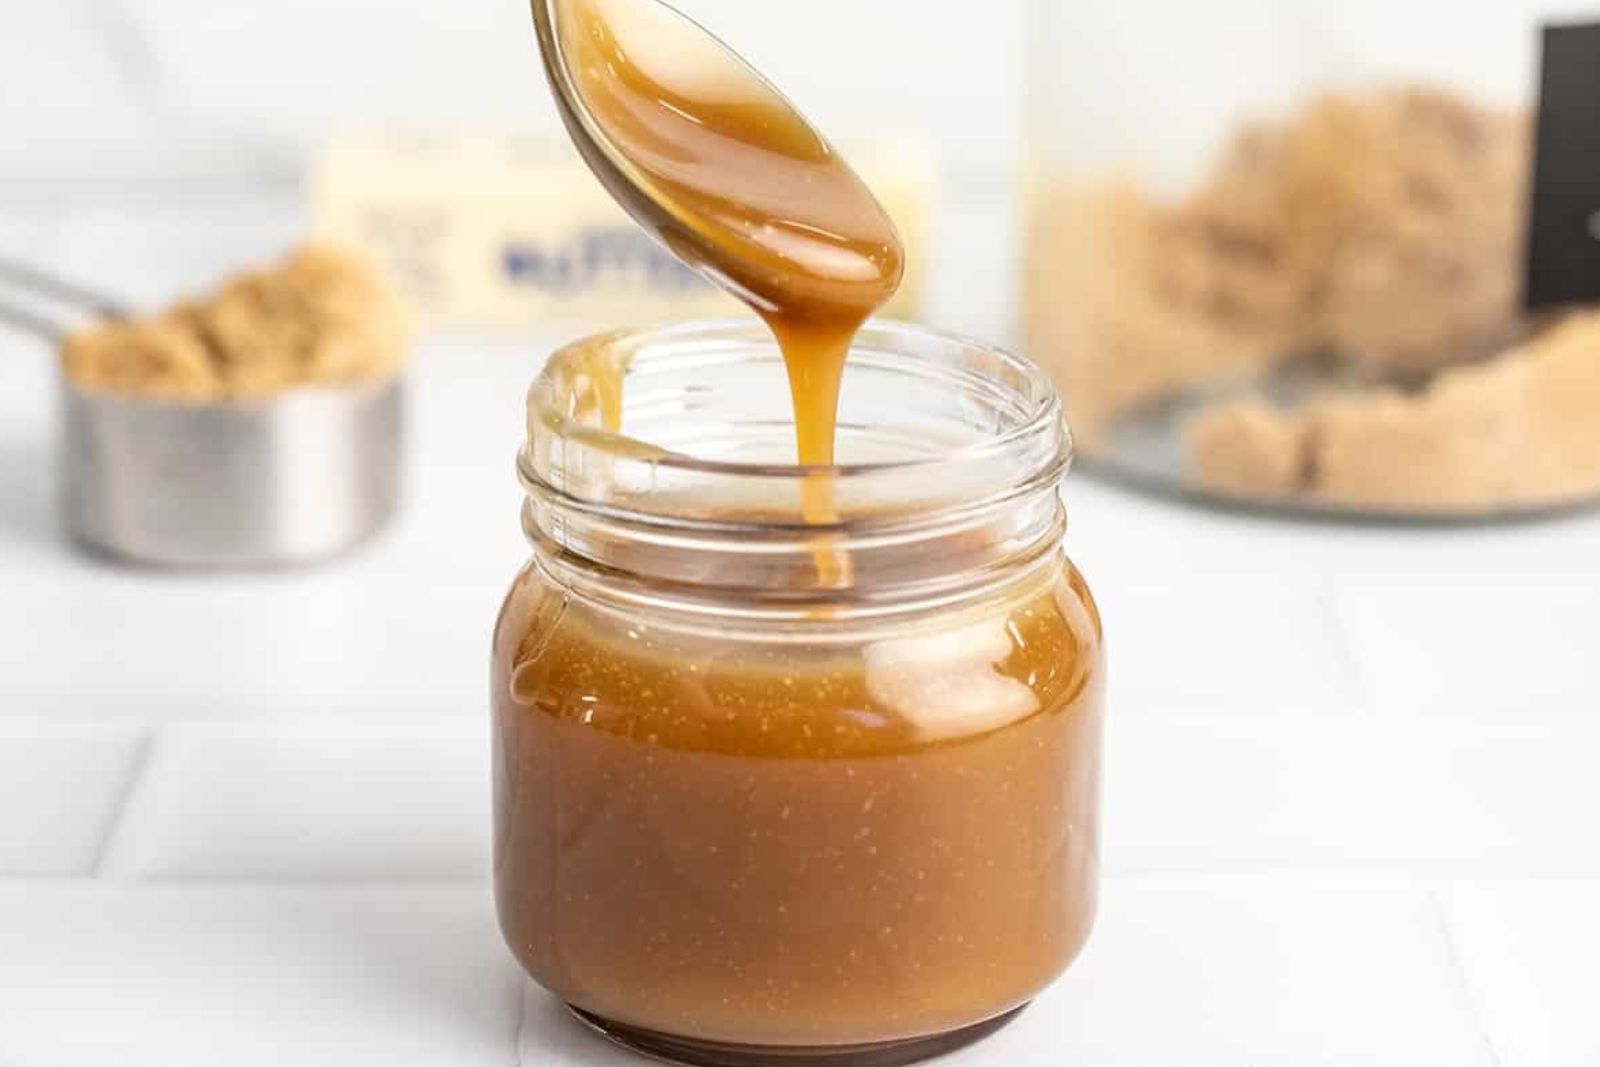
Caramel is a delectable confectionery made by heating sugar until it reaches a rich, golden brown color. It is widely used as a topping, filling, or ingredient in various desserts and sweets. Whether you have made a large batch of caramel or simply have some leftovers that you want to preserve, freezing can be an excellent way to extend its shelf life and ensure its availability for future use. Freezing caramel is a straightforward process that requires proper preparation and storage techniques to maintain its flavor and texture. This article presents a step-by-step guide on how to freeze caramel effectively, allowing you to enjoy its indulgent taste whenever you desire.
Here’s a guide on how to freeze caramel:
Step 1: Prepare fresh caramel
To begin the process of freezing caramel, it’s crucial to start with a fresh batch of caramel or ensure that the caramel you already have is still in good condition. Using high-quality caramel is essential for achieving the best results when freezing.
Using fresh caramel ensures that you’re working with a product that hasn’t undergone any changes or degradation in flavor or texture. If the caramel has been sitting for too long or has been exposed to improper storage conditions, it may have developed off-flavors or a grainy texture, which can affect its overall quality.
When making a fresh batch of caramel, you have full control over the ingredients and the cooking process, allowing you to achieve the desired consistency and flavor. High-quality caramel made with precise measurements and proper cooking techniques will freeze more successfully and maintain its integrity during storage.
If you already have caramel on hand, make sure to check its appearance and aroma. Look for any signs of discoloration, mold, or an off smell. If the caramel looks or smells off, it’s best to discard it rather than risk the quality of the frozen product.
Step 2: Let the caramel cool
After preparing or obtaining fresh caramel, it’s important to let it cool completely before proceeding with the freezing process. Allowing the caramel to cool is crucial to prevent condensation from forming inside the container and potentially affecting the texture and quality of the caramel during freezing.
When caramel is hot, it generates steam, which can create moisture inside the container if it is sealed before cooling. This moisture can then lead to the formation of ice crystals or freezer burn when the caramel is frozen. These undesirable effects can negatively impact the texture and taste of the caramel, resulting in a less enjoyable product when thawed.
By letting the caramel cool completely, you allow the steam to dissipate and the temperature to equalize. This ensures that any excess moisture evaporates and reduces the chances of condensation forming inside the container. Cooling also allows the caramel to reach a stable state, making it easier to handle and package for freezing.
To cool the caramel, transfer it to a heat-resistant container and let it sit at room temperature until it reaches a lukewarm or cool temperature. You can gently stir the caramel occasionally to help speed up the cooling process. Avoid placing hot caramel directly into a freezer or refrigerator, as this can cause uneven cooling and potentially affect the texture.
Taking the time to let the caramel cool completely is a crucial step in the freezing process. It helps maintain the integrity of the caramel, ensuring that it freezes smoothly and retains its desired texture and flavor.
Step 3: Portion the caramel
Once the caramel has cooled completely, the next step is to divide it into smaller portions based on your future usage. It is recommended to portion the caramel into quantities that you typically use in a single serving or recipe. This practice makes it easier to thaw and use the caramel later on.
Portioning the caramel serves several purposes. Firstly, it allows for better portion control and reduces waste. By dividing the caramel into smaller portions, you can thaw and use only the amount you need, minimizing any leftovers that might go to waste. This is particularly helpful if you tend to use caramel in varying quantities for different recipes or if you prefer smaller indulgences.
Secondly, portioning makes the thawing process more efficient. Smaller portions of caramel thaw faster and more evenly than a large block or container of frozen caramel. This means you can enjoy your desired amount of caramel without having to wait for the entire batch to thaw.
Moreover, dividing the caramel into smaller portions enables you to conveniently incorporate it into different recipes. Whether you need a small amount to drizzle over desserts or a larger quantity for a caramel-based sauce or filling, having pre-portioned amounts at your disposal simplifies the cooking and baking process.
When dividing the caramel, you can use various methods, such as pouring it into individual molds or containers, shaping it into small patties, or pouring it onto a lined baking sheet and breaking it into smaller pieces once it has hardened. Choose a method that suits your preferences and future usage.
Can I freeze caramel sauce in individual portions or containers?
Yes, you can freeze caramel sauce in individual portions or containers. Freezing caramel sauce in smaller portions allows for convenient usage and thawing as per your needs. Use airtight, freezer-safe containers or sealable bags to prevent freezer burn and maintain the quality of the sauce. It’s a good idea to portion the sauce into serving sizes that you typically use, so you can thaw and enjoy only the amount you need without repeatedly thawing and refreezing the entire batch.
Step 4: Wrap or seal the portions
After portioning the caramel into smaller quantities, it’s important to protect each portion from freezer burn and maintain its freshness during storage. This can be achieved by individually wrapping each portion with plastic wrap or using small airtight containers.
Freezer burn occurs when moisture within the food evaporates and then re-condenses on its surface. This can lead to the formation of ice crystals, resulting in a dry and unappealing texture. By wrapping or sealing the caramel portions, you create a barrier that helps prevent the loss of moisture and the formation of ice crystals, thus preserving the caramel’s desired texture and flavor.
One way to individually wrap each portion of caramel is by using plastic wrap. Place a portion of caramel on a piece of plastic wrap, ensuring it is fully covered. Then, twist the ends of the plastic wrap to seal it tightly around the caramel. This wrapping technique helps minimize air exposure and moisture contact.
Alternatively, you can use small airtight containers specifically designed for freezer use. These containers provide an additional layer of protection against air and moisture, helping to maintain the caramel’s freshness. Ensure that the containers are sealed tightly to prevent any air exchange.
When wrapping or using containers, it’s essential to remove as much air as possible to further safeguard the caramel from freezer burn. Excess air can contribute to the deterioration of the caramel’s quality over time. Squeezing out any excess air from the plastic wrap or ensuring a tight seal on the containers can help prevent this.
Step 5: Place in freezer bags
After wrapping or sealing the individual portions of caramel, the next step is to transfer them into freezer bags. This additional layer of protection offers further safeguards against freezer burn and potential odors.
Freezer bags are designed to be thicker and more durable than regular storage bags, making them suitable for long-term freezer storage. They provide an extra barrier against moisture, air, and odors, helping to maintain the quality of the caramel during freezing.
By placing the wrapped or sealed caramel portions into freezer bags, you create an added level of insulation. This helps to minimize the exposure to air and moisture, reducing the risk of freezer burn. Freezer burn occurs when moisture evaporates from the caramel’s surface, leading to the development of ice crystals and a loss of flavor and texture.
It’s important to squeeze out any excess air from the freezer bags before sealing them tightly. Air contains moisture, which can contribute to freezer burn and degrade the quality of the caramel. Removing as much air as possible helps to create a vacuum-like environment within the bag, preserving the caramel’s freshness and integrity.
In addition to protection against freezer burn, placing the caramel portions in freezer bags also helps prevent potential odors from permeating the caramel. Freezers can sometimes absorb odors from other foods, which can affect the taste and aroma of the caramel. The freezer bags act as a barrier, minimizing the risk of flavor transfer and ensuring that the caramel retains its original, desirable characteristics.
When sealing the freezer bags, ensure they are tightly closed to maintain an airtight seal. This will help preserve the caramel’s quality and prevent any potential contamination.
Step 6: Label and date the bags
After placing the wrapped or sealed caramel portions into freezer bags, it’s important to label each bag with the contents and the date of freezing. This simple step helps you keep track of the caramel’s storage time and ensures that you use the oldest portions first.
Labeling the bags with the contents allows for easy identification, especially if you have multiple types of caramel or other frozen items in your freezer. It helps you quickly locate the caramel when you need it and avoids confusion with other items.
In addition to the contents, it’s crucial to include the date of freezing on the label. This information serves as a reference point to track the caramel’s storage time. Over time, frozen caramel may experience slight changes in quality, such as a gradual loss of flavor or texture. By labeling the date of freezing, you can easily determine the duration of storage and prioritize the use of the oldest portions first to ensure optimal taste and quality.
Using a permanent marker is recommended for labeling the bags as it withstands the cold temperatures of the freezer and prevents the ink from smudging or fading over time.
Maintaining an organized system of labeled and dated bags not only helps you keep track of the caramel but also prevents waste. By using the oldest portions first, you ensure that the caramel is enjoyed at its best quality before any potential degradation occurs.
Step 7: Freeze the caramel
Once the labeled freezer bags containing the caramel portions are prepared, it’s time to place them in the freezer for freezing. This step involves ensuring the bags are positioned flatly to facilitate stacking and organization. It’s also crucial to set the freezer temperature at or below 0°F (-18°C) to maintain the caramel’s quality during storage.
Placing the freezer bags flat in the freezer allows for efficient use of space and easier stacking. Flat positioning prevents the bags from tilting or shifting, which can lead to leakage or uneven freezing. By arranging the bags in a uniform manner, you can maximize the storage capacity of your freezer and easily access the desired portions when needed.
Maintaining a freezer temperature at or below 0°F (-18°C) is essential for preserving the caramel’s quality. Freezing the caramel at a sufficiently low temperature slows down enzymatic reactions and microbial growth, effectively preventing spoilage and maintaining the caramel’s taste, texture, and overall freshness.
When the freezer temperature rises above 0°F (-18°C), the risk of thawing and refreezing increases. This can lead to a loss of quality and compromise the caramel’s texture and flavor. Therefore, it’s crucial to ensure that your freezer is set to the appropriate temperature to create a stable freezing environment for the caramel.
It’s worth noting that maintaining a constant temperature is important. Frequent fluctuations in temperature can impact the caramel’s quality and cause freezer burn. Avoid opening the freezer door unnecessarily and ensure a proper seal to minimize temperature fluctuations.
How long can frozen caramel stay good in the freezer?
When stored properly in an airtight container, frozen caramel can stay good in the freezer for up to 3 months. Freezing helps to preserve the quality and flavor of the caramel during this period. However, it is recommended to consume the caramel within the first month for the best taste and texture. After the three-month mark, the caramel may start to develop freezer burn or lose its original taste and texture.
Step 8: Thaw and use as needed
When you’re ready to use the frozen caramel, it’s important to thaw it properly to maintain its texture and flavor. There are a few methods you can employ to thaw the caramel, allowing it to return to its original state for use in various recipes or as a delightful topping.
The recommended method for thawing frozen caramel is to transfer the desired portion from the freezer to the refrigerator and let it thaw overnight. This gradual thawing process in the refrigerator ensures a controlled and even thaw, preventing any potential texture changes or flavor loss. Thawing in the refrigerator also reduces the risk of bacterial growth, as the caramel remains in a colder environment.
If you need to use the caramel more quickly, you can opt for gentle defrosting methods such as using a microwave or a double boiler on the stovetop. When using the microwave, place the frozen caramel in a microwave-safe container and defrost it using the low power setting or the defrost function in short intervals, stirring occasionally to ensure even heating. When using a double boiler on the stovetop, place the frozen caramel in a heatproof bowl and set it over a pot of simmering water, stirring occasionally until it thaws completely.
Regardless of the thawing method chosen, it’s important to avoid overheating the caramel, as excessive heat can lead to a change in texture or even scorching. Take care to monitor the thawing process closely and stop when the caramel has reached a soft and pliable consistency.
Once the caramel is thawed, it can be used in various recipes or enjoyed as a delectable topping. From drizzling over desserts and ice cream to using it as a filling for cakes or cookies, the thawed caramel provides versatility and adds a delightful flavor to your culinary creations.
Remember that thawed caramel should be used within a reasonable time frame to maintain its quality and safety. It’s best to consume it within a few days after thawing, but always use your judgment and check for any signs of spoilage before using.
How do I defrost frozen caramel?
To defrost frozen caramel, it is important to do so slowly and gently to maintain its texture and consistency. The recommended method is to transfer the frozen caramel from the freezer to the refrigerator and allow it to thaw overnight or for several hours. This gradual thawing process helps prevent any drastic temperature changes that could cause the caramel to separate or become grainy. Once thawed, give the caramel a gentle stir to ensure it is fully combined before using it in recipes or enjoying it as a topping.
Other related question
How do I know if my frozen caramel has gone bad?
To determine if your frozen caramel has gone bad, there are a few signs to look out for. First, check for any unusual changes in color, such as discoloration or dark spots. Additionally, if the caramel develops an off or sour smell, it may indicate spoilage. Lastly, examine the texture of the thawed caramel. If it appears grainy, separated, or has an unpleasant consistency, it is likely no longer suitable for consumption. When in doubt, it’s best to err on the side of caution and discard the caramel if you suspect it has gone bad.
Can I refreeze previously thawed caramel?
It is generally not recommended to refreeze previously thawed caramel. When caramel is thawed, the process can affect its texture and consistency. Refreezing it again can further degrade its quality, resulting in changes to the texture, separation of ingredients, or loss of flavor. To maintain the best quality, it’s advisable to portion and freeze caramel in quantities that can be used in one go, minimizing the need for refreezing.
Can I use frozen caramel with the fresh ones?
Yes, you can use frozen caramel with fresh caramel. However, it’s important to thaw the frozen caramel completely before incorporating it with the fresh caramel. Thawing allows the two to combine seamlessly without affecting the texture or consistency of the fresh caramel. Once both caramels are at the same temperature, you can mix or layer them as desired. Keep in mind that the flavor and texture of the thawed caramel may vary slightly from the fresh one due to the freezing and thawing process.
Will freezing caramel affect its taste or texture?
Freezing caramel can potentially affect its taste and texture to some extent. Freezing can cause the caramel to become slightly firmer and denser upon thawing. Some caramel variations, especially those with a higher fat content, may experience a slight change in texture, becoming slightly grainy or separating. However, the overall taste should remain relatively consistent, although there may be minor variations due to the freezing process.
Can I freeze caramel that has been mixed with nuts or other add-ins?
Yes, you can freeze caramel that has been mixed with nuts or other add-ins. However, it’s important to consider the compatibility of the add-ins with freezing. Nuts, for example, generally freeze well and retain their texture. When freezing caramel with add-ins, make sure they are evenly distributed throughout the caramel. Proper packaging and airtight containers will help maintain the quality of the caramel and its add-ins during freezing.


