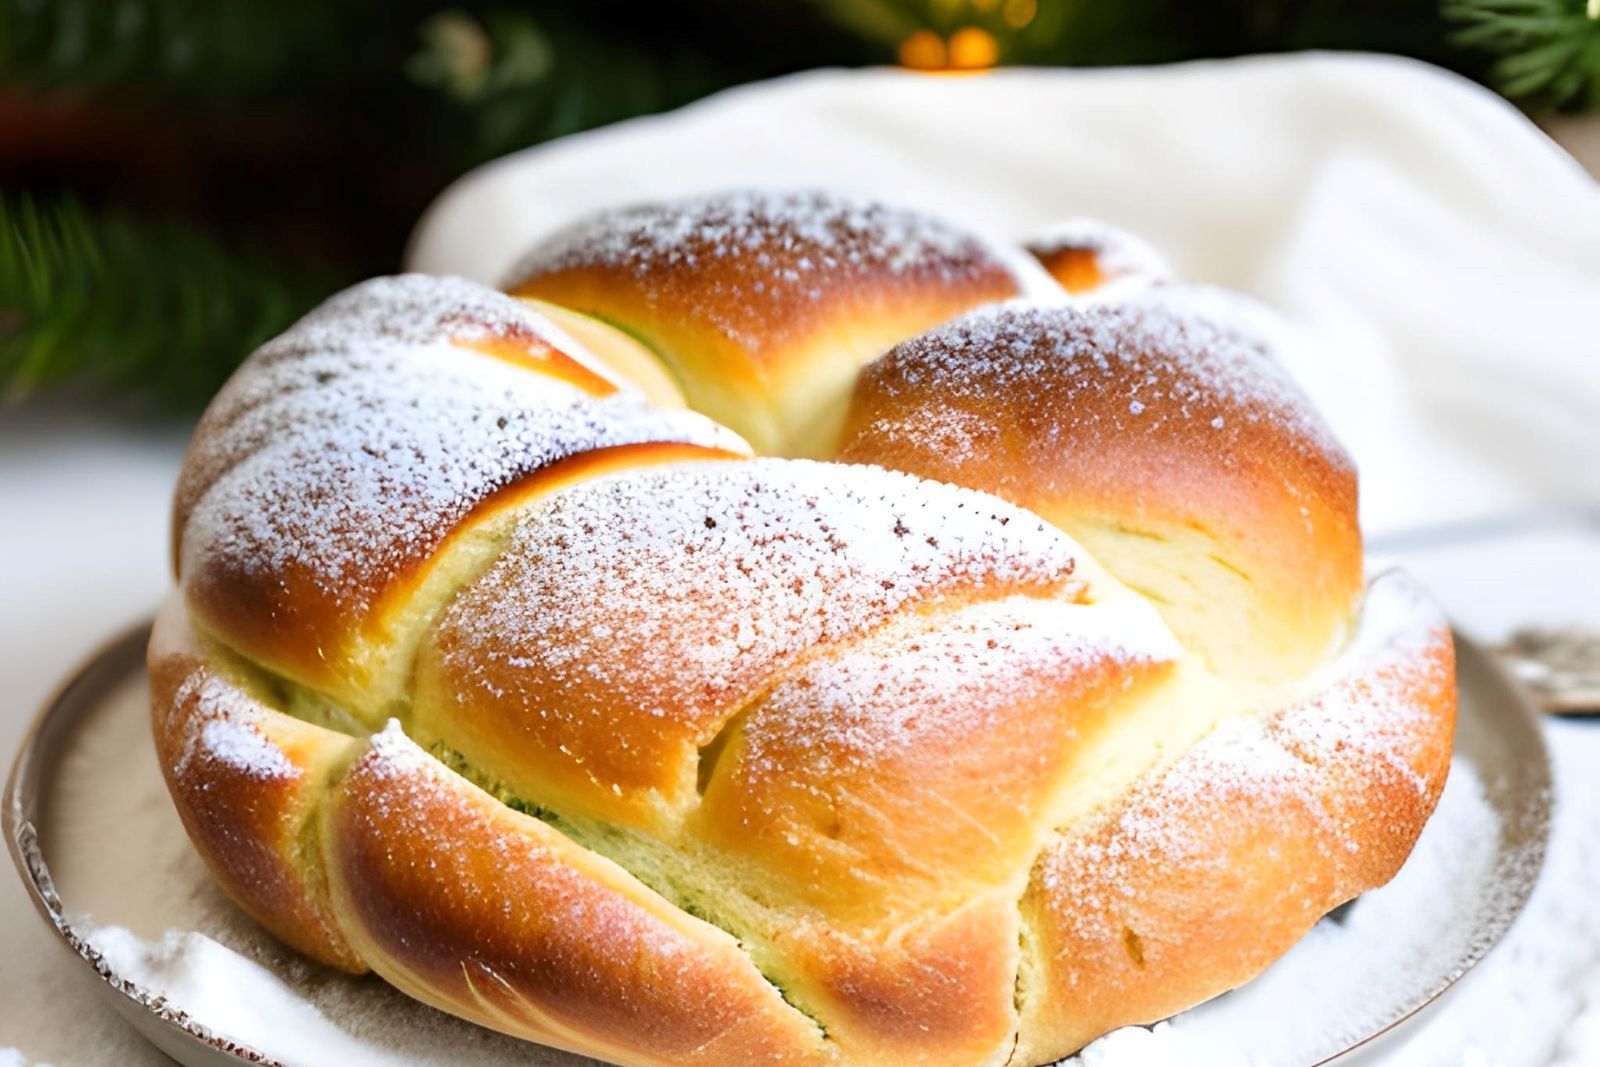
Challah is a traditional Jewish bread that is known for its rich flavor and soft, pillowy texture. Whether you’re a seasoned baker or just beginning to experiment with bread-making, freezing challah dough can be a convenient and time-saving option. Freezing challah dough allows you to prepare the dough in advance and have it on hand whenever you’re ready to bake fresh, homemade challah. By following a few simple steps to prepare and package the dough for freezing, you can preserve its quality and ensure that it bakes up beautifully when thawed and baked. With frozen challah dough at your disposal, you can enjoy the pleasure of freshly baked challah whenever the craving strikes, whether it’s for a special occasion or a cozy weekend breakfast.
To freeze challah dough, follow these steps:
Step 1: Prepare the dough as you normally would.
Preparing the dough involves mixing the flour, yeast, salt, water, and any other ingredients in a bowl until they form a uniform mixture. The dough is then kneaded to develop gluten, which is a protein that gives the dough structure and elasticity.
After kneading, the dough is shaped into a ball and placed in a bowl, covered with a damp cloth, and allowed to rise in a warm place until it has doubled in size. The rising time can vary depending on the recipe, but it typically takes anywhere from 1-2 hours.
During this time, the yeast in the dough is activated by the warm environment, and it feeds on the sugars in the flour, producing carbon dioxide gas as a byproduct. The gas gets trapped in the gluten network, causing the dough to expand and rise.
Step 2: Punch down the dough and knead it lightly.
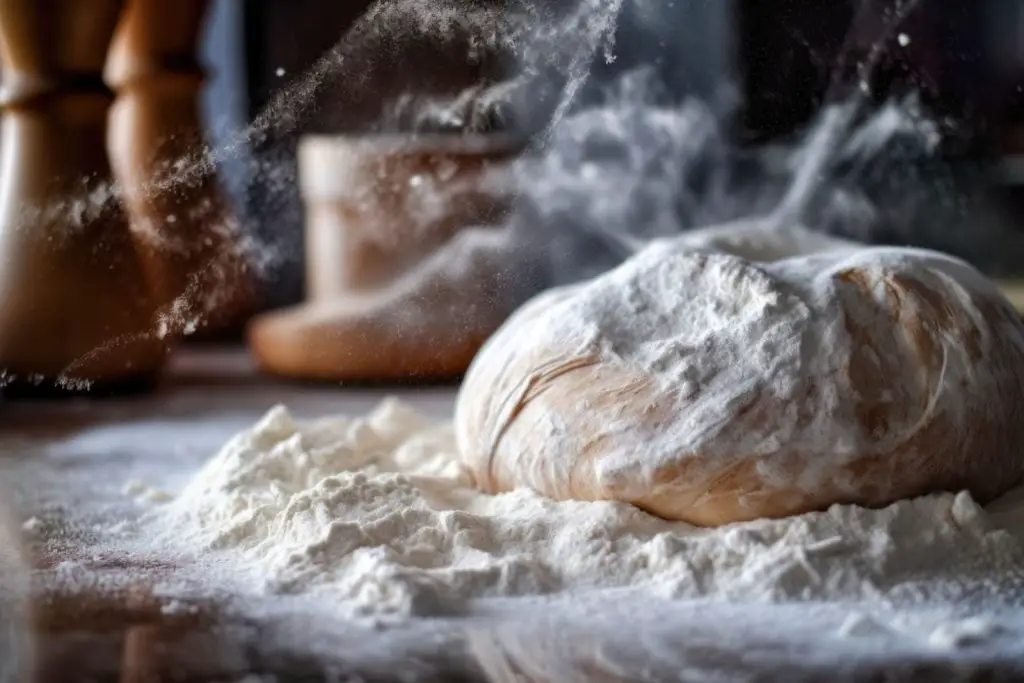
After the dough has doubled in size during the rising process, it needs to be punched down and kneaded again to remove any excess air that has been trapped inside the dough. This step is important because it helps to create a more uniform texture and structure in the finished product. To begin, sprinkle a little flour on a clean work surface to prevent the dough from sticking. Then, use your fist to gently punch down the center of the dough to release the air pockets that have formed during the rising process. Repeat this process around the edges of the dough until you have punched down the entire surface.
Next, lightly knead the dough on the floured surface to remove any remaining air pockets and to further develop the gluten structure. To do this, press down on the dough with the heels of your hands, then fold the dough in half towards you and push it away with the heels of your hands. Rotate the dough 90 degrees and repeat the process, folding and pushing until the dough is smooth and elastic.
Be careful not to over-knead the dough, as this can cause it to become tough and chewy. A good rule of thumb is to knead the dough for about 5-10 minutes, or until it becomes smooth and supple.
Step 3: Divide the dough into portions.
To divide the dough, first, lightly flour a work surface. Then, use a sharp knife or dough scraper to cut the dough into equal-sized portions. The portions can be round, oval, or rectangular in shape, depending on your preference.
If you’re freezing the entire batch of dough, you can shape it into a smooth ball and wrap it tightly in plastic wrap or aluminum foil. Be sure to label the package with the type of dough and the date it was frozen.
If you’re dividing the dough into smaller portions, you can shape each portion into a ball and wrap them individually in plastic wrap or aluminum foil. Again, be sure to label each package with the type of dough and the date it was frozen.
Before freezing the dough, it’s important to allow it to rest at room temperature for about 10-15 minutes. This will help the dough to relax and prevent it from becoming tough when it’s thawed.
Can I freeze multiple portions of challah dough at once?
Yes, you can freeze multiple portions of challah dough at once. It’s best to divide the dough into individual portions before freezing to make it easier to thaw and work with later. Shape the portions into balls and wrap them tightly in plastic wrap or aluminum foil before placing them in a freezer-safe bag. Label the bag with the date and type of dough. When ready to bake, thaw the desired portion of dough and allow it to come to room temperature before shaping and baking
Step 4: Place each portion into a resealable plastic bag.
One of the best ways to store dough for the freezer is to place each portion into a resealable plastic bag. This helps to protect the dough from freezer burn and keeps it fresh for longer periods of time.
To start, select a resealable plastic bag that’s large enough to comfortably fit the portion of dough you’re storing. It’s best to use bags that are specifically designed for freezer use, as they’re more durable and less likely to tear or leak.
Before placing the dough in the bag, lightly flour it to prevent it from sticking to the bag. Then, carefully transfer the dough portion into the bag, being careful not to crush or flatten it.
Once the dough is in the bag, it’s important to remove as much air as possible before sealing it. This can be done by gently squeezing the bag around the dough until all of the excess air has been pushed out. Some people use a straw to suck out the air from the bag, but this isn’t necessary if you’re able to remove the air by hand.
Step 5: Place the dough in the freezer and label.
Labeling the bags is important because it helps you to keep track of the type of dough and when it was frozen. This information will be useful when you’re ready to use the dough, as you’ll be able to determine how long it’s been frozen and whether it’s still fresh enough to use.
To label the bags, use a permanent marker to write the date and contents on the bag. Be sure to write the type of dough (e.g. pizza dough, bread dough, etc.) as well as the date that it was frozen. This will help you to identify the dough when you’re ready to use it.
Once you’ve labeled each bag, place them in the freezer in a flat, even position. It’s best to place them on a shelf or in a designated area of the freezer where they won’t be jostled or disturbed. Freeze the dough until you’re ready to use it. The amount of time it takes to thaw will depend on the size and type of dough. In general, it’s best to thaw the dough in the refrigerator overnight. This will allow it to thaw slowly and evenly, which will help it to retain its texture and flavor.
Other related questions
How do you defrost challah dough?
To defrost challah dough, remove the dough from the freezer and place it in the refrigerator overnight. This will allow the dough to thaw slowly and evenly. If you need to defrost the dough quickly, place it in a greased bowl and cover it with plastic wrap. Allow it to sit at room temperature for a few hours until it’s fully thawed. Avoid defrosting the dough in the microwave or oven, as this can cause it to partially cook or become too warm, which can affect the texture and rise of the bread.
Is it necessary to thaw challah dough before baking it?
Yes, it is necessary to thaw challah dough before baking it. If you try to bake the dough while it’s still frozen, it will not rise properly and may not cook evenly. Thaw the dough in the refrigerator overnight or at room temperature for a few hours before baking. Once it’s thawed, allow it to come to room temperature before shaping and baking to ensure the best texture and rise.
How long does it take to thaw frozen challah dough?
Thawing frozen challah dough depends on the size of the dough ball and the temperature of the environment. In general, it takes 4-5 hours to thaw a 1-pound dough ball at room temperature. If you prefer, you can thaw the dough overnight in the refrigerator. Thawing the dough slowly in the refrigerator is a good option if you want to bake the bread in the morning. Once thawed, allow the dough to come to room temperature before shaping and baking.
Can I refreeze my challah dough after it has been previously thawed?
It’s not recommended to refreeze challah dough after it has been previously thawed. When you freeze and thaw the dough, it can affect the texture and quality of the bread. If you refreeze the dough, it can lead to further deterioration in quality and potentially increase the risk of foodborne illness. To ensure the best quality bread, it’s best to only freeze dough once and use it within 3 months of freezing.
How can I tell if my frozen challah dough has gone bad?
If frozen challah dough has gone bad, it will have an off smell and may appear discolored or have mold growth. If the dough has been frozen for an extended period, it may also have freezer burn, which can cause it to be dry and have a grainy texture. To ensure that your frozen challah dough is still good, always label and date the bag when you freeze it and use it within 3 months. When thawing the dough, make sure it’s fully thawed before using it, and if you notice any signs of spoilage, discard the dough and do not use it.
Will my challah dough still rise properly after being frozen?
Challah dough may not rise as much after being frozen, but it should still rise properly if it’s thawed and allowed to rise at room temperature before baking. The yeast in the dough may lose some of its activity during freezing, but it should still be active enough to produce a decent rise. It’s important to follow the instructions for thawing and proofing the dough to ensure that it rises properly and has the best texture.
Should I let my challah dough come to room temperature before baking it?
Yes, you should let your challah dough come to room temperature before baking it. This is important to ensure that the dough has the best texture and rise. If you try to bake the dough when it’s too cold, it may not rise properly and may not cook evenly. Allow the dough to come to room temperature by letting it sit at room temperature for at least 30 minutes before shaping and baking. This will also make it easier to work with and shape the dough.
Can I freeze my challah dough after it has been baked into a loaf?
Yes, you can freeze a baked challah loaf. Once the loaf has cooled completely, wrap it tightly in plastic wrap or aluminum foil before placing it in a freezer-safe bag. Be sure to label the bag with the date and type of bread. Freeze the loaf for up to 3 months. When ready to use, let the loaf thaw at room temperature for a few hours before serving. It’s best to freeze the loaf whole and slice it after it’s been thawed. The texture and flavor may not be the same as freshly baked bread, but it’s still a good option if you have leftover bread or want to make ahead for later use.
Can I freeze leftover challah dough after making a loaf?
Yes, you can freeze leftover challah dough after making a loaf. Simply shape the leftover dough into a ball and wrap it tightly in plastic wrap or aluminum foil before placing it in a freezer-safe bag. Freeze the dough for up to 3 months. When ready to bake, thaw the dough in the refrigerator overnight or at room temperature for a few hours before shaping and baking. The dough may not rise as much as freshly made dough, but it should still produce a decent loaf.
Can I freeze my challah dough in a bread machine?
Yes, you can freeze challah dough that has been made in a bread machine. After the dough has been kneaded and risen in the bread machine, remove it from the machine and shape it into a ball. Place the dough in a freezer-safe bag, removing as much air as possible before sealing. Freeze for up to 3 months. When ready to bake, thaw the dough in the refrigerator overnight or at room temperature for a few hours before shaping and baking.
Can I freeze my dough with toppings, such as sesame seeds or poppy seeds?
It’s generally not recommended to freeze challah dough with toppings such as sesame or poppy seeds, as the seeds may become soggy and lose their texture during freezing. It’s best to add the toppings just before baking. If you do want to freeze the dough with toppings, you can sprinkle them on top after shaping the dough and before freezing. However, be aware that the toppings may not adhere as well to the dough after it’s frozen and thawed.
Can I freeze shaped challah loaves instead of dough?
Yes, you can freeze shaped challah loaves instead of dough. It’s best to freeze the loaves after shaping them but before the final rise. Place the shaped loaves on a baking sheet and freeze them until they’re solid. Then, wrap them tightly in plastic wrap or aluminum foil and place them in a freezer-safe bag. When you’re ready to bake, remove the loaf from the freezer, let it thaw and rise at room temperature, and bake as directed.
Can I freeze my challah dough after it has already risen?
Yes, you can freeze challah dough after it has already risen. However, it’s important to note that the dough may not rise as much during the second rise after it has been frozen. It’s best to freeze the dough before the second rise and then let it thaw and rise at room temperature before baking. This will ensure that the bread has a better texture and rises properly.
What are the benefits of freezing challah dough?
Freezing challah dough can be a convenient way to save time and ensure fresh bread. It allows you to prepare the dough ahead of time and then bake it when you’re ready. Freezing also helps to preserve the dough’s freshness, texture, and flavor. Plus, it gives you the flexibility to make fresh bread whenever you want, without having to go through the entire dough-making process every time.


