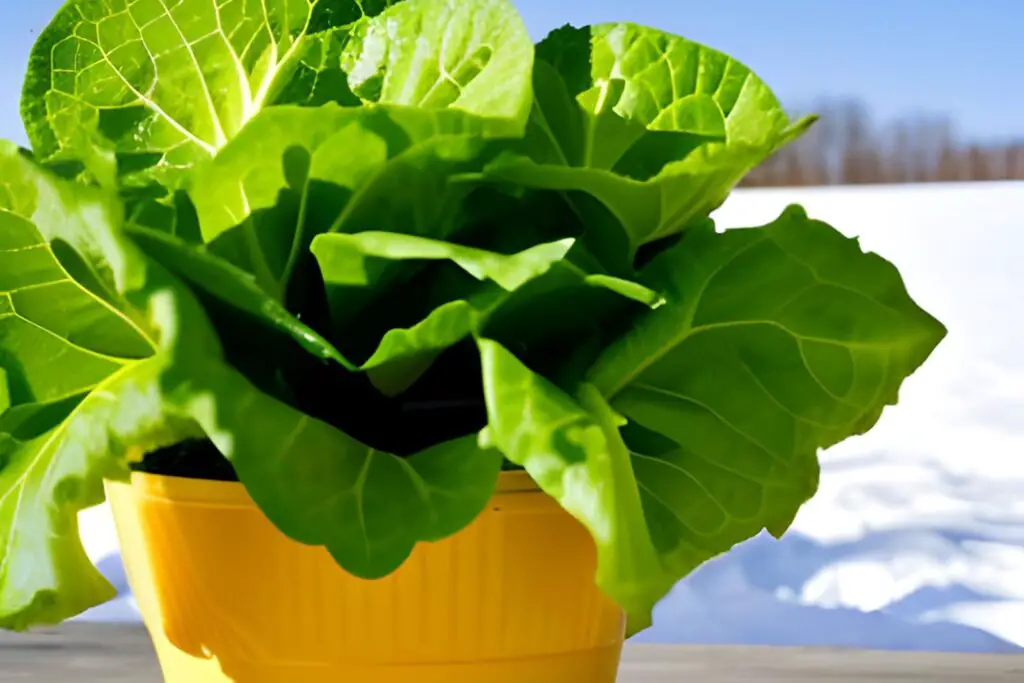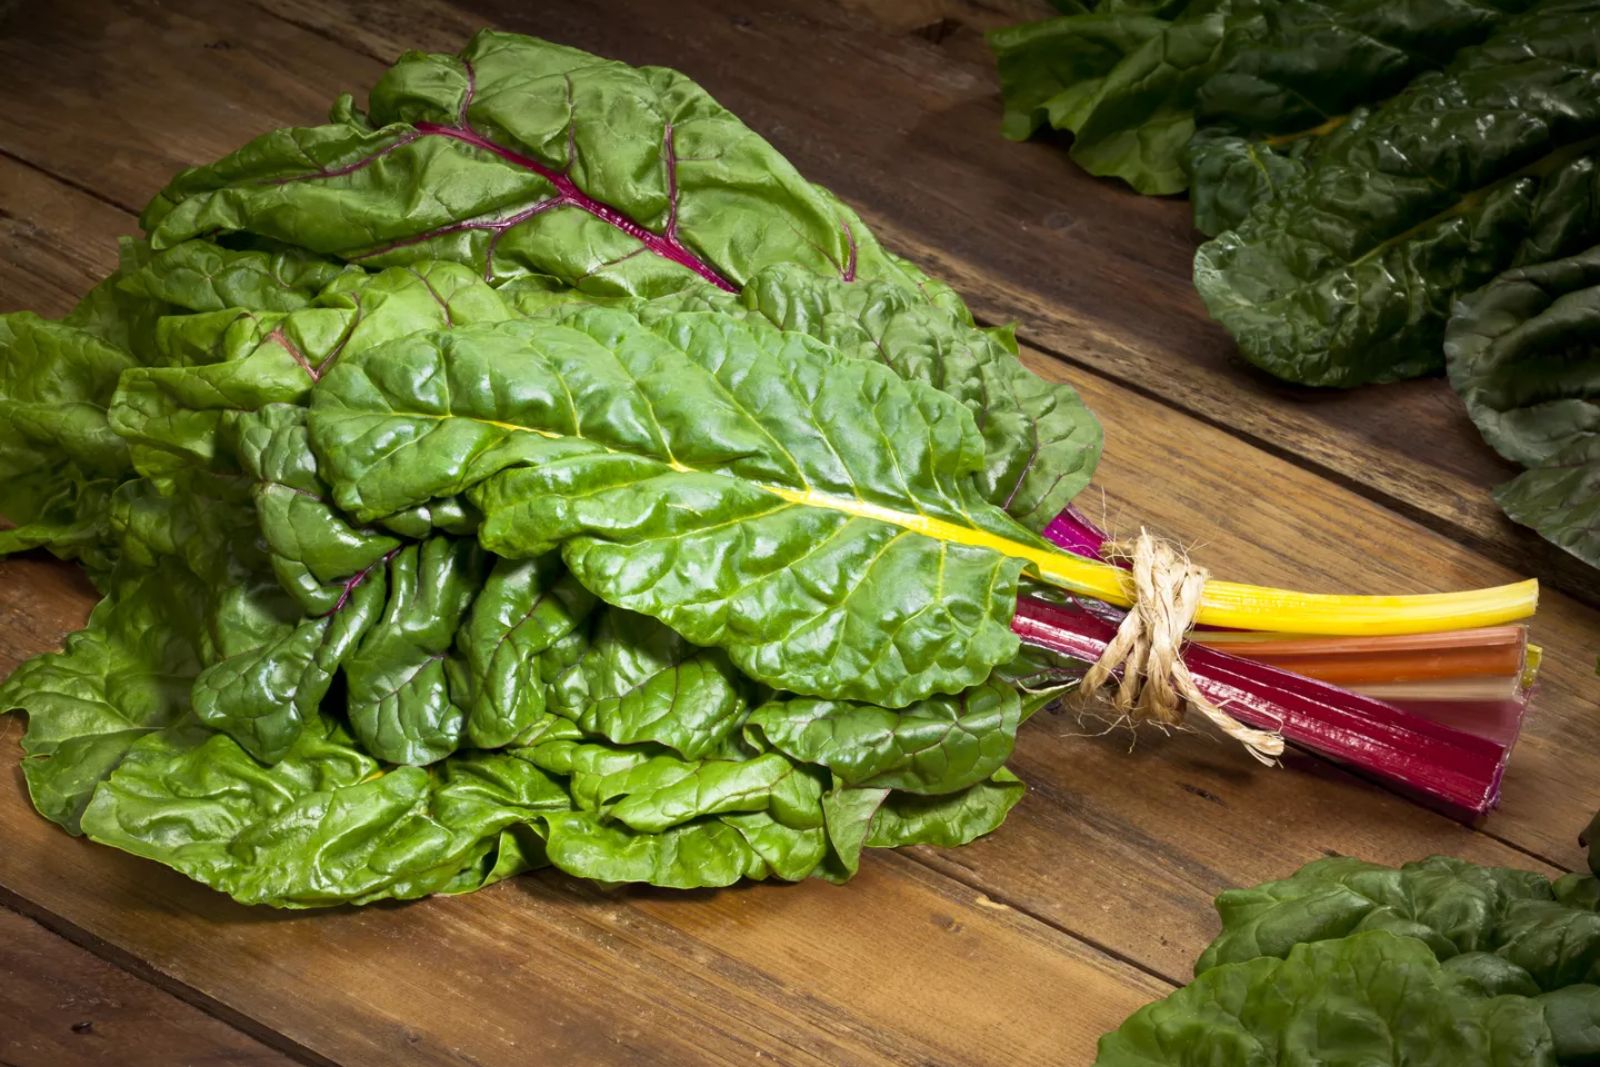
Chard, also known as Swiss chard or silverbeet, is a leafy green vegetable that belongs to the beet family. It is valued for its vibrant colors, earthy flavor, and nutritional benefits. Chard leaves can be green, red, or rainbow-colored, and they are commonly used in salads, soups, stir-fries, and other dishes. Freezing chard leaves is an excellent way to preserve their freshness and ensure a year-round supply of this versatile vegetable. By following a few simple steps, you can freeze chard leaves effectively while retaining their texture and flavor. This article provides a comprehensive guide on freezing chard leaves, allowing you to enjoy them whenever you desire.
Here’s a step-by-step guide on how to freeze chard leaves:
- Step 1: Select fresh chard leaves
- Step 2: Wash and trim the leaves
- Step 3: Blanch the chard leaves
- Step 4: Drain and dry the leaves
- Step 5: Arrange the leaves for freezing
- Step 6: Flash-freeze the chard leaves
- Step 7: Package and seal the chard leaves
- Step 8: Label and date the packages
- Step 9: Store in the freezer
Step 1: Select fresh chard leaves
When it comes to freezing chard leaves, selecting fresh and high-quality leaves is essential. Fresh chard leaves not only provide better flavor and texture but also retain their nutritional value during the freezing process. Here’s why it’s important to choose fresh chard leaves:
- Optimal flavor: Fresh chard leaves have a vibrant, earthy flavor that adds a delightful taste to your dishes. Choosing leaves that are free from blemishes or wilting ensures that you preserve the natural taste of the chard when you freeze it. Leaves that are past their prime may have a dull or bitter flavor, which can affect the overall taste of your frozen chard.
- Texture retention: Crisp and tender chard leaves freeze better than leaves that are already wilted or limp. When frozen, fresh chard leaves have a better chance of maintaining their texture and structure, so they won’t turn mushy or lose their integrity. This is especially important if you plan to use the frozen chard in dishes where texture matters, such as salads or stir-fries.
- Nutritional benefits: Chard is packed with essential vitamins, minerals, and antioxidants that offer numerous health benefits. Choosing fresh leaves ensures that you preserve these valuable nutrients even after freezing. Older or damaged leaves may have already started to lose some of their nutritional value, so selecting fresh chard ensures you get the maximum health benefits from your frozen greens.
To select fresh chard leaves, look for ones that have vibrant colors, such as deep green or vibrant red. Avoid leaves with any signs of discoloration, yellowing, or wilting, as these are indications of decreased freshness. Additionally, check for any blemishes or insect damage and choose leaves that are free from such flaws.
Step 2: Wash and trim the leaves
Washing and trimming chard leaves before freezing is an important step to ensure cleanliness, remove any dirt or debris, and prepare the leaves for optimal freezing. Here’s why it’s essential to wash and trim the leaves:
- Removal of dirt and debris: Chard leaves, like any other leafy vegetable, can accumulate dirt, sand, or other contaminants during growth and handling. Washing the leaves under cold running water helps to remove these unwanted particles, ensuring that your frozen chard remains clean and safe for consumption. This step is particularly crucial if you plan to use the chard leaves without blanching them first.
- Hygiene and food safety: Properly washing the chard leaves helps maintain good hygiene and reduces the risk of foodborne illnesses. By eliminating any potential contaminants, such as bacteria or pesticides, you ensure that the final frozen product is safe for consumption.
- Removal of tough stems: Chard stems can be fibrous and tough, making them less desirable to eat. Trimming off the tough stems before freezing allows you to focus on preserving the tender and flavorful leaves. Simply hold the chard leaf by the stem and use a sharp knife to carefully trim away the stems. Discard the trimmed stems or save them for other culinary purposes if desired.
- Elimination of damaged or discolored parts: Any damaged, wilted, or discolored portions of the chard leaves should be removed before freezing. These areas are more prone to spoilage and can negatively affect the quality of the frozen chard. By discarding these parts, you ensure that only the best and freshest portions of the leaves are frozen.
To wash and trim the chard leaves, start by placing them under cold running water, gently rubbing them to remove any dirt or debris. Pay extra attention to the folds and crevices of the leaves, as these areas tend to trap particles. After washing, pat the leaves dry with a clean kitchen towel or paper towels to remove excess moisture.
Trimming the tough stems can be done by holding the leaf at the stem’s base and using a knife to cut away the stem portion. Remove any damaged or discolored parts of the leaves as well, ensuring you only keep the healthy and vibrant portions.
Can I freeze chard stems separately from the leaves?
Yes, you can freeze chard stems separately from the leaves. Chard stems have a different texture and require a longer cooking time compared to the leaves. Freezing them separately allows you to utilize them in recipes where a firmer texture is desired, such as soups or stir-fries. Simply trim and freeze the stems in airtight containers or freezer bags, ensuring they are properly labeled for easy identification when needed.
Step 3: Blanch the chard leaves
Blanching chard leaves before freezing is a crucial step that helps preserve their color, texture, and nutrients. Blanching involves briefly boiling the leaves and then rapidly cooling them in an ice bath. Here’s why blanching is important when freezing chard leaves:
- Enzyme inactivation: Chard leaves contain natural enzymes that, if left untreated, can cause deterioration and loss of quality over time. Blanching helps inactivate these enzymes, slowing down their activity and preserving the color, texture, and flavor of the leaves during freezing. By briefly immersing the leaves in boiling water, the enzymes are deactivated, maintaining the chard’s overall quality.
- Color retention: Blanching helps retain the vibrant green or colorful hues of the chard leaves. The brief exposure to high heat during blanching helps to break down pigments responsible for discoloration and fading, resulting in frozen chard that looks visually appealing even after prolonged storage.
- Texture preservation: Blanching also plays a crucial role in preserving the texture of the chard leaves. The quick exposure to boiling water helps to soften the cell walls, making the leaves more pliable and less likely to become tough or mushy during freezing. This step ensures that the texture of the chard remains desirable when you thaw and cook it later.
- Nutrient retention: While blanching may cause some minor nutrient loss, it is an effective method for preserving the majority of the chard’s nutrients. The quick blanching process helps to lock in essential vitamins, minerals, and antioxidants, ensuring that the frozen chard retains its nutritional value.
To blanch the chard leaves, follow these steps:
- Bring a large pot of water to a rolling boil.
- While the water is heating, prepare an ice bath by filling a bowl or basin with cold water and adding plenty of ice cubes.
- Once the water is boiling, carefully submerge the chard leaves into the pot. Use tongs or a slotted spoon to ensure they are fully submerged.
- Blanch the leaves for about 2 minutes. This timing may vary slightly depending on the size and thickness of the leaves, but aim for a quick blanching to avoid overcooking.
- After 2 minutes, promptly remove the leaves from the boiling water and transfer them to the ice bath. This rapid cooling process halts the cooking and helps preserve the color and texture.
- Allow the leaves to cool completely in the ice bath for a few minutes.
- Once cooled, remove the chard leaves from the ice bath and let them drain thoroughly before proceeding with the freezing process.
Can I freeze chard without blanching it first?
Yes, you can freeze chard without blanching it first, but blanching is generally recommended for better results. Blanching helps to preserve the color, texture, and nutrients of the chard, and it also helps to deactivate enzymes that can cause loss of flavor and quality during storage. However, if you prefer to skip the blanching step, you can still freeze raw chard by washing and drying it thoroughly, then chopping or tearing it into desired sizes before packaging and freezing. Keep in mind that the texture and color may be slightly affected compared to blanched chard.
Step 4: Drain and dry the leaves
After blanching chard leaves and cooling them in an ice bath, it is crucial to drain and dry them before proceeding with the freezing process. Here’s why draining and drying the leaves is important:
- Excess moisture removal: Drainage and drying help eliminate any excess water clinging to the chard leaves. Removing excess moisture is vital because it prevents the formation of ice crystals during freezing. Ice crystals can cause freezer burn and negatively impact the texture and flavor of the chard when thawed. By draining and drying the leaves, you minimize the risk of freezer burn and maintain the overall quality of the frozen chard.
- Preventing sogginess: Properly draining and drying the chard leaves also helps prevent sogginess or excessive softening. If the leaves are stored with excess moisture, they can become mushy and lose their desirable texture. By removing the moisture, you ensure that the frozen chard retains its crispness and maintains an appealing texture after freezing and thawing.
To drain and dry the chard leaves, follow these steps:
- Remove the chard leaves from the ice bath, allowing any excess water to drip off naturally.
- Shake the leaves gently to remove any clinging water droplets.
- Lay a clean kitchen towel or a few layers of paper towels on a flat surface.
- Place the chard leaves on the towel or paper towels in a single layer.
- Gently pat the leaves dry using another clean kitchen towel or paper towels. Be careful not to crush or damage the leaves while patting them dry.
- Ensure that both sides of the leaves are adequately dried before proceeding to the next step of the freezing process.
Step 5: Arrange the leaves for freezing
Once you have drained and dried the chard leaves, the next step is to arrange them in a single layer on a baking sheet or tray before placing them in the freezer. Here’s why it’s important to arrange the leaves properly:
- Even freezing: By laying the chard leaves in a single layer without overlapping, you promote even freezing. When the leaves are spread out, air can circulate around them more effectively, allowing for uniform freezing. This ensures that the chard leaves freeze at the same rate, preventing the formation of ice crystals and maintaining their overall quality.
- Easy separation: Placing the chard leaves in a single layer prevents them from sticking together during freezing. If the leaves overlap, they can freeze together, making it difficult to separate and use individual leaves when needed. By arranging them without overlapping, you make it easier to portion and retrieve the desired amount of frozen chard for your recipes.
- Efficient storage: When the chard leaves are arranged in a single layer, it allows for efficient use of freezer space. Flat, evenly spaced leaves take up less space compared to a clumped or stacked arrangement. This allows you to maximize your freezer’s storage capacity and organize the frozen chard more effectively.
To arrange the chard leaves for freezing, follow these steps:
- Prepare a baking sheet or tray that fits comfortably in your freezer.
- Ensure the baking sheet or tray is clean and dry.
- Lay the chard leaves in a single layer on the baking sheet or tray.
- Make sure the leaves are not overlapping or touching each other. Leave some space between each leaf for proper airflow.
- If you have a large quantity of leaves, you may need to use multiple baking sheets or trays or freeze them in batches.
Step 6: Flash-freeze the chard leaves
Once you have arranged the chard leaves in a single layer on a baking sheet or tray, the next step is to flash-freeze them. Flash-freezing involves rapidly freezing the leaves to preserve their individual form and prevent them from clumping together. Here’s why flash-freezing is important and how to do it:
- Preservation of individual leaves: Flash-freezing the chard leaves ensures that each leaf freezes individually. By freezing them quickly, the leaves maintain their separate form, making it easier to remove only the desired amount of frozen chard later. This allows you to use the frozen leaves more conveniently in recipes without having to thaw and separate a clump of frozen greens.
- Prevention of clumping: Flash-freezing prevents the chard leaves from sticking or clumping together during the freezing process. If the leaves were to freeze slowly or in contact with each other, they could freeze together and become difficult to separate. Flash-freezing helps maintain their individuality and prevents them from freezing into a solid mass.
To flash-freeze the chard leaves, follow these steps:
- Place the baking sheet or tray with the arranged chard leaves in the freezer.
- Make sure the leaves are on a flat surface and not touching each other.
- Let the chard leaves freeze in the freezer for about 1 to 2 hours, or until they are firm and completely frozen.
- The exact freezing time may vary depending on the thickness of the leaves and the temperature of your freezer. Check the leaves periodically and ensure they are fully frozen before proceeding to the next step.
Step 7: Package and seal the chard leaves
After flash-freezing the chard leaves, it’s important to package and seal them properly to protect them from freezer burn and maintain their quality during storage. Here’s why packaging and sealing are crucial and how to do it effectively:
- Protection against freezer burn: Freezer burn occurs when frozen food is exposed to air, causing dehydration and oxidation. Proper packaging and sealing help create a barrier that reduces air exposure, minimizing the risk of freezer burn. By protecting the chard leaves from freezer burn, you maintain their flavor, texture, and nutritional value.
- Preservation of quality: Packaging and sealing the chard leaves securely contribute to preserving their quality over an extended period. The airtight packaging helps maintain the freshness and prevents the absorption of odors from other items in the freezer. It also keeps the leaves protected from moisture, which can lead to freezer burn and deterioration of texture and taste.
- Convenience and organization: Properly packaged and sealed chard leaves make it easier to store and retrieve them from the freezer. By using freezer-safe bags or airtight containers, you can neatly organize the frozen leaves and easily access the desired amount when needed. This eliminates the need to thaw a large clump of frozen chard and allows for more flexible usage in various recipes.
To package and seal the chard leaves effectively, follow these steps:
- Transfer the flash-frozen chard leaves into freezer-safe bags or airtight containers. Choose packaging options that are specifically designed for freezer use to ensure optimal preservation.
- Fill the bags or containers with the chard leaves, leaving some space at the top to allow for expansion during freezing.
- Squeeze out any excess air from the bags or containers as much as possible before sealing. Removing excess air helps prevent freezer burn and maintains the quality of the chard leaves.
- Seal the bags securely, ensuring they are tightly closed. If using containers, ensure the lids are sealed tightly to provide an airtight seal.
- If using bags, consider double-bagging for added protection. Place the sealed bags in a second bag for an extra layer of insulation against freezer burn.
Can I freeze chard in glass containers?
Yes, you can freeze chard in glass containers, but it’s important to take some precautions. Choose glass containers that are specifically labeled as freezer-safe to ensure they can withstand the temperature changes. Leave enough headspace in the container to accommodate expansion during freezing. Additionally, allow the chard to cool before transferring it to the glass container to avoid thermal shock and potential breakage.
Step 8: Label and date the packages
Labeling and dating the packages containing the frozen chard leaves is a crucial step in proper freezer organization and maintaining the quality of the leaves. Here’s why labeling and dating are important and how to do it effectively:
- Tracking storage time: Labeling the packages with the contents and date of freezing helps you keep track of the storage time of the chard leaves. This information allows you to monitor their freshness and ensures that you use them within the recommended time frame. By knowing the date of freezing, you can prioritize using the oldest packages first to prevent them from being stored for too long and potentially losing quality.
- Easy identification: Labeling the packages with the contents helps you quickly identify them in your freezer. When you have multiple packages of frozen chard or other items, clear labeling saves time and prevents you from having to open each package to determine its contents. This makes meal planning and preparation more efficient.
- Quality maintenance: Properly labeled packages contribute to maintaining the quality of the chard leaves. With clear labeling, you can easily identify and use the frozen chard within the recommended storage period. This ensures that you consume the leaves when they are at their best quality, with optimal flavor, texture, and nutritional value.
To label and date the packages effectively, follow these steps:
- Using a marker, write the contents of the package on the label or directly on the freezer-safe bag or container. In this case, write “Chard Leaves” or “Frozen Chard.”
- Write the date of freezing next to the contents. Include the day, month, and year. For example, “Frozen Chard or “Chard Leaves – DD/MM/YYYY.”
- Place the label in a visible location on the package. If using freezer bags, attach the label to the outside with tape or use self-adhesive freezer labels. If using containers, place the label on the lid or side of the container.
Step 9: Store in the freezer
After properly labeling and dating the packages of frozen chard leaves, the final step is to store them in the freezer. It’s important to ensure that the packages are stored upright to prevent potential damage and maintain the quality of the chard leaves. Here’s why proper freezer storage is crucial and how to do it effectively:
- Preventing damage: Storing the chard leaf packages upright helps prevent potential damage to the leaves. When stored upright, there is less risk of the packages getting crushed or squashed, which could result in damaged leaves. Maintaining their integrity during storage ensures that the chard leaves remain usable and in good condition.
- Optimizing space: Storing the packages upright allows for efficient use of freezer space. Upright storage minimizes the risk of packages toppling over or taking up unnecessary space. This ensures that you can utilize the available freezer space more effectively and potentially store other items alongside the chard leaves.
- Easy access and organization: Storing the chard leaf packages upright makes it easier to identify and access them when needed. You can arrange the packages in a way that allows you to see their labels, facilitating quick and convenient retrieval. Additionally, storing them upright promotes better organization in the freezer, enabling you to maintain a neat and well-structured storage system.
To store the chard leaf packages effectively, follow these steps:
- Clear a space in your freezer where the packages can be stored upright without being disturbed.
- Place the labeled packages in the designated space, ensuring they are standing upright and not at risk of being toppled over.
- Arrange the packages in a way that allows for easy visibility of the labels, making it simpler to identify the contents and dates.
How long can I store frozen chard in the freezer?
Frozen chard can be stored in the freezer for approximately 8 to 12 months. While it remains safe to consume beyond that time, the quality and flavor may gradually decline. To maximize its shelf life, it is crucial to store the frozen chard in airtight containers or freezer bags to prevent freezer burn. Labeling the containers with the date of freezing can help keep track of its storage time.
Other related questions
How do I defrost frozen chard?
To defrost frozen chard, the best method is to transfer it from the freezer to the refrigerator and allow it to thaw slowly overnight or for about 8 to 12 hours. This gradual thawing helps preserve the texture and flavor of the chard. Alternatively, you can place the frozen chard in a sealed plastic bag and submerge it in cold water for a quicker thawing process. Avoid using hot water as it can lead to uneven thawing and potentially affect the quality of the chard. Once thawed, gently squeeze out any excess moisture before using the chard in your recipes.
Can I refreeze previously thawed chard?
It is generally not recommended to refreeze previously thawed chard. When you thaw and then refreeze chard, it undergoes multiple temperature fluctuations, which can impact its quality, texture, and flavor. Additionally, each freeze-thaw cycle can contribute to the growth of bacteria and degrade the overall freshness of the chard. To maintain the best quality, it is advisable to only thaw the amount of chard you intend to use and consume it promptly.
How do I know if my frozen chard has gone bad?
To determine if frozen chard has gone bad, you can observe certain signs. Firstly, check for any discoloration or darkening of the leaves or stems. If the chard appears brown, mushy, or has a slimy texture, it is likely spoiled. Additionally, an off or unpleasant odor is an indication of spoilage. If you notice any of these signs, it’s best to discard the frozen chard to avoid any risk of foodborne illness.
Can I use frozen chard with the fresh ones?
Yes, you can use frozen chard alongside fresh chard in your recipes. Combining both fresh and frozen chard can be a convenient way to utilize your ingredients. However, keep in mind that frozen chard may have a slightly different texture compared to fresh chard after it is cooked or thawed. Adjusting the cooking time accordingly can help ensure that both the fresh and frozen chard are cooked to the desired consistency.
Can I freeze cooked chard?
Yes, you can freeze cooked chard. However, it’s important to note that the texture of the chard may change slightly after freezing and thawing. To freeze cooked chard, allow it to cool completely, then transfer it to airtight containers or freezer bags, removing as much air as possible. Properly labeled, it can be stored in the freezer for several months, but be aware that the texture may be softer upon thawing.
How does freezing affect the texture of chard?
Freezing can slightly affect the texture of chard. The freezing process causes ice crystals to form, which can rupture the cell walls of the chard, leading to a softer texture upon thawing. This is why blanching before freezing is recommended as it helps to preserve the texture by partially cooking the chard and minimizing the impact of freezing on its cell structure.
Can I freeze chard with other vegetables?
Yes, you can freeze chard with other vegetables. Combining chard with other vegetables is a convenient way to create mixed vegetable blends for future use. However, it’s important to consider the compatibility of the vegetables in terms of taste, texture, and cooking times. Ensure that all the vegetables are properly prepared, such as blanching them individually if needed, before combining them in a freezer-safe container or bag for freezing.

