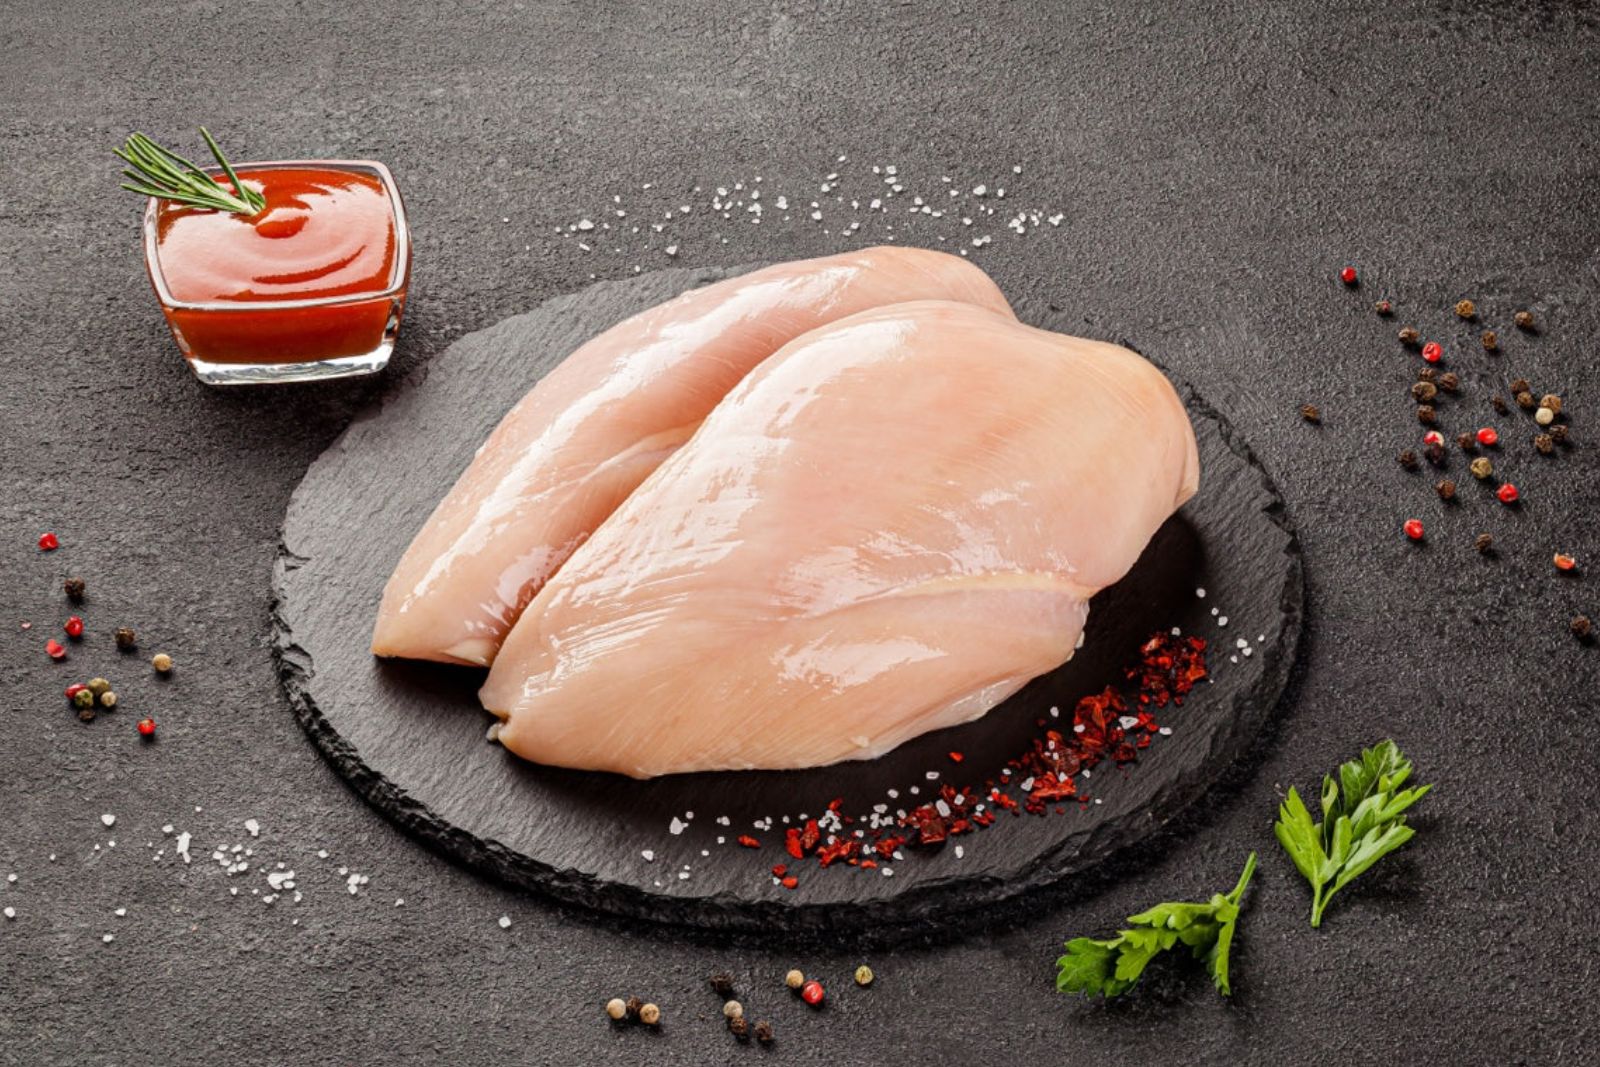
Chicken fillets, also known as boneless, skinless chicken breasts, are a versatile and lean protein option that can be used in a wide range of recipes. Whether you prefer grilling, baking, or sautéing, chicken fillets offer a blank canvas for a variety of flavors and culinary creations. However, if you find yourself with excess chicken fillets or want to stock up for later use, freezing them is a practical solution. Freezing chicken fillets not only helps extend their shelf life but also allows for convenient meal planning and preparation. In this guide, we will explore the proper techniques and tips for freezing chicken fillets, ensuring they retain their quality and taste so you can enjoy them in a variety of dishes whenever you desire.
Here are the simple steps to freeze chicken fillets:
Step 1: Select Fresh Chicken Fillets
When freezing chicken fillets, it is crucial to start with fresh, high-quality fillets. Here’s why this step is important and how to choose the best fillets:
Selecting fresh chicken fillets ensures that you freeze meat that is safe to eat and will maintain its quality during storage. Fresh fillets have a better taste and texture compared to those that have been sitting for too long.
To begin, find a reputable source for purchasing chicken fillets. Consider local butchers, farmers’ markets, or grocery stores known for their high-quality meat. These sources often have strict standards for handling and storage, ensuring that you get the freshest fillets possible.
When examining the fillets, look for ones that are plump and firm. Gently press the fillets with your fingers to feel their texture. They should be resilient and bounce back rather than leaving an indentation. Avoid fillets that feel slimy or have a strong odor, as these are signs of spoilage.
Additionally, fresh chicken fillets typically have a pinkish color. While the color may vary depending on the type of chicken and its diet, avoid fillets that appear gray or have discolored patches, as these could indicate spoilage.
Always check the expiration date on the packaging or ask the seller about the freshness of the fillets. Avoid purchasing chicken fillets that have exceeded their expiration date, as they may have already started to deteriorate in quality.
Step 2: Wash and Pat Dry the Fillets
Properly washing and drying chicken fillets before freezing is an essential step to ensure food safety and maintain the quality of the meat. Here’s why this step is important and how to do it effectively:
Thoroughly washing the chicken fillets under cold running water helps remove any surface dirt, bacteria, or other contaminants that may be present. This step is particularly important because raw poultry can potentially carry harmful bacteria such as Salmonella or Campylobacter, which can cause foodborne illnesses if consumed.
To wash the fillets, place them under cold running water in the sink. Gently rub the surface of the fillets with your hands or use a soft brush to remove any visible debris. Ensure that the water is running continuously to help wash away any contaminants effectively.
It’s crucial to note that washing chicken fillets should only be done with water, without using any detergents or soaps. These cleaning agents are not necessary and can actually introduce additional chemicals that are not safe for consumption.
After washing, it is essential to pat dry the chicken fillets thoroughly. Excess moisture on the surface of the fillets can lead to the formation of ice crystals during freezing, which can negatively impact the texture and quality of the meat.
To pat dry the fillets, use clean paper towels and gently press them against the surface of each fillet. Absorb as much moisture as possible, being careful not to apply excessive pressure that could damage the meat.
Should I blanch chicken fillets before freezing them?
Blanching chicken fillets before freezing them is a recommended step to help maintain their quality during storage. Blanching involves briefly cooking the fillets in boiling water or steam, followed by rapid cooling in ice water. This process helps to deactivate enzymes that can cause flavor and texture changes, as well as remove any surface bacteria. Blanching also helps to preserve the color and nutrients of the chicken fillets, resulting in better overall quality after thawing and cooking.
Step 3: Wrap the Fillets Individually
Individually wrapping chicken fillets before freezing is a crucial step to maintain their quality and protect them from freezer burn. Here’s why this step is important and how to do it effectively:
When chicken fillets are exposed to the cold, dry air in the freezer, they can develop freezer burn. Freezer burn occurs when the moisture within the meat evaporates, leaving it dehydrated and causing changes in texture and flavor. By individually wrapping each fillet, you create a protective barrier that helps prevent freezer burn.
There are two common options for wrapping chicken fillets: plastic wrap and aluminum foil. Both materials serve the purpose of sealing the fillets tightly, preventing air and moisture from reaching the meat.
If using plastic wrap, start by tearing off a piece that is large enough to completely enclose the fillet. Place the fillet in the center of the plastic wrap and fold the sides over, ensuring a snug fit. Roll the fillet in the plastic wrap, pressing gently to eliminate any air pockets. Repeat this process for each fillet.
Alternatively, aluminum foil can also be used for wrapping the fillets. Similar to plastic wrap, tear off a piece that is large enough to cover the fillet completely. Place the fillet in the center of the foil and fold the sides over, creating a tight seal. Roll the fillet in the foil, pressing gently to remove any air. Repeat the process for each fillet.
Step 4: Place the Wrapped Fillets in a Freezer Bag
After individually wrapping the chicken fillets, the next step is to transfer them to a freezer bag. This step is important for providing an additional layer of protection against freezer burn and maintaining the quality of the fillets. Here’s why this step is crucial and how to do it effectively:
Freezer bags are specifically designed for long-term storage in the freezer. They are thicker and more durable than regular plastic bags, providing better insulation and protection against temperature fluctuations.
When placing the wrapped fillets in the freezer bag, it’s important to squeeze out any excess air from the bag. Air contains moisture and can contribute to freezer burn and the deterioration of the meat’s quality. Removing as much air as possible helps maintain the freshness of the fillets during freezing.
To remove excess air, partially seal the bag, leaving a small opening. Gently press down on the bag, starting from the bottom, to push out the air. Once most of the air is removed, quickly seal the bag tightly to prevent any air from reentering.
Alternatively, if you have a vacuum sealer, you can use it to remove air and create an airtight seal. Vacuum sealers remove the air from the bag, creating a vacuum environment that further protects the fillets from freezer burn and oxidation.
To use a vacuum sealer, place the wrapped fillets in a vacuum-sealable bag. Follow the manufacturer’s instructions for your specific vacuum sealer model to remove the air and create a secure seal.
Step 5: Label and Date the Bag
Labeling and dating the freezer bag containing the chicken fillets is a crucial step in organizing your freezer and ensuring proper rotation of frozen foods. Here’s why this step is important and how to do it effectively:
Labeling the freezer bag allows you to easily identify its contents without having to open or guess what’s inside. By specifying that it contains chicken fillets, you can quickly locate them when needed, saving time and reducing the chance of freezer burn from prolonged exposure to warmer temperatures.
Additionally, dating the freezer bag is essential for practicing proper food rotation. It helps you keep track of the storage time and ensures that you use the oldest fillets first. This is important because frozen foods can lose quality over time, and using them within recommended time frames ensures optimal taste and texture.
To label the freezer bag, use a marker or a pen with permanent ink. Write clearly and legibly to avoid confusion. Include the contents (chicken fillets) and the date of freezing. The date should include the month, day, and year.
By labeling and dating the freezer bag, you establish an organized system that allows you to keep track of your frozen chicken fillets and ensures you use them within the recommended storage time. This helps maintain the quality and taste of the fillets, contributing to a better culinary experience when you eventually thaw and cook them.
Proper labeling and organization also make it easier to manage your freezer inventory and plan meals efficiently, preventing food waste and ensuring that you make the most of your frozen chicken fillets.
Step 6: Store in the Freezer
Once you have properly labeled and dated the freezer bag containing the chicken fillets, it’s time to store them in the freezer. Proper storage ensures the longevity and quality of the fillets. Here’s why this step is important and how to do it effectively:
- Freezer placement: Choose a suitable spot in the freezer to store the chicken fillets. Ensure that the area is free from obstructions and that the fillets won’t be crushed or disturbed by other items. Placing them in a designated area helps maintain their shape and prevents potential damage during freezing.
- Temperature control: Set your freezer to the recommended temperature for freezing, typically around 0°F (-18°C) or below. Maintaining a consistent and sufficiently low temperature is crucial for preserving the quality of the chicken fillets. Fluctuations in temperature can lead to texture degradation and loss of flavor.
- Storage duration: Take note of the recommended storage duration for frozen chicken fillets. This information can vary depending on the type of fillets and packaging. Generally, chicken fillets can be stored in the freezer for up to 9 to 12 months. However, it’s advisable to use them within 3 to 6 months for the best quality and taste.
- Organization: Arrange the labeled freezer bag with the chicken fillets in a way that allows for easy access and visibility. Consider using bins, dividers, or shelves to maintain an organized freezer. This helps prevent unnecessary searching and reduces the risk of items getting lost or forgotten in the freezer.
Other related questions
How do you defrost chicken fillets?
There are three safe methods to defrost chicken fillets. The first method is to thaw them in the refrigerator, allowing for a gradual thawing process. The second method is to use the defrost setting on a microwave, making sure to cook the fillets immediately after thawing. The third method is to submerge the fillets in a sealed plastic bag in cold water, changing the water every 30 minutes until fully thawed.
Can you refreeze chicken fillets?
Refreezing chicken fillets is generally not recommended due to safety concerns. When raw chicken is thawed and then refrozen, it can lead to bacterial growth and the potential for foodborne illnesses. To ensure food safety, it is best to cook the thawed chicken fillets and consume them promptly rather than refreezing them.
How do I know if the chicken fillets have gone bad after being frozen?
To determine if frozen chicken fillets have gone bad, several signs should be considered. Look for any unusual discoloration, such as gray or brown patches, as well as an off or sour odor. Additionally, examine the texture of the fillets; if they appear slimy or have a mushy consistency, it is an indication of spoilage. When in doubt, it is best to discard the chicken fillets to prevent the risk of foodborne illness.
Can I freeze chicken fillets that have been marinated?
Yes, it is possible to freeze chicken fillets that have been marinated. Marinating the fillets adds flavor and can enhance their taste after thawing and cooking. Before freezing, ensure that the marinated chicken fillets are properly stored in airtight containers or freezer bags to prevent freezer burn and maintain their quality.
Can you freeze chicken fillets with bones, or is boneless preferred?
Chicken fillets are commonly preferred to be boneless when freezing, as it simplifies storage and cooking processes. However, it is possible to freeze chicken fillets with bones intact if desired. Freezing bone-in chicken fillets may require additional packaging considerations to prevent freezer burn and maintain optimal quality during storage.
Are there any special considerations for freezing marinated or breaded chicken fillets?
Yes, there are special considerations for freezing marinated or breaded chicken fillets. When freezing marinated fillets, it’s important to ensure that the chicken is fully coated in the marinade and placed in an airtight container or bag to prevent freezer burn. For breaded chicken fillets, it is recommended to partially cook them before freezing to ensure the breading stays crispy upon reheating. Proper packaging and labeling are crucial for both marinated and breaded chicken fillets to maintain their flavor and texture during freezing and thawing.

