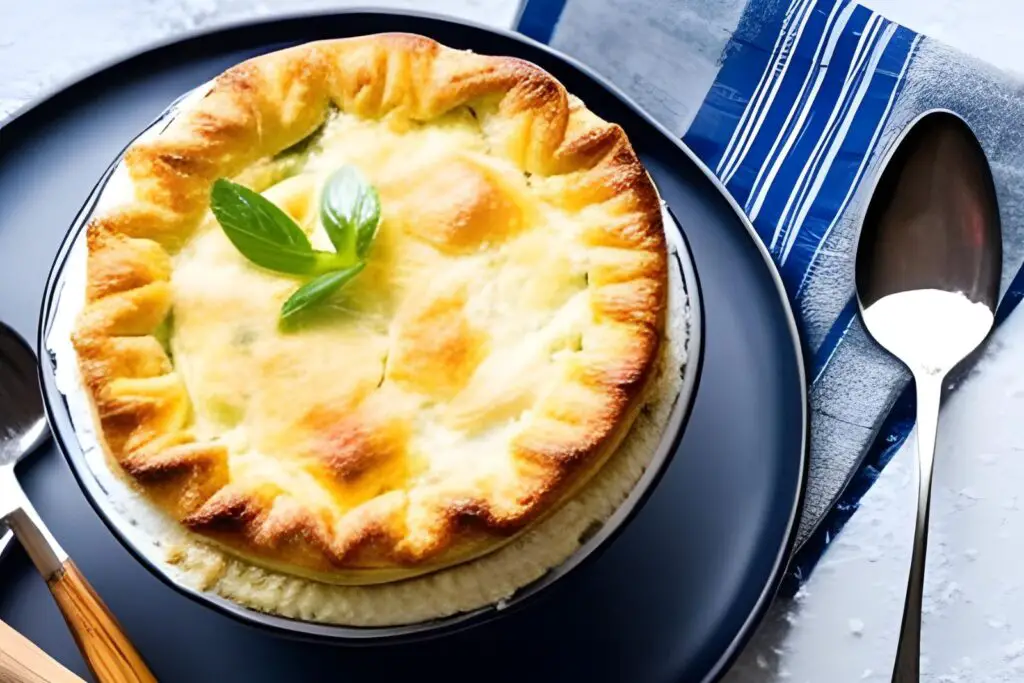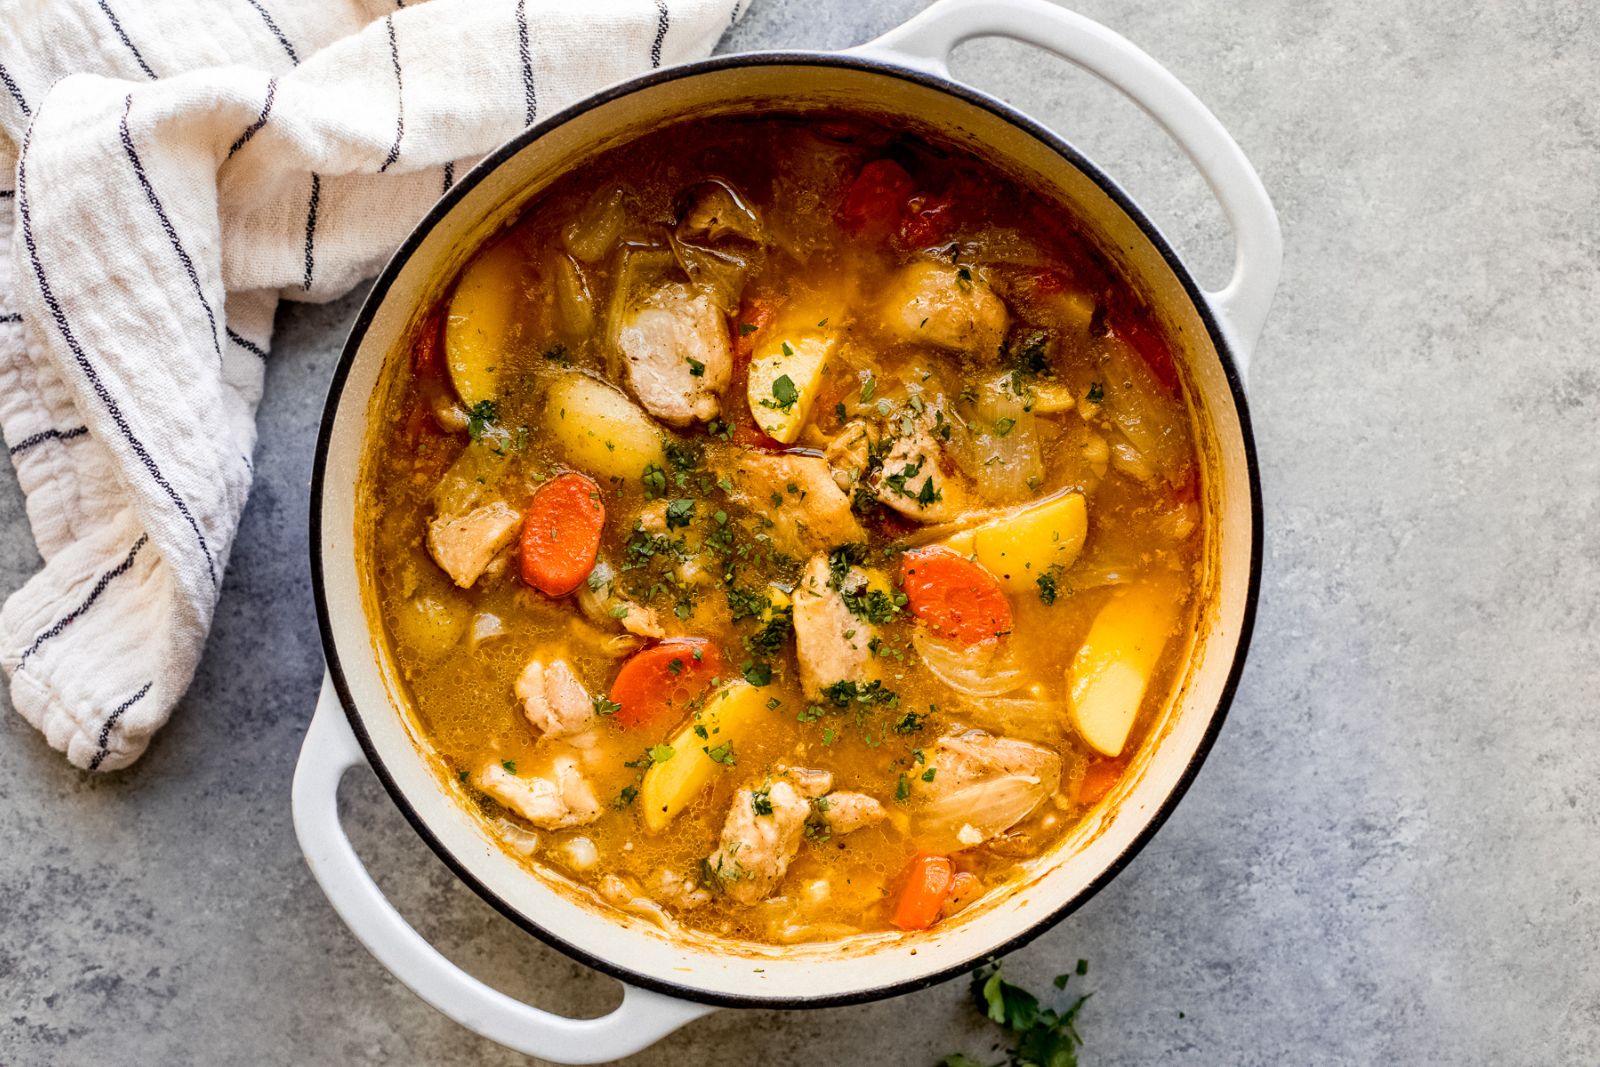
Chicken stew, a hearty and comforting dish, is a classic favorite that warms both body and soul. This flavorful one-pot meal brings together tender chicken, aromatic herbs, vegetables, and a rich broth, creating a delightful medley of flavors. Whether enjoyed on a chilly evening or as a satisfying family meal, chicken stew offers a nourishing and satisfying experience. If you find yourself with leftovers or want to prepare a large batch of chicken stew in advance, freezing is an excellent option. Freezing chicken stew allows you to preserve its flavors and textures, ensuring that you can enjoy this comforting dish whenever you desire, with minimal effort. In this guide, we will explore the best methods for freezing chicken stew, from proper packaging to storage techniques, so you can have a ready-to-reheat meal that tastes just as delicious as the day it was made. Join us as we uncover the secrets of freezing chicken stew and unlock the convenience of having a comforting bowl of this savory goodness whenever you need it.
Here are the simple steps to freeze chicken stew:
Step 1: Prepare the Chicken Stew
To begin the process of freezing chicken stew, it is essential to have a well-prepared batch that is cooked to perfection and packed with flavors. Follow these steps to prepare a delicious chicken stew before moving on to the freezing process:
- Gather the ingredients: Collect all the necessary ingredients for your chicken stew, including chicken pieces (such as bone-in or boneless), vegetables (such as onions, carrots, celery), herbs (such as thyme, rosemary), spices (such as salt, pepper, paprika), and any additional seasonings or flavorings you prefer.
- Cut and season the chicken: If using whole chicken pieces, carefully cut them into smaller, manageable sizes. Season the chicken generously with salt and pepper or any other preferred spices to enhance its flavor.
- Sear the chicken: Heat a large pot or Dutch oven over medium-high heat. Add a small amount of oil or butter and sear the chicken pieces until they develop a golden brown color on all sides. This step adds depth and richness to the stew.
- Add vegetables and aromatics: Once the chicken is seared, add the chopped onions, carrots, celery, and any other vegetables you desire. Sauté them for a few minutes until they begin to soften and release their flavors. This creates a flavorful base for the stew.
- Add herbs and spices: Toss in the herbs, such as thyme or rosemary, and the desired spices to season the stew. The choice of herbs and spices can vary depending on your personal taste preferences. Stir everything together to coat the ingredients evenly.
- Pour in liquid: Add enough liquid to cover the chicken and vegetables. This can be chicken broth, vegetable broth, water, or a combination of these. The liquid helps create the stew’s broth and ensures all the ingredients are properly cooked and infused with flavor.
- Bring to a simmer: Increase the heat to bring the mixture to a gentle simmer. Once simmering, reduce the heat to low and cover the pot. Allow the stew to simmer for an extended period, typically around 1 to 2 hours. This slow cooking process allows the flavors to meld together, resulting in a rich and savory chicken stew.
- Adjust seasoning: Taste the stew and adjust the seasoning as needed. Add more salt, pepper, or spices according to your taste preferences. Remember that the flavors will intensify slightly after freezing, so it’s better to slightly under-season the stew at this stage.
By preparing the chicken stew, you will have a delicious and well-seasoned chicken stew ready to be frozen. The cooking process ensures that the flavors have developed, and the ingredients are tender and infused with the aromatic herbs and spices.
Step 2: Let the Stew Cool
Once you have finished cooking the chicken stew to perfection, it’s important to allow it to cool down before proceeding with the freezing process. Cooling the stew properly is crucial to maintain its quality during freezing. Here’s why this step is important:
- Prevent condensation: When hot or warm food is immediately placed in a freezer, it can create condensation inside the container. This condensation can lead to the formation of ice crystals, which can negatively impact the texture and taste of the stew when it is thawed and reheated. Allowing the stew to cool down to room temperature helps minimize the chances of condensation occurring.
- Preserve flavors and textures: Cooling the stew allows the flavors to settle and meld together even further. This step helps the ingredients to retain their individual flavors while also allowing them to blend harmoniously. Additionally, cooling the stew helps maintain its desired texture, ensuring that the vegetables and meat remain tender and not overcooked during the freezing process.
Here’s how to properly cool the chicken stew:
- Remove from heat: Once the chicken stew has finished cooking, remove it from the heat source, whether it’s a stovetop burner or an oven.
- Allow natural cooling: Place the pot or cooking vessel containing the stew on a heat-safe surface, such as a cooling rack or trivet. Leave it uncovered to let the heat dissipate naturally and the stew to cool down gradually.
- Stir occasionally: While the stew is cooling, gently stir it from time to time. This helps to distribute the heat evenly and prevent hot spots from forming, which could delay the cooling process.
- Speed up cooling: If you’re in a hurry and need to cool the stew more quickly, you can place the pot in a larger container filled with ice water. Stir the stew occasionally to promote faster cooling. However, avoid adding ice directly to the stew as it may dilute the flavors.
- Check the temperature: Use a food thermometer to monitor the stew’s temperature. It should reach room temperature (around 68°F to 72°F or 20°C to 22°C) before you proceed with transferring it to freezer-safe containers.
Remember, it’s important not to rush this cooling process. Placing hot stew directly into freezer containers can lead to unwanted condensation and compromised texture and flavor. Taking the time to let the stew cool properly is a crucial step in ensuring the best quality chicken stew after freezing.
Step 3: Choose Freezer-Safe Containers
Selecting the right containers for freezing your chicken stew is crucial to maintain its quality and prevent freezer burn. Freezer-safe containers are designed to withstand the low temperatures of the freezer and effectively protect the stew from air and moisture. Follow these guidelines when choosing freezer-safe containers for your chicken stew:
- Material options: There are several types of containers suitable for freezing chicken stew:
- Plastic containers with airtight lids: Look for containers specifically labeled as freezer-safe. These containers are made from durable plastic that can withstand freezing temperatures without cracking or warping. The airtight lids provide a secure seal, preventing air and moisture from entering the container.
- Heavy-duty freezer bags: Freezer bags are a convenient option for storing chicken stew, especially if you want to save space. Choose high-quality freezer bags that are thick and designed for freezing. Ensure they have a reliable zip-top closure to maintain a tight seal and prevent leaks.
- Freezer-safe glass jars: If you prefer glass containers, opt for jars specifically labeled as freezer-safe. These jars are made with thick glass that can handle freezing temperatures without shattering. Look for jars with tight-fitting lids or consider using plastic storage caps designed for freezing.
- Size and shape: Consider the size and shape of the containers based on your portioning needs. You may choose individual-sized containers for single servings or larger containers for family-sized portions. Additionally, selecting containers with a rectangular or square shape can help maximize freezer space and facilitate easy stacking.
- Clean and dry containers: Before filling the containers with the chicken stew, ensure they are clean and dry. Wash the containers with warm, soapy water, rinse thoroughly, and allow them to air dry. Any residual moisture can lead to ice formation and compromise the quality of the stew during freezing.
By selecting the appropriate freezer-safe containers, you can ensure that your chicken stew remains well-preserved during freezing. The containers will protect the stew from air exposure and prevent freezer burn, ultimately preserving its flavor, texture, and quality.
Step 4: Portion the Stew
Portioning your chicken stew before freezing is a practical approach that offers convenience and flexibility when it comes to thawing and using the stew later. By dividing the stew into individual or family-sized portions, you can easily thaw and heat up only the amount you need, without having to defrost the entire batch. Here’s why portioning is beneficial and how to do it effectively:
- Easy thawing: When the chicken stew is frozen in individual servings or smaller portions, it becomes much easier to thaw the exact amount you require for a meal. This is especially useful when you’re cooking for one or have different portion needs within your household.
- Avoid waste: Portioning the stew allows you to avoid unnecessary waste. Instead of defrosting the whole batch and potentially having leftovers that might go to waste, you can defrost and consume only what you need. This helps in reducing food waste and maximizing the utility of your frozen chicken stew.
- Flexible meal options: By portioning the stew, you have the flexibility to use it in various ways. You can thaw a single portion for a quick and easy meal or defrost multiple portions for larger gatherings or family dinners. Portioning gives you the freedom to adapt the stew to different occasions and serving sizes.
Here’s how to effectively portion your chicken stew:
- Choose portion sizes: Determine the portion sizes that work best for your needs. Consider individual servings or larger portions for a family meal. Keep in mind the number of people you typically serve and any specific dietary requirements.
- Prepare containers: Ensure you have enough freezer-safe containers for the portions you plan to create. These can be individual containers or larger ones for family-sized portions.
- Ladle into containers: Using a ladle or a spoon, carefully transfer the cooled chicken stew into the chosen containers. Fill each container with the desired portion size, leaving a little headspace at the top to allow for any expansion during freezing.
- Seal the containers: Once you’ve filled each container with the appropriate portion of chicken stew, securely seal the containers. If using plastic containers, ensure the lids are tightly closed. For freezer bags, squeeze out excess air before sealing. If using glass jars, ensure the lids are screwed on tightly.
By portioning your chicken stew before freezing, you can enjoy the convenience of thawing and using only what you need. Whether it’s a single serving or a larger family-sized portion, this approach provides flexibility and minimizes waste. Now that you have portioned the stew, you can proceed to the next step of freezing and storing the containers.
Step 5: Fill the Containers
When filling the containers with your cooled chicken stew, it’s important to do so with care and consideration to ensure optimal freezing results. Follow these guidelines to properly fill the containers while leaving adequate headspace for expansion:
- Use a ladle or spoon: To transfer the chicken stew into the containers, use a ladle or spoon. This will help you control the amount of stew being poured and minimize spills or messes.
- Cool stew to room temperature: Make sure the chicken stew has cooled down to room temperature before filling the containers. This allows for proper distribution of heat and prevents excessive condensation during freezing.
- Choose the appropriate container size: Select containers that can accommodate the portion size and volume of your chicken stew. Consider individual serving containers or larger ones for family-sized portions, depending on your needs. Ensure the containers are freezer-safe and have secure lids or closures to prevent leaks and maintain freshness.
- Leave headspace for expansion: Liquids, including the broth in the chicken stew, tend to expand when frozen. To prevent the containers from bursting or leaking due to expansion, leave some headspace at the top. Generally, leaving about 1/2 to 1 inch (1.3 to 2.5 cm) of headspace is recommended. This empty space allows the stew to expand without damaging the container or compromising the stew’s quality.
- Avoid overfilling: It’s crucial not to overfill the containers with chicken stew. Overfilling can lead to spills, inadequate headspace for expansion, and potential damage to the container. It’s better to leave a little extra space rather than risking a messy and inconvenient situation.
- Level the surface: After filling each container, use a spoon or spatula to level the surface of the stew. This ensures a more even distribution and helps prevent air pockets or gaps within the container.
By filling the containers with your cooled chicken stew while allowing room for expansion during freezing. Properly filled containers will help maintain the integrity of the stew, prevent leaks, and ensure a successful freezing process. Once the containers are filled, securely seal them and proceed to the next step of flash-freezing the chicken stew.
Step 6: Seal the Containers
Properly sealing the containers that hold your chicken stew is crucial for maintaining its quality and protecting it from freezer burn. The sealing process varies depending on the type of containers you’re using, whether they are plastic containers, freezer bags, or glass jars. Follow these guidelines for effective sealing:
- Plastic containers with airtight lids: If you’re using plastic containers, ensure they have airtight lids. These lids create a secure seal that helps prevent air from entering the container and coming into contact with the chicken stew. Place the lid on the container and make sure it is securely closed and tightly fitted. Double-check by gently pressing down on the lid to ensure there is no give or air leakage.
- Freezer bags: If you’ve opted for freezer bags, it’s important to remove as much air as possible before sealing. After filling the bag with chicken stew, hold the bag upright and gently squeeze it to push out any excess air. Starting from the bottom of the bag, slowly zip it closed, ensuring the seal is airtight. Consider using bags with double zippers for added security.
- Glass jars: When using glass jars, make sure the lids are tightly screwed on. Check that the lid’s sealing compound or gasket is intact and in good condition. Place the lid on the jar and firmly twist it until it is snugly closed. Avoid over tightening, as it may cause breakage or difficulty in opening the jar later.
Properly sealed containers play a vital role in maintaining the quality of the chicken stew during freezing. They prevent air and moisture from entering, reducing the risk of freezer burn, which can negatively impact the taste, texture, and overall quality of the stew.
Step 7: Label and Date the Containers
Properly labeling and dating the containers of your frozen chicken stew is an essential step for organization and ensuring that you consume the stew within a reasonable timeframe. By following this step, you can easily identify the contents and track the storage time. Here’s how to effectively label and date the containers:
- Use a permanent marker: Grab a permanent marker or a label maker to label your containers. Avoid using regular pens or markers that might smudge or fade over time. A permanent marker ensures that the labeling remains clear and legible throughout the storage period.
- Label the contents: On each container, write “Chicken Stew” or a similar clear description to identify the contents. This labeling helps you quickly recognize the stew when you’re searching for a specific meal in the freezer.
- Date of freezing: Alongside the contents, include the date when the chicken stew was frozen. Write the month, day, and year to provide a reference point for how long the stew has been stored. This is especially important for managing the stew’s freshness and flavor.
- Clear and visible labeling: Make sure your labeling is clear, visible, and easy to read. Write on a prominent spot of the container, such as the lid or front side. If using freezer bags, write on a part of the bag that won’t come into contact with the food when it’s opened or heated.
- Label multiple containers: If you have several containers of chicken stew, label each one individually. This helps you keep track of the storage time for each portion and ensures you consume the stew in the order it was frozen.
By labeling and dating the containers, you can easily identify and manage your frozen chicken stew. This practice allows you to keep track of the storage time, rotate the containers properly, and ensure that you consume the stew within a reasonable timeframe for the best quality and taste.
Step 8: Store in the Freezer
After properly sealing and labeling your containers of chicken stew, it’s time to store them in the freezer. Proper storage ensures that the stew remains frozen at a consistent temperature, preserving its quality and taste. Follow these guidelines for effective freezer storage:
- Find the coldest part of the freezer: Locate the coldest part of your freezer, which is typically the back or bottom shelf. This area experiences less temperature fluctuation when the freezer door is opened, maintaining a more consistent and colder temperature.
- Arrange the containers: Place the sealed containers of chicken stew in the selected area of the freezer. Keep the containers upright to prevent any leakage or spills. If you have multiple containers, organize them in a way that maximizes space and allows for easy access to the desired portion when needed.
- Avoid overcrowding: Ensure that there is sufficient space around each container to allow for proper air circulation. Overcrowding can hinder the freezer’s efficiency and result in uneven freezing or temperature fluctuations. Leave some space between the containers and try to maintain a well-organized freezer space.
- Prevent thawing and temperature fluctuations: Be mindful of the freezer door and avoid prolonged openings that can cause temperature fluctuations. Frequent or prolonged opening of the freezer door can lead to thawing and refreezing, which can affect the quality of the chicken stew. Plan your access to the freezer accordingly to minimize temperature variations.
- Maintain a consistent freezer temperature: Check the temperature settings of your freezer and ensure that it is set to the recommended freezing temperature, usually around 0°F (-18°C). A consistent and low freezer temperature is crucial for keeping the chicken stew frozen and preserving its texture, flavor, and overall quality.
By storing the sealed containers of chicken stew in the coldest part of your freezer, you create an optimal environment for freezing and maintaining the stew’s quality. Keeping the stew in a consistent temperature zone, away from temperature fluctuations, helps ensure that it remains frozen and ready to be enjoyed whenever you’re ready to thaw and serve it.
How long can chicken stew last in the freezer?
Chicken stew can last in the freezer for approximately 3 to 4 months. Properly stored in airtight containers, the stew can maintain its quality for this duration. However, it’s best to consume the stew within the first month for optimal taste and texture.
Other related questions
How do you defrost chicken stew?
There are three safe methods to defrost chicken stew: in the refrigerator, using the cold water method, or in the microwave. To defrost in the refrigerator, transfer the frozen stew from the freezer to the fridge and allow it to thaw slowly overnight. For the cold water method, place the sealed container in a sink or bowl filled with cold water, changing the water every 30 minutes. Alternatively, you can use the microwave’s defrost setting, following the manufacturer’s instructions and checking and stirring the stew frequently to ensure even thawing.
Can you refreeze chicken stew?
Refreezing chicken stew is generally not recommended due to potential quality and safety concerns. When thawed, bacteria can multiply, and the stew’s texture and taste may be compromised. It is advisable to only thaw the amount of chicken stew you plan to consume and avoid refreezing any leftovers to ensure food safety and maintain the stew’s quality.
How do I know if the chicken stew has gone bad after being frozen?
After being frozen, there are a few signs that indicate chicken stew may have gone bad. Look for any noticeable changes in color, texture, or odor. If the stew has developed an off smell, a slimy texture, or unusual discoloration, it is likely spoiled and should be discarded. Additionally, if there are any signs of mold growth or the taste is significantly different, it is best to err on the side of caution and avoid consuming the stew.
Are there any special considerations for freezing chicken stew with vegetables or potatoes?
Yes, there are special considerations for freezing chicken stew with vegetables or potatoes. Potatoes may experience a slight change in texture after freezing and thawing, potentially becoming softer. It is recommended to slightly undercook the potatoes before adding them to the stew to help preserve their texture. Vegetables, on the other hand, may become slightly softer after freezing, so you may prefer to use firmer vegetables or slightly blanch them before adding to the stew. Proper packaging and sealing are crucial to maintain the quality of the vegetables and potatoes during freezing and thawing.
Can frozen chicken stew be used for meal prepping or quick dinners?
Yes, frozen chicken stew can be a convenient option for meal prepping or quick dinners. By freezing chicken stew in individual portions, you can easily reheat and enjoy a homemade meal without the need for extensive preparation or cooking time. It provides a flavorful and nutritious option that can be quickly thawed and reheated, making it a time-saving solution for busy days or when you’re looking for a satisfying meal on short notice.

