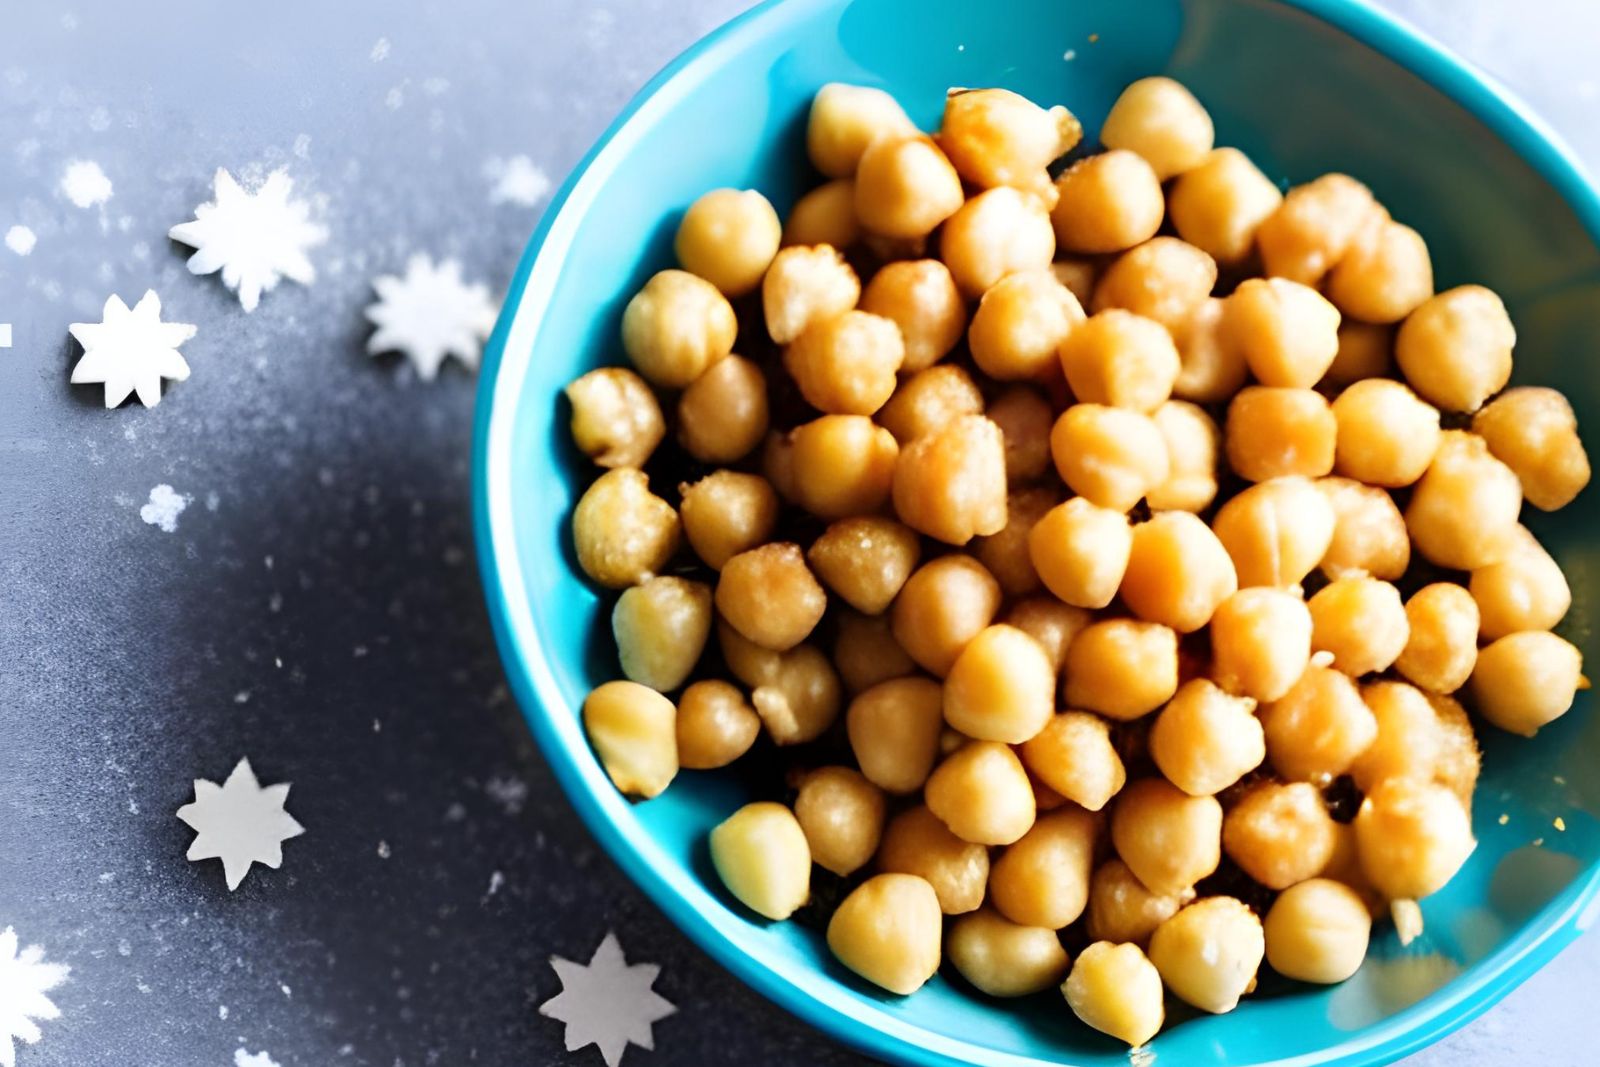
Chickpeas, also known as garbanzo beans, are versatile legumes that are prized for their nutty flavor and creamy texture. Packed with protein, fiber, and essential nutrients, chickpeas are a staple ingredient in various cuisines around the world. Whether you enjoy them in salads, stews, or as the base for hummus, chickpeas are a fantastic addition to any meal. To make the most of their convenience, freezing chickpeas can be a great option. Freezing chickpeas not only extends their shelf life but also allows you to have a ready-to-use ingredient on hand whenever you need it. In this guide, we will explore the best practices for freezing chickpeas, ensuring they retain their quality and taste even after being frozen.
Here are the simple steps to freeze chickpeas:
Step 1: Cook the chickpeas (if using dried)
If you’re using dried chickpeas for freezing, it’s essential to cook them before proceeding with the freezing process. Cooking dried chickpeas not only ensures that they are tender and ready to use in various recipes but also helps maintain their texture and flavor during the freezing and thawing process.
Here’s a detailed explanation of how to cook dried chickpeas:
- Soak the chickpeas: Start by placing the dried chickpeas in a large bowl and covering them with water. Allow them to soak overnight or for at least 8 to 12 hours. Soaking softens the chickpeas and reduces their cooking time.
- Drain and rinse: After soaking, drain the chickpeas and rinse them under cold water. This step helps remove any impurities or dirt that may be present.
- Cook the chickpeas: Transfer the soaked and rinsed chickpeas to a large pot and cover them with fresh water. The ratio of water to chickpeas should be about 3 cups of water for every 1 cup of dried chickpeas. Bring the water to a boil over high heat.
- Reduce heat and simmer: Once the water comes to a boil, reduce the heat to medium-low and let the chickpeas simmer. Partially cover the pot to allow steam to escape. The cooking time can vary depending on the freshness of the chickpeas and their size, but it usually takes about 60 to 90 minutes. Check for tenderness by pressing a chickpea between your fingers. They should be soft but still hold their shape.
- Drain and cool: Once the chickpeas are cooked to your desired tenderness, drain them using a colander or sieve. Rinse them briefly under cold water to stop the cooking process and cool them down quickly. Make sure to shake off any excess water.
- Allow the chickpeas to cool completely: To ensure that the chickpeas freeze properly, it’s crucial to let them cool completely before packaging them for freezing. Leaving them at room temperature for about 1 hour should be sufficient, but you can also refrigerate them for a faster cooling process.
Once the cooked chickpeas have cooled down, you can proceed with the packaging and freezing steps outlined in the subsequent steps of the freezing process. Properly cooked and cooled chickpeas are now ready to be portioned, packed, and sealed for freezing, ensuring they maintain their quality and taste when thawed and used in your favorite recipes.
Can I freeze chickpeas without cooking them first?
Yes, you can freeze chickpeas without cooking them first. However, it’s important to note that freezing uncooked chickpeas may result in a firmer texture compared to cooked ones. If you choose to freeze uncooked chickpeas, it is recommended to soak them in water overnight before freezing to help soften them during the cooking process later on.
Step 2: Drain and rinse canned chickpeas (if using canned)
If you’re opting to use canned chickpeas for freezing, it’s important to drain and rinse them before proceeding. Canned chickpeas are convenient and save time compared to cooking dried chickpeas, but they often come packed in a liquid or brine that can affect their texture and taste if not properly removed.
Here’s a detailed explanation of why it’s necessary to drain and rinse canned chickpeas:
- Remove excess sodium: Canned chickpeas are typically preserved in a liquid that contains sodium or brine. By draining and rinsing the chickpeas under cold water, you can significantly reduce the amount of sodium present. This is particularly important if you’re watching your sodium intake or prefer to have more control over the saltiness in your recipes.
- Improve flavor and texture: The liquid in canned chickpeas can have a distinct taste and may contain additives or preservatives. Rinsing the chickpeas helps remove any residual flavors from the canning liquid, allowing the natural flavor of the chickpeas to shine through. Additionally, rinsing can help improve their texture by removing any sliminess or residue.
- Reduce gas-producing compounds: Chickpeas, like other legumes, contain complex sugars that can cause gas and bloating for some individuals. The liquid in canned chickpeas may contribute to the presence of these compounds. Rinsing the chickpeas can help reduce these gas-producing substances, making them more digestible and comfortable to consume.
To drain and rinse canned chickpeas:
- Open the can: Use a can opener to open the can of chickpeas. Be careful of any sharp edges.
- Drain the liquid: Holding the can over a sink, tilt it slightly to pour out the liquid. You can also use a colander or sieve to strain the chickpeas, allowing the liquid to drain away.
- Rinse with cold water: Once the majority of the liquid has been drained, rinse the chickpeas thoroughly under cold running water. Gently shake the colander or sieve to ensure that all the chickpeas are rinsed.
- Shake off excess water: After rinsing, give the colander or sieve a gentle shake to remove any excess water. You can also pat the chickpeas dry with a clean kitchen towel or paper towel if desired.
Step 3: Portion the chickpeas
When freezing chickpeas, it’s helpful to decide whether you want to freeze them in individual portions or as a whole batch. Portioning the chickpeas before freezing offers several benefits and allows for convenient use in various recipes without the need to thaw and refreeze the entire package.
Here’s an explanation of why portioning the chickpeas is recommended:
- Easy meal preparation: Portioning the chickpeas before freezing makes meal preparation more efficient. By dividing them into individual portions, you can easily grab the desired amount of chickpeas without having to thaw and use the entire batch. This is particularly useful when you only need a small amount of chickpeas for a specific recipe or when cooking for one or two people.
- Versatility in recipes: Chickpeas are incredibly versatile and can be used in a wide range of recipes, such as soups, stews, salads, and hummus. Portioning the chickpeas allows you to have the right amount readily available for any recipe. Whether you need a handful for a salad or a larger quantity for a hearty dish, having portioned chickpeas in the freezer makes it convenient to add them to your favorite recipes without wasting any excess.
- Minimize waste: Portioning chickpeas helps reduce waste by allowing you to use only what you need at a given time. If you freeze the entire batch in one container, you may end up thawing more chickpeas than necessary, leading to potential waste if they are not used promptly. By portioning, you can control the quantity you thaw, minimizing the chances of unused chickpeas going to waste.
Quicker thawing: Portioning the chickpeas into smaller portions also facilitates faster thawing. Smaller portions thaw more quickly than a large frozen block of chickpeas. This is beneficial when you need to use the chickpeas right away or when you’re short on time. You can thaw the exact amount you need without waiting for the entire package to defrost.
To portion the chickpeas:
- Prepare storage containers or freezer bags: Get airtight containers or freezer bags ready for storing the portioned chickpeas. Ensure that the containers or bags are suitable for freezing and can withstand low temperatures without cracking or leaking. Label the containers or bags if necessary.
- Divide the chickpeas: Depending on the desired portion size, scoop the chickpeas into the prepared containers or bags. You can use measuring cups or simply estimate the amount based on your preference and intended use.
- Leave space for expansion: It’s important to leave some space at the top of each container or bag to allow for expansion during freezing. This prevents the containers from cracking or the bags from bursting as the chickpeas freeze and expand.
- Seal the containers or bags: Ensure that the containers or bags are tightly sealed to prevent air and moisture from entering. This helps maintain the quality and freshness of the chickpeas during freezing.
Step 4: Prepare airtight containers
When freezing chickpeas, it’s crucial to use appropriate storage containers or freezer bags that are airtight and specifically designed for freezer use. Proper containers help maintain the quality, taste, and texture of the chickpeas by preventing exposure to air, moisture, and potential freezer burn.
Here’s an explanation of why it’s important to prepare airtight containers or freezer bags:
- Preservation of quality: Airtight containers or freezer bags create a barrier between the chickpeas and the surrounding environment. This helps prevent the loss of moisture, which can lead to freezer burn and negatively impact the taste and texture of the chickpeas. Using containers or bags designed for freezing ensures that the chickpeas remain fresh and retain their quality during storage.
- Protection from air and odors: Exposure to air can cause oxidation and lead to off-flavors or the degradation of the chickpeas’ quality. Airtight containers or bags create a sealed environment that minimizes contact with air, reducing the risk of flavor deterioration. Additionally, using proper storage containers helps prevent the absorption of odors from other items in the freezer, ensuring that the chickpeas maintain their natural taste.
- Prevention of freezer burn: Freezer burn occurs when moisture evaporates from the surface of food and forms ice crystals. This can result in dry, discolored, and unappetizing patches on the chickpeas. Freezer-safe containers or bags that are tightly sealed create a protective barrier, reducing the exposure of the chickpeas to air and preventing freezer burn from occurring.
- Durability in low temperatures: Ordinary containers or bags may not withstand the extreme temperatures of the freezer, leading to cracks, leakage, or breakage. Freezer-safe containers and heavy-duty freezer bags are designed to withstand these low temperatures without compromising their integrity. They are made from materials that can expand and contract without cracking, ensuring the chickpeas are safely stored.
When preparing airtight containers or freezer bags:
- Choose freezer-safe containers or bags: Ensure that the containers or bags you use are labeled as freezer-safe. Look for containers made of materials like plastic or glass that can withstand freezing temperatures without becoming brittle or shattering. Heavy-duty freezer bags are an alternative option if using bags instead of containers.
- Clean and dry the containers or bags: Before using them, make sure the containers or bags are clean and thoroughly dry. Wash the containers with warm, soapy water, rinse them well, and allow them to air dry completely. If using bags, check for any holes or tears and discard any that are damaged.
- Size and portion accordingly: Select containers or bags that are appropriate in size for the amount of chickpeas you are freezing. This helps minimize wasted space and ensures efficient storage. If using bags, consider the portion sizes you want to freeze and choose bags that accommodate those portions.
- Seal tightly: Whether using containers or bags, ensure they are sealed tightly to prevent air and moisture from entering. For containers, ensure the lids are securely closed, and for bags, use the zip-top closure or press out excess air before sealing.
Can I freeze chickpeas in glass containers?
Yes, you can freeze chickpeas in glass containers, but it’s important to follow some guidelines. Choose freezer-safe glass containers that are designed to withstand low temperatures and potential expansion. Leave some headspace in the container to allow for the expansion of the chickpeas as they freeze. Additionally, ensure that the glass containers are sealed tightly to prevent freezer burn and maintain the quality of the chickpeas.
Step 5: Pack and seal the containers
Once you have prepared your airtight containers or freezer bags, it’s time to pack and seal them with the chickpeas. Proper packing and sealing ensure that the chickpeas are stored efficiently and maintain their quality during the freezing process. It’s important to leave some space for expansion to avoid container or bag breakage.
Here’s an explanation of why packing and sealing the containers or bags correctly is necessary:
- Accommodate expansion: As liquids freeze, they expand, and chickpeas contain moisture that can expand when frozen. Leaving some space at the top of the containers or bags allows room for expansion without causing the containers to crack or the bags to burst. This precautionary step prevents potential damage and ensures that the containers or bags remain intact during freezing.
- Prevent moisture accumulation: When packing the chickpeas, it’s essential to press out any excess air from the bags before sealing them tightly. Removing excess air helps minimize moisture accumulation within the container or bag. Moisture can lead to the formation of ice crystals and potentially freezer burn. A tightly sealed container or bag prevents excess moisture from entering and helps maintain the quality of the chickpeas.
- Efficient use of storage space: Properly packing the chickpeas allows for efficient use of storage space in the freezer. By filling containers or bags to the appropriate level and removing excess air, you maximize the available space and can store more chickpeas or other items in the freezer. This is particularly beneficial if you have limited freezer space or want to optimize organization.
When packing and sealing containers or bags:
- Pack the chickpeas: Carefully transfer the chickpeas into the containers or bags, ensuring that they are evenly distributed. Fill the containers or bags to the desired level, leaving some space at the top for expansion.
- Press out excess air: If using bags, gently press out any excess air before sealing them. This helps minimize the amount of air trapped inside the bag, reducing the risk of moisture accumulation and freezer burn.
- Seal tightly: Ensure that the containers or bags are tightly sealed to create an airtight environment. For containers, securely close the lids, ensuring they are properly aligned and locked. For bags, use the zip-top closure or any other sealing mechanism provided to seal them tightly.
- Leave headspace (containers only): If using containers, leave a little headspace at the top to allow for expansion during freezing. This prevents the lids from popping open or the containers from cracking as the chickpeas freeze and expand.
Step 6: Label and date the packaging
Labeling and dating the packaging of frozen chickpeas is an essential step to help you keep track of their storage time and ensure that you use them in the proper order. By clearly marking the date of freezing on each container or bag, you can easily identify the oldest chickpeas and maintain their quality and freshness.
Here’s an explanation of why labeling and dating the packaging is crucial:
- Rotation and freshness: Chickpeas, like any other food item, have a limited storage life in the freezer. By labeling and dating the packaging, you establish a system of rotation, ensuring that you use the oldest chickpeas first. This practice helps maintain their freshness and quality, as using the oldest ones before they exceed their recommended storage time ensures optimal flavor and texture.
- Avoid waste: Properly labeling and dating the packaging helps minimize waste. When you have multiple containers or bags of chickpeas in the freezer, it’s easy to forget their freezing dates. By clearly marking the date of freezing, you can easily identify the chickpeas that have been stored for an extended period and may be approaching their recommended storage time. This way, you can prioritize their usage and avoid potential waste by using them before they deteriorate in quality.
- Easy inventory management: Labeling and dating the packaging of frozen chickpeas enables efficient inventory management. It allows you to track the quantity of chickpeas you have in the freezer and monitor their storage duration. This information can be particularly useful when planning meals or grocery shopping, as you can easily check how many portions of chickpeas you have available and assess if you need to replenish your supply.
- Organization and convenience: Clear labeling provides an organized and user-friendly system. When you’re searching for specific frozen chickpeas, being able to quickly identify the date of freezing helps streamline the selection process. It saves time and eliminates the need to inspect each container or bag individually. Additionally, if you have other frozen items in the freezer, proper labeling allows you to locate the chickpeas easily without confusion.
To label and date the packaging:
- Use a permanent marker or freezer labels: Choose a permanent marker or specially designed freezer labels that are resistant to moisture and won’t smear or fade over time. Avoid using regular paper labels or stickers that may deteriorate in the freezer.
- Write the date of freezing: On each container or bag, write the date of freezing clearly and visibly. Include the day, month, and year to provide a comprehensive reference for the storage duration.
- Place the label in a visible area: Attach the label or write directly on the container or bag in a location that is easily visible. This ensures that you can quickly identify the freezing date without having to search or handle the packaging extensively.
Step 7: Place in the freezer
After completing all the previous steps, it’s time to transfer the containers or bags of chickpeas to the freezer. Proper placement and organization of the chickpeas in the freezer help ensure efficient freezing, maintain their quality, and allow for easy access when needed.
Here’s an explanation of why placing the containers or bags in the freezer correctly is important:
- Efficient use of space: When placing the chickpeas in the freezer, it’s crucial to maximize the available space. Arrange the containers or bags in a way that allows for efficient use of the freezer’s capacity. This ensures you can store more chickpeas or other items in the freezer without wasting space. Consider stacking containers or bags if they are stable and can support the weight.
- Promote proper airflow: Adequate airflow is essential for the freezing process. Leave enough space between containers or bags to allow air to circulate freely. This promotes quicker and more even freezing, preventing the formation of large ice crystals and maintaining the quality of the chickpeas. Avoid overcrowding, as it can hinder airflow and lead to slower freezing.
- Prevent temperature fluctuations: Placing the containers or bags in a well-organized manner helps maintain a consistent temperature inside the freezer. Avoid frequent movement or disturbance of the containers or bags, as this can cause temperature fluctuations and affect the freezing process. Opening the freezer door excessively or leaving it open for extended periods can also lead to temperature fluctuations, so try to minimize such instances.
- Easy access and retrieval: Arrange the containers or bags in a way that allows for easy access and recovery. Consider grouping them by date or portion size, so you can quickly locate the specific batch of chickpeas you need. Labeling the containers or bags and organizing them accordingly can further simplify the process of finding and retrieving the desired portion.
When placing the containers or bags in the freezer:
- Choose a flat and stable surface: Select a flat and stable surface in the freezer where the containers or bags can be placed securely. This ensures they remain stable during freezing and reduces the risk of tipping or shifting.
- Leave space between containers or bags: Place the containers or bags with enough space between them to allow for proper airflow. Avoid overcrowding, which can impede airflow and lead to uneven freezing.
- Stack containers if possible: If using containers, consider stacking them if they are stable and can support the weight. This vertical arrangement can save space and facilitate organization.
- Avoid disturbing the chickpeas: Once the containers or bags are in place, try to avoid frequent movement or disturbance. Minimize opening the freezer door unnecessarily or leaving it open for extended periods to maintain a consistent freezing environment.
By placing the containers or bags in the freezer in an organized and efficient manner, you ensure proper freezing, maintain the quality of the chickpeas, and facilitate easy access when you need them.
Other related questions
How do I thaw chickpeas?
To thaw the chickpeas, transfer the frozen chickpeas from the freezer to the refrigerator. Allow them to thaw slowly in the refrigerator overnight or for about 8 to 12 hours. This gradual thawing process helps maintain the quality of the chickpeas and prevents them from becoming mushy. Once thawed, the chickpeas are ready to be used in your preferred recipes. If you need to thaw them more quickly, you can also place the sealed container or bag of chickpeas in a bowl of cold water and change the water every 30 minutes until they are thawed. Avoid thawing chickpeas at room temperature, as this can promote bacterial growth.
How long can I freeze chickpeas?
You can freeze chickpeas for up to 3 to 4 months without significant loss in quality. Properly frozen chickpeas can maintain their taste, texture, and nutritional value for this duration. Beyond that time, the quality may gradually deteriorate, and the chickpeas may become less enjoyable to eat. To ensure the best results, it’s advisable to label and date the packaging, so you can easily track the freezing duration and use the oldest chickpeas first.
Can I refreeze frozen chickpeas that have been previously thawed?
It is generally not recommended to refreeze chickpeas that have been previously thawed. Each time you freeze and thaw chickpeas, their quality can be compromised. Refreezing can further affect their texture, taste, and overall freshness. It is best to thaw only the amount of chickpeas you need for a specific recipe to avoid the need for refreezing. Proper portioning and storage can minimize the need for refreezing and ensure the best quality of your chickpeas.
How do I know if my frozen chickpeas have gone bad?
To determine if your frozen chickpeas have gone bad, there are a few signs to look out for. Firstly, check for any unusual odor. If the chickpeas have a rancid or off-putting smell, it is an indication of spoilage. Secondly, examine the texture. If the chickpeas appear mushy, discolored or have developed ice crystals, they may no longer be good to eat. Additionally, if there are any signs of mold or other visible signs of contamination, it is best to discard them. Lastly, trust your taste buds. If the flavor of the thawed chickpeas seems off or unpleasant, it’s a good indication that they have gone bad and should not be consumed.
Can I use frozen chickpeas with fresh ones?
Yes, you can use frozen chickpeas alongside fresh ones in various recipes. Frozen chickpeas can be a convenient option when you don’t have fresh ones available or when you want to save time. However, keep in mind that the texture of frozen chickpeas may be slightly softer compared to fresh ones. When combining frozen and fresh chickpeas in a recipe, consider adjusting the cooking time accordingly to ensure both types are cooked evenly.
Should I blanch chickpeas before freezing them?
Blanching chickpeas before freezing is not necessary but can be done if desired. Blanching involves briefly boiling the chickpeas and then plunging them into ice water to halt the cooking process. This technique can help preserve the color and texture of the chickpeas. However, if you prefer a softer texture or plan to use chickpeas in recipes that involve further cooking, blanching may not be required.
Can I freeze chickpeas with seasonings or spices?
Yes, you can freeze chickpeas with seasonings or spices. Adding seasonings or spices to chickpeas before freezing can infuse them with flavor and simplify meal preparation later on. However, it’s important to note that the flavors may intensify during the freezing and thawing process, so you might want to slightly reduce the amount of seasonings or spices used to avoid overpowering the dish when it is cooked or reheated.
Can I freeze cooked chickpeas with their skins on?
Yes, you can freeze cooked chickpeas with their skins on. The skins of chickpeas are edible and freezing them with the skins intact will not cause any harm. However, keep in mind that the skins may become slightly tougher after freezing, so the texture of the chickpeas may differ slightly compared to when they are freshly cooked.

