Chocolate is a beloved treat enjoyed by people of all ages. Whether you have a surplus of chocolate or want to save some for later, freezing it can be a great option. Freezing chocolate helps preserve its freshness and flavor, allowing you to enjoy it even when it’s out of season or when you simply want to have a stash for a later date. By following a few simple steps, you can successfully freeze chocolate and ensure its quality remains intact. This article provides a comprehensive guide on how to freeze chocolate, ensuring that you can savor its deliciousness whenever you desire.
Here’s a guide on how to freeze chocolate:
Step 1: Choose the right chocolate
When it comes to freezing chocolate, selecting the right type of chocolate is essential to ensure the best results. Whether you prefer dark, milk, or white chocolate, it’s important to choose a high-quality chocolate that will freeze well.
The quality of the chocolate matters because lower-quality chocolates often contain additives and fillers that can affect their texture and taste when frozen. These additives may cause the chocolate to become grainy or develop an undesirable texture during the freezing and thawing process. Opting for a chocolate with a higher percentage of cocoa solids and fewer additives will yield better results when freezing.
Additionally, it’s advisable to avoid chocolates with fillings such as caramel, nuts, or nougat, as these can change in texture and consistency when frozen. The freezing process can cause fillings to become hard or chewy, detracting from the overall chocolate experience.
Step 2: Prep the chocolate
Before freezing your chocolate, it’s helpful to prepare it by breaking it into smaller pieces. This step facilitates easier handling and thawing of the chocolate later on.
If your chocolate is in large blocks or bars, breaking it into smaller pieces has several advantages. Firstly, smaller pieces are more convenient to work with when you want to use a specific amount of chocolate. You can easily measure out the desired quantity without the need to thaw the entire block.
Secondly, smaller pieces of chocolate thaw more quickly and evenly. When you’re ready to use the frozen chocolate, the smaller size allows it to reach room temperature faster, ensuring a smoother and more consistent thawing process.
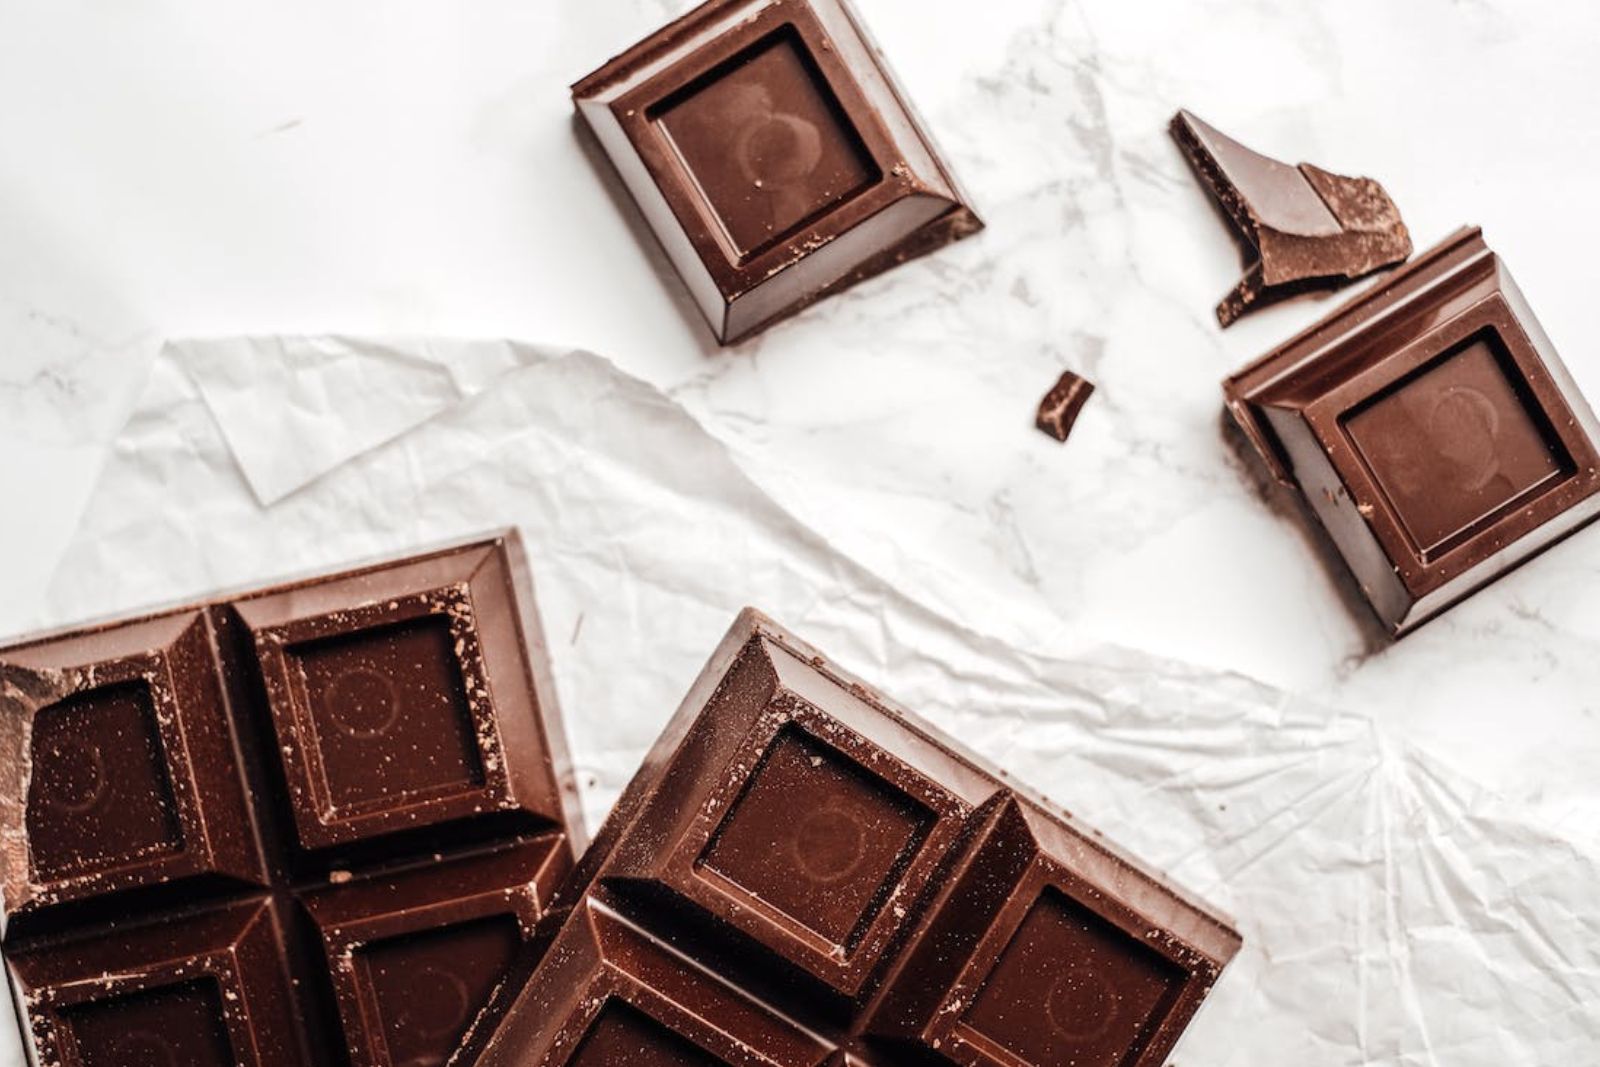
To break the chocolate into smaller pieces, you can use a sharp knife or simply snap it along the natural lines. If the chocolate is in a bar with pre-segmented portions, like a chocolate bar, you can easily break it at those lines. For larger blocks or irregularly shaped chocolates, gently applying pressure or using a sharp knife to cut through the chocolate will help create smaller, more manageable pieces.
Step 3: Wrap the chocolate
After breaking the chocolate into smaller pieces, the next step is to wrap each piece tightly in either plastic wrap or aluminum foil. This wrapping process serves an important purpose in protecting the chocolate from moisture and preventing freezer burn.
Moisture is the enemy when it comes to freezing chocolate. Exposure to moisture can cause the chocolate to develop ice crystals, resulting in a loss of texture and flavor. By wrapping each piece of chocolate tightly, you create a barrier that helps prevent moisture from getting in and affecting the quality of the chocolate.
Plastic wrap and aluminum foil are both effective options for wrapping chocolate. Plastic wrap is convenient and provides a tight seal around the chocolate, keeping it well-protected. Aluminum foil, on the other hand, offers an additional layer of insulation and protection against light, which can also affect the quality of the chocolate.
When wrapping the chocolate, ensure that the wrapping is secure and completely covers the chocolate, leaving no gaps or exposed areas. This will help maintain the chocolate’s integrity during the freezing process.
Step 4: Place in an airtight container
After wrapping each piece of chocolate, the next step is to transfer them into an airtight container. This additional layer of protection serves to safeguard the chocolate from moisture and unwanted odors, ensuring its quality is maintained during freezing.
An airtight container provides an extra barrier against moisture, preventing it from seeping into the chocolate. Moisture can cause the chocolate to become damp or develop ice crystals, compromising its texture and taste. By placing the wrapped chocolate pieces in an airtight container, you create a sealed environment that minimizes the risk of moisture contact.
When selecting an airtight container, opt for one that is specifically designed for freezer use. Freezer-safe plastic bags or plastic containers with tight-fitting lids are ideal choices. These containers are designed to withstand freezing temperatures without becoming brittle or allowing air to penetrate, maintaining the chocolate’s quality.
Additionally, an airtight container helps prevent the absorption of odors from other items in the freezer. Chocolate can easily pick up odors from strongly scented foods, affecting its flavor and aroma. By using an airtight container, you create a barrier that prevents odor transfer and preserves the chocolate’s original characteristics.
Remember to ensure that the container is tightly sealed to maintain its airtight properties. This will provide maximum protection for the chocolate during freezing, ensuring it remains in optimal condition until you’re ready to enjoy it.
Can I freeze chocolate bars in their original packaging?
While it’s possible to freeze chocolate bars in their original packaging, it’s advisable to transfer them to an airtight container or wrap them tightly in plastic wrap or aluminum foil for better protection against moisture and freezer odors. This helps to maintain the quality and prevent any potential flavor transfer.
Step 5: Label and date the container
Properly labeling and dating the container that holds your frozen chocolate is an essential step in organizing your freezer and ensuring that you can easily keep track of your chocolate stash. By providing clear information about the type of chocolate and the date of freezing, you can maintain an inventory and ensure you use the oldest chocolate first.
Labeling the container with the type of chocolate is helpful, especially if you have different varieties of chocolate in your freezer. Whether it’s dark, milk, or white chocolate, indicating the type on the container will allow you to quickly identify what you’re looking for when you want to use it. This eliminates the need to unwrap multiple pieces to determine the chocolate type.
Adding the date of freezing is equally important. Frozen chocolate can generally be stored for several months, but it’s best to consume it within a reasonable timeframe to ensure optimal taste and quality. By labeling the container with the date of freezing, you’ll have a clear reference point to gauge how long the chocolate has been frozen. This helps you prioritize the consumption of older chocolate, reducing the risk of it sitting in the freezer for an extended period.
To label the container, you can use a permanent marker directly on the container or attach a label sticker with the necessary information. Whichever method you choose, make sure the label is visible and won’t smudge or fade over time.
Step 6: Freeze the chocolate
Once you have properly wrapped and labeled the container holding the chocolate, it’s time to place it in the freezer. Freezing the chocolate is a crucial step in preserving its quality and ensuring it stays in optimal condition for future enjoyment.
When placing the sealed container in the freezer, it’s important to choose a stable position where it won’t be jostled around or crushed by other items. This helps prevent any damage to the chocolate and maintains its shape and integrity during freezing. If possible, find a dedicated spot in your freezer where the container can sit undisturbed until you’re ready to use the chocolate.
Maintaining the proper temperature in your freezer is vital for optimal freezing of the chocolate. Set the temperature of your freezer at or below 0°F (-18°C). This low temperature ensures that the chocolate freezes quickly and thoroughly, preserving its texture, flavor, and overall quality.
Freezing chocolate at a lower temperature helps prevent the growth of ice crystals, which can negatively impact its texture and taste. The rapid freezing process minimizes the formation of large ice crystals, resulting in a smoother and more desirable texture when the chocolate is thawed.
By ensuring a stable placement in the freezer and maintaining the appropriate temperature, you create the ideal conditions for freezing the chocolate effectively. This step safeguards the chocolate’s quality and ensures it retains its deliciousness until you’re ready to indulge.
Remember to keep the chocolate stored in the freezer until you’re ready to thaw and use it. Minimizing exposure to temperature fluctuations and air will help maintain its freshness and prevent any potential degradation.
How long can chocolate last in the freezer?
Chocolate can last in the freezer for up to 12 to 18 months without a significant loss in quality. Properly wrapped and stored chocolate maintains its flavor, texture, and appearance for an extended period. However, it’s best to consume frozen chocolate within the first few months to enjoy it at its peak quality.
Step 7: Thaw before consuming
When the time comes to enjoy your frozen chocolate, it’s crucial to thaw it properly to preserve its texture and flavor. Thawing chocolate at room temperature is the recommended method, as it allows for a gentle and gradual thawing process.
To thaw the frozen chocolate, remove the desired amount from the freezer. It’s best to thaw only the portion you intend to consume, leaving the remaining chocolate stored in the freezer for later use.
Place the chocolate on a plate or a clean surface at room temperature. Allow it to thaw naturally for approximately 30 minutes to an hour, depending on the size and thickness of the chocolate. This gives it time to reach its ideal eating temperature, ensuring a smooth and satisfying experience.
It’s important to avoid thawing the chocolate using methods such as the microwave or hot water. These methods can introduce heat too quickly and unevenly, which can cause the chocolate to melt unevenly or become overheated. Rapid temperature changes can result in undesirable texture changes, such as the formation of a grainy or lumpy consistency.
Thawing the chocolate at room temperature allows it to gradually soften and reach its desired texture without compromising its quality. This method preserves the original taste and mouthfeel, ensuring a delightful chocolate experience.
If you find that the chocolate is still slightly firm after the recommended thawing time, you can gently break or cut it into smaller pieces to speed up the process. However, exercise caution to avoid applying excessive force that could cause the chocolate to shatter.
Other related questions
Can I refreeze chocolate?
It is generally not recommended to refreeze chocolate once it has been thawed. The process of freezing and thawing can affect the texture and quality of the chocolate, leading to changes in taste and appearance. Additionally, repeated thawing and refreezing increase the chances of moisture absorption and potential degradation of the chocolate. It is best to consume thawed chocolate promptly to enjoy it at its best.
How do I know if the chocolate has gone bad after being frozen?
To determine if frozen chocolate has gone bad, look for signs of spoilage such as changes in color, texture, or taste. If the chocolate appears discolored, has a whitish or grayish bloom, or has a rancid or off-flavor, it may have deteriorated. Additionally, if there are any signs of mold or an unpleasant odor, it is an indication that the chocolate has gone bad and should not be consumed.
Can I freeze chocolate for baking purposes?
Yes, you can freeze chocolate for baking purposes. It’s recommended to chop or grate the chocolate into smaller pieces before freezing. This allows for easier measurement and incorporation into recipes. Properly wrapped and stored frozen chocolate can be used in baking without a significant loss in quality.
What should I do if my frozen chocolate develops a white coating?
The white coating on frozen chocolate is called “bloom” and occurs due to fat or sugar crystals rising to the surface. While it may affect the appearance, the chocolate is still safe to eat. You can simply wipe off the bloom with a dry cloth or use the chocolate in recipes where appearance is less important.


