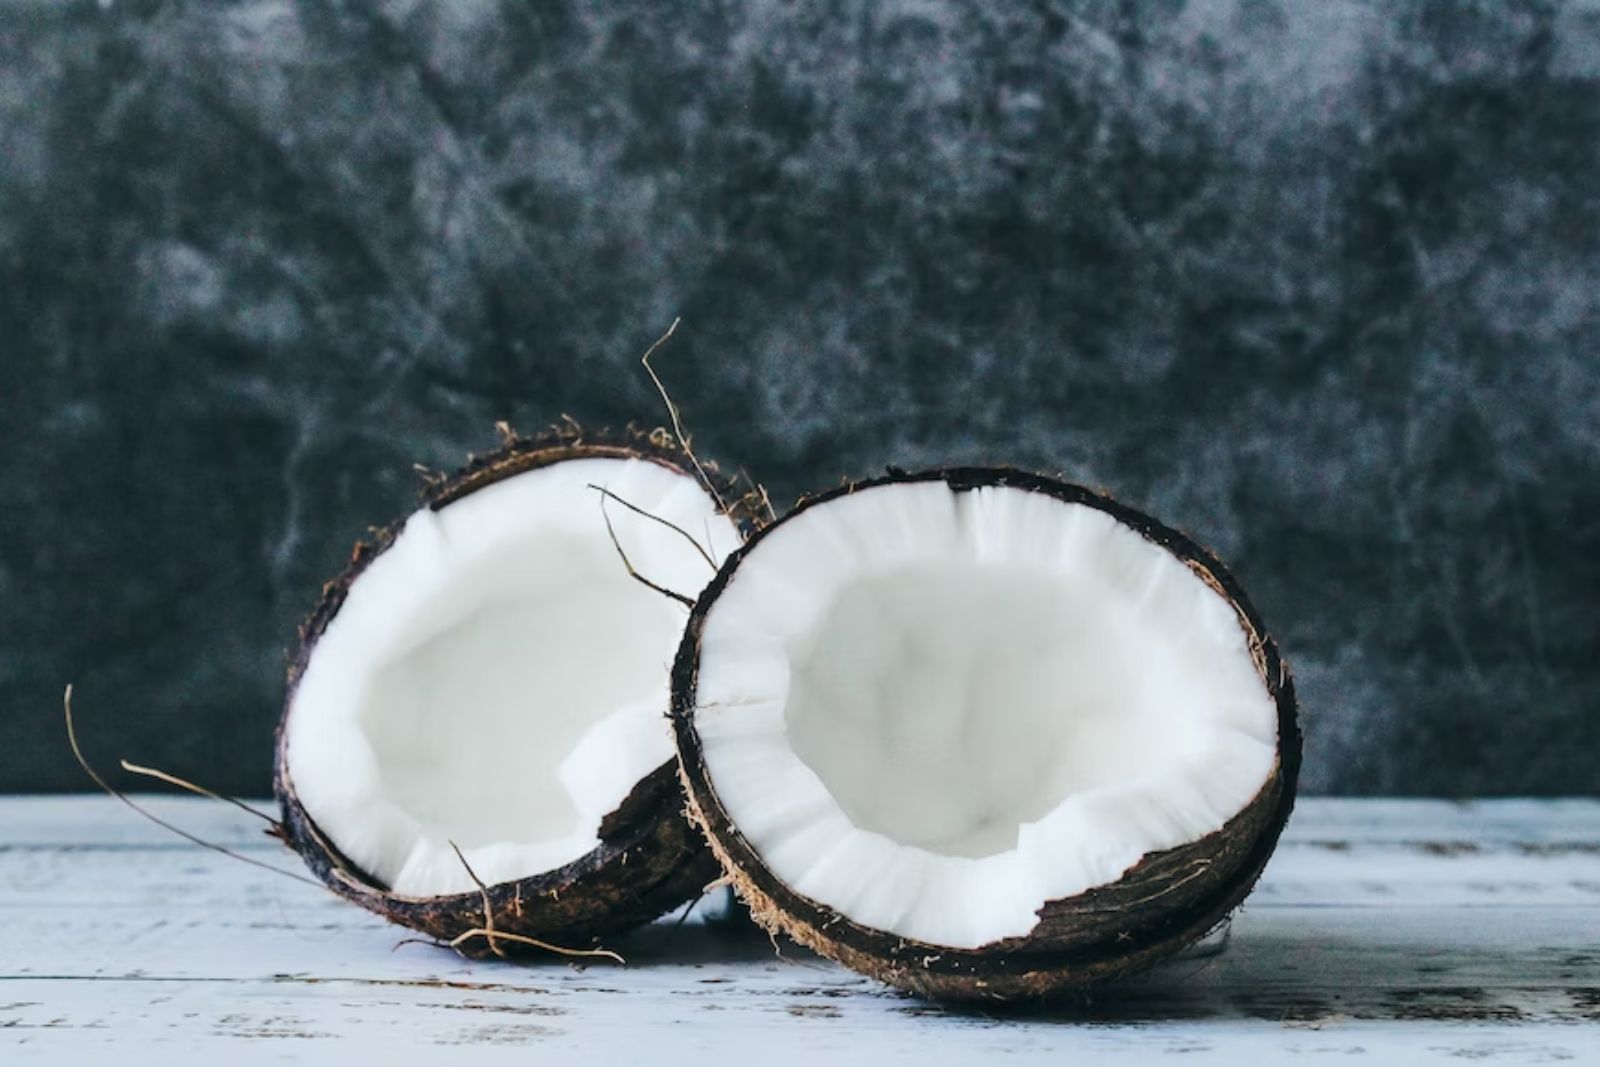
Coconut is a versatile fruit that grows on the coconut palm tree, scientifically known as Cocos Nucifera. It is characterized by a hard, brown outer shell, fibrous husk, and a large seed inside. The seed, also known as the coconut meat, is white and fleshy, with a mildly sweet and nutty flavor. It is commonly used in both sweet and savory dishes, as well as for its oil, milk, and water. Freezing coconut is a method of preserving its freshness and flavor for an extended period by properly packaging and storing it in the freezer.
Here are the simple steps to freeze coconut:
Step 1: Prepare the coconut
Before freezing coconut, it’s crucial to properly prepare it to ensure optimal flavor and cleanliness. This step involves removing the husk and extracting the coconut meat from the shell.
To begin, carefully remove the fibrous husk surrounding the coconut. You can use a knife or a strong tool to pry it away from the shell, working your way around the circumference of the coconut. Take caution while doing this to avoid any injuries.
Once the husk is removed, you’ll see the hard shell of the coconut. Use the same knife or a different tool to crack the shell open. You can gently tap it along its circumference until it cracks, allowing you to separate the two halves.
After the shell is open, you’ll find the coconut meat inside. It is the white, fleshy part that lines the inner surface of the shell. To extract the meat, carefully run a knife between the meat and the shell, loosening it from the inside. Work your way around the coconut to completely separate the meat from the shell.
The extracted coconut meat may still have some brown skin attached to it. This outer layer can be slightly bitter, so it’s best to remove it. Use a peeler or a sharp knife to gently peel off the brown skin from the coconut meat. Take your time to ensure you remove as much of the skin as possible, leaving behind the clean, white coconut meat.
Once you’ve removed the brown skin, it’s important to rinse the coconut meat under cold water. This will help remove any debris, dirt, or residual husk particles that may still be present. Rinse it thoroughly, ensuring that the coconut meat is clean before proceeding to the next step.
Step 2: Grate or shred the coconut
Once the coconut meat is prepared, the next step is to grate or shred it before freezing. Grating or shredding the coconut allows for better freezing and thawing results.
Grating the coconut meat involves using a box grater or a food processor with a grating attachment. If you choose to use a box grater, hold the coconut meat firmly and rub it against the grater’s sharp surface. Move the coconut meat up and down or in a circular motion to ensure even grating.
Alternatively, if you have a food processor with a grating attachment, place the coconut meat in the processor and process it on the grating setting. This will quickly and efficiently shred the coconut into fine pieces.
Grating or shredding the coconut provides several benefits when it comes to freezing. Firstly, it increases the surface area of the coconut, allowing it to freeze more quickly. Smaller pieces freeze faster than larger ones, ensuring that the coconut retains its freshness during the freezing process.
Additionally, grated or shredded coconut thaws more evenly when it’s time to use it. The smaller pieces thaw more quickly and uniformly, making it easier to incorporate into recipes without compromising texture or taste.
Step 3: Portion the coconut
After grating or shredding the coconut meat, the next step is to decide how you want to portion it for future use. This step allows you to customize the quantities of coconut you freeze, making it convenient to thaw only what you need for a particular recipe or meal.
Depending on your preferences and cooking habits, you can choose to divide the grated or shredded coconut into small portions suitable for individual recipes. This approach is ideal if you frequently use coconut in various dishes but in smaller quantities. By portioning the coconut, you can easily grab the desired amount from the freezer without having to defrost the entire batch. This prevents wastage and ensures that the remaining coconut stays frozen and fresh for future use.
On the other hand, if you often use larger quantities of coconut in your recipes, you may opt to keep it as a whole batch. This approach is useful when you anticipate using larger amounts of coconut at once, such as for baking or preparing a large batch of coconut-based dishes. Keeping it as a whole allows you to thaw and use the desired amount without having to divide it beforehand.
Portioning the coconut based on your specific needs and preferences provides flexibility and convenience. It eliminates the need to thaw and refreeze the entire batch each time you require a smaller quantity, saving time and effort. Whether you choose individual portions or the whole batch, ensure that each portion is properly packaged to maintain the coconut’s freshness during freezing and storage.
Step 4: Package the coconut
Once the coconut portions are determined, the next step is to properly package them for freezing. Packaging the coconut correctly is crucial to prevent freezer burn and maintain its freshness during storage.
To package the coconut, start by wrapping each portion tightly in plastic wrap. Ensure that there are no air pockets or gaps in the wrapping, as exposure to air can lead to freezer burn and negatively affect the quality of the coconut. The plastic wrap acts as a barrier, keeping the coconut protected and maintaining its moisture.
An alternative option is to use resealable freezer bags or airtight containers for packaging the coconut. If using freezer bags, choose ones specifically designed for freezing to ensure the best results. Place the coconut portion inside the bag, squeeze out any excess air, and seal it tightly. The removal of air helps prevent freezer burn and keeps the coconut fresh.
Similarly, if using airtight containers, place the coconut portion inside and make sure to seal the container securely. Airtight containers provide an additional layer of protection against air and moisture, further preserving the coconut’s flavor and texture.
Regardless of the packaging method chosen, the key is to eliminate as much air as possible. Excess air can cause the coconut to dry out or develop freezer burn, compromising its taste and quality.
Properly packaged coconut should be placed in a single layer initially to allow for quicker freezing. Once the portions are frozen solid, you can stack or place them together for more efficient storage in the freezer.
Can I freeze shredded coconut directly from the package?
If the shredded coconut is already dry and packaged, it is generally not necessary to freeze it unless you plan to store it for an extended period. However, if you want to freeze it for longer-term storage, transfer the contents into airtight freezer bags or containers to maintain its freshness.
Step 5: Label and date the package
After packaging the coconut portions for freezing, it’s important to label each package. Labeling helps you keep track of the contents and the date of freezing, which is essential for maintaining a rotation system and minimizing waste.
To label the packages, use a permanent marker or a label and clearly write the contents of the package, which in this case is “coconut.” Additionally, write down the date when you froze the coconut. This information allows you to identify the package easily and determine its age when you retrieve it from the freezer.
Labeling serves several purposes. Firstly, it helps you avoid confusion when you have multiple items in the freezer. By clearly stating the contents, you can quickly locate the frozen coconut when you need it, saving time and effort.
Secondly, noting the date of freezing is crucial for implementing a rotation system. When you have multiple packages of coconut, using the oldest portions first ensures that none of the coconut goes to waste. By following a “first in, first out” approach, you maintain the freshness and quality of the coconut while making efficient use of your frozen stock.
Furthermore, labeling and dating the packages allow you to keep track of how long the coconut has been frozen. While properly stored frozen coconut can last up to six months without significant quality loss, having the date on the package helps you prioritize the use of older portions before they exceed the recommended storage duration.
Step 6: Freeze the coconut
The final step in freezing coconut is to place the wrapped or packaged coconut portions in the freezer. Proper freezing ensures the longevity and quality of the coconut, allowing you to enjoy it for up to six months without any significant loss in flavor or texture.
When placing the coconut portions in the freezer, start by arranging them in a single layer initially. This allows for quicker and more even freezing of each portion. By ensuring that the coconut freezes rapidly, you help preserve its freshness and prevent the formation of large ice crystals, which can affect its texture.
Once the coconut portions are frozen solid, you can stack or place the packages together for more efficient storage. Stacking the packages conserves space in the freezer and helps keep everything organized. However, make sure the packages are properly sealed to prevent air exposure and maintain the quality of the frozen coconut.
Other related questions
How long can I store frozen coconut?
Coconut can last in the freezer for up to six months without significant quality loss. Properly wrapped and stored coconut maintains its flavor and texture during this period. Beyond six months, the coconut may start to deteriorate in quality, so it is advisable to use it within the recommended time frame.
How do I defrost coconut?
To defrost coconut, transfer the frozen portions from the freezer to the refrigerator and let them thaw overnight or for several hours. Alternatively, you can thaw the coconut in a microwave using the defrost setting or at a low power level in short increments, stirring occasionally. Once thawed, use the coconut immediately or store it in the refrigerator for a short period.
Can I refreeze coconut?
It is generally not recommended to refreeze coconut once it has been thawed. When coconut is thawed, it undergoes changes in texture and moisture content, which can affect its quality upon refreezing. Refreezing may also increase the risk of bacterial growth and compromise the safety of the coconut. It is best to use thawed coconut promptly or store it in the refrigerator for a short period rather than attempting to refreeze it.
How do I know if the coconut has gone bad after being frozen?
To determine if frozen coconut has gone bad, check for signs of spoilage such as off odors, unusual texture, or discoloration. If the coconut has a rancid or sour smell, shows mold growth, or appears slimy or discolored, it is likely spoiled and should be discarded. It’s important to trust your senses and prioritize food safety when assessing the quality of frozen coconut.
Should I drain excess moisture from the coconut before freezing?
It is not necessary to drain excess moisture from coconut before freezing. Freezing coconut in its natural state, whether it’s freshly grated or commercially packaged, is perfectly acceptable. The moisture content will not affect the freezing process, and any excess moisture will be retained within the coconut when thawed.
What are some popular uses for frozen coconut?
Frozen coconut can be used in a variety of recipes, including baked goods like cookies, cakes, and muffins, as well as in smoothies, curries, and desserts like coconut ice cream or puddings. It adds a delightful tropical flavor and texture to many dishes.
Can I freeze fresh coconut water?
Freezing fresh coconut water is possible, but it may undergo changes in taste and texture. The water can expand when frozen, so it’s important to leave some space in the container to prevent bursting. Thaw the frozen coconut water in the refrigerator and give it a gentle shake before consuming to redistribute any separated solids.


