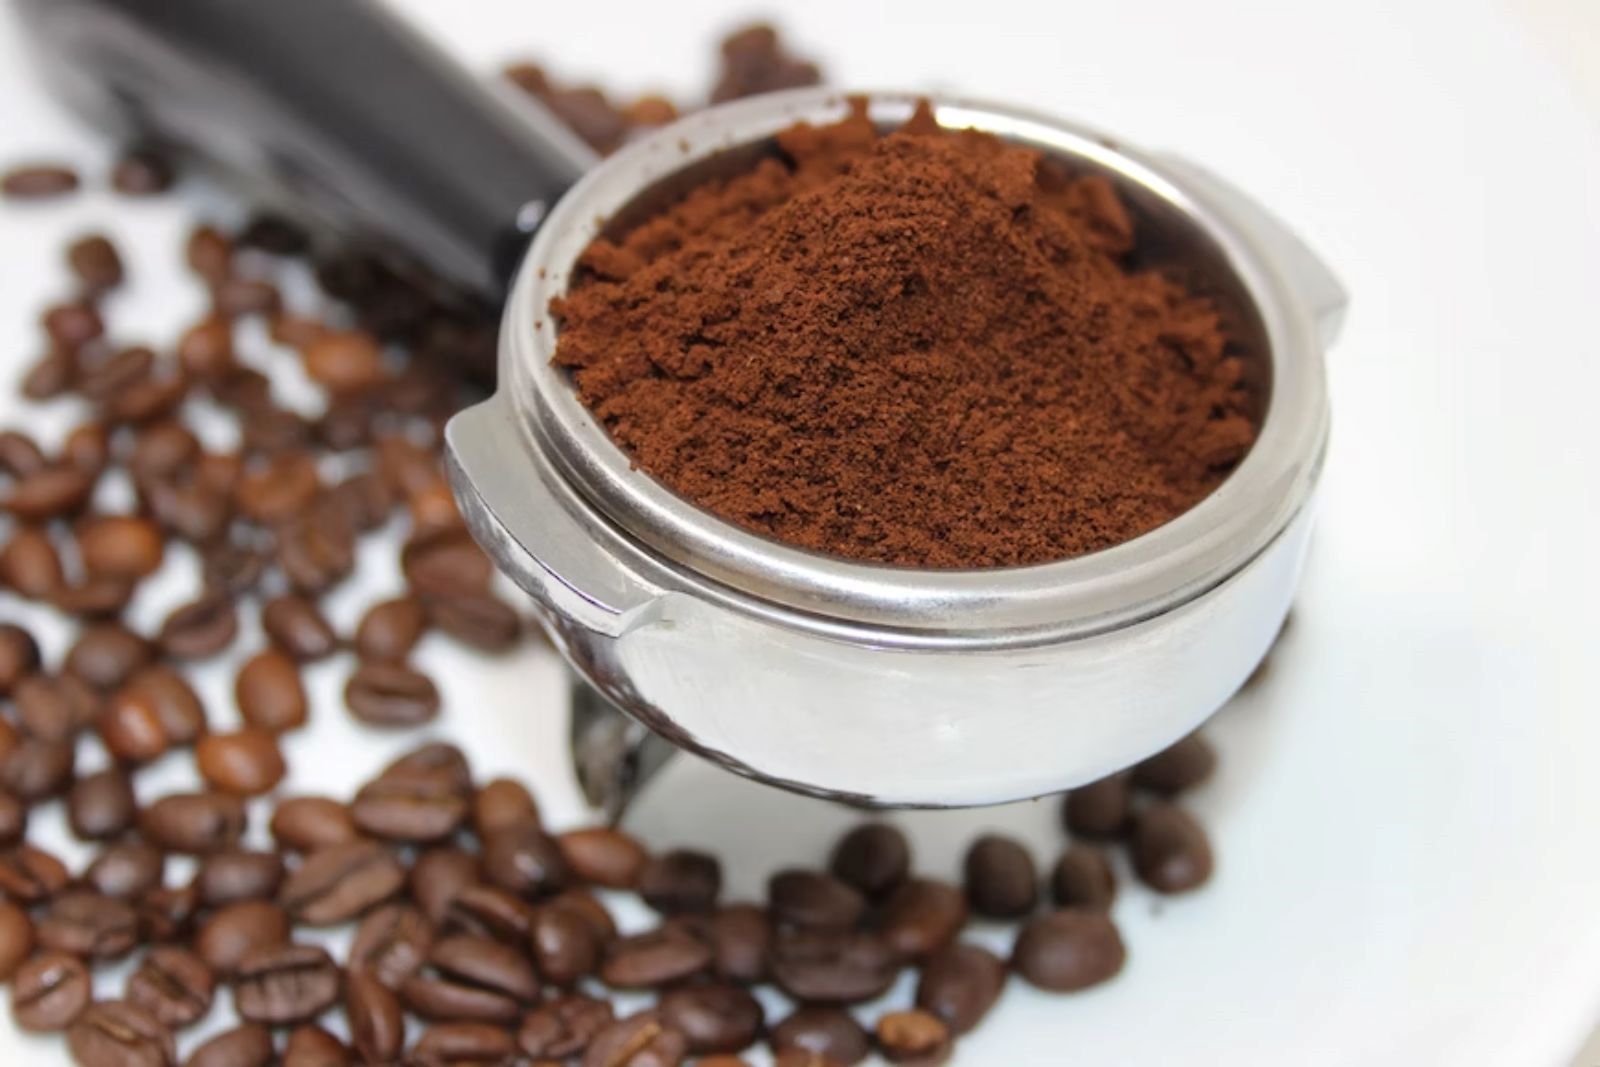
Coffee grounds are the residue left behind after brewing coffee. They are rich in flavor and can be used in various ways, such as composting or as an ingredient in recipes. Freezing coffee grounds is an excellent method for preserving their freshness and aroma, allowing you to enjoy a delicious cup of coffee even when you’re out of freshly ground beans. By following a few simple steps, you can freeze coffee grounds effectively and ensure they maintain their quality for future use. This article presents a comprehensive guide on freezing coffee grounds to help you achieve the best results.
Here’s a step-by-step guide on how to freeze coffee grounds:
Step 1: Choose high-quality coffee grounds
When it comes to freezing coffee grounds, the quality of the beans plays a crucial role in preserving the flavor and aroma. Starting with high-quality coffee grounds will ensure that you achieve the best results when you brew coffee with them later.
Freshly ground beans are ideal for freezing because they retain their natural oils and flavors. If possible, consider grinding the beans just before freezing to maintain the utmost freshness. This way, the coffee grounds will have a more vibrant taste profile when you eventually use them.
If you don’t have access to a coffee grinder or prefer the convenience of pre-ground coffee, make sure to choose a brand that you trust. Opt for a reputable coffee producer or a brand that has consistently delivered a satisfying cup of coffee in the past. Look for packaging that indicates the roast date, as fresher beans tend to have more pronounced flavors.
High-quality coffee grounds will have a robust and distinct aroma. When you open the packaging, you should be greeted with a delightful fragrance that hints at the rich flavors that lie within. The scent can vary depending on the type of beans and the roast level, so choose according to your preferences.
Remember that freezing coffee grounds is primarily done to preserve their freshness and flavor for an extended period. Starting with high-quality coffee grounds ensures that you have a solid foundation to work with, ultimately leading to a more enjoyable cup of coffee when you brew it later. So invest in quality beans or a trusted brand, and you’ll be rewarded with a satisfying coffee experience every time you reach for your frozen coffee grounds.
Step 2: Portion the coffee grounds
Dividing the coffee grounds into convenient portions is an essential step in freezing them effectively. By portioning the grounds, you can maintain their freshness and convenience when it comes time to brew your coffee.
Freezing coffee grounds in small batches is preferable for several reasons. Firstly, it allows you to preserve the freshness of the remaining grounds. When you thaw coffee grounds, moisture can accumulate, potentially degrading their flavor and aroma. By freezing them in smaller portions, you reduce the number of times you need to thaw and refreeze the coffee grounds, minimizing the risk of flavor loss.
Additionally, freezing coffee grounds in smaller portions enables you to easily access the desired amount for each brewing session. Instead of thawing a large container of coffee grounds and potentially wasting some, you can take out only what you need. This convenience saves you time and ensures that you have a fresh batch of coffee grounds whenever you want to brew a cup.
To portion the coffee grounds, you can use resealable freezer bags or airtight containers. Measure out the desired amount of coffee grounds for each portion, keeping in mind your usual brewing requirements. A general guideline is to use approximately one to two tablespoons of coffee grounds per cup of coffee, but adjust according to your personal preference.
Can I freeze coffee grounds in ice cube trays?
While it’s possible to freeze coffee grounds in ice cube trays, it may not be the most convenient method. Coffee grounds can be difficult to remove from the trays, and they may absorb odors from other items in the freezer. It’s generally recommended to use airtight containers or freezer bags for proper storage.
Step 3: Place the coffee grounds in airtight containers
After portioning the coffee grounds, it’s crucial to transfer them into suitable storage containers. Opting for airtight containers or freezer bags is essential for preserving the quality and flavor of the coffee grounds during freezing.
Air is the enemy when it comes to freezing coffee grounds. Exposure to air can lead to freezer burn, which can negatively impact the taste and aroma of the coffee. Freezer burn occurs when moisture evaporates from the coffee grounds and crystallizes on their surface, resulting in a stale and off-flavor.
To prevent freezer burn, ensure that the containers or freezer bags you use are completely airtight. This means they should have a secure seal that prevents air from entering and moisture from escaping. Airtight containers with locking lids or jars with rubber gaskets are excellent options for storing coffee grounds in the freezer.
When transferring the coffee grounds into the containers, take care to remove as much air as possible. Air trapped within the packaging can accelerate the oxidation process, leading to a loss of flavor and freshness. One way to remove air is by pressing down gently on the coffee grounds to compact them before sealing the container.
If using freezer bags, consider using a vacuum sealer or the water displacement method to remove excess air. With the water displacement method, place the coffee grounds in the bag, leaving a small opening. Slowly lower the bag into a bowl of water, allowing the water to push out the air. Seal the bag once the air has been removed.
Can I freeze coffee grounds in their original packaging?
It’s generally not recommended to freeze coffee grounds in their original packaging as it may not provide sufficient protection against moisture and odors. Transfer the coffee grounds into airtight containers or freezer bags for optimal storage.
Step 4: Label the containers
Labeling the containers that hold your frozen coffee grounds is an essential step in organizing your freezer and keeping track of their storage time. By clearly indicating the date of freezing, you can ensure that you use the oldest coffee grounds first and maintain the best quality for your brewed coffee.
Freezing coffee grounds allows them to be stored for an extended period. However, over time, the flavor and quality of the coffee can gradually degrade. By labeling the containers with the date of freezing, you establish a system for rotation, ensuring that you use the coffee grounds in the order they were frozen.
Using a permanent marker or labels, write the date of freezing on each container. This way, when you retrieve the coffee grounds from the freezer, you can easily identify which batch to use first. It’s recommended to write the date in a clear and visible manner to avoid any confusion.
By using the oldest coffee grounds first, you maximize their freshness and flavor. This practice ensures that you enjoy the best-tasting cup of coffee possible. Additionally, labeling the containers allows you to keep track of how long the coffee grounds have been stored in the freezer. Coffee grounds are typically at their peak quality for up to three to six months when frozen, although this can vary depending on the specific coffee and storage conditions.
Furthermore, labeling the containers helps you stay organized. It prevents any guesswork or accidentally using coffee grounds that have been in the freezer for an extended period. It’s a simple step that contributes to a smooth coffee brewing experience.
Step 5: Freeze the coffee grounds
Once you have properly packaged and labeled the containers of coffee grounds, it’s time to place them in the freezer for storage. Proper freezing is essential for maintaining the freshness and quality of the coffee grounds until you’re ready to use them.
When placing the containers of coffee grounds in the freezer, it’s recommended to initially arrange them in a single layer. This allows for faster and more even freezing. By spreading them out, the cold air in the freezer can circulate around the containers, ensuring that the coffee grounds freeze uniformly.
Faster freezing helps to preserve the flavor and aroma of the coffee grounds. The quicker the freezing process, the less time the coffee grounds spend exposed to potential degradation. It also helps minimize the formation of large ice crystals, which can affect the texture and taste of the coffee grounds once they thaw.
Once the coffee grounds have frozen solid, typically after a few hours, you can stack the containers to optimize freezer space. Stacking the containers allows you to make the most efficient use of the available space in your freezer. However, make sure the containers are securely sealed to prevent any cross-contamination or odor absorption.
When stacking the containers, try to create a stable and organized arrangement. Consider placing the labeled containers with the oldest date on the top of the stack. This way, you can easily access and use the coffee grounds in the correct order.
How long can coffee grounds last in the freezer?
Coffee grounds can last in the freezer for up to 3 to 6 months without significant degradation in flavor and quality. Properly stored coffee grounds in airtight containers or freezer bags can retain their freshness and aroma for an extended period. However, it’s important to use the oldest coffee grounds first and avoid prolonged freezing to maintain the best taste experience.
Step 6: Thaw only what you need
When the time comes to use your frozen coffee grounds, it’s important to thaw only the portion you require. Thawing coffee grounds is not necessary if you plan to use them for brewing coffee, as they can be added directly to the coffee maker. This step helps maintain the flavor and freshness of the coffee grounds while simplifying the brewing process.
Thawing coffee grounds can introduce moisture and compromise their quality. When moisture accumulates, it can affect the taste and aroma of the coffee, potentially leading to a weaker or duller cup. Therefore, it’s best to avoid thawing coffee grounds unless you plan to use them for alternative purposes like cooking or baking, where the moisture content is less critical.
For brewing coffee, simply take the desired amount of frozen coffee grounds directly from the freezer. Since coffee grounds are small and granular, they can be easily measured and added directly to your coffee maker. The brewing process will naturally melt and extract the flavors from the frozen coffee grounds, resulting in a flavorful and aromatic cup of coffee.
By avoiding the thawing process, you simplify your coffee brewing routine. There’s no need to wait for the coffee grounds to defrost or worry about the potential loss of flavor due to moisture. You can enjoy the convenience of using frozen coffee grounds directly, saving time and effort.
However, if you plan to use the frozen coffee grounds for cooking or baking, you can thaw them in the refrigerator. Place the desired portion in a covered container and allow it to thaw slowly in the refrigerator overnight. This gentle thawing process helps minimize the introduction of excess moisture.
Are there any specific tips for thawing and using frozen coffee grounds for cold brew or iced coffee?
For cold brew or iced coffee, there’s no need to thaw frozen coffee grounds. Use them directly from the freezer by adding the desired amount to cold water or a cold brew coffee maker. The slow extraction process of cold brewing will naturally incorporate the flavors from the frozen coffee grounds, resulting in a smooth and flavorful cold brew or iced coffee.
Step 7: Store unused coffee grounds properly
After thawing a portion of the coffee grounds, it’s possible that you may have some leftovers that you don’t plan to use immediately. To maintain their freshness and prevent any cross-contamination with other food items, it’s important to store the unused coffee grounds properly.
The best way to store unused coffee grounds is in an airtight container in the refrigerator. An airtight container helps create a barrier against air and moisture, preserving the flavor and aroma of the coffee grounds. It also prevents the absorption of odors from other food items in the refrigerator, which can potentially affect the taste of the coffee.
When selecting an airtight container, choose one that is specifically designed for food storage and has a secure seal. Glass jars with tight-fitting lids or reusable plastic containers with airtight seals are good options. Make sure the container is clean and dry before transferring the coffee grounds.
Place the unused coffee grounds into the airtight container, ensuring that it is filled without any empty space. This helps minimize contact with air, further preserving the freshness of the coffee. Seal the container tightly to create a proper seal and prevent any air or moisture from entering.
By storing the unused coffee grounds in the refrigerator, you extend their shelf life and maintain their quality for a longer period. The cool temperature of the refrigerator helps slow down the oxidation process, which can lead to flavor degradation. This way, you can enjoy the unused coffee grounds at their best when you decide to use them.
Remember to label the container with the date of storage if you want to keep track of their freshness. It’s also a good practice to use the unused coffee grounds within a reasonable time frame, ideally within a week or two, for the best flavor experience.
Other related questions
Can I refreeze coffee grounds?
It is generally not recommended to refreeze coffee grounds once they have been thawed. Refreezing can affect the quality and flavor of the coffee grounds as it can lead to moisture buildup and potential degradation. It is best to portion and freeze coffee grounds in quantities that align with your usage, thawing only what you need for each brewing session.
How do I know if the coffee grounds have gone bad after being frozen?
To determine if frozen coffee grounds have gone bad, pay attention to changes in their appearance, aroma, and flavor. If the coffee grounds appear significantly discolored, have a rancid or unpleasant odor, or produce a bitter and off-tasting brew, it is likely that they have deteriorated in quality. Proper storage and adhering to recommended storage times can help minimize the risk of coffee grounds going bad after being frozen.
Can I freeze flavored or pre-packaged coffee grounds?
Yes, you can freeze flavored or pre-packaged coffee grounds. Follow the same steps for freezing as with regular coffee grounds, ensuring they are stored in airtight containers or freezer bags. Keep in mind that the flavors may slightly change or mellow during freezing, so consider this when using them.
Can I freeze coffee grounds that have been brewed?
It’s not recommended to freeze already brewed coffee grounds. Freezing brewed coffee grounds can affect the flavor and quality, resulting in an inferior taste when thawed and reheated.
Can I freeze coffee grounds with additives like sugar or creamer?
It’s recommended to freeze coffee grounds without additives like sugar or creamer. These additives can potentially affect the quality and texture of the coffee grounds when frozen. Instead, add sugar or creamer to your coffee after brewing for the best results.
Can I freeze coffee grounds for espresso?
Yes, you can freeze coffee grounds for espresso. Follow the same steps for freezing as with regular coffee grounds. However, keep in mind that espresso has specific requirements for grind size and extraction, so ensure the coffee grounds are suitable for your espresso machine.

