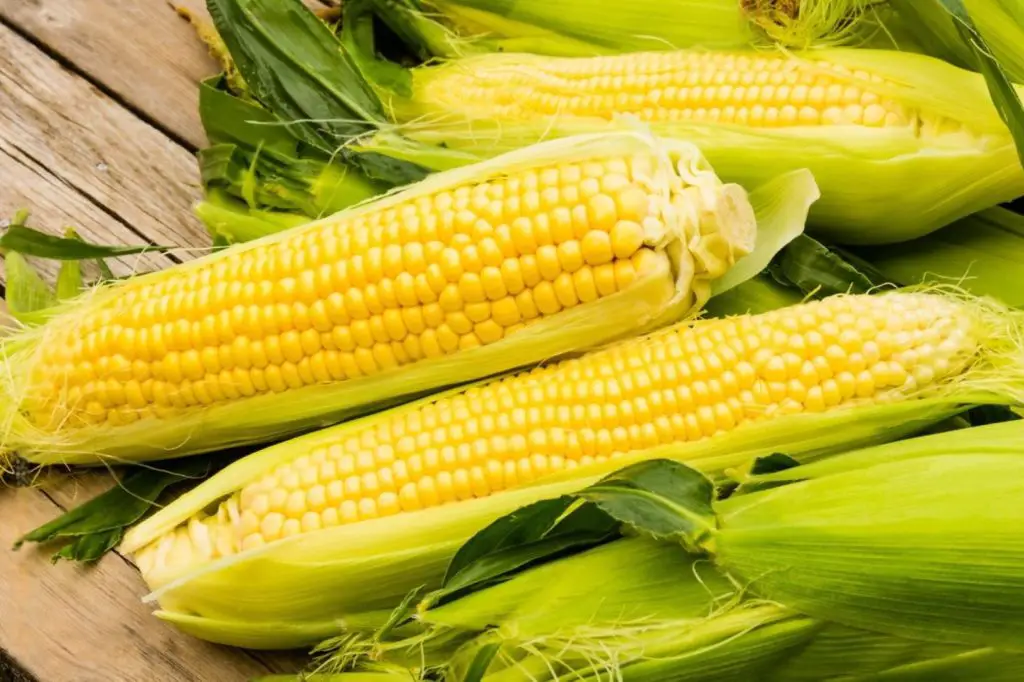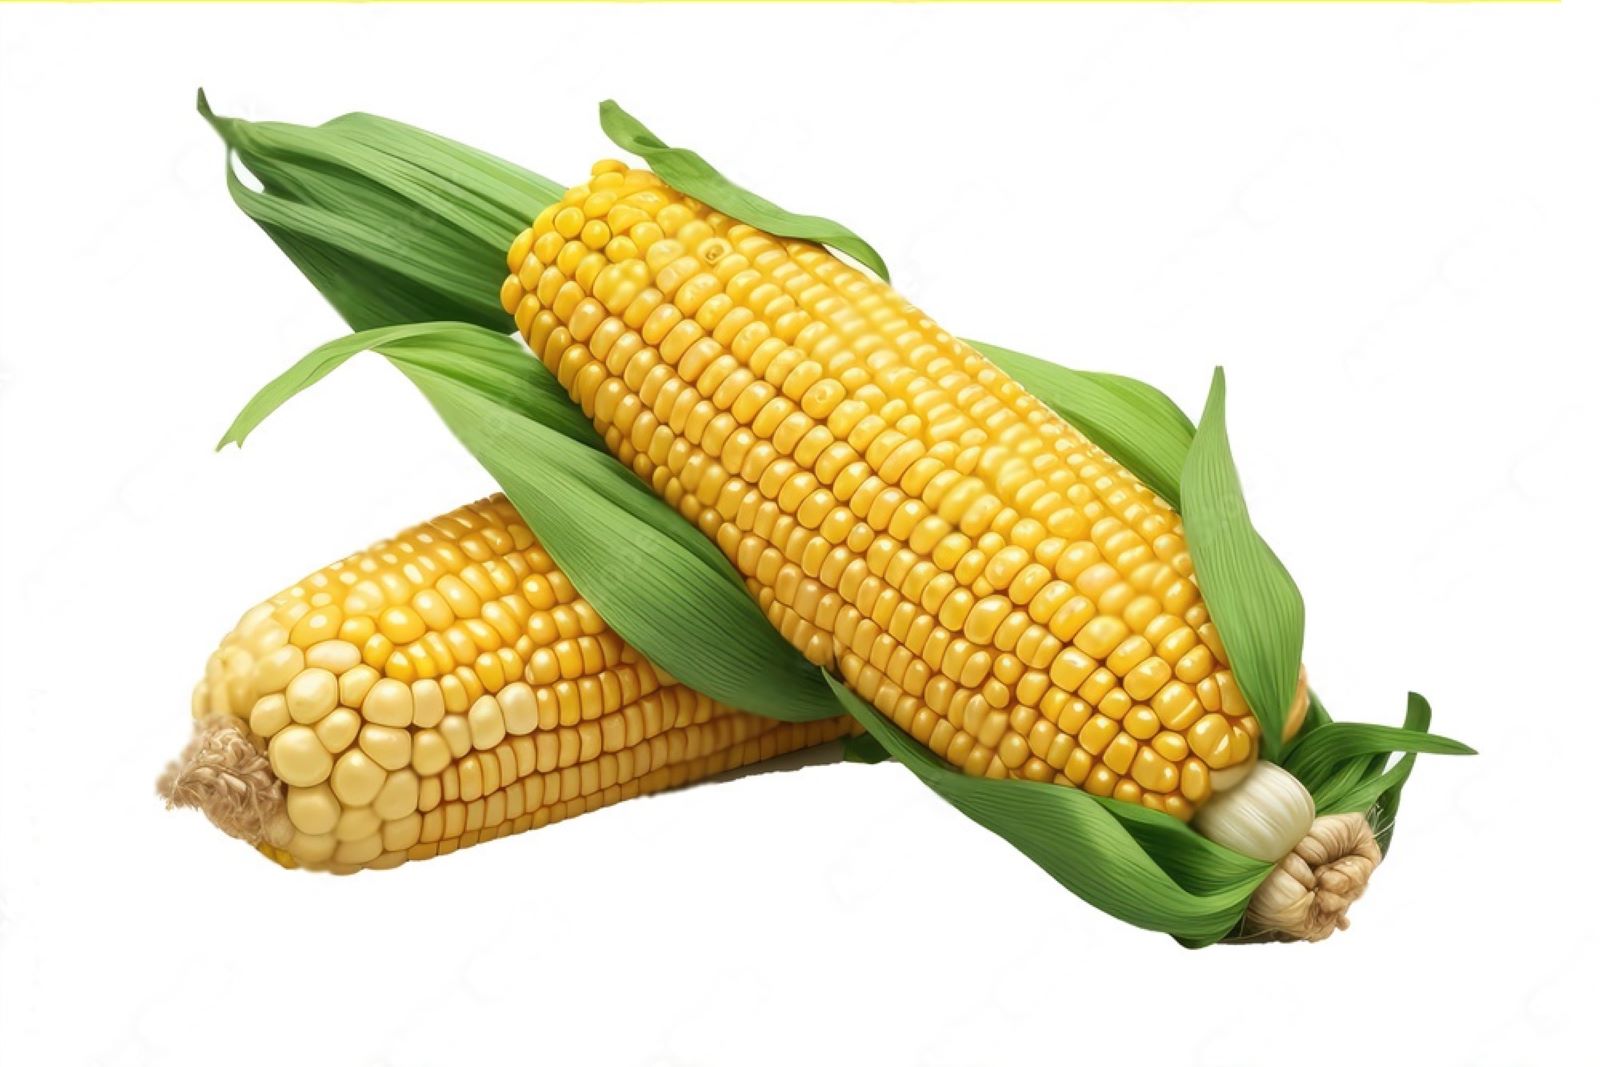
Corn off the cob, a versatile and delicious ingredient, offers a burst of sweet and crisp flavor that captures the essence of summer. Whether added to salads, salsas, soups, or stir-fries, corn kernels provide a delightful pop of texture and a touch of natural sweetness. While fresh corn is readily available during the peak season, freezing corn off the cob allows you to enjoy its goodness year-round. Freezing corn off the cob preserves its freshness and taste, ensuring that you can savor the flavors of this beloved vegetable even when it’s out of season. In this guide, we will explore the proper techniques for freezing corn off the cob, including blanching, cooling, and packaging methods, so you can have a supply of this versatile ingredient ready to enhance your favorite recipes. Join us as we uncover the secrets of freezing corn off the cob and embrace the convenience of having this golden treasure at your disposal, ready to bring a taste of summer to your meals throughout the year.
Here are the simple steps to freeze corn off the cob:
Step 1: Select Fresh Corn
When freezing corn off the cob, it’s crucial to start with fresh and high-quality corn. Follow these guidelines to ensure you choose the best ears of corn for freezing:
- Look for bright green husks: Fresh corn will have husks that are vibrant green and tightly wrapped around the kernels. Avoid ears with husks that are dry, discolored, or showing signs of wilting.
- Check the condition of the kernels: Gently press your fingers against the kernels. They should feel plump, firm, and evenly spaced. Avoid corn with shriveled or dented kernels, as they may indicate poor quality or age.
- Inspect the silk: The silk at the top of the ear should be moist, soft, and golden in color. Avoid corn with brown or dry silk, as it may be an indication of older or less fresh corn.
- Consider the weight: Pick up the ear of corn and feel its weight. It should feel relatively heavy for its size, indicating that it is full and packed with sweet, juicy kernels.
By selecting fresh corn, you ensure that the corn off the cob will have the best flavor, texture, and nutritional value when it’s time to enjoy it after freezing.
Step 2: Shuck and Clean the Corn
Before freezing corn off the cob, it’s important to properly prepare the ears of corn by removing the husks and silk. Here’s a detailed explanation of this step:
- Remove the husks: Start by peeling away the outer husks of the corn. Hold the corn firmly at the top and pull down the husks in one swift motion. Continue peeling off the husks until you reach the inner layers.
- Remove the silk: After removing the husks, you’ll see silky threads, known as corn silk, covering the kernels. Gently pull the silk strands from the top of the ear downwards, removing as much as possible. Take care not to damage the kernels while doing this.
- Rinse the corn: Once the husks and most of the silk have been removed, rinse the corn under cool running water to wash away any remaining silk or debris. Use your hands to rub the corn gently, ensuring all surfaces are clean.
- Check for any missed silk: After rinsing, inspect the corn to ensure no strands of silk are left behind. Run your fingers along the kernels to feel for any remaining silk and remove it if necessary. Removing all the silk is crucial because it can affect the texture of the corn during freezing.
By shucking and cleaning the corn, you remove any outer layers that may harbor dirt, insects, or unwanted debris. This step ensures that the corn off the cob remains clean and ready for further processing before freezing.
Step 3: Blanch the Corn
Blanching is a crucial step in freezing corn off the cob as it helps to preserve its flavor, texture, and color. Here’s a detailed explanation of how to blanch the corn:
- Prepare a large pot: Fill a large pot with water, leaving enough room to accommodate the corn ears without causing the water to overflow once they are added. Place the pot on the stove and turn the heat to high.
- Bring the water to a boil: Allow the water to come to a rolling boil. It’s important to have the water boiling before adding the corn ears.
- Add the corn ears: Carefully place the prepared corn ears into the boiling water. You can add as many ears as will comfortably fit in the pot without overcrowding.
- Blanch for 4 to 6 minutes: Let the corn ears blanch in the boiling water for 4 to 6 minutes. This timing ensures that the corn is heated sufficiently to halt enzyme activity and kill any bacteria present. Blanching also helps to retain the corn’s natural sweetness and nutrients.
Note: If you’re blanching a large batch of corn ears, you may need to blanch them in multiple batches to avoid overcrowding the pot. This ensures that all the corn is evenly blanched.
Use a timer: Set a timer to ensure you don’t overcook the corn. Over Blanching can lead to loss of flavor, texture, and nutritional value.
Blanching is essential because it halts the enzyme activity that can cause the corn to deteriorate in quality during freezing. It also helps to kill any bacteria present on the corn, ensuring that it remains safe to eat even after freezing. By blanching the corn, you’ll be able to retain its fresh taste and vibrant color, making it more enjoyable when you thaw and use it in recipes later.
Step 4: Cool the Corn
After blanching the corn, it’s important to cool it down quickly to stop the cooking process and preserve its texture and flavor. Here’s an explanation of how to cool the corn properly:
- Prepare a bowl of ice water: Fill a large bowl or basin with cold water and add ice cubes to make it icy cold. The bowl should be large enough to accommodate all the corn ears you blanched.
- Transfer the corn to the ice water: Using tongs or a slotted spoon, carefully remove the blanched corn ears from the boiling water and immediately place them in the bowl of ice water. Submerging the corn in ice water rapidly reduces its temperature, preventing it from overcooking.
- Allow the corn to cool: Leave the corn in the ice water for the same amount of time it was blanched, typically 4 to 6 minutes. Cooling the corn for the same duration as the blanching time ensures that it cools uniformly.
- Ensure thorough cooling: To ensure the corn cools completely, gently stir or agitate it in the ice water occasionally. This helps to distribute the cold water around the corn ears, ensuring they cool evenly.
By cooling the corn in ice water after blanching, you halt the cooking process and lock in its texture and flavor. Rapid cooling prevents the corn from becoming mushy or overcooked. Once the corn has cooled down, it is ready for the next steps in the freezing process, ensuring its optimal quality when you thaw and use it later.
Step 5: Cut the Corn off the Cob
Once the corn has been cooled after blanching, the next step is to remove the kernels from the cob. Here’s an explanation of how to cut the corn off the cob:
- Set up a cutting board: Place a cutting board on a stable surface. It’s essential to use a cutting board with a groove or a rim to catch any stray kernels and prevent them from rolling off.
- Hold the corn ear upright: Take a cooled corn ear and hold it firmly at the top with one hand. Position it vertically on the cutting board to keep it steady during the cutting process.
- Use a sharp knife: Take a sharp knife, such as a chef’s knife or a serrated knife, and carefully slice downward along the length of the corn ear. Start from the top, cutting as close to the cob as possible without including any tough parts of the cob.
- Repeat for all corn ears: Once you’ve cut the kernels off one corn ear, repeat the process for the remaining ears. Make sure to maintain a steady grip on the corn ear and exercise caution while cutting to avoid any accidental slips.
- Collect the kernels: As you cut the kernels off each ear, let them fall onto the cutting board. Use your hand or a spatula to gather the cut kernels into a pile or transfer them directly into a bowl or container for further processing or packaging.
Note: Some people prefer to place a smaller bowl upside down inside a larger bowl when cutting the corn. This creates a stable base for the corn ear and allows the kernels to fall neatly into the larger bowl.
By cutting the corn off the cob, you separate the kernels for easier storage and usage. Cutting close to the cob ensures that you extract as many kernels as possible, maximizing the yield. The cut corn kernels are now ready for the next steps in the freezing process, allowing you to preserve their freshness and enjoy them in various dishes later on.
Step 6: Package the Corn
After cutting the corn kernels off the cob, it’s important to properly package them for freezing. Here’s an explanation of how to package the corn kernels:
- Divide into portions: Determine how much corn you would like to have in each serving or recipe. Divide the cut corn kernels into portions that suit your needs. This step allows for convenient usage later on without thawing more than necessary.
- Choose suitable containers: Select airtight freezer bags or containers for storing the corn kernels. Freezer bags are often a popular choice as they allow for easy stacking and take up less space in the freezer. Alternatively, you can use freezer-safe plastic containers or glass jars with tight-fitting lids.
- Fill the bags or containers: Place the divided corn kernels into the chosen bags or containers. Leave a small space at the top of each bag or container to allow for expansion as the corn freezes. It helps to prevent the bags from bursting or containers from cracking.
- Remove excess air: Before sealing the bags or containers, squeeze out as much air as possible. Removing excess air helps prevent freezer burn and maintain the quality of the corn during freezing. You can use a vacuum sealer if available to create a more airtight seal.
- Seal tightly: Ensure that the bags or containers are securely sealed to prevent any air or moisture from entering. For freezer bags, press out as much air as possible while sealing, and for containers, ensure the lids are tightly closed.
Proper packaging is crucial for maintaining the quality of the corn during freezing. By using airtight containers or bags, leaving space for expansion, and removing excess air, you create an optimal environment for the corn kernels to freeze and retain their freshness. Once packaged, the corn is ready to be labeled and dated before storing in the freezer.
Step 7: Label and Date
After packaging the corn for freezing, it’s important to label and date each package. Here’s an explanation of why and how to label the corn packages:
- Use a marker or label: Grab a marker or use labels specifically designed for freezer use. These materials are designed to withstand low temperatures and remain intact during freezing.
- Write the date of freezing: On each package of corn, write the date when you froze the corn. This allows you to keep track of its freshness and ensures that you use the oldest packages first. It’s recommended to write the date in a clear and visible manner, such as directly on the package or on a label attached to it.
- Additional information: If desired, you can also include additional information on the package, such as the quantity or any specific notes about the corn. This can be helpful when planning meals or recipes in the future.
By labeling and dating the corn packages, you establish an organized system that helps you manage your frozen corn supply. It allows you to easily identify and use the oldest packages first, ensuring that you maintain a rotation and consume the corn within its recommended storage time frame. Proper labeling helps you keep track of freshness and make the most of your frozen corn off the cob.
Step 8: Freeze the Corn
Once the corn packages are labeled and dated, it’s time to freeze them. Here’s an explanation of how to properly freeze the corn:
- Transfer to the freezer: Place the sealed packages of corn in the freezer. Ensure that the freezer temperature is set to 0°F (-18°C) or below for optimal freezing.
- Arrange in a single layer: Initially, arrange the corn packages in a single layer in the freezer. This allows for faster freezing as the cold air can circulate around each package, ensuring even freezing.
- Leave space between packages: Make sure to leave some space between the packages. This allows the cold air to circulate freely and helps freeze the corn more efficiently. Avoid overcrowding the freezer to ensure proper airflow.
- Stack once frozen: Once the corn packages are completely frozen, usually within a few hours, you can stack them to save space. Stacking the packages helps maximize the use of available freezer space. However, it’s still advisable to keep some space between the stacked packages to maintain proper air circulation.
- Freezing time: The exact freezing time may vary depending on the freezer’s temperature and the quantity of corn being frozen. Generally, it takes a few hours for the corn to freeze completely. It’s best to check the packages periodically to ensure they are frozen solid before stacking them.
By placing the sealed corn packages in the freezer and initially arranging them in a single layer, followed by stacking once frozen, you ensure proper freezing and maximize the use of freezer space. Freezing the corn promptly helps preserve its quality, flavor, and texture, allowing you to enjoy the frozen corn off the cob for an extended period.
Step 9: Store in the Freezer
After freezing the corn, it’s important to store it properly in the freezer to maintain its quality over an extended period. Here’s an explanation of how to store the frozen corn:
- Choose the coldest part of the freezer: Locate the coldest part of your freezer, which is usually towards the back or bottom. This area experiences the least temperature fluctuations, ensuring the corn stays frozen at a consistent temperature.
- Maintain the ideal temperature: Set your freezer temperature to 0°F (-18°C) or below. This temperature is ideal for keeping the corn frozen and preserving its quality. Regularly check and monitor the freezer temperature to ensure it remains at the desired level.
- Properly package the corn: Ensure that the corn packages are properly sealed and airtight to prevent any exposure to air or moisture. This helps prevent freezer burn and maintains the quality of the corn throughout its storage time.
- Organize and rotate: If you have multiple packages of corn, organize them in a way that allows easy access to each package. Consider grouping similar-sized packages together for convenience. To maintain freshness, practice a first-in, first-out approach, using the oldest packages first to prevent them from being stored for too long.
- Storage duration: Frozen corn, when stored properly at 0°F (-18°C) or below, can maintain its quality for up to 12 months. While it may still be safe to consume after this time, the flavor and texture may start to deteriorate. It’s advisable to consume the frozen corn within the recommended storage duration for the best taste and quality.
By storing the frozen corn in the coldest part of the freezer, maintaining the ideal temperature, and using proper packaging, you can ensure that the corn remains frozen and retains its flavor, texture, and nutritional value for an extended period. Following these storage guidelines will help you enjoy the frozen corn off the cob at its best for up to 12 months.
Other related questions
How do you defrost corn off the cob?
To defrost corn off the cob, you have a few options. One method is to transfer the frozen corn to the refrigerator and let it thaw overnight. Alternatively, you can place the frozen corn in a microwave-safe bowl, cover it with a microwave-safe lid or plastic wrap, and microwave on the defrost setting in short intervals, stirring occasionally until fully thawed. Another option is to cook the frozen corn directly, using methods like boiling or steaming, which will also thaw it during the cooking process.
Can you refreeze corn off the cob?
It is generally not recommended to refreeze corn off the cob once it has been thawed. This is because the quality and texture of the corn can be compromised after the initial freezing and thawing process. Additionally, repeated freezing and thawing can increase the risk of bacterial growth and affect the taste and overall quality of the corn. It is best to consume the corn after the initial thawing or cook it thoroughly before refreezing for other culinary uses.
How do I know if the corn off the cob has gone bad after being frozen?
To determine if frozen corn off the cob has gone bad, there are a few signs to look for. First, check for any unusual or off-putting odors. If the corn emits a strong or unpleasant smell, it may indicate spoilage. Second, examine the appearance and texture of the corn. If the kernels appear discolored, mushy, or have a slimy texture, it is a clear indication of spoilage. Lastly, trust your taste buds. If the flavor is noticeably off or rancid, it is best to discard the corn to avoid any potential foodborne illnesses.
Are there any special considerations for freezing sweet corn off the cob?
Yes, there are some special considerations for freezing sweet corn off the cob. Sweet corn tends to have a higher sugar content and can be more delicate compared to other types of corn. It is generally recommended to blanch sweet corn before freezing to preserve its quality. Blanching involves briefly boiling the corn in water, followed by an immediate plunge into ice water to stop the cooking process. Blanching helps retain the color, texture, and flavor of the sweet corn. After blanching, cut the corn off the cob and place the kernels in freezer-safe containers or bags.
Are there any differences in freezing techniques for different varieties of corn off the cob?
The freezing techniques for different varieties of corn off the cob are generally similar. However, there may be slight variations based on the characteristics of the corn. For instance, some varieties of corn may have larger or smaller kernels, different levels of sweetness, or varying moisture content. It is advisable to follow the specific freezing recommendations provided by the corn variety’s guidelines or recipe instructions. In general, blanching the corn off the cob before freezing is a common practice to help preserve its quality.
Can you freeze corn off the cob with added seasoning or herbs?
Yes, you can freeze corn off the cob with added seasoning or herbs. The added seasoning or herbs can enhance the flavor of the corn and provide a delicious taste when it is thawed and cooked. Before freezing, it is recommended to blanch the corn off the cob to preserve its quality. After blanching and removing the corn kernels from the cob, you can toss them with your desired seasoning or herbs. Ensure that the corn is evenly coated before transferring it to freezer-safe containers or bags.

