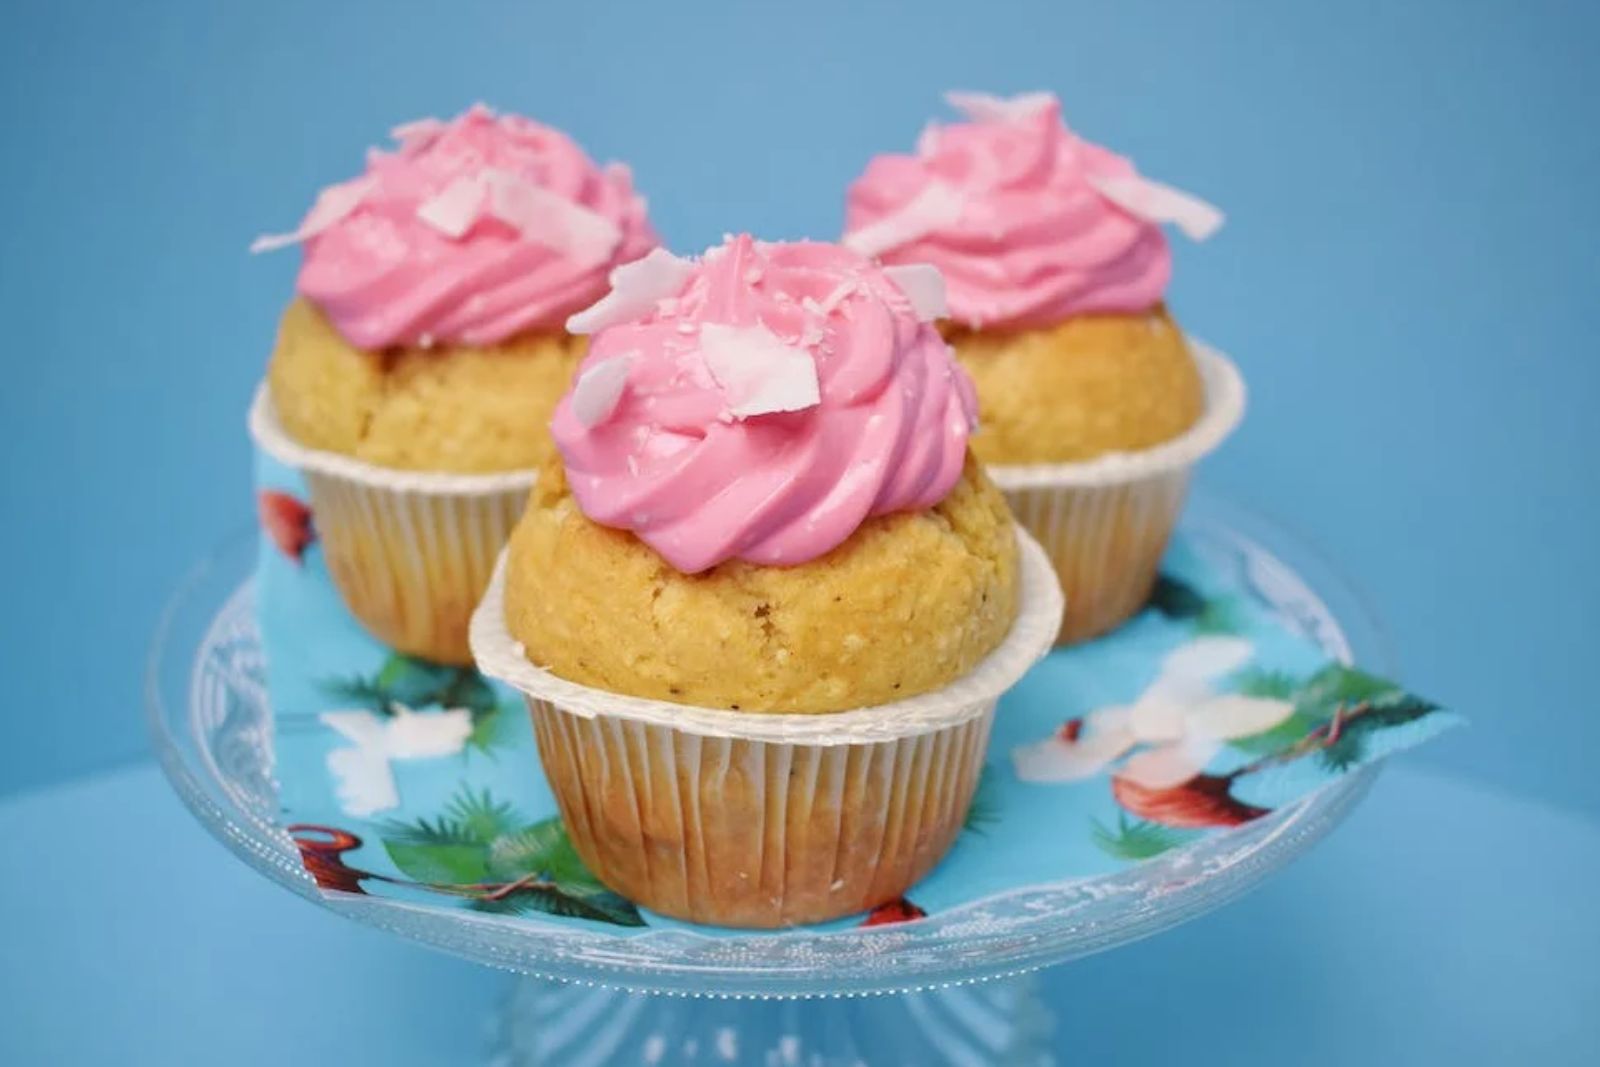
Cupcakes are small, individual-sized cakes baked in cup-shaped molds. They are versatile desserts made in various flavors and are known for their small size and easy serving. Cupcake batter typically includes ingredients like flour, sugar, butter, eggs, and flavorings. Once baked, cupcakes can be topped with frosting in different flavors and decorated with sprinkles or other edible decorations. Whether you have leftover cupcakes from a party or you want to prepare them in advance for a future event, freezing cupcakes can be a convenient option to preserve their freshness and flavor. By following a few simple steps, you can ensure that your cupcakes stay moist and delicious even after they have been thawed. In this article, we will guide you through the process of freezing cupcakes and provide helpful tips to maintain their optimal quality.
Here are the easy steps to freeze cupcakes:
Step 1: Allow cupcakes to cool completely
After baking your cupcakes, it is crucial to let them cool down completely before freezing them. This step is important to ensure that the cupcakes maintain their texture and quality during the freezing process. Placing warm cupcakes directly into the freezer can result in condensation forming on the surface, which can make the cupcakes soggy or affect their taste.
When cupcakes are taken out of the oven, they are still retaining heat and moisture. Allowing them to cool at room temperature allows the excess heat to dissipate and prevents the buildup of moisture. This cooling process helps the cupcakes maintain their structure and texture, ensuring that they freeze properly and remain delicious when thawed.
To cool your cupcakes, transfer them from the baking tray to a wire rack or a clean countertop. Make sure they are placed in a well-ventilated area to facilitate airflow around the cupcakes. It’s best to let them cool for a few hours, although the exact time may vary depending on the size of the cupcakes and the ambient temperature.
Step 2: Prepare the cupcakes for freezing
To ensure that your cupcakes remain in optimal condition during freezing, it is important to prepare them properly. This step involves removing any decorations or toppings that may not freeze well, such as delicate frosting designs, fresh fruit, or whipped cream. By doing so, you can prevent these elements from becoming compromised or losing their texture and taste during the freezing and thawing process.
Certain decorations, like intricate frosting designs or delicate fondant details, can lose their shape and become distorted when frozen. Fresh fruit, such as berries or sliced fruit, may release excess moisture and become mushy when thawed. Whipped cream or soft toppings can lose their texture and deflate when frozen and then thawed.
To prepare your cupcakes for freezing, gently remove any decorations or toppings that may be sensitive to freezing. Use a spatula or small knife to carefully scrape off any frosting or toppings, making sure not to damage the cupcakes. Set aside these decorations or toppings to be added later after the cupcakes have been thawed.
By removing decorations and toppings before freezing, you can ensure that they remain fresh and visually appealing when you are ready to serve the cupcakes. This step helps to maintain the overall quality of your cupcakes and ensures that they freeze and thaw consistently, without any undesirable changes in texture or appearance.
Step 3: Wrap each cupcake individually
To ensure that your cupcakes remain fresh and protected during freezing, it is important to wrap each cupcake individually. This step helps to prevent freezer burn, which can negatively affect the taste and texture of the cupcakes, and helps to maintain their moisture.
You have two main options for wrapping cupcakes: plastic wrap or aluminum foil. Both materials work well in creating a protective barrier against air and moisture. Choose the option that is readily available to you or the one you prefer to use.
To wrap each cupcake individually, start by placing a cupcake in the center of a sheet of plastic wrap or aluminum foil. Gently pull the edges of the wrap or foil up and around the cupcake, covering it completely. Make sure to seal the edges tightly to prevent any air from entering or moisture from escaping.
When wrapping the cupcake, it is essential to cover the entire surface, including the top and sides, to create an airtight seal. This helps to maintain the cupcake’s moisture and prevent it from drying out or absorbing unwanted odors from the freezer.
Repeat this process for each cupcake, ensuring that they are all individually wrapped. If you are using plastic wrap, you may find it helpful to twist the ends of the wrap to secure them in place. For aluminum foil, you can fold the edges tightly to create a sealed package.
Step 4: Store wrapped cupcakes in airtight containers
After individually wrapping your cupcakes, it is important to store them in airtight containers to provide an extra layer of protection and prevent them from absorbing odors from the freezer. Airtight containers help maintain the cupcakes’ freshness and ensure they remain free from any unwanted flavors.
There are a few options for suitable containers to store your wrapped cupcakes. Plastic freezer bags or plastic containers with tight-fitting lids work well for this purpose. Ensure that the containers you choose are clean and specifically designed for freezer storage.
When selecting containers, consider the size of your cupcakes. Choose containers that are spacious enough to accommodate the cupcakes without squishing them. Leaving some extra room prevents any accidental damage or deformation to the cupcakes during storage.
Place the individually wrapped cupcakes inside the airtight containers, arranging them in a single layer if possible. If you need to stack the cupcakes, make sure to do so gently, taking care not to apply excessive pressure that could distort their shape.
By using airtight containers, you create a barrier against external air and moisture, further safeguarding the cupcakes from freezer burn and maintaining their quality. The sealed containers also help prevent the cupcakes from absorbing any odors or flavors from other foods in the freezer, ensuring that they retain their original taste.
Should I remove the cupcake liners before freezing?
It is not necessary to remove the cupcake liners before freezing. Leaving the cupcakes in their liners helps to maintain their shape and prevent them from sticking to each other during freezing. However, if you prefer to remove the liners for aesthetic reasons or if they are made of materials that may not hold up well in the freezer, you can carefully remove them before freezing. Ensure that the cupcakes are properly wrapped and stored in airtight containers to maintain their freshness.
Step 5: Label and date the container
To ensure easy identification and keep track of the storage time of your frozen cupcakes, it is essential to label each container. Labeling helps you know when the cupcakes were frozen and provides guidance on when they should be consumed for the best quality. Using a permanent marker, write the date of freezing directly on the container.
Labeling serves as a helpful reminder, especially if you have multiple batches of cupcakes in the freezer or if you plan to store them for an extended period. By knowing the date of freezing, you can prioritize the cupcakes and consume them in the order they were frozen, reducing the chances of them staying in the freezer for too long.
When labeling, write the date clearly on the container’s surface, making sure it is visible and won’t rub off easily. It is recommended to write the date in a format that includes the day, month, and year. For example, if you froze the cupcakes on May 29, 2023, you would write “29/05/2023” or “May 29, 2023” on the container.
Step 6: Place the cupcakes in the freezer
With your cupcakes properly wrapped, stored in airtight containers, and labeled, it’s time to transfer them to the freezer for long-term storage. Follow these steps to ensure the cupcakes are placed in the freezer correctly.
- Find a flat surface: Choose a flat surface in your freezer where the cupcakes can be stored without being squished or disturbed. Clear a space or make room in a section that can accommodate the containers.
- Arrange in a single layer or stack gently: Ideally, you should place the containers in a single layer to prevent any unnecessary pressure on the cupcakes. However, if space is limited, you can stack the containers gently. Be cautious not to put excessive weight on the cupcakes, as this could cause them to become misshapen.
- Avoid placing heavy items on top: Ensure that no heavy items are placed on top of the cupcake containers. Heavy items can crush the cupcakes or affect their shape during freezing.
- Maintain proper airflow: It is important to allow proper airflow around the cupcakes in the freezer. Avoid overcrowding the area with other items, as this may restrict airflow and affect the freezing process. Good airflow helps maintain consistent temperatures and ensures that the cupcakes freeze evenly.
By carefully placing the wrapped cupcakes in the freezer, you ensure that they are stored in an optimal manner. This step helps to maintain the cupcakes’ shape, texture, and overall quality during the freezing process.
Remember to close the freezer door gently to avoid any disturbances or shifting of the cupcakes. Make sure the containers are positioned securely in the freezer, and if necessary, use additional support or dividers to keep them stable.
Other related questions
How long can cupcakes last in the freezer?
Cupcakes can last in the freezer for up to three months while maintaining their quality. Properly stored and sealed cupcakes can remain safe to eat beyond this timeframe, but their taste and texture may deteriorate over time. It is recommended to consume frozen cupcakes within the three-month period for the best culinary experience.
How do I defrost cupcakes?
To defrost cupcakes, transfer them from the freezer to the refrigerator and let them thaw gradually. This process typically takes 2-4 hours, depending on the size of the cupcakes. Once thawed, remove them from the refrigerator and allow them to come to room temperature before serving. Avoid using the microwave or oven for defrosting, as these methods can lead to uneven thawing and affect the texture of the cupcakes.
Should I thaw frozen cupcakes before frosting or decorating?
It is generally recommended to thaw the cupcakes completely before frosting or adding decorations. Thawing allows the cupcakes to regain their natural moisture, ensuring that the frosting adheres well and the decorations stay intact. Thaw cupcakes in the refrigerator, then bring them to room temperature before applying frosting or decorations.
Can I refreeze cupcakes?
It is generally not recommended to refreeze cupcakes once they have been thawed. Refreezing can result in a loss of quality, as the texture and taste may be affected. Additionally, repeated freezing and thawing can increase the risk of foodborne illness. It is best to consume the cupcakes after they have been thawed and avoid refreezing them for optimal enjoyment and safety.
How do I know if the cupcakes have gone bad after being frozen?
To determine if frozen cupcakes have gone bad, there are several signs to look out for. Examine the cupcakes for any visible signs of freezer burn, such as dry, discolored, or shriveled areas. Additionally, check for changes in texture, such as excessive moisture or a dry and crumbly consistency. Lastly, trust your senses and give the cupcakes a sniff test. If they have an off or rancid odor, it is an indication that they may have spoiled and should be discarded to avoid any potential health risks.
Are there any specific types of cupcakes that do not freeze well?
Certain types of cupcakes may not freeze well due to their specific ingredients or textures. Cupcakes with delicate toppings, such as whipped cream or fresh fruit, may lose their texture and become watery after freezing. Cupcakes with fillings that contain high water content, like custards or jellies, can also be challenging to freeze without compromising their quality. It is recommended to enjoy these types of cupcakes fresh rather than attempting to freeze them.
Can I freeze cupcakes that have been baked with fruit or other fillings?
Yes, you can freeze cupcakes that have been baked with fruit or other fillings. However, the texture and consistency of the fillings may change slightly after freezing and thawing. To freeze these cupcakes, ensure they are properly wrapped to prevent freezer burn and store them in airtight containers. Thaw the cupcakes in the refrigerator and enjoy them within a reasonable time for the best taste and texture.
Can I freeze cupcakes that have been filled with a filling or ganache?
Yes, you can freeze cupcakes that have been filled with a filling or ganache. However, it’s important to take certain precautions to maintain their quality. Ensure that the filling or ganache is fully set and solid before freezing, as any liquid or runny components may affect the texture and stability of the cupcakes. Wrap the filled cupcakes tightly in plastic wrap or aluminum foil, and store them in airtight containers or freezer bags to prevent freezer burn. Thaw the cupcakes in the refrigerator before serving for the best results.
Can I freeze cupcakes that have been made with alternative flours or dietary restrictions (e.g., gluten-free, vegan)?
Yes, you can freeze cupcakes that have been made with alternative flours or dietary restrictions such as gluten-free or vegan options. These cupcakes may freeze and thaw slightly differently compared to traditional ones due to variations in ingredients and textures. Properly wrap and store them in airtight containers or freezer bags to maintain their quality, and thaw them following the same guidelines as regular cupcakes. Enjoy them within the recommended storage time for the best taste and texture.

