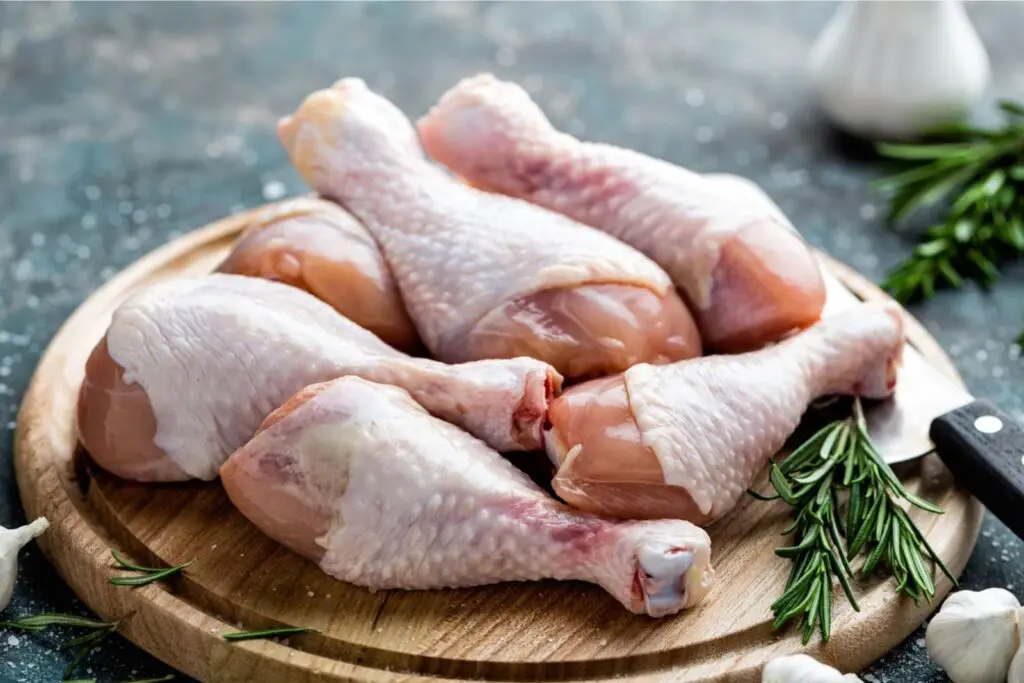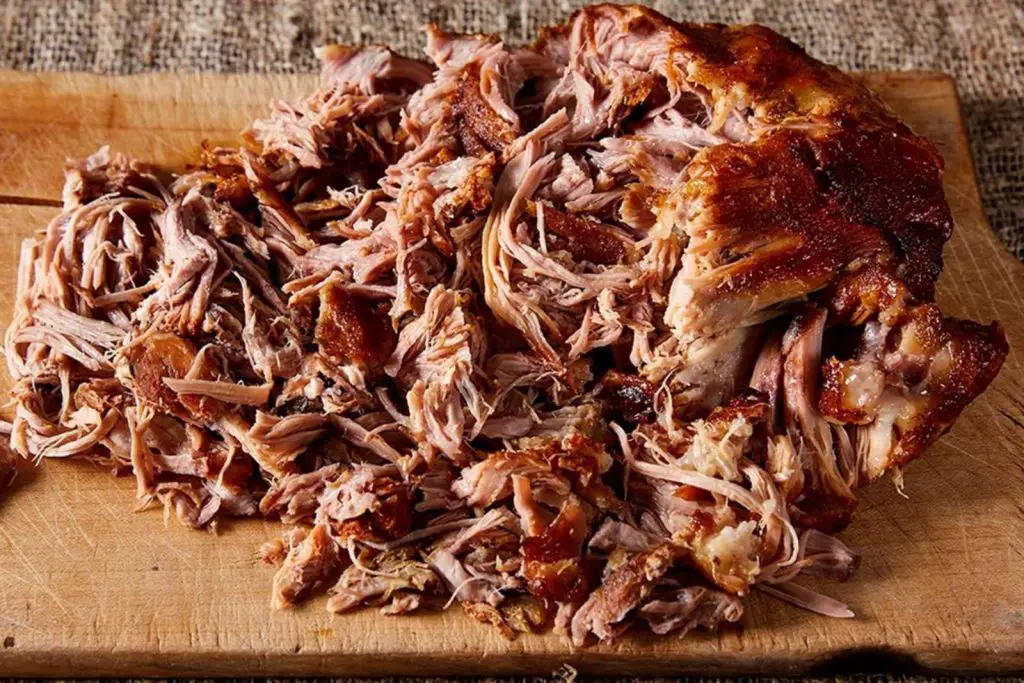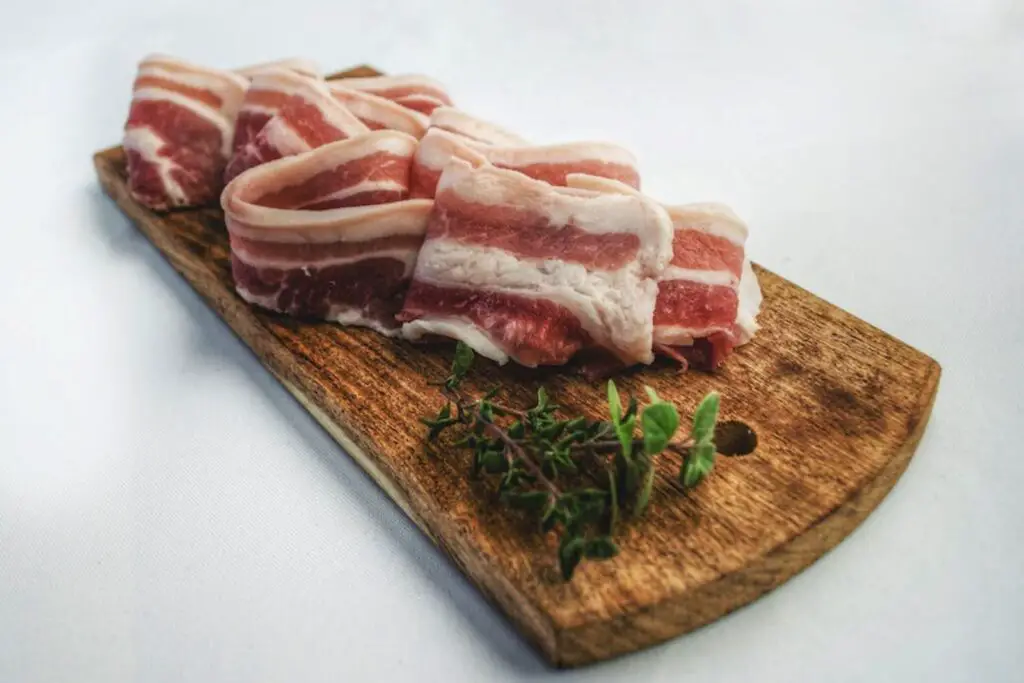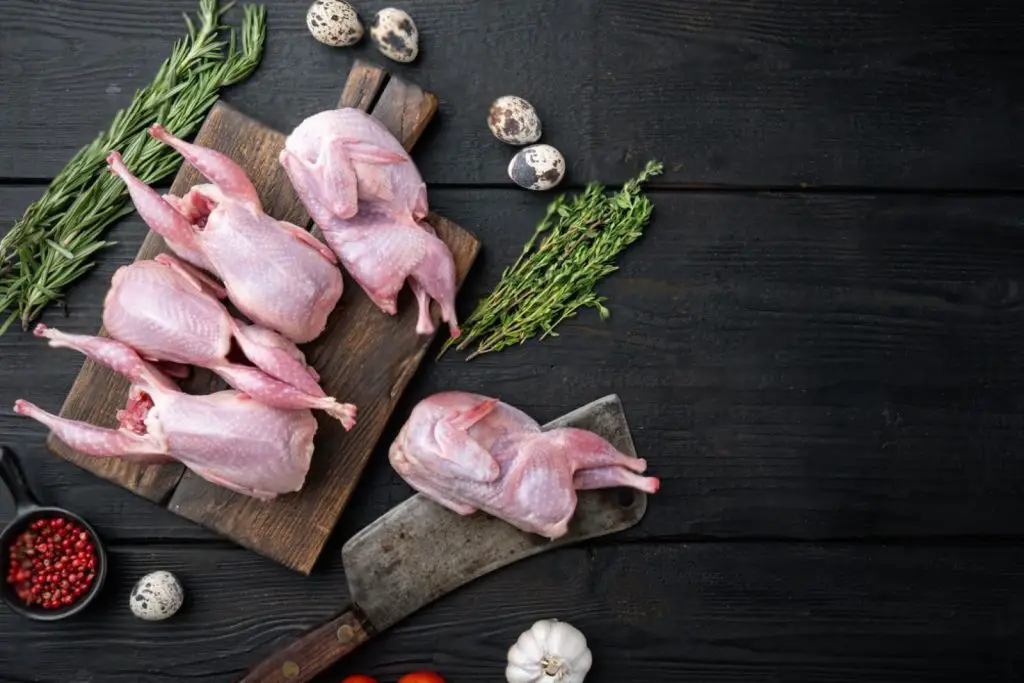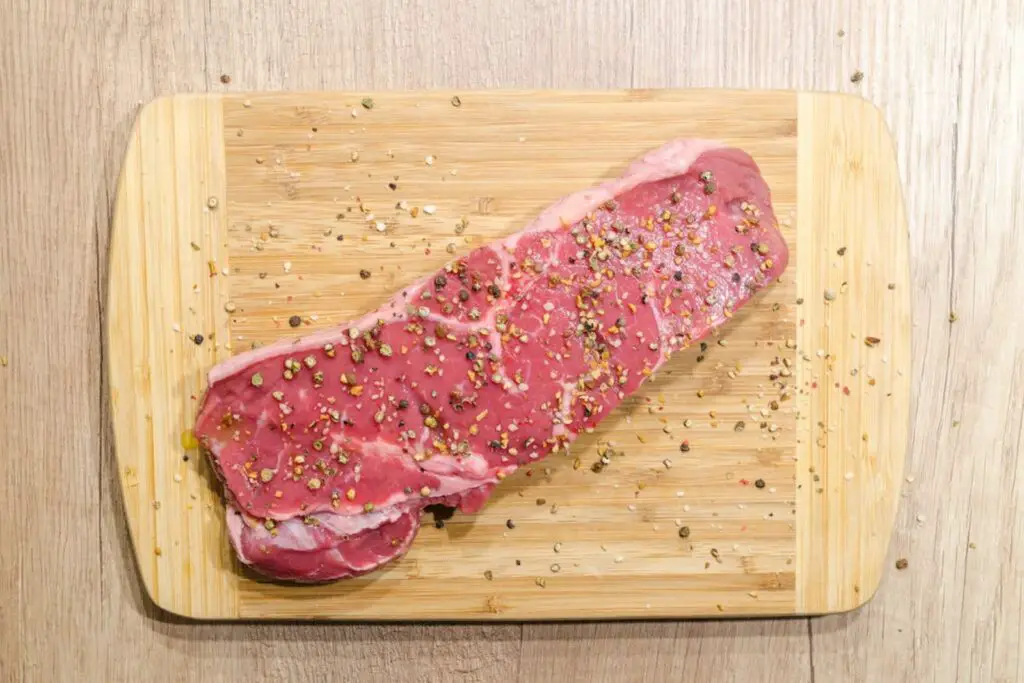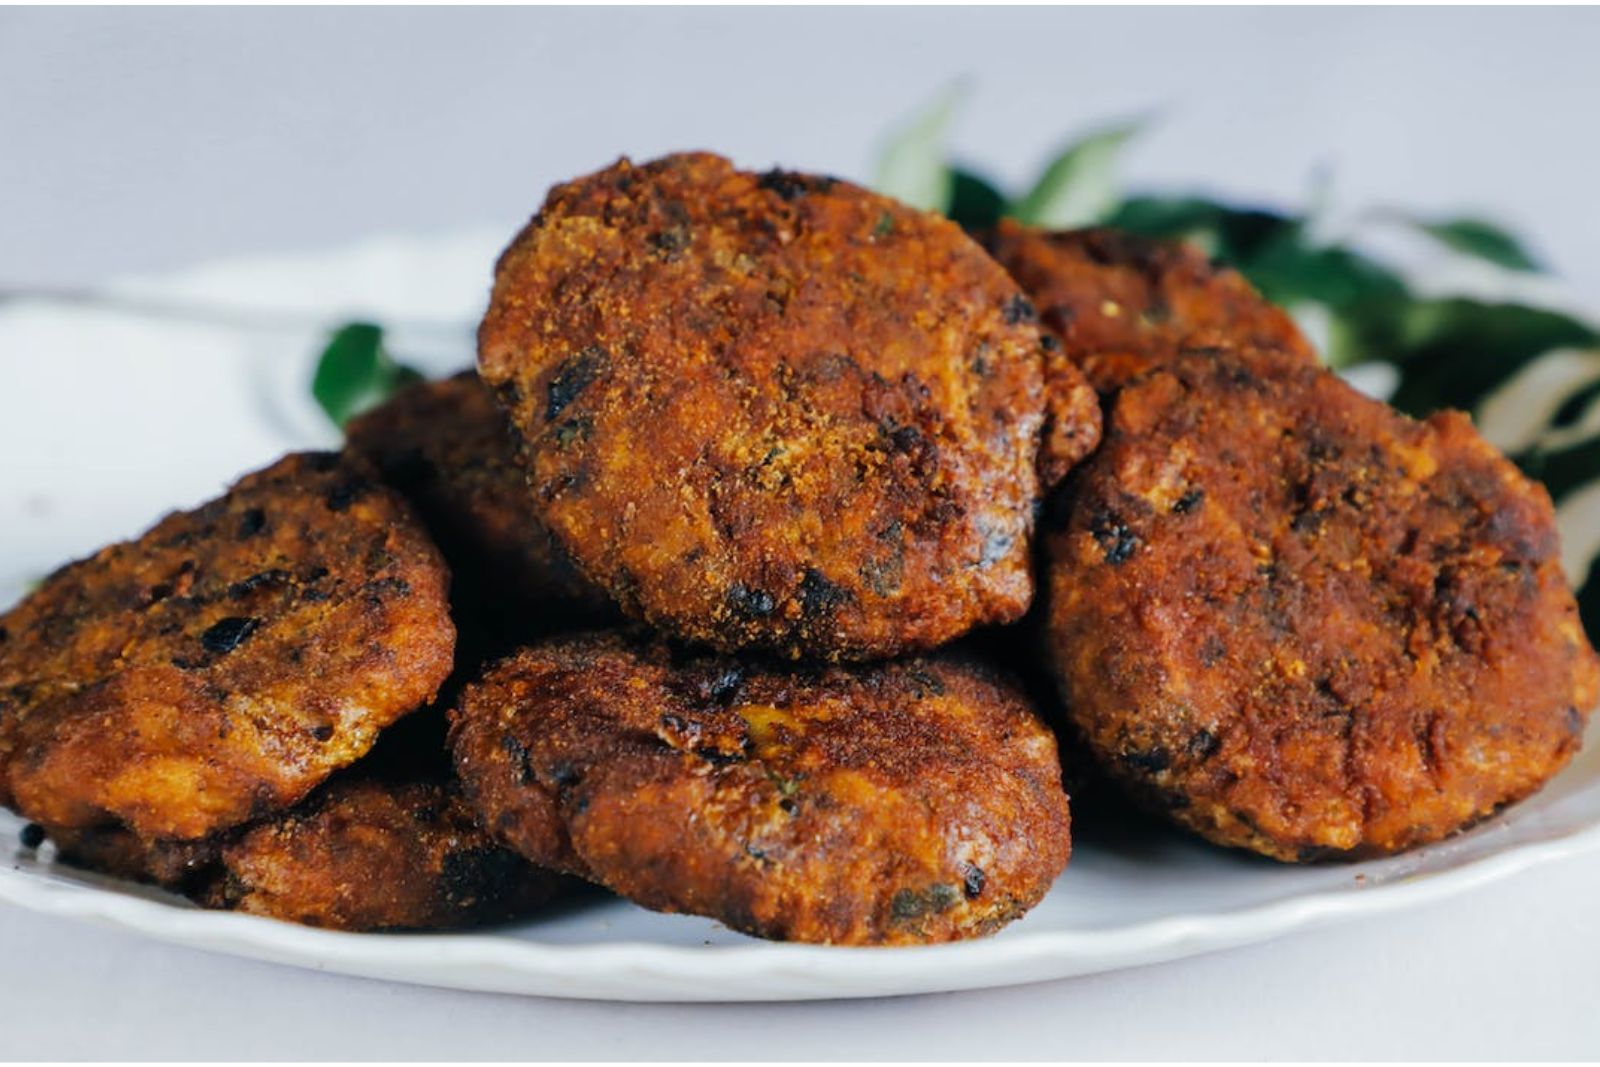
Cutlets are thin slices of meat, usually from chicken, veal, or pork, that are breaded and cooked until golden and crispy. They are often served as a main course or used in sandwiches or wraps. Cutlets are popular for their tender texture and delicious flavor. Whether you’ve made an extra batch or want to stock up for future meals, freezing cutlets is a convenient way to preserve their flavor and texture. By following a simple step-by-step process, you can ensure that your cutlets remain fresh and tasty even after freezing. In this article, we’ll provide you with a comprehensive guide on how to freeze cutlets, allowing you to enjoy them whenever you crave a quick and satisfying meal.
Here’s a guide on how to freeze cutlets:
Step 1: Choose fresh cutlets
When selecting cutlets for freezing, it’s crucial to start with fresh and high-quality ones. The quality of the cutlets you choose will directly impact the taste and texture of the final frozen product. By opting for cutlets that are free from any signs of spoilage or discoloration, you are setting the foundation for a delicious and satisfying meal even after freezing.
Fresh cutlets have a vibrant color, firm texture, and a pleasant smell. They should not have any sliminess, off odors, or visible signs of decay. By inspecting the cutlets before freezing, you can ensure that they are in their prime condition and will freeze well.
Choosing fresh cutlets is important because freezing does not improve the quality of the meat itself. Instead, it preserves the existing quality and flavor. If the cutlets are already starting to deteriorate before freezing, the freezing process will not reverse or eliminate any negative changes. Therefore, it’s essential to start with fresh and high-quality cutlets.
Opting for fresh cutlets also ensures that the flavor of the meat is at its best. Freshness contributes to the natural taste and juiciness of the cutlets, which will be retained during freezing. On the other hand, if the cutlets are past their prime, they may develop off-flavors or become dry and tough when thawed and cooked.
Step 2: Prepare the cutlets
Before freezing your cutlets, it’s important to prepare them appropriately. This step involves any necessary seasoning, marinating, and portioning that will enhance the flavor and convenience of your frozen cutlets.
If you wish to infuse your cutlets with additional flavors, such as herbs, spices, or marinades, it’s best to do so before freezing. By seasoning or marinating the cutlets in advance, the flavors have more time to penetrate the meat while they are in the freezer. This allows the ingredients to meld together, resulting in a more delicious and well-seasoned final product when you eventually cook the cutlets.
Additionally, if the cutlets are large or bulky, it’s beneficial to portion them into smaller sizes before freezing. This serves two purposes. First, smaller portions are easier to handle when you later defrost and cook them. It allows for more flexibility in using only the desired amount of cutlets without having to thaw the entire batch. Second, smaller portions tend to freeze and thaw more evenly, ensuring consistent cooking and preventing any undercooked or overcooked sections.
By preparing your cutlets before freezing, you are taking proactive steps to optimize their flavor, texture, and convenience. Seasoning and marinating beforehand allows the flavors to develop and integrate, enhancing the overall taste of the cutlets. Portioning the cutlets into smaller sizes ensures ease of handling and consistent cooking results. So, make sure to give your cutlets the necessary preparation before freezing to elevate your frozen meals to the next level.
Can I freeze cutlets with bones?
While it’s possible to freeze cutlets with bones, it’s recommended to remove the bones before freezing. Bones can affect the freezing and reheating process and may cause the meat to dry out or become unevenly cooked.
Step 3: Wrap the cutlets
Properly wrapping the cutlets is essential to protect them from freezer burn and maintain their freshness during the freezing process. By individually wrapping each cutlet tightly in plastic wrap or aluminum foil, you create a protective barrier that helps preserve the quality of the meat.
Freezer burn occurs when moisture from the cutlets evaporates and forms ice crystals on the surface. This can result in a dry and unpleasant texture, as well as a loss of flavor. By tightly wrapping the cutlets, you minimize their exposure to air and reduce the likelihood of freezer burn. The wrap acts as a shield, preventing air from coming into direct contact with the cutlets and reducing moisture loss.
When wrapping the cutlets, make sure to cover them completely and seal any open edges or seams tightly. This ensures that there are no exposed areas vulnerable to freezer burn. It’s important to create a snug and airtight wrap, as even small gaps can allow air to reach the cutlets and compromise their quality.
You can choose between using plastic wrap or aluminum foil for wrapping the cutlets. Both materials are effective at preventing freezer burn, but aluminum foil provides an extra layer of protection against air and light. If using plastic wrap, consider wrapping the cutlets in multiple layers for added insulation.
Step 4: Place the cutlets in a freezer-safe container
After wrapping the cutlets, it’s important to provide an additional layer of protection by placing them in a freezer-safe container or resealable freezer bags. This step helps safeguard the cutlets from potential odors, contamination, and freezer burn, ensuring their optimal quality during storage.
Freezer-safe containers or bags are specifically designed to withstand the freezing environment. They are made from materials that resist moisture and are less prone to cracking or breaking in low temperatures. Using these containers or bags helps maintain the integrity of the cutlets and prevents any unwanted moisture loss or exposure to air.
By placing the individually wrapped cutlets in a freezer-safe container or bag, you create a controlled environment that minimizes the risk of odor absorption. Freezers can sometimes have lingering odors from other food items, and these odors can transfer to the cutlets if they are not properly protected. The container or bag acts as a barrier, preventing odors from permeating the cutlets and compromising their taste.
Resealable freezer bags are particularly convenient for storing cutlets as they can be tightly sealed, eliminating air contact and reducing the chances of freezer burn. If using freezer bags, make sure to remove as much air as possible before sealing to create an airtight environment.
Having the cutlets contained in a freezer-safe container or bag also helps with organization. It allows you to stack and arrange the cutlets neatly in the freezer, maximizing space and facilitating easy retrieval when needed.
Step 5: Label and date the packages
Labeling and dating each package of frozen cutlets is a crucial step to maintain organization and ensure proper rotation in your freezer. By clearly marking the name of the cutlets and the date of freezing, you can easily track their storage time and make informed decisions about their use.
Labeling the packages allows you to quickly identify the contents without having to unwrap or guess. This is especially useful if you have different types of cutlets or if you have stored other frozen items in the same area. By labeling, you can easily locate the specific cutlets you want to use, saving time and minimizing the risk of freezer burn from repeatedly opening and closing packages.
Dating the packages is equally important as it provides you with vital information about the storage duration. Frozen cutlets are best consumed within a certain time frame to maintain their quality and taste. By dating the packages, you have a clear reference point to determine how long the cutlets have been frozen. This helps you ensure that you prioritize using the older packages first to minimize food waste and enjoy the cutlets at their best.
To label the packages, you can use adhesive labels, masking tape, or write directly on the package with a permanent marker. Include the name of the cutlets, such as “Chicken Cutlets” or “Beef Cutlets,” and write the date of freezing. Make sure the labeling is clear and legible.
Step 6: Store in the freezer
Once your cutlets are wrapped, labeled, and packaged, it’s crucial to store them properly in the freezer to maintain their quality and texture. Choosing an appropriate spot and ensuring they are stored flat without being crushed or stacked on top of each other is key to achieving even freezing and preserving their shape.
When selecting a spot in the freezer, aim for a stable temperature and avoid areas prone to temperature fluctuations, such as near the door or vents. Consistent freezing temperatures help maintain the integrity of the cutlets and minimize the risk of freezer burn or spoilage.
To prevent the cutlets from being crushed or deformed, it’s important to lay them flat in a single layer. This allows for even airflow around each cutlet, promoting uniform freezing and reducing the chances of them sticking together. Stacking or overcrowding the cutlets can lead to uneven freezing, resulting in changes to their texture and potential loss of quality.
If you have limited space in your freezer, you can consider placing a layer of parchment paper or plastic wrap between the cutlets to prevent them from sticking together. This way, you can stack multiple layers of cutlets while still maintaining their individual shape and ease of separation when needed.
Storing the cutlets properly in the freezer not only helps preserve their shape and quality but also makes it easier to retrieve and use them as desired. By organizing them in a flat and orderly manner, you can quickly locate and access the specific cutlets you need without having to defrost the entire batch.
Remember to keep the cutlets away from other strong-smelling foods in the freezer to prevent any potential flavor transfer. This can be achieved by placing the cutlets in a separate section or using odor-resistant containers or freezer bags.
How long cutlets last in the freezer?
Cutlets can last in the freezer for up to 3 to 4 months. Properly stored cutlets should maintain their quality and taste during this time. However, for optimal flavor and texture, it’s recommended to consume them within the first 2 to 3 months of freezing.
Step 7: Thaw and cook frozen cutlets
When the time comes to enjoy your frozen cutlets, it’s important to thaw them safely to maintain their quality and ensure proper cooking. Thawing them in the refrigerator overnight is the recommended method. Once thawed, you can proceed to cook the cutlets using your preferred method, following the original recipe instructions or adapting them to suit your desired outcome.
Thawing the cutlets in the refrigerator is the safest method as it allows for a gradual thawing process. Place the packaged cutlets on a plate or tray in the refrigerator and let them thaw overnight. This slow thawing method helps preserve the texture and juiciness of the meat while minimizing the growth of harmful bacteria.
Avoid thawing the cutlets at room temperature or using quick thawing methods like hot water, as these can lead to uneven thawing, loss of moisture, and potential food safety risks.
Once the cutlets are fully thawed, you can proceed to cook them according to your preferred cooking method. Whether you prefer pan-frying, baking, grilling, or any other cooking technique, follow the original recipe instructions for the best results. If you don’t have a specific recipe, you can adapt cooking times and methods to suit your desired outcome.
It’s important to note that frozen cutlets may require slightly longer cooking times compared to fresh ones. This is because the frozen state retains some moisture that needs to be evaporated during cooking. Ensure that the cutlets reach a safe internal temperature to eliminate any potential bacteria and to guarantee their doneness.
While cooking, keep an eye on the cutlets and adjust the cooking time accordingly to achieve the desired level of doneness and crispiness. Remember that individual cooking appliances and preferences may vary, so use visual cues and a meat thermometer to ensure that the cutlets are fully cooked and safe to consume.
Can I thaw frozen cutlets in the microwave?
While it is possible to thaw frozen cutlets in the microwave, it’s not the recommended method. Thawing in the refrigerator overnight is safer and results in better texture and taste. If you’re in a hurry, you can use the defrost setting on your microwave, but be cautious to prevent partial cooking of the cutlets.
Other related questions
Can I refreeze cutlets?
Refreezing cutlets is generally not recommended. Once cutlets have been thawed, they undergo changes in texture and moisture content, which can impact their quality and safety upon refreezing. It’s best to cook the cutlets after thawing and consume them promptly, rather than attempting to refreeze them.
How do I know if the cutlets have gone bad after being frozen?
To determine if frozen cutlets have gone bad, it’s important to look for signs of spoilage. These signs may include an off smell, discoloration, or the presence of ice crystals indicating freezer burn. Additionally, if the texture of the cutlets feels slimy or mushy, it is an indication of spoilage. If any of these signs are present, it is advisable to discard the cutlets to avoid consuming spoiled meat.
Can I freeze breaded or fried cutlets?
Yes, you can freeze breaded or fried cutlets. However, it’s important to note that freezing may affect the texture of the breading, potentially resulting in a less crispy coating. Consider freezing them without any sauce or toppings for better results.
Can I freeze cutlets made from different types of meat?
Yes, you can freeze cutlets made from various types of meat, such as chicken, beef, or pork. The freezing process is similar regardless of the meat used. Just ensure they are properly wrapped and labeled for easy identification.

