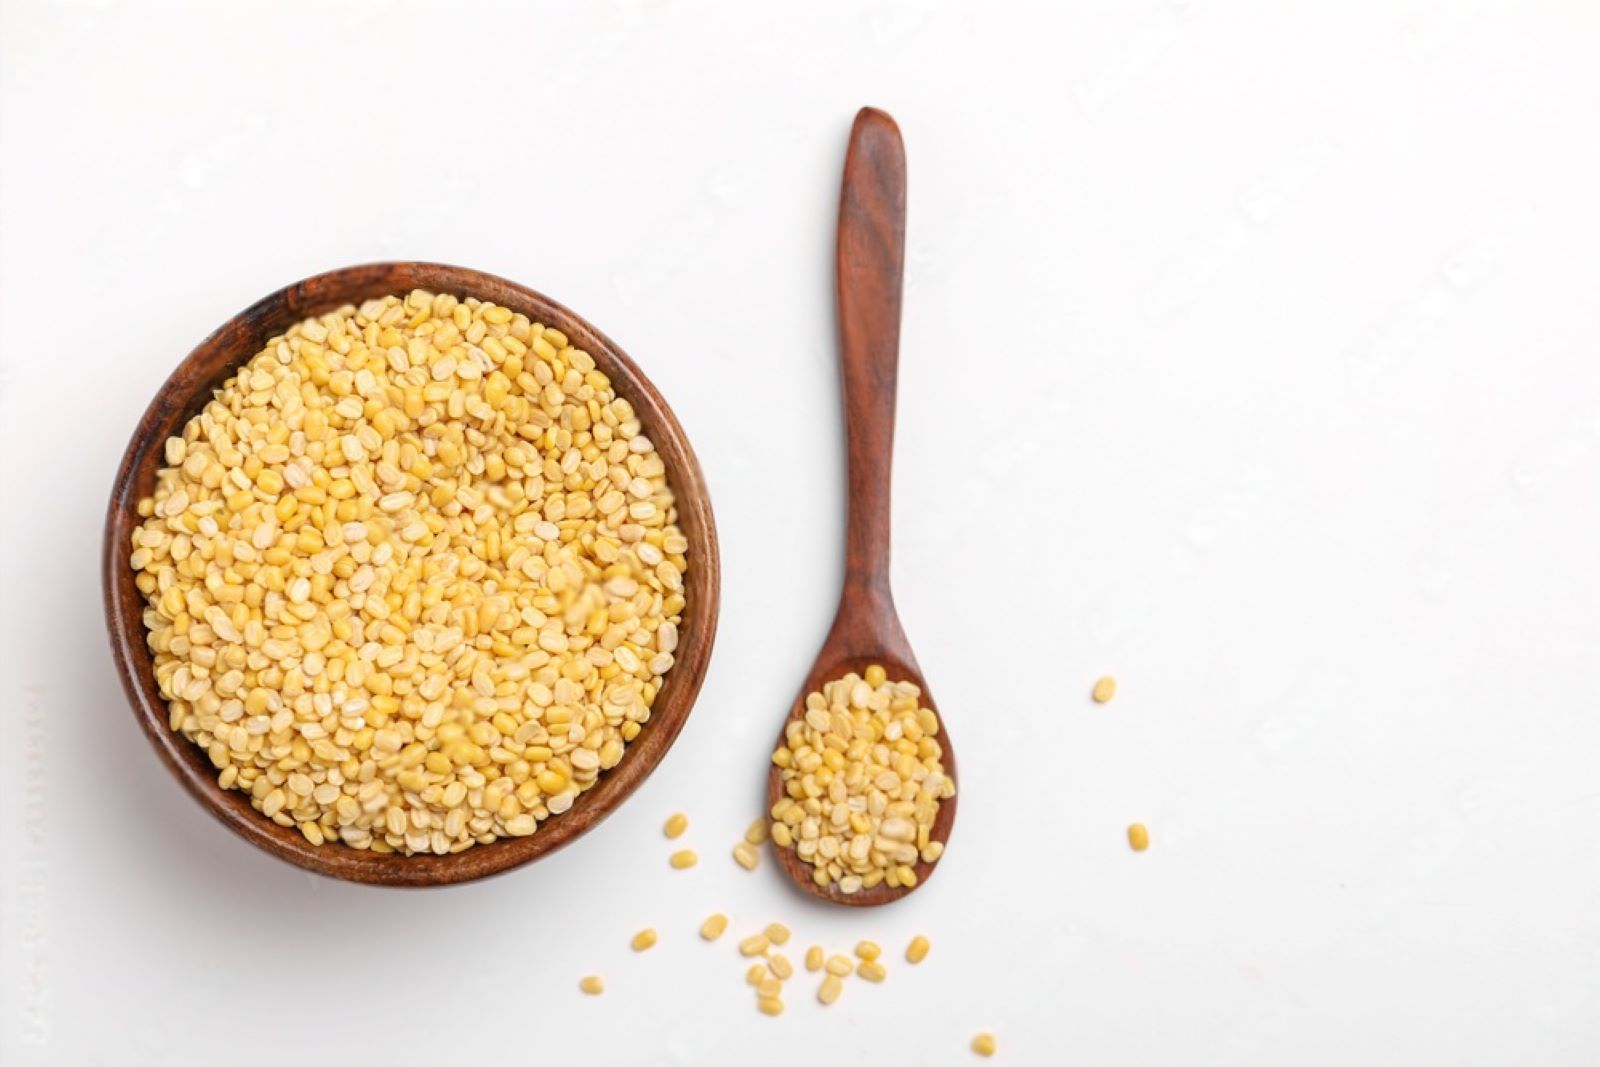
Dal, also known as lentils, is a staple in many cuisines around the world. It is a versatile legume that can be cooked in various ways and incorporated into numerous dishes. Dal is not only delicious but also packed with protein, fiber, and essential nutrients. Freezing dal allows you to preserve its freshness and flavor for future use, ensuring that you always have a convenient and healthy ingredient on hand. This article presents a step-by-step guide on how to freeze dal properly, so you can enjoy its benefits even when it’s not in season.
Here’s a comprehensive guide on how to freeze dal:
Step 1: Select the right type of dal
When it comes to freezing dal, the first step is to choose the right type of dal that you want to preserve. There are various types of dal available, such as yellow dal, red lentils, green lentils, black lentils, and many more. Each type of dal has its own distinct flavor, texture, and cooking time.
When selecting the dal for freezing, it is crucial to ensure that it is fresh and free from any signs of spoilage. Look for dal that has a vibrant color and a clean appearance. Avoid dal that appears dull, discolored, or has any mold or off-putting odors.
Fresh dal retains its optimal flavor and texture when frozen, so it’s important to start with high-quality dal. Freezing is a method of preservation, and it does not improve the quality of the dal. Therefore, if the dal is already past its prime or of poor quality, freezing will not magically enhance its taste or texture.
If you are unsure about the freshness of the dal, it’s best to purchase it from a reliable source or check the expiration date if it is packaged dal. Buying dal from reputable stores or suppliers can help ensure that you are getting fresh and high-quality legumes.
What types of dal can be frozen?
Various types of dal can be frozen, including but not limited to lentils, split peas, mung beans, chickpeas, and black gram dal. Whether they are whole, split, or skinned, most dals can be frozen without issues. It is important to cook the dal thoroughly before freezing to ensure it is properly cooked and safe for consumption after thawing and reheating.
Step 2: Cook the dal
Once you have selected the desired type of dal for freezing, the next step is to cook it before proceeding with the freezing process. Cooking the dal not only enhances its flavor but also ensures that it is properly prepared for freezing.
To cook the dal, follow your preferred recipe or the instructions on the packaging if using pre-packaged dal. Different types of dal require different cooking methods and times, so it’s important to follow the specific instructions for the variety you are using.
While cooking the dal, you can add spices, seasonings, vegetables, or any other ingredients that you typically include in your recipe. These additions contribute to the overall taste and aroma of the dal.
It’s crucial to ensure that the dal is fully cooked but not overly mushy. Overcooking can result in a loss of texture and make the dal too soft, which may not be desirable when freezing and reheating. The dal should still have some firmness and hold its shape.
Properly cooked dal retains its flavor and texture when frozen and reheated. Undercooking may leave the dal with an unpleasant raw taste, while overcooking can lead to a mushy consistency. Finding the right balance is important for optimal results.
Step 3: Cool the cooked dal
After cooking the dal to the desired consistency, it’s essential to cool it completely before moving forward with the freezing process. Cooling the cooked dal properly helps maintain its quality during freezing and prevents the growth of harmful bacteria.
When hot food is placed directly into the freezer, it can raise the temperature inside the freezer, potentially affecting the quality and safety of other foods stored there. Cooling the dal before freezing also helps preserve its texture and prevent it from becoming mushy.
To cool the cooked dal, there are a couple of methods you can use:
- Shallow container: Transfer the cooked dal to a shallow container. Spreading it out in a thin layer allows for faster and more even cooling. Avoid using deep containers, as they can retain heat and slow down the cooling process. Make sure the container is clean and food-safe.
- Baking sheet: Another option is to spread the cooked dal on a baking sheet lined with parchment paper. This method increases the surface area of the dal, promoting quicker cooling. Ensure that the baking sheet is clean and suitable for food use.
Regardless of the method you choose, place the container or baking sheet in a cool area, away from direct sunlight or heat sources. Stirring the dal occasionally during the cooling process can also help it cool faster.
Allow the cooked dal to cool completely at room temperature before proceeding with the next steps of freezing. This usually takes around 1 to 2 hours, depending on the quantity and thickness of the dal layer.
Step 4: Portion the dal
Once the cooked dal has cooled completely, the next step is to divide it into individual portions. Portioning the dal is a practical approach, especially if you frequently use specific quantities of dal in your recipes. This step helps save time and effort by ensuring that you thaw only the amount of dal you need for each use.
Portioning the dal provides several benefits:
- Convenience: Dividing the dal into individual portions makes it easier to grab the desired quantity when you need it. This eliminates the need to thaw an entire container of dal and allows for more flexibility in meal planning.
- Avoid waste: Portioning helps prevent waste by allowing you to thaw and use only the amount of dal required for a particular recipe or serving. By freezing the dal in smaller portions, you can avoid having to thaw and refreeze the remaining dal, which may lead to a decline in quality.
- Quick and even thawing: Smaller portions of dal thaw faster and more evenly compared to a larger frozen mass. This means you can have ready-to-use dal in less time, reducing the waiting period before cooking or incorporating it into your recipes.
To portion the dal, you can use freezer-safe containers, resealable freezer bags, or even ice cube trays for smaller servings. Ensure that the containers or bags are labeled with the type of dal and the date of freezing for easy identification.
Consider portioning the dal based on your typical usage or the portion sizes specified in your recipes. This way, you can conveniently thaw the desired amount without any hassle.
Step 5: Transfer to freezer-safe containers
After portioning the dal, it’s time to transfer the individual portions into freezer-safe containers or resealable freezer bags. Proper packaging is essential to maintain the quality, texture, and flavor of the frozen dal. Here’s why it’s important:
- Protection from freezer burn: Freezer burn can occur when the surface of food is exposed to air inside the freezer. It can cause the dal to become dehydrated, leading to changes in texture and taste. By transferring the dal portions to freezer-safe containers or bags, you create a barrier that helps protect the dal from exposure to air, reducing the risk of freezer burn.
- Preservation of flavor and aroma: Packaging the dal in freezer-safe containers or bags helps seal in its flavor and aroma. It prevents the dal from absorbing unwanted odors from other foods in the freezer, ensuring that the dal retains its distinct taste and quality.
- Prevention of cross-contamination: Using separate freezer-safe containers or bags for each portion of dal helps prevent cross-contamination. This is especially important if you have different types of dal or if you store other frozen items in the same freezer.
When using resealable freezer bags, squeeze out any excess air before sealing them. Removing the air helps minimize the risk of freezer burn and keeps the dal in better condition during freezing.
Alternatively, you can opt to use a vacuum sealer, which creates an airtight seal around the dal portions. Vacuum sealing removes the air from the packaging, providing optimal protection against freezer burn and maintaining the dal’s quality for a longer period.
Ensure that the containers or bags you use are specifically designed for freezer storage. They should be made of durable, BPA-free materials that can withstand low temperatures without compromising the integrity of the dal.
Remember to label each container or bag with the type of dal and the date of freezing. This information allows you to easily identify and keep track of the frozen dal in your freezer.
Can I freeze dal in glass jars?
While it is possible to freeze dal in glass jars, it comes with some risks. Glass jars are prone to breakage due to the expansion of the dal as it freezes. To minimize the risk, make sure to leave enough headspace in the jar for the dal to expand and avoid using jars with narrow necks. It is generally recommended to use freezer-safe containers or freezer bags instead for safer and more reliable freezing.
Step 6: Label and date the containers
After transferring the dal portions into freezer-safe containers or bags, it’s crucial to label each container or bag with relevant information. This step may seem simple, but it plays a significant role in organizing your freezer and ensuring the quality and freshness of the dal. Here’s why labeling is important:
- Identification of dal type: By labeling each container or bag with the type of dal, you make it easier to identify specific varieties of dal in your freezer. This is especially useful if you have multiple types of dal stored. Whether it’s yellow dal, red lentils, green lentils, or any other variety, clear labeling prevents confusion and saves time when you’re searching for a specific dal.
- Tracking storage time: The date of freezing is a crucial piece of information to include on the label. It helps you keep track of how long the dal has been in the freezer. Different types of dal have varying recommended storage times, and labeling allows you to ensure that you use the dal within its optimal storage period. It also helps you prioritize older batches, ensuring that you rotate and consume the frozen dal in a timely manner.
- Prevention of waste: Labeling the containers or bags with the date of freezing helps you avoid unnecessary waste. It serves as a reminder of the dal’s storage duration and can prompt you to use older batches before they exceed their recommended storage time. This way, you can maintain the highest quality of the dal and minimize food waste.
When labeling, use a waterproof marker or labels specifically designed for freezer use. Place the labels on the front or top of each container or bag for easy visibility. If using bags, consider attaching the label securely to prevent it from detaching or getting damaged during storage.
Step 7: Freeze the dal
Once you have labeled and dated the containers or bags of dal, it’s time to place them in the freezer. Proper freezing is essential to maintain the quality, taste, and texture of the dal. Here’s why freezing the dal correctly is important:
- Preservation of freshness: Freezing the dal at its freshest point helps preserve its quality. By freezing it soon after cooking and cooling, you capture the flavors and nutritional value at their peak. Freezing slows down the deterioration process, extending the shelf life of the dal while retaining its freshness.
- Efficient air circulation: Arrange the labeled containers or bags in a way that allows for efficient air circulation in the freezer. This helps maintain a consistent temperature throughout the freezer and prevents the dal from developing freezer burn. Avoid overcrowding or squashing the containers or bags, as this can affect the texture of the dal.
- Prevention of cross-contamination: Ensure that the dal containers or bags are stored away from other raw or potentially contaminating foods in the freezer. This prevents cross-contamination and maintains the integrity of the dal’s flavors.
To achieve the best results when freezing the dal, follow these guidelines:
- Place the labeled containers or bags in a single layer, if possible, to maximize air circulation and ensure even freezing.
- If stacking containers or bags, leave some space between them to allow cold air to circulate and prevent them from sticking together.
- Avoid placing hot or warm containers or bags directly into the freezer. Allow them to cool to room temperature or refrigerate them for a brief period before transferring to the freezer. This helps maintain the freezer’s temperature and protects other frozen items.
- If using a deep freezer or chest freezer, place the dal containers or bags towards the back of the freezer, where the temperature is generally more stable.
How long can frozen Dal stay good in the freezer?
Frozen dal can stay good in the freezer for about 3 to 6 months. It is important to store the dal in airtight containers or freezer bags to maintain its quality and prevent freezer burn. After the recommended storage period, the dal may still be safe to consume, but its taste and texture may deteriorate. To ensure the best quality, it is advisable to label the frozen dal with the date of freezing and prioritize consuming it within the recommended time frame.
Step 8: Thaw and use the frozen dal
When you’re ready to use the frozen dal, it’s important to thaw it properly to ensure safe and flavorful results. Thawing allows the dal to return to its original texture and makes it easier to incorporate into your recipes. Here’s how to thaw and use frozen dal effectively:
- Refrigerator thawing: The recommended method for thawing frozen dal is to transfer the desired portion from the freezer to the refrigerator. Place the sealed container or bag in the refrigerator and allow it to thaw slowly overnight or for about 8-12 hours. Thawing in the refrigerator maintains the quality of the dal and helps prevent bacterial growth.
- Microwave thawing: If you need to thaw the dal quickly, you can use the defrost function on your microwave. Remove the frozen dal from its container or bag and place it in a microwave-safe dish. Set the microwave to the defrost mode and follow the manufacturer’s instructions for defrosting. It’s important to use a lower power setting to avoid cooking or overheating the dal during the thawing process.
Regardless of the thawing method you choose, it’s essential to thaw the dal completely before reheating and using it in your recipes. Thawing allows the dal to regain its original texture and ensures even heating during the reheating process.
Once the dal is thawed, you can reheat it by transferring it to a microwave-safe dish or a saucepan. Heat it thoroughly, stirring occasionally, until it reaches the desired temperature. Ensure that the dal is piping hot throughout before incorporating it into your recipes or serving it.
It’s worth noting that thawed and reheated dal may have a slightly different texture compared to freshly cooked dal. However, the flavors and nutritional value should remain intact, allowing you to enjoy the convenience of having frozen dal readily available for your meals.
Can I reheat frozen dal directly from the freezer?
It is generally recommended to thaw frozen dal before reheating it. Reheating frozen dal directly from the freezer can lead to uneven heating and may result in some portions being overcooked while others remain cold. Thawing the dal in the refrigerator or using the defrost setting on your microwave allows for more even reheating and better overall results.
Other related questions
Can I refreeze previously thawed Dal?
It is generally not recommended to refreeze previously thawed dal. When you thaw dal, the moisture within it starts to thaw as well, creating an environment that can promote bacterial growth if left at room temperature for too long. Refreezing the dal after it has been thawed and potentially left at room temperature for a while increases the risk of bacterial contamination and foodborne illnesses. To ensure food safety, it is best to only thaw the amount of dal you intend to use and consume it within a safe time frame.
How do I know if my frozen Dal has gone bad?
To determine if your frozen dal has gone bad, there are a few indicators to look out for. First, visually inspect the dal for any signs of mold, discoloration, or ice crystals. If you notice any of these, it is best to discard the dal. Additionally, check for any off-putting odors or a sour smell, as this can be a sign of spoilage. Lastly, if the texture of the dal feels slimy or the taste is significantly different than when it was freshly cooked, it is likely that the dal has gone bad and should not be consumed. When in doubt, it is better to err on the side of caution and discard the dal if there are any doubts about its safety.
Can I use frozen Dal with the fresh ones?
Yes, you can use frozen dal with fresh ones if you desire. Combining frozen dal with fresh dal can be a convenient way to add variety or stretch your available resources. Simply thaw the frozen dal and incorporate it into your cooking along with the fresh dal. Keep in mind that the texture and taste of the frozen dal may differ slightly from fresh dal, but it can still be used effectively in various recipes and dishes.
Can I freeze dal with spices and seasonings?
Yes, you can freeze dal with spices and seasonings. Freezing dal with spices and seasonings helps preserve the flavors and aromas of the dish. The spices and seasonings will infuse into the dal during the freezing process, enhancing its taste when thawed and reheated. Just ensure that the dal is properly cooled before freezing and use airtight containers or freezer bags to prevent any flavor transfer to other frozen foods.
Can I add fresh ingredients to frozen dal while reheating?
Yes, you can add fresh ingredients to frozen dal while reheating, but it’s important to consider the specific ingredients and their cooking requirements. Vegetables, herbs, or spices can be added to the reheating dal to enhance the flavors and textures. However, keep in mind that some ingredients may require longer cooking times than the frozen dal itself, so you may need to adjust the cooking process accordingly to ensure all ingredients are properly cooked.
Can I freeze dal that contains vegetables?
Yes, you can freeze dal that contains vegetables. However, it’s important to note that the texture of the vegetables may change slightly after freezing and thawing. Some vegetables, such as potatoes or zucchini, might become softer or slightly mushy upon reheating. If you prefer a firmer texture for your vegetables, you can blanch them before adding them to the dal and freezing.


