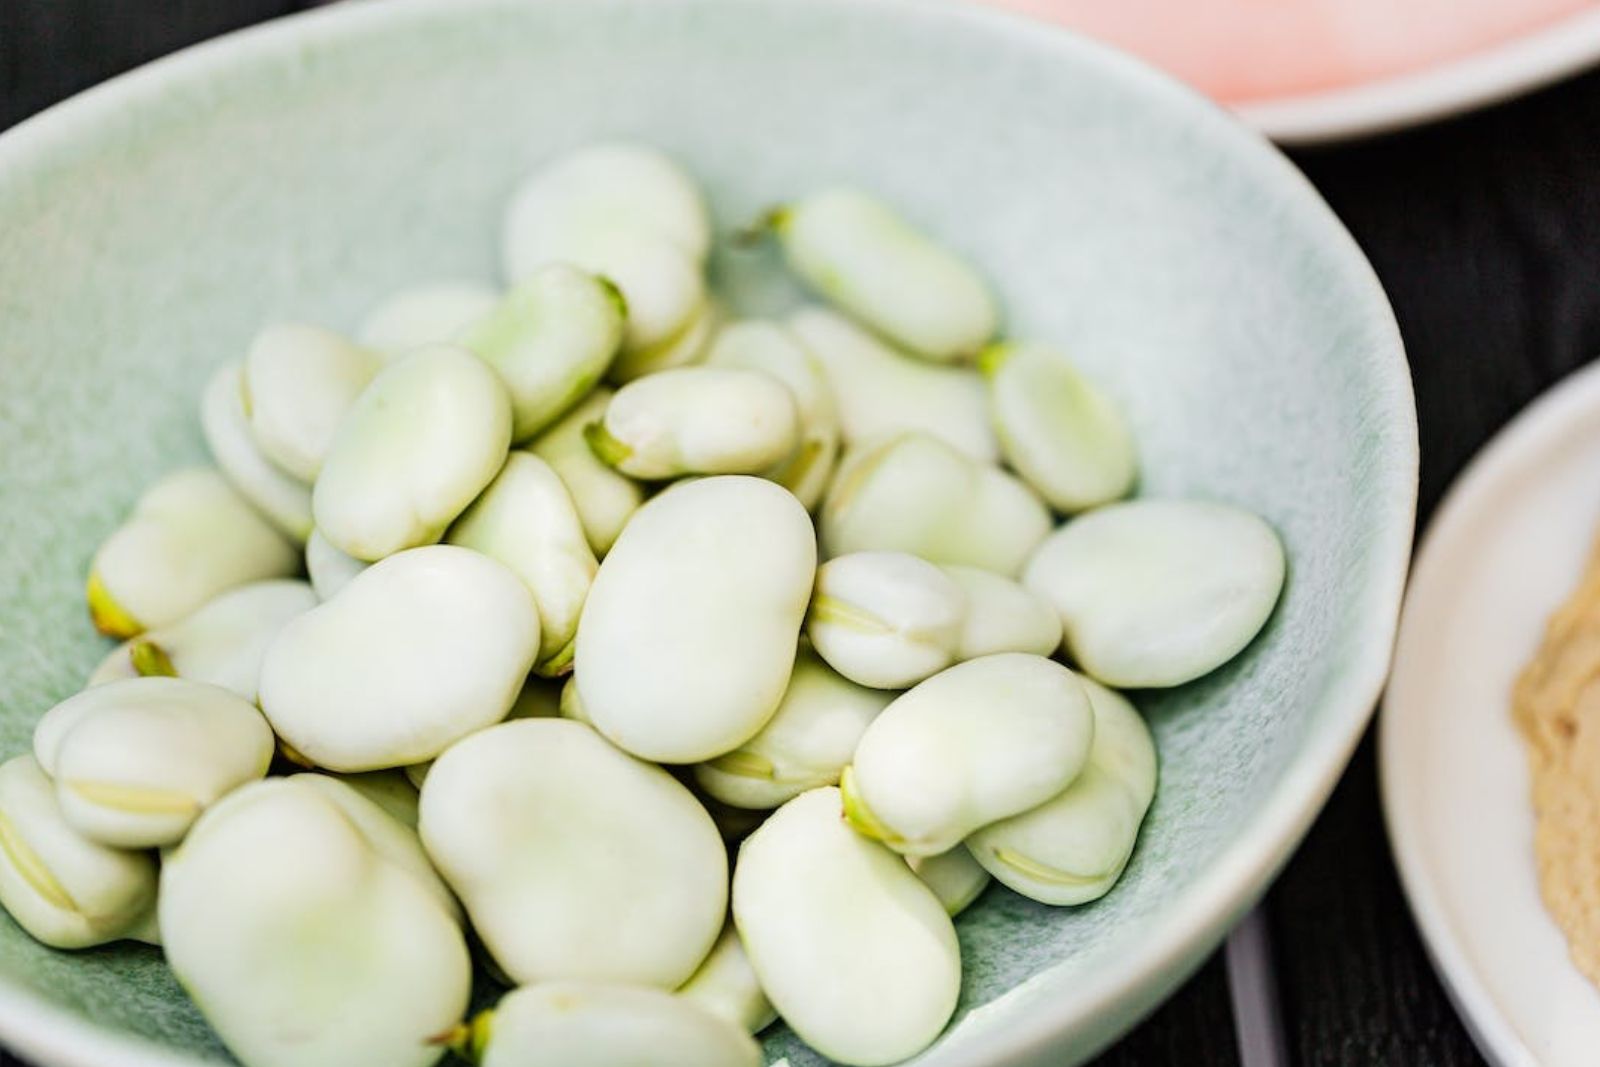
Fava beans, also known as broad beans, are a type of legume that belong to the pea family. They have been cultivated for thousands of years and are popular in many cuisines around the world. Fava beans are large, flat, and green in color, with a distinct earthy flavor and creamy texture when cooked. Freezing fava beans is an excellent way to preserve their freshness and enjoy these delicious legumes all year round. Whether you have a surplus of fava beans from your garden or simply want to stock up on this nutritious vegetable, freezing them properly will help retain their taste and texture.
Here is a step-by-step guide on how to freeze fava beans:
Step 1: Harvest and shell the fava beans
When your fava beans have reached the desired maturity, it’s important to harvest them at the right time to ensure optimal flavor and texture. To begin, carefully remove the pods from the fava bean plants. Gently grasp the pod and twist it off, taking care not to damage the plant or the neighboring pods.
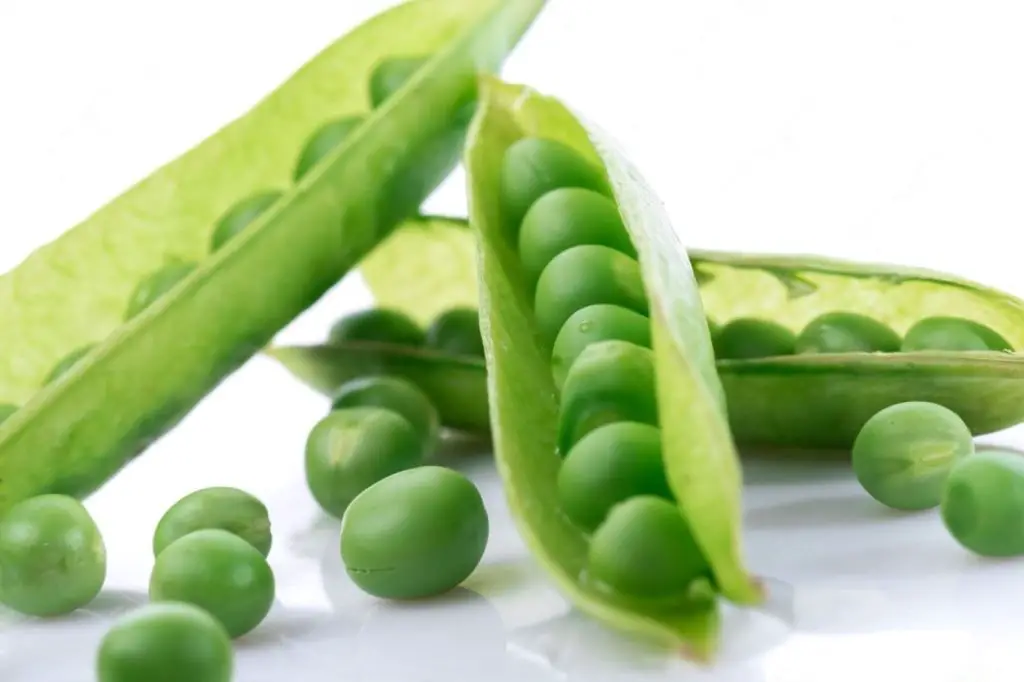
Once you have collected the fava bean pods, it’s time to shell the beans from the pods. This process involves removing the outer shell to access the tender, edible beans inside. To do this, apply light pressure to the seam of the pod using your fingers or a small knife. The pod will naturally split open, revealing the fava beans nestled within.
As you shell the fava beans, it’s important to discard any beans that appear discolored or damaged. These beans may have deteriorated or could be affected by pests or diseases, and they are best avoided. Focus on keeping only the fresh, plump beans that exhibit a vibrant green color.
Can I freeze fava beans in their pods?
Freezing fava beans in their pods is not recommended. The pods have a high water content, and freezing them directly can result in a mushy and undesirable texture once thawed. It is best to shell the fava beans from the pods before freezing them for optimal texture and quality.
Step 2: Blanch the fava beans
Blanching fava beans is a crucial step in the freezing process that helps preserve their color, flavor, and nutritional value. Blanching involves briefly boiling the shelled fava beans and then rapidly cooling them down. This technique helps to deactivate enzymes that can cause loss of color and flavor, while also maintaining the beans’ texture and nutritional benefits.
To begin, bring a large pot of water to a rolling boil. The pot should be spacious enough to accommodate the fava beans without overcrowding. Add the shelled fava beans to the boiling water and allow them to cook for approximately two minutes. The boiling water helps to soften the beans slightly and reduce any potential microbial contamination.
After the brief cooking time, it is important to immediately transfer the fava beans to an ice bath. The ice bath consists of a large bowl or basin filled with cold water and ice cubes. Placing the beans in the ice bath rapidly cools them down, preventing them from continuing to cook and helping to preserve their vibrant green color.
The rapid cooling process of blanching not only helps to maintain the visual appeal of the fava beans but also helps to lock in their natural flavors and nutrients. By deactivating enzymes through the brief cooking and subsequent chilling, blanching helps to ensure that the beans retain their freshness and quality even after they are frozen.
Can I freeze fava beans without blanching them first?
Blanching fava beans before freezing is recommended as it helps maintain their color, flavor, and nutritional value. Blanching deactivates enzymes and preserves the quality of the beans during freezing. Skipping the blanching step may result in compromised texture and flavor.
Can you steam green beans instead of blanching before freezing?
While blanching is the recommended method for preparing green beans before freezing, steaming can also be an alternative. Steaming helps retain the beans’ vibrant green color and texture. To steam green beans for freezing, cook them until they are just tender, then cool them quickly in an ice bath before packaging and freezing to maintain their quality.
Step 3: Remove the outer skins (optional)
After blanching the fava beans, you have the option to remove the outer skins for a smoother texture. However, it’s important to note that this step is purely a matter of personal preference, and you can choose to skip it if you prefer to keep the skins intact. Removing the skins involves gently squeezing the beans to loosen the skins and then peeling them off individually.
The outer skins of fava beans can sometimes have a slightly tough and fibrous texture, which some people find less desirable. By removing the skins, you can achieve a smoother and more tender texture, allowing the natural creaminess of the beans to shine through. This step can be particularly beneficial if you plan to use the fava beans in recipes where a smoother consistency is desired, such as dips, purees, or soups.
To remove the skins, take a blanched fava bean between your thumb and forefinger and apply gentle pressure. The skin should loosen and begin to separate from the bean. Once loosened, simply peel off the skin with your fingers. Repeat this process for each individual fava bean until you have removed the skins from all the beans.
While removing the outer skins can enhance the texture of the fava beans, it’s important to note that the skins themselves are edible and contain valuable nutrients. If you prefer to keep the skins on, they can add a slightly chewy and earthy element to your dishes. Ultimately, whether you choose to remove the skins or not is a matter of personal preference and the specific recipe you plan to use the fava beans in.
Step 4: Package the fava beans
After blanching and potentially removing the outer skins of the fava beans, it’s time to package them for freezing. Proper packaging is essential to maintain the quality and freshness of the beans during their time in the freezer. There are various options for packaging, including portion sizes and container choices.
To begin, divide the blanched fava beans into portion sizes that suit your needs. Consider how you plan to use the beans in future recipes and package them accordingly. You can choose to package them in individual servings for convenient use or keep them together as a whole if you prefer to portion them out later.
Next, select suitable freezer-safe containers or resealable plastic bags for storing the fava beans. Ensure that the containers or bags are clean and in good condition. It’s important to use freezer-safe materials to prevent moisture and air from entering and causing freezer burn, which can negatively impact the quality of the beans.
Place the divided fava beans into the chosen containers or bags, making sure to leave some headspace to accommodate any expansion that may occur during freezing. Tightly seal the containers or bags to create an airtight barrier. This helps prevent the loss of moisture and the entry of air, which can lead to freezer burn and deterioration of the beans’ quality.
Can I freeze fava beans in a vacuum-sealed bag?
Yes, fava beans can be successfully frozen in a vacuum-sealed bag. Vacuum-sealing helps remove excess air from the package, reducing the risk of freezer burn and maintaining the quality of the beans during freezing. It provides an extra layer of protection and can help extend the shelf life of the frozen fava beans.
Step 5: Label and date the packages
Labeling and dating the packages of frozen fava beans is an important step in organizing your freezer and keeping track of the beans’ freshness. By clearly indicating the contents and the date of freezing, you can easily identify and prioritize the use of the fava beans based on their recommended storage time.
To begin, take a marker or label and write the contents of each package on the container or bag. In this case, you can simply write “Blanched Fava Beans” or any other descriptive term that accurately represents the contents. This labeling helps you quickly identify the package you need when searching through your freezer.
Additionally, it’s crucial to include the date of freezing on the label. Write the date when the fava beans were frozen to have a reference point for their storage duration. This information allows you to prioritize the consumption of older packages first to ensure that the fava beans are consumed within the recommended time frame.
The recommended storage time for frozen fava beans is typically eight to ten months for optimal quality. While fava beans can technically remain frozen for longer periods, they may gradually lose their texture, flavor, and nutritional value over time. By following the recommended storage time frame, you can ensure that the frozen fava beans maintain their best quality and taste when used in future recipes.
Keeping the packages properly labeled and dated also helps minimize food waste. It allows you to easily track the age of the frozen fava beans and ensures that you use them before their quality declines significantly. This practice promotes a more organized freezer and helps you make the most of the frozen fava beans you have on hand.
Step 6: Freeze the fava beans
After properly packaging the fava beans, the final step is to freeze them. Freezing the beans promptly and correctly will help maintain their quality and extend their shelf life. Here’s how to freeze the fava beans:
- Find a flat surface in your freezer: Choose a flat surface in your freezer where the bags or containers of fava beans can sit undisturbed. It’s important to have enough space to accommodate the packages without overcrowding, as this allows for proper air circulation and faster freezing.
- Place in a single layer: Arrange the packaged fava beans in a single layer on the flat surface. This ensures that each package freezes evenly and quickly. Avoid stacking or overlapping the packages at this stage.
- Allow for quicker freezing: By placing the fava bean packages in a single layer, you allow the cold air in the freezer to circulate around them more effectively. This promotes faster freezing and helps maintain the beans’ quality by minimizing ice crystal formation. Quick freezing helps to preserve the texture and flavor of the fava beans.
- Stack once frozen: Once the fava bean packages are fully frozen, you can stack them to save space in your freezer. Stacking is a convenient way to optimize the use of freezer space. However, it’s important to ensure that the packages are completely frozen before stacking them, as stacking partially frozen packages can lead to sticking or damage.
Remember to keep the frozen fava beans stored at a constant, sub-zero temperature in your freezer to maintain their optimal quality. When you’re ready to use the frozen fava beans, simply remove the desired package from the freezer and thaw them as needed for your chosen recipe.
Other related questions
How long can I store frozen fava beans?
Fava beans can last in the freezer for up to 8 to 10 months without a significant decline in quality. Properly stored and sealed fava beans can maintain their flavor, texture, and nutritional value during this period. It’s recommended to consume them within this timeframe for the best culinary experience.
How should I thaw frozen fava beans?
To thaw fava beans, transfer the desired amount from the freezer to the refrigerator and allow them to thaw slowly overnight. Alternatively, you can thaw them using the defrost setting on a microwave, using short intervals and stirring periodically to ensure even thawing. Avoid using hot water or high heat to defrost fava beans as it can negatively affect their texture and flavor.
Can I refreeze fava beans?
Refreezing fava beans is generally not recommended as it can affect their quality and safety. When food is thawed, bacteria and other microorganisms can multiply, and refreezing may not eliminate these organisms. This can lead to potential foodborne illnesses and compromise the taste and texture of the fava beans. It is best to use thawed fava beans within a reasonable time after initial freezing to ensure their safety and enjoyment.
How do I know if the fava beans have gone bad after being frozen?
To determine if frozen fava beans have gone bad, inspect their appearance, texture, and smell. Look for signs of freezer burn, such as discoloration or dry, shriveled beans. If the beans have a significantly changed texture, such as being excessively mushy or slimy, or if they emit a foul or off-putting odor, it is likely an indication that they have spoiled and should not be consumed. When in doubt, it is always safer to discard fava beans that show signs of spoilage.
Are frozen fava beans as nutritious as fresh ones?
While freezing can cause slight nutrient loss, frozen fava beans still retain a significant amount of their original nutritional value. Freezing helps to preserve the vitamins, minerals, and fiber content of the beans. They remain a healthy and convenient option even after freezing.
Can I freeze fava beans that have been cooked or seasoned?
Yes, you can freeze cooked or seasoned fava beans. However, it’s important to note that the texture and flavor may slightly change after freezing and thawing. Cooked or seasoned fava beans should be cooled down before packaging and freezing, and they can be stored in freezer-safe containers or bags.
Are frozen fava beans suitable for all recipes or are there limitations?
Frozen fava beans are suitable for many recipes, but there may be some limitations depending on the desired texture and presentation. They work well in soups, stews, and casseroles where the beans will further soften during cooking. However, if a specific recipe calls for crisp or crunchy fava beans, using fresh beans would be a better option as frozen ones can become slightly softer after thawing and cooking.

