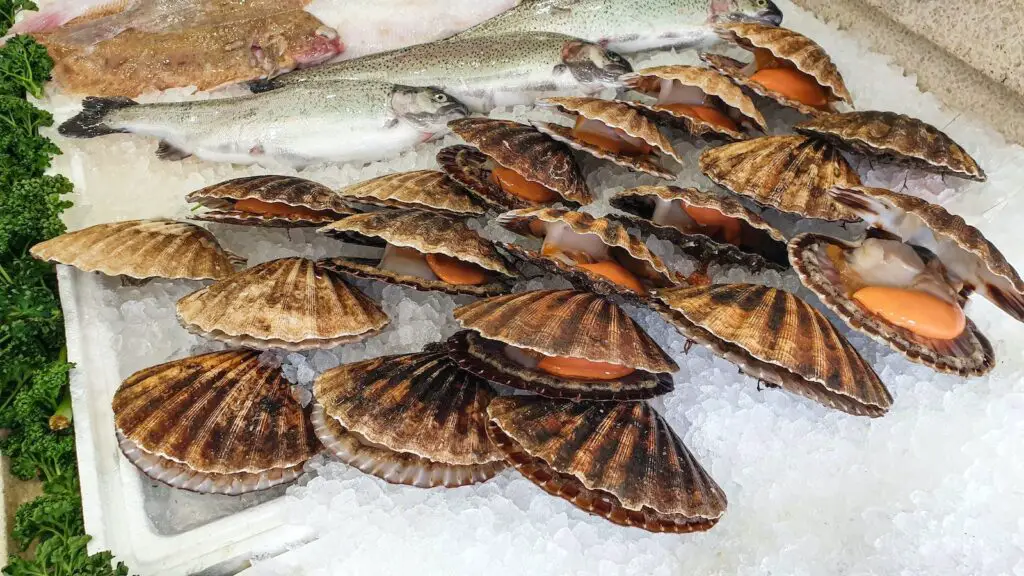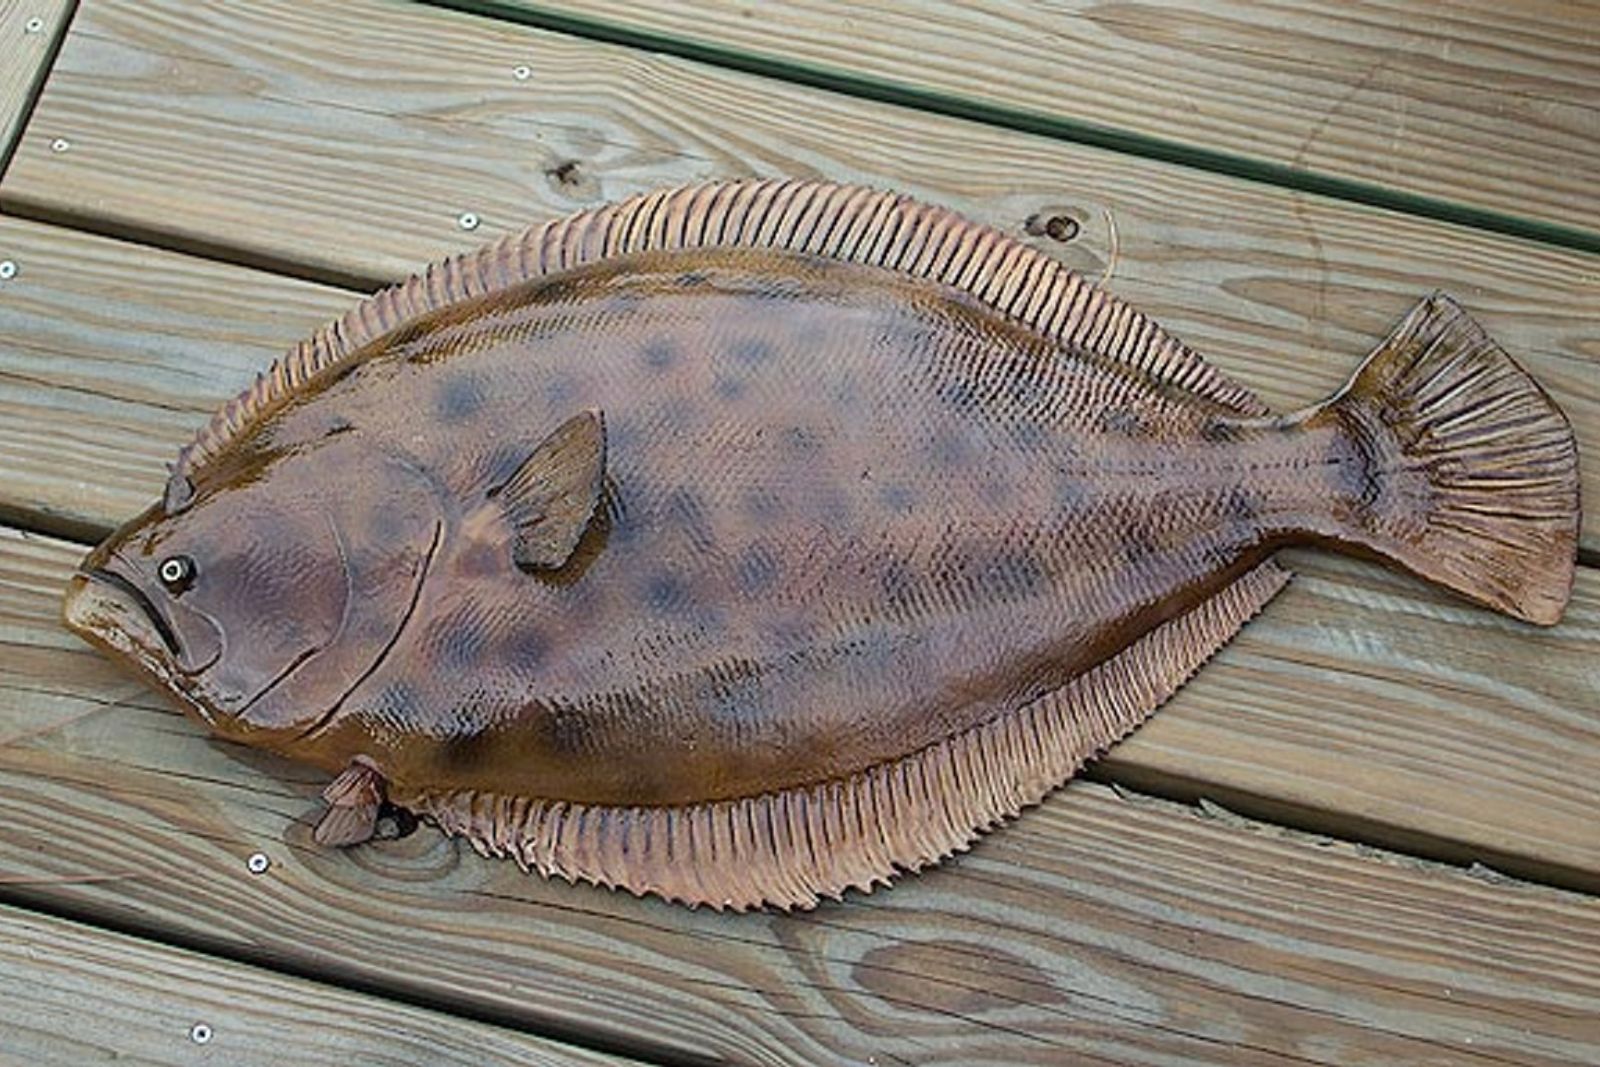
Flounder is a delicate and mild-tasting fish that is highly regarded for its tender white flesh and versatility in the culinary world. With its subtle flavor and firm texture, flounder is often enjoyed baked, broiled, grilled, or even pan-fried. It is a lean source of protein and provides essential nutrients like omega-3 fatty acids and vitamin B12. When you have fresh flounder that you want to preserve or want to take advantage of a sale, freezing can be an effective method to maintain its quality and enjoy it at a later time. In the following section, we will explore the process of freezing flounder and offer tips for ensuring its optimal taste and texture after thawing.
Here are the simple steps to freeze flounder:
Step 1: Handle the flounder with care
When it comes to freezing flounder, proper handling is crucial to preserve its delicate texture and flavor. Here’s why it’s important to handle the flounder with care:
- Protecting the delicate flesh: Flounder has tender and delicate flesh that can easily break apart or get damaged if mishandled. By handling it gently, you can prevent the fillets from tearing or losing their shape, ensuring a better quality fish when it’s time to thaw and cook.
- Minimizing bacterial growth: Proper handling helps minimize the risk of bacterial growth on the flounder. Bacteria thrive in moist and warm environments, so it’s essential to keep the fish clean and dry during the handling process. This reduces the chances of foodborne illnesses and ensures that the flounder remains safe to consume.
- Maintaining optimal taste and texture: Flounder is known for its delicate and mild flavor, and careful handling helps preserve its taste and texture. Rough handling can result in bruising or damage to the flesh, which can negatively affect the eating experience once the fish is thawed and cooked. By handling it gently, you can maintain the delicate nature of the flounder.
To handle the flounder properly, follow these steps:
- Start by ensuring you have a clean surface ready for the fish preparation. This could be a cutting board or a clean kitchen counter.
- Carefully transfer the fresh flounder onto the prepared surface. Avoid dropping or tossing it, as this can cause unnecessary stress on the fish.
- Make sure your hands are clean and dry. This helps maintain hygiene and prevents moisture from contacting the flounder.
- Proceed with the next steps of preparing the flounder for freezing, such as removing excess moisture and wrapping it securely.
Can I freeze cooked flounder, or is it better to freeze it raw?
Yes, you can freeze cooked flounder. Freezing cooked flounder allows you to conveniently preserve any leftovers or pre-prepared meals. However, it’s important to note that the texture of cooked flounder may slightly change upon freezing and thawing, so it’s advisable to slightly undercook the fish before freezing to prevent it from becoming overcooked during reheating.
Step 2: Remove excess moisture
Before freezing flounder, it’s important to remove any excess moisture from the fish. Moisture can contribute to the formation of ice crystals, which can lead to freezer burn and negatively impact the quality of the flounder. Here’s why removing excess moisture is crucial:
- Preventing freezer burn: Freezer burn occurs when moisture on the surface of the flounder evaporates and forms ice crystals. These ice crystals can dehydrate the fish, resulting in dry and discolored patches. By removing excess moisture, you reduce the chances of freezer burn and ensure that the flounder retains its quality and taste.
- Maintaining texture and flavor: Excess moisture can affect the texture and flavor of the flounder when it’s thawed and cooked. Moisture can lead to a loss of juiciness and make the fish feel soggy or waterlogged. By patting the flounder dry, you help maintain its natural texture and ensure a more enjoyable eating experience.
To remove excess moisture from the flounder, follow these steps:
- Take a paper towel or a clean kitchen towel and gently press it against the surface of the fish. Avoid rubbing vigorously, as this can damage the delicate flesh.
- Pat the flounder dry, paying attention to areas where moisture tends to accumulate, such as the skin and crevices.
- If needed, use multiple towels to ensure thorough drying, especially if the flounder is particularly moist.
- Take care not to leave any damp spots on the fish. Moisture can contribute to the formation of ice crystals during freezing.
Step 3: Wrap the flounder tightly
When freezing flounder, it is crucial to wrap each fillet tightly in plastic wrap. This step serves two main purposes: protecting the fish from freezer burn and maintaining its quality during freezing. Here’s why wrapping the flounder tightly is essential:
- Preventing freezer burn: Freezer burn occurs when the surface of the fish is exposed to air, leading to moisture loss and the formation of ice crystals. By wrapping the flounder tightly in plastic wrap, you create a barrier that helps minimize air exposure. This, in turn, reduces the risk of freezer burn and helps preserve the flounder’s texture and flavor.
- Maintaining quality and freshness: Tightly wrapping the flounder helps maintain its quality and freshness. It prevents the fish from coming into contact with other freezer odors, which could potentially affect its taste. Additionally, the tight wrapping helps to retain the natural moisture within the fillet, ensuring a moist and tender texture when the fish is thawed and cooked.
To wrap the flounder fillets tightly, follow these steps:
- Ensure that each fillet is dry and free from excess moisture, as discussed in Step 2.
- Take a sheet of plastic wrap and place the flounder fillet in the center.
- Gently wrap the plastic wrap around the fillet, making sure to cover it completely. Start from one end and work your way to the other, pressing the plastic wrap firmly against the fish.
- Pull the plastic wrap snugly to eliminate any air pockets and ensure a tight seal. It should cling tightly to the surface of the flounder.
- If needed, use additional layers of plastic wrap to provide extra protection.
Step 4: Wrap the plastic-wrapped fillets in aluminum foil
After wrapping the flounder fillets tightly in plastic wrap, the next step is to provide an additional layer of protection by wrapping them in aluminum foil. This extra layer of insulation serves two primary purposes: further safeguarding against freezer burn and helping to maintain the flavor and texture of the flounder. Here’s why wrapping the plastic-wrapped fillets in aluminum foil is important:
- Enhanced freezer burn protection: Freezer burn can still occur if air manages to reach the plastic-wrapped fillets. By wrapping them in aluminum foil, you create an additional barrier that helps minimize air exposure. This added protection reduces the risk of freezer burn, ensuring that the flounder retains its moisture and remains in optimal condition during freezing.
- Temperature insulation: Aluminum foil acts as a thermal barrier, helping to maintain a consistent temperature around the flounder fillets. This insulation property is beneficial in preventing temperature fluctuations within the freezer, which can negatively impact the quality of the fish. By wrapping the plastic-wrapped fillets in aluminum foil, you help create a more stable and controlled freezing environment for the flounder.
To wrap the plastic-wrapped flounder fillets in aluminum foil, follow these steps:
- Take a sheet of aluminum foil large enough to completely cover the plastic-wrapped fillet.
- Place the plastic-wrapped fillet in the center of the foil.
- Fold the aluminum foil over the fillet, covering it entirely. Ensure that there are no exposed areas and that the foil is securely sealed around the fish.
- Press the foil gently against the fillet to create a snug fit, eliminating any air pockets.
- Repeat the process for each flounder fillet.
Step 5: Label and date the package
After wrapping the flounder fillets securely, it’s important to label and date the package. This step may seem simple, but it plays a crucial role in easy identification and ensuring that you consume the flounder within the recommended time frame. Here’s why labeling and dating the package is essential:
- Easy identification: Labelling the package allows you to quickly identify the contents without the need to unwrap or guess. When you have multiple items in the freezer, clear labeling helps you locate the flounder easily, saving time and minimizing the chances of confusion.
- Tracking freshness: By dating the package, you have a clear record of when the flounder was frozen. This information is vital for tracking its freshness and determining its optimal consumption period. Different types of fish have varying recommended storage durations, and by dating the package, you can ensure that you use the flounder within the appropriate timeframe for the best quality and taste.
Rotation and organization: Proper labeling and dating enable you to implement a first-in, first-out (FIFO) system. By consuming the oldest frozen flounder first, you minimize the risk of food waste and ensure that you’re enjoying the fish at its peak quality. Additionally, organized labeling helps maintain order in your freezer and prevents forgotten or expired items.
To label and date the package, follow these steps:
- Use a marker or a label to write the contents of the package, which in this case is “flounder.”
- Write the date of freezing on the label or package. Include the month, day, and year.
- Place the label in a visible area on the package, such as the top or front, for easy identification.
Step 6: Place the wrapped flounder in the freezer
The final step in freezing the flounder is to place the wrapped fillets in the freezer carefully. It’s important to arrange them in a flat position to prevent the fillets from sticking together and ensure easier storage and retrieval. Here’s why this arrangement is beneficial:
- Prevention of sticking: Placing the flounder fillets in a flat position helps prevent them from sticking together. If the fillets were stacked or placed haphazardly, they could freeze together, making it difficult to separate them when you want to retrieve a portion. By arranging them flat, you create space between each fillet, reducing the chances of them sticking together.
- Convenient storage: Flat arrangement of the wrapped flounder fillets allows for more efficient use of freezer space. It helps maximize the available area and ensures that the fillets are evenly distributed. This organization not only facilitates better airflow within the freezer but also makes it easier to stack other items if needed.
- Easy retrieval: When it’s time to use the frozen flounder, a flat arrangement allows for easier retrieval. You can easily identify and remove the desired fillets without having to disrupt the other portions or packages in the freezer. This saves time and minimizes the risk of damaging the other fillets during retrieval.
To place the wrapped flounder fillets in the freezer, follow these steps:
- Ensure that the freezer has adequate space and is set to the appropriate temperature for freezing fish.
- Arrange the wrapped fillets in a single layer, side by side, on a flat surface or freezer-safe tray.
- Leave a small gap between each fillet to allow for airflow and to prevent them from freezing together.
- Carefully transfer the tray or flat surface with the fillets into the freezer, ensuring that they remain in a flat position.
- Make sure the flounder fillets are placed away from any potential sources of cross-contamination, such as raw meats or strong-smelling items.
This final step completes the process of freezing flounder, allowing you to conveniently preserve and enjoy this delicious seafood at a later time.
What is the ideal temperature for freezing flounder?
The ideal temperature for freezing flounder is at or below 0 degrees Fahrenheit (-18 degrees Celsius). Freezing the fish at this low temperature helps to preserve its quality and prevent the growth of harmful bacteria. It is important to ensure that your freezer is set to a temperature that maintains a consistent freezing environment to ensure the best results when freezing flounder.
Other related questions
How can I defrost flounder?
To defrost the flounder, the best method is to thaw it slowly in the refrigerator. Place the frozen flounder in a shallow dish or on a plate and cover it loosely with plastic wrap or a lid. Allow the fish to thaw in the refrigerator for approximately 24 hours or until completely thawed. Once thawed, use the flounder immediately or store it in the refrigerator for up to two days before cooking. Avoid defrosting flounder at room temperature or using hot water, as these methods can lead to uneven thawing and compromise the texture and flavor of the fish.
How long can I store frozen flounder?
You can store frozen flounder for up to three to six months in a standard freezer. However, for the best quality and taste, it is recommended to consume it within the first three months of freezing. Proper packagings, such as tight plastic wrap and aluminum foil, helps to maintain the quality of the flounder during storage. Always label the package with the date of freezing to keep track of its storage duration. Remember to follow food safety guidelines and ensure that the flounder is properly thawed and cooked before consumption.
Can I refreeze the flounder that has been previously thawed?
It is generally not recommended to refreeze flounder that has been previously thawed. When you thaw fish, moisture is released, and there is a potential for bacteria growth. Refreezing the flounder after it has been thawed can further compromise its quality and safety. It is best to cook the thawed flounder and consume it immediately. If you have cooked flounder leftovers, you can freeze them, but it is important to cool them down quickly and store them properly to maintain their quality.
How do I know if a frozen flounder has gone bad?
You can rely on a few indicators to determine if a frozen flounder has gone bad. Firstly, check for any noticeable changes in color or texture. If the flounder appears discolored, mushy or has an off-putting odor, it may be a sign of spoilage. Secondly, if there are ice crystals or freezer burn patches on the surface of the fish, it may indicate prolonged storage or improper packaging. Finally, trust your sense of smell – if the flounder emits a strong, unpleasant odor, it is likely spoiled and should be discarded. When in doubt, it is safer to err on the side of caution and avoid consuming potentially spoiled flounder.
Can I use frozen flounder with the fresh ones?
Yes, you can use frozen flounder alongside fresh ones. However, it’s important to keep in mind a few considerations. Frozen flounder may have a slightly different texture compared to fresh flounder once thawed, so the cooking time and method might need to be adjusted accordingly. Additionally, mixing frozen and fresh flounder in a dish may result in variations in texture and flavor. It’s recommended to cook frozen and fresh flounder separately, if possible, to ensure even cooking and maintain the best overall quality.
Is it necessary to remove the skin from the flounder before freezing?
It is not necessary to remove the skin from the flounder before freezing, as the skin can help protect the fish during freezing. The skin acts as a natural barrier that helps retain moisture and prevent freezer burn. However, if you prefer to have skinless flounder fillets for your recipes, you can remove the skin before or after thawing the fish.
Can I marinate the flounder before freezing it?
It is generally not recommended to marinate flounder before freezing it. Freezing and thawing can alter the texture and quality of the fish, and marinating it before freezing can lead to a loss of flavor and potentially affect the texture further. It is best to freeze the flounder in its natural state and marinate it after it has been thawed for optimal results.
Can I freeze flounder in portions, or should I freeze it as a whole fish?
You can freeze flounder in portions or as a whole fish, depending on your preferences and intended use. Freezing flounder in portions allows for convenient portioning and thawing, making it easier to use only the amount needed. On the other hand, freezing the whole fish can be beneficial if you plan to cook it as a whole or prefer to have more flexibility in preparing various dishes with different portions of the fish.

