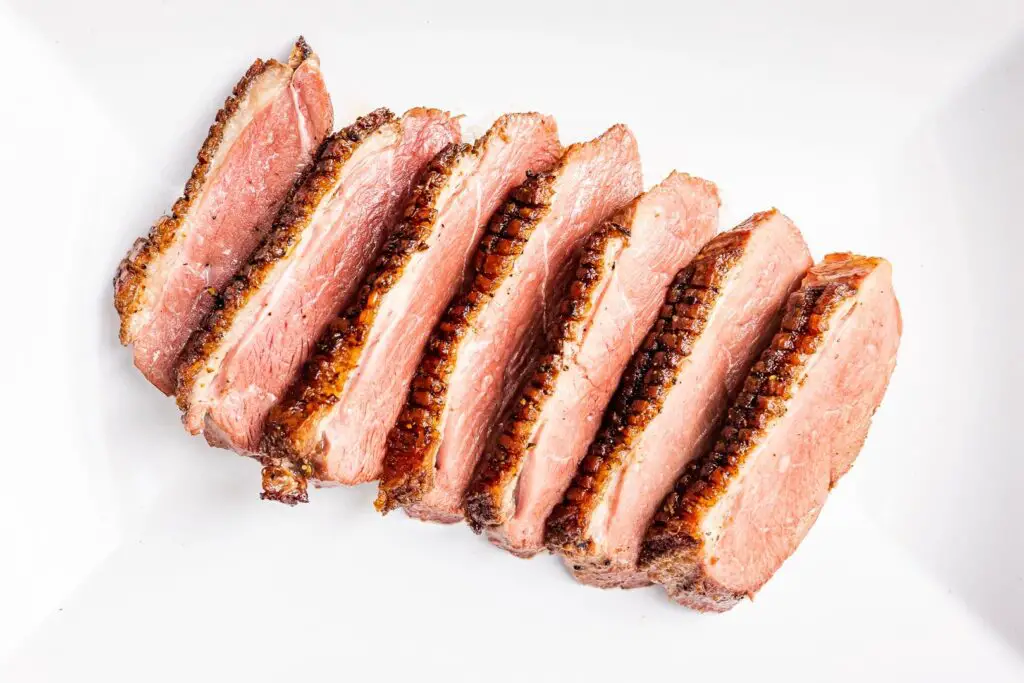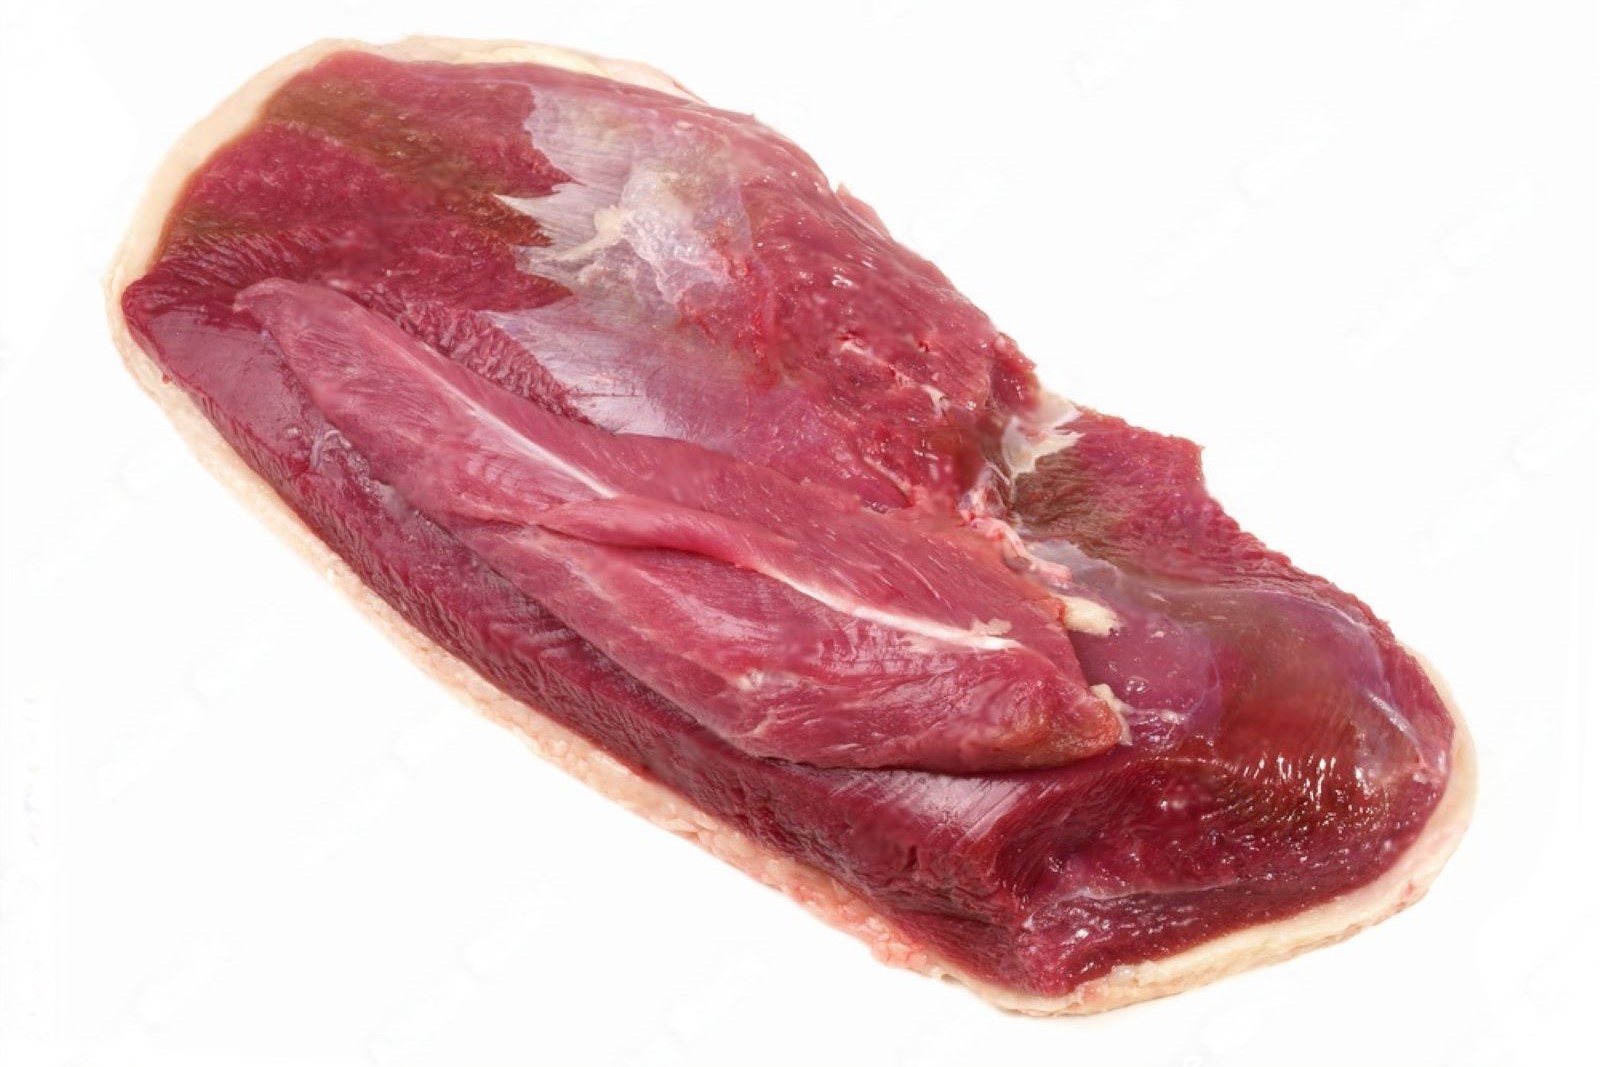
Goose breast, a succulent and flavorful cut of meat, is a delicacy that is prized for its rich taste and tender texture. Whether roasted, grilled, or pan-seared, goose breast is a delectable option for those seeking a gourmet dining experience. If you find yourself with extra goose breast or want to stock up on this exquisite meat for later use, freezing is an excellent method of preservation. Freezing goose breast allows you to extend its shelf life while maintaining its quality and taste. In this guide, we will explore the best practices for freezing goose breast, including proper packaging, storage techniques, and thawing instructions, so you can enjoy the flavors of this exceptional meat whenever you desire. Join us as we uncover the secrets of freezing goose breast and embrace the convenience of having this culinary delight readily available, allowing you to create impressive dishes that showcase the elegance of this sought-after meat.
Here are the simple steps to freeze goose breast:
Step 1: Select Fresh Goose Breast
Choosing fresh goose breast is essential when it comes to freezing the meat. Opting for a reliable source is crucial to ensure that the goose breast is of high quality and free from any signs of spoilage. Here’s why selecting fresh goose breast is important for preserving the taste and texture of the meat:
- Taste: Fresh goose breast will have a superior flavor compared to meat that is past its prime. It will have a rich, savory taste that is characteristic of high-quality poultry. By starting with fresh meat, you can preserve the delicious natural flavors of the goose breast even after it has been frozen.
- Texture: Fresh goose breast has a tender and succulent texture. The meat should be firm to the touch without any sliminess or stickiness. Choosing fresh goose breast ensures that the texture remains intact after freezing, allowing you to enjoy the same tenderness and juiciness when you eventually cook it.
- Quality and Safety: Opting for goose breast from a reliable source reduces the risk of purchasing meat that may be compromised in terms of quality or safety. Fresh meat is less likely to have been mishandled or exposed to unfavorable conditions that could affect its taste, texture, or safety for consumption.
When selecting fresh goose breast, consider the following steps:
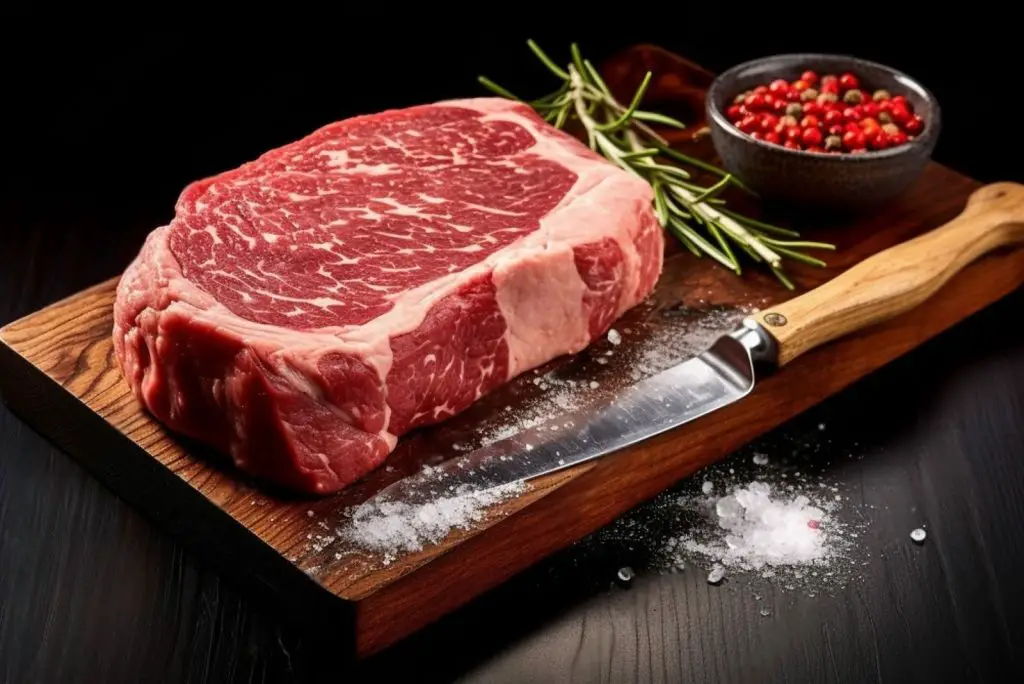
- Appearance: Look for goose breast that has a vibrant color, ranging from pinkish to reddish. Avoid meat that appears dull or discolored.
- Smell: Fresh goose breast should have a mild, pleasant odor. Avoid any meat that has a strong or unpleasant smell, as it may indicate spoilage.
- Firmness: Gently press the meat to check for firmness. Fresh goose breast should feel firm and spring back when touched. Avoid meat that feels mushy or overly soft.
By carefully choosing fresh goose breast, you lay the foundation for a high-quality frozen product. This step is crucial to ensure that the meat retains its taste, texture, and overall quality throughout the freezing process, resulting in a delicious culinary experience when you eventually prepare and serve the goose breast.
Step 2: Clean and Trim the Breast
Cleaning and trimming the goose breast is an important step before freezing it. This process involves washing the meat to remove any dirt or impurities and trimming off excess fat or undesirable portions. Here’s why cleaning and trimming the breast is crucial for maintaining the quality of the meat during the freezing process:
- Hygiene: Washing the goose breast under cold running water helps remove any surface dirt, bacteria, or other contaminants that may be present on the meat. This step promotes good hygiene and reduces the risk of potential foodborne illnesses.
- Removal of impurities: Cleaning the breast ensures that any impurities, such as feathers or blood residue, are eliminated. This enhances the overall appearance and cleanliness of the meat.
- Fat trimming: Trimming excess fat from the goose breast is important for several reasons. First, excessive fat can lead to rancidity and off flavors during storage. By removing it, you minimize the risk of unpleasant flavors or odors developing. Additionally, trimming fat helps improve the texture and tenderness of the meat, as excessive fat can contribute to a greasy or chewy mouthfeel.
- Undesirable portions: Trim off any undesirable portions of the breast, such as connective tissues, cartilage, or discolored areas. These parts may affect the quality and texture of the meat, so it’s best to remove them before freezing.
Here’s how to clean and trim the goose breast effectively:
- Rinse: Place the goose breast under cold running water and gently rinse it, ensuring that all areas of the meat are thoroughly washed. This helps remove any visible dirt or impurities.
- Pat dry: After rinsing, pat the goose breast dry using paper towels or a clean kitchen towel. Absorbing excess moisture helps prevent the formation of ice crystals during freezing, which can negatively affect the texture of the meat.
- Trim fat: Using a sharp knife, carefully trim any excess fat from the goose breast. Focus on areas where there are thick layers of fat or visible pockets. Aim to leave a thin layer of fat intact, as it can contribute to flavor and moisture retention during cooking.
- Remove undesirable portions: Inspect the breast for any connective tissues, cartilage, or discolored sections. Trim these off using a sharp knife, ensuring that you remove only the undesirable parts without excessively cutting into the meat.
By cleaning and trimming the goose breast before freezing, you ensure that the meat is free from impurities and excess fat, allowing it to maintain its quality and taste during storage. Properly cleaned and trimmed goose breast will also be easier to handle and cook when you decide to use it in a future recipe.
Step 3: Prepare the Breast for Freezing
Preparing the goose breast for freezing involves deciding whether or not to season it with herbs, spices, or marinades before placing it in the freezer. While seasoning is optional, it can enhance the flavor of the meat when you eventually cook it. Here’s why preparing the breast for freezing is a personal choice that can contribute to a more flavorful end result:
- Flavor enhancement: Seasoning the goose breast before freezing allows the flavors of herbs, spices, or marinades to penetrate the meat. This can result in a more flavorful and aromatic dish when you later cook the goose breast. The freezing process can help the seasonings infuse into the meat, enhancing its taste profile.
- Convenience and time-saving: By seasoning the goose breast before freezing, you save time and effort when you’re ready to cook it. The meat will already be infused with flavors, reducing the need for additional marinating or seasoning during the cooking process. This can be especially beneficial if you’re planning to use the goose breast in a recipe that requires immediate cooking after thawing.
- Versatility: Preparing the breast with different seasonings before freezing allows you to experiment with various flavors and cuisines. You can customize the taste profile of the meat based on your preferences or the specific dish you have in mind. It adds versatility to the goose breast, making it suitable for a range of recipes and culinary styles.
However, it’s important to note that seasoning the goose breast before freezing is purely optional. If you prefer to have the option of using the meat in a variety of dishes, or if you want to retain the natural flavor of the goose breast, plain freezing without any seasonings is perfectly acceptable. The choice depends on your personal taste preferences and how you plan to use the meat in the future.
If you decide to season the goose breast before freezing, here are steps to follow:
- Dry seasoning: Sprinkle your preferred herbs, spices, or dry rub onto the meat, ensuring even coverage. Pat the seasoning gently to help it adhere to the surface of the breast.
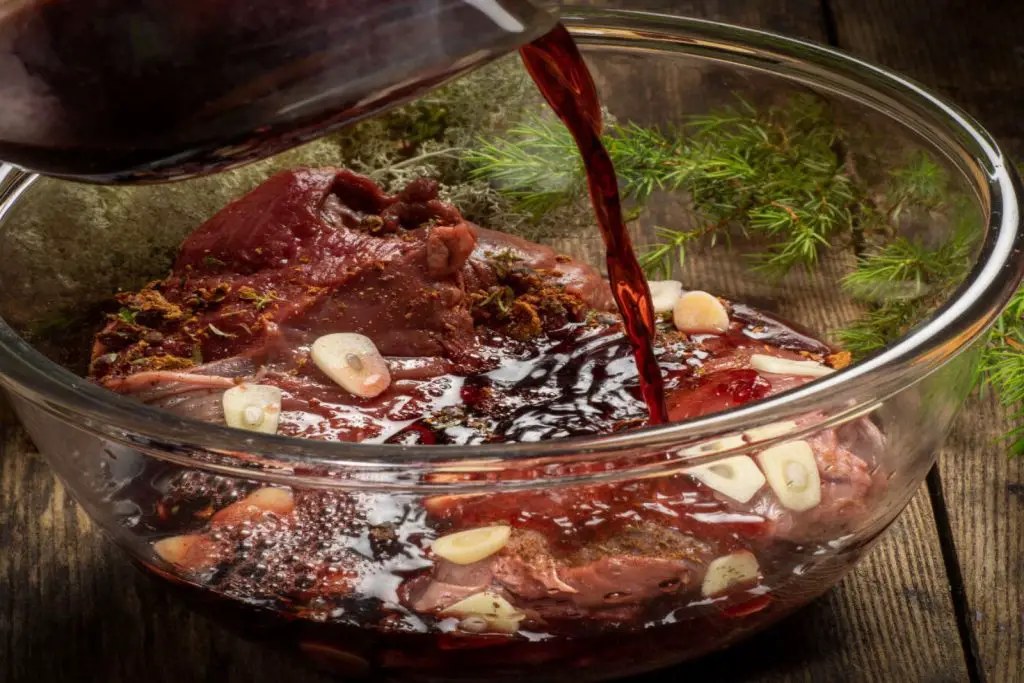
- Marinade: If you prefer a more intense flavor, you can marinate the goose breast in a liquid marinade. Place the breast in a shallow dish or a sealable plastic bag, pour the marinade over it, and make sure the meat is well coated. Allow it to marinate in the refrigerator for a few hours or overnight before freezing.
- Packaging: Once seasoned, follow the subsequent steps for packaging and freezing the goose breast, as outlined in the previous steps.
By preparing the goose breast with seasonings before freezing, you can enjoy a flavorful and convenient cooking experience when you eventually use the meat. However, keep in mind that plain freezing without any seasonings is also a valid option if you prefer to have more flexibility in your future meal preparations.
Step 4: Wrap the Breast Tightly
Wrapping the goose breast tightly is an essential step in the freezing process to protect it from freezer burn and maintain its quality. Freezer burn occurs when moisture evaporates from the surface of the meat, leading to dryness and a deteriorated texture. By wrapping the goose breast tightly, you create a barrier that helps prevent moisture loss and preserves its juiciness. Here’s why wrapping the breast tightly is important:
- Protection from freezer burn: Freezer burn can occur when the goose breast is exposed to air and loses moisture during the freezing process. This can result in dry, discolored patches on the meat and adversely affect its taste and texture. Wrapping the breast tightly creates a protective layer that minimizes air contact and reduces the risk of freezer burn.
- Moisture retention: Proper wrapping helps retain the natural moisture within the goose breast. This helps maintain its juiciness and prevents it from becoming dry and tough when you eventually cook it. The tightly wrapped covering acts as a barrier, preventing excess moisture loss and preserving the meat’s succulence.
- Prevention of cross-contamination: Wrapping the goose breast individually ensures that it is protected from cross-contamination with other food items in the freezer. It prevents the transfer of odors and flavors, helping to maintain the integrity and taste of the meat.
To wrap the goose breast tightly, follow these steps:
- Use plastic wrap or aluminum foil: Choose either plastic wrap or aluminum foil to wrap the goose breast. Both materials are suitable for freezing and provide adequate protection.
- Place the breast in the center: Position the goose breast in the center of the plastic wrap or aluminum foil. Ensure that the wrapping material is large enough to cover the entire surface of the meat.
- Cover completely: Pull the edges of the plastic wrap or aluminum foil up and over the breast, covering it completely. Ensure there are no exposed areas or gaps where air can enter.
- Seal tightly: Press the edges of the plastic wrap or fold the aluminum foil tightly to seal the package. The goal is to create a secure, airtight seal that prevents air from reaching the meat.
- Repeat for multiple breasts: If you have multiple goose breasts, wrap each one individually to ensure proper protection and maintain the quality of each piece.
By wrapping the goose breast tightly in plastic wrap or aluminum foil, you create a protective layer that guards against freezer burn, helps retain moisture, and preserves the meat’s juiciness. Proper wrapping is crucial for maintaining the quality and taste of the goose breast during its time in the freezer.
Step 5: Place in a Freezer-Safe Container
After wrapping the goose breast tightly, the next step is to transfer it into a freezer-safe container or airtight freezer bag. This additional layer of protection further safeguards the meat from air exposure, preventing freezer burn and maintaining its quality. Here’s why placing the wrapped breast in a freezer-safe container is important:
- Prevention of air exposure: Air is one of the main factors that contribute to freezer burn. Placing the wrapped goose breast in a freezer-safe container or bag provides an extra barrier against air exposure. This helps maintain the optimal quality of the meat and minimizes the risk of texture and flavor degradation.
- Enhanced insulation: A freezer-safe container or bag provides better insulation compared to the wrapping material alone. It helps regulate the temperature around the goose breast, reducing the risk of temperature fluctuations that can affect the meat’s integrity.
- Organization and space efficiency: Using a freezer-safe container or bag allows for better organization within your freezer. It keeps the goose breast neatly contained, making it easier to stack and utilize space efficiently. Additionally, it helps prevent potential cross-contamination with other food items stored in the freezer.
Here’s how to place the wrapped goose breast in a freezer-safe container:
- Select a suitable container: Choose a container that is specifically labeled as “freezer-safe.” It should be made of a material that can withstand freezing temperatures without cracking or breaking, such as rigid plastic or glass. Alternatively, you can use a high-quality, airtight freezer bag.
- Ensure a tight seal: If using a container, place the wrapped goose breast inside and ensure the lid is tightly sealed. If using a freezer bag, squeeze out as much air as possible before sealing it tightly.
- Consider portion sizes: If you anticipate using only a portion of the goose breast at a time, you can divide it into smaller portions before placing them in individual containers or bags. This way, you can thaw and use only what you need without having to defrost the entire breast.
By placing the wrapped goose breast in a freezer-safe container or bag, you provide an additional layer of protection against air exposure and maintain the quality of the meat during freezing. Properly sealed containers help prevent freezer burn and contribute to a longer shelf life for the goose breast in the freezer.
Step 6: Label and Date the Package
Labeling and dating the package containing the frozen goose breast is an important step to help you keep track of its storage time and easily identify its contents in the freezer. Proper labeling ensures that you can use the goose breast within the recommended time frame and avoid confusion with other items in your freezer. Here’s why labeling and dating the package is crucial:
- Storage time tracking: By including the date on the package, you can easily determine how long the goose breast has been in the freezer. This is important because different types of meat have varying recommended freezer storage times. Labeling allows you to adhere to these guidelines and use the meat within the recommended time frame for optimal quality and safety.
- Easy identification: Labeling the package with the contents, in this case, “Goose Breast,” makes it simple to identify what is inside without having to unwrap or guess. It saves time and minimizes the risk of defrosting the wrong item. Additionally, if you have multiple goose breasts or other frozen items, labeling ensures you can quickly locate the specific meat you’re looking for.
- Organization: Proper labeling contributes to overall freezer organization. It allows you to easily identify the goose breast among other frozen items and helps maintain an efficient and well-organized freezer space.
To label and date the package containing the goose breast, follow these steps:
- Use a marker or labels: Choose a permanent marker or adhesive labels that are suitable for freezer use. These should withstand freezing temperatures and remain legible throughout the storage period.
- Write the date: On the package or label, write the current date when the goose breast was frozen. This serves as a reference point for determining its storage time.
- Indicate the contents: Include a label or write “Goose Breast” on the package to clearly identify its contents. This eliminates confusion and allows for easy identification when searching for specific items in the freezer.
- Additional information (optional): If desired, you can include additional details on the label, such as portion size, seasoning, or any specific instructions for cooking or thawing. This can be helpful for meal planning and preparation.
By labeling and dating the package, you ensure that the goose breast is properly identified, and its storage time is tracked. This promotes organization, reduces waste, and enables you to maintain the highest quality and safety standards when using the frozen goose breast.
Step 7: Store in the Freezer
Once the goose breast is properly wrapped, labeled, and dated, it’s time to store it in the freezer. Proper storage in the freezer ensures the longevity and quality of the meat. Here’s why and how to store the packaged goose breast in the freezer:
- Temperature consistency: The freezer should be set at 0°F (-18°C) or below to maintain the quality of frozen foods. This low temperature inhibits the growth of bacteria and prevents food spoilage. Ensure that your freezer is operating at the correct temperature for optimal storage conditions.
- Coldest part of the freezer: Place the packaged goose breast in the coldest part of the freezer. Typically, this is the back or bottom shelf, as they are often colder and experience less temperature fluctuation when the freezer door is opened. Positioning the meat in the coldest area helps maintain its quality over time.
- Airflow and spacing: Allow sufficient space around the packaged goose breast to promote proper airflow within the freezer. Adequate airflow helps maintain a consistent temperature and ensures even freezing throughout the meat. Avoid overcrowding or squishing the packages together, as this can hinder proper airflow and lead to uneven freezing.
- Prevention of cross-contamination: Store the goose breast away from other raw meats or food items to prevent cross-contamination. Place it on a separate shelf or in a designated area to minimize the risk of any juices or contaminants from coming into contact with other items.
- Accessibility and organization: Consider placing the goose breast in a location that allows for easy access. This makes it convenient to retrieve when you’re ready to thaw and cook it. Maintaining an organized freezer, with items stored together, helps optimize space and streamlines your freezer management.
By storing the packaged goose breast in the coldest part of the freezer and ensuring proper spacing and airflow, you create optimal conditions for preserving its quality. Following these guidelines for freezer storage helps maintain the meat’s texture, flavor, and safety for an extended period.
How long can goose breasts last in the freezer?
Goose breast can last in the freezer for up to 6 to 9 months when stored properly. The exact duration of storage depends on factors such as the quality of the meat, packaging, and maintenance of stable freezer temperatures. It is advisable to consume the frozen goose breast within this timeframe for the best taste and quality.
Other related questions
How do you defrost goose breast?
To defrost goose breast, it is recommended to thaw it in the refrigerator. Place the packaged goose breast on a plate or tray to catch any drips and allow it to thaw slowly and safely. This method ensures even thawing and helps maintain the quality and texture of the meat. Avoid using hot water or microwave for defrosting, as they can lead to uneven thawing and potential loss of flavor and juiciness.
Can you refreeze goose breast?
It is generally safe to refreeze goose breast if it has been thawed properly in the refrigerator and has not been left at room temperature for an extended period. However, refreezing may affect the texture and quality of the meat, resulting in potential loss of juiciness and flavor. It is recommended to use thawed goose breast promptly to avoid the need for refreezing and to ensure the best culinary experience.
How do I know if the goose breast has gone bad after being frozen?
To determine if frozen goose breast has gone bad, look for signs of spoilage such as a foul or off-putting odor. Additionally, inspect the meat for any unusual discoloration, sliminess, or an excessively soft or mushy texture. If you notice any of these signs, it is best to discard the goose breast to avoid the risk of foodborne illness and ensure your safety.
Are there any precautions for freezing wild goose breast versus domestic goose breast?
When freezing wild goose breast versus domestic goose breast, there are a few precautions to consider. Wild goose breast may have a stronger flavor and leaner meat compared to domestic goose breast, so it is advisable to trim any excess fat before freezing to prevent rancidity. Additionally, wild game meat should be handled with extra care to prevent cross-contamination and ensure proper hygiene practices. Freezing both types of goose breast follows similar guidelines, including proper packaging and labeling for easy identification in the freezer.
Can I freeze goose breast with stuffing or fillings?
It is not recommended to freeze goose breast with stuffing or fillings. Freezing can affect the texture and quality of the stuffing, leading to a less desirable outcome when reheated. It is better to freeze goose breast and stuffing separately, allowing you to thaw and reheat them individually for the best results.
Can I freeze goose breast for future curing or smoking?
Yes, you can freeze goose breasts for future curing or smoking. Freezing the goose breast helps preserve its freshness until you are ready to proceed with the curing or smoking process. Before freezing, ensure the goose breast is properly cleaned, trimmed of excess fat, and securely packaged to prevent freezer burn. Thaw the frozen goose breast in the refrigerator before proceeding with your desired curing or smoking method.

