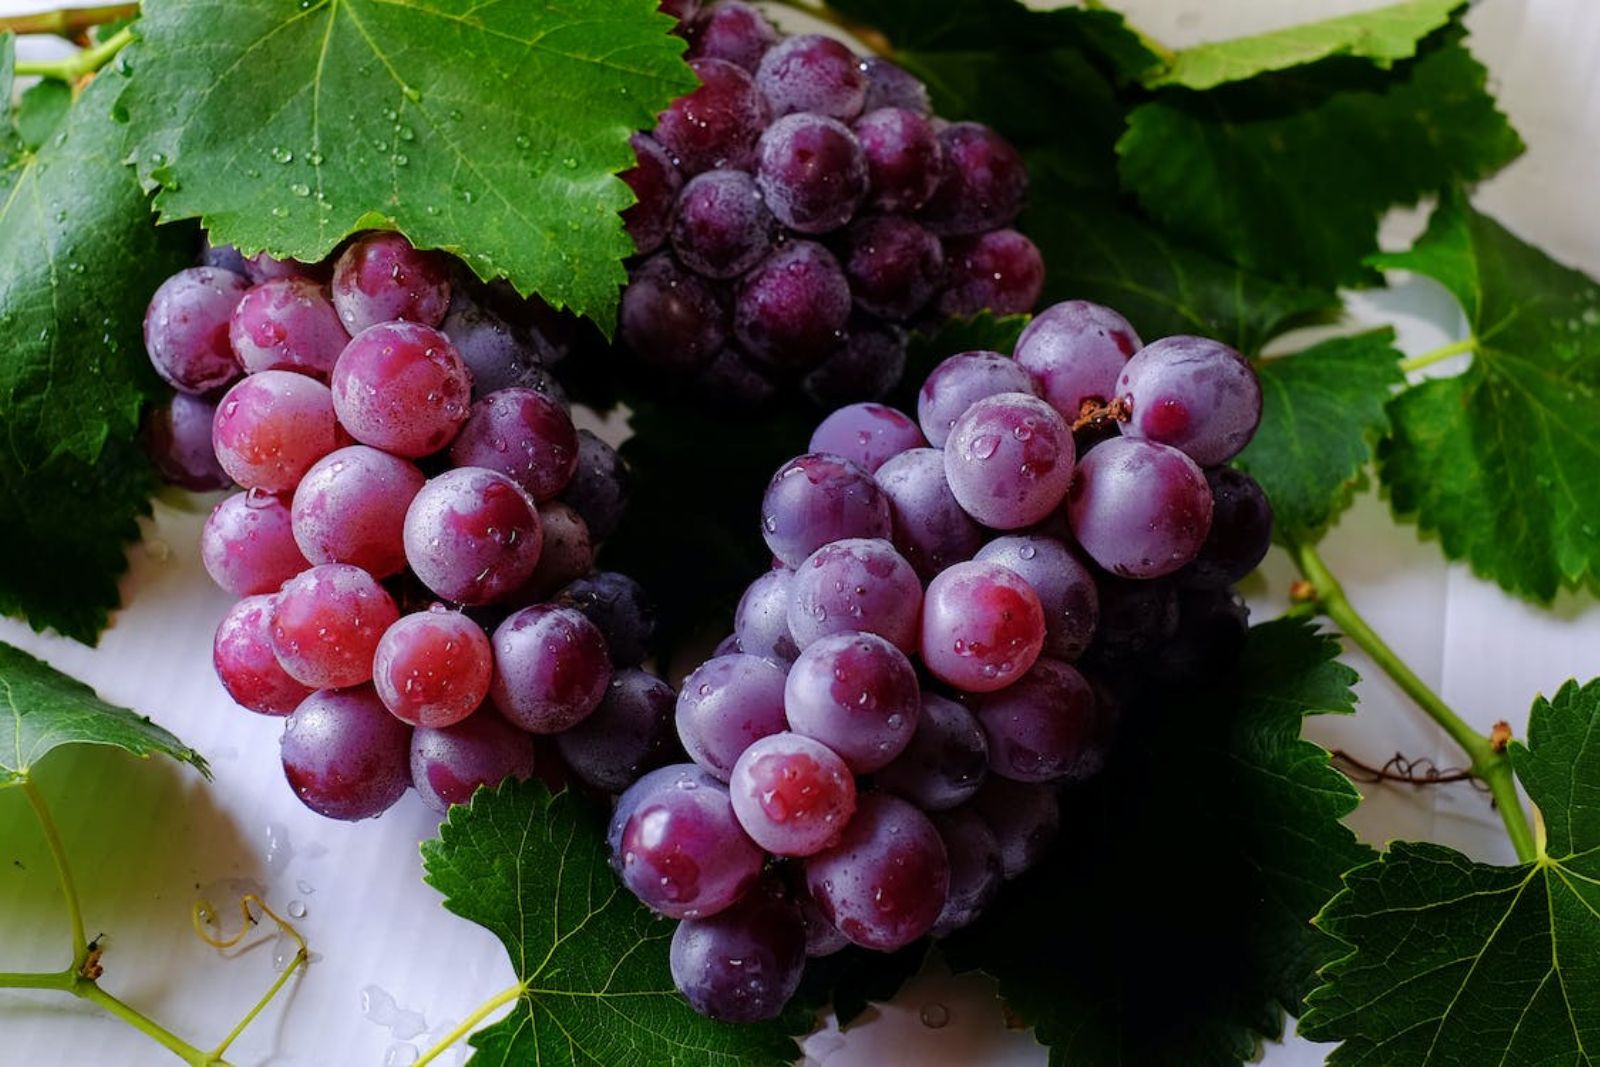
Grapes are small, round fruits that grow in clusters on woody vines. They come in a variety of colors, including green, red, and purple. Grapes are known for their sweet and juicy flavor and are often enjoyed as a snack, used in cooking, or pressed to make wine or grape juice. Freezing grapes is a fantastic way to preserve their freshness and enjoy a refreshing treat anytime you desire. Whether you have an abundance of grapes or want to save some for later, proper freezing techniques will help retain their taste and texture.
Here is a simple guide on how to freeze grapes:
Step 1: Wash and dry the grapes
Before freezing your grapes, it is important to wash them thoroughly under cold running water. This step helps remove any dirt, debris, or pesticide residues that may be present on the grapes’ surface. Washing the grapes also ensures that you freeze them in a clean and hygienic state.
To wash the grapes, place them in a colander or sieve and hold them under running water. Gently rub the grapes with your fingers to remove any dirt or contaminants. It is recommended to use cold water as hot water may cause the grapes to lose some of their firmness and texture.
After washing the grapes, it is crucial to pat them dry using a kitchen towel or paper towels. Drying the grapes helps remove excess moisture, which can lead to ice crystals and freezer burn during the freezing process. Additionally, drying the grapes ensures that they freeze individually without sticking together.
Do I have to wash grapes before freezing?
It is recommended to wash grapes before freezing them. Washing helps remove any dirt, pesticides, or residues that may be present on the grape’s surface. This step ensures that the grapes are clean and ready for consumption or use after thawing, maintaining food safety and quality.
Can I freeze grapes with seeds?
Yes, you can freeze grapes with seeds. However, keep in mind that the texture of the seeds may change slightly after freezing. If you prefer seedless grapes, you can remove the seeds before freezing by gently slicing the grapes in half and scooping out the seeds.
Can I freeze grapes on the vine, or should I remove them from the stem first?
It is generally recommended to remove grapes from the stem before freezing them. Freezing grapes on the vine can lead to difficulty in separating individual grapes once frozen, as they tend to stick together. By removing the grapes from the stem before freezing, it allows for easier handling, portioning, and prevents the grapes from clumping together during freezing and storage.
Can I freeze grapes that are past their peak ripeness?
While it is possible to freeze grapes that are past their peak ripeness, it’s important to note that the texture and flavor may be compromised. Overripe grapes tend to become softer and may not freeze as well, resulting in a mushier texture after thawing. It is generally recommended to freeze grapes at their peak ripeness to preserve their optimal taste and texture.
Step 2: Arrange the grapes on a baking sheet
Once your grapes are clean and dry, it’s time to arrange them on a baking sheet in a single layer. This step is essential to ensure even freezing and prevent the grapes from sticking together.
By spreading the grapes out in a single layer, you create enough space between them for the cold air in the freezer to circulate around each grape. This promotes faster and more uniform freezing, resulting in better quality frozen grapes.
It’s important to ensure that the grapes are not touching each other on the baking sheet. If the grapes are clustered together, they may freeze into a solid mass, making it difficult to separate them later when you want to use a specific amount. However, for smaller grapes or those that naturally grow in clusters, such as certain varieties of table grapes, it is acceptable to leave them as clusters while arranging them on the baking sheet.
For larger grapes, it’s advisable to separate them into individual pieces. This can be done by gently plucking the grapes from the cluster or cutting them using a clean knife or kitchen shears. Separating larger grapes ensures that each piece freezes independently, making it easier to take out the desired amount when you want to use them.
Step 3: Freeze the grapes
Once you have arranged the grapes on a baking sheet, it’s time to freeze them. Placing the baking sheet with the grapes in the freezer allows them to solidify and maintain their individual form, preventing them from sticking together.
Freezing the grapes individually on the baking sheet before transferring them to a container is a crucial step. It ensures that each grape freezes independently, making it easier to take out the desired amount later without having to thaw the entire batch. This way, you can conveniently use only the quantity of grapes you need, while the rest remain frozen and ready for future use.
Freezing the grapes for about two to three hours is generally sufficient for them to freeze solidly. However, the exact freezing time may vary depending on the size and water content of the grapes, as well as the temperature of your freezer. It’s recommended to check the grapes periodically and adjust the freezing time accordingly.
Step 4: Transfer to a freezer-safe container
Once the grapes have frozen solid on the baking sheet, it’s time to transfer them to a freezer-safe container or resealable plastic bags. This step helps protect the grapes from freezer burn and ensures their long-term quality and freshness.
To transfer the frozen grapes, start by removing the baking sheet from the freezer. Gently scoop the grapes off the baking sheet using a spatula or your hands, being careful not to crush or damage them.
Next, place the frozen grapes into a freezer-safe container or resealable plastic bags. It’s important to choose containers or bags that are specifically designed for freezer use, as they are made from materials that can withstand low temperatures without cracking or developing leaks.
Ensure that the container or bags are airtight to prevent air exposure, which can lead to freezer burn. Freezer burn occurs when the moisture on the grapes evaporates, leaving them dehydrated and with a deteriorated texture and flavor.
If using containers, leave some headspace at the top to accommodate any potential expansion that may occur during freezing. If using resealable plastic bags, squeeze out excess air before sealing them tightly.
Properly sealed and airtight containers or bags help maintain the quality of the frozen grapes and preserve their taste and texture for an extended period.
Can I freeze grapes in their original packaging?
It is generally recommended to transfer grapes to a freezer-safe container or resealable plastic bags before freezing. The original packaging may not provide sufficient protection against freezer burn or odors from other foods in the freezer. Transferring the grapes to airtight containers or bags helps maintain their quality during freezing.
Step 5: Label and date the package
After transferring the frozen grapes to a freezer-safe container or bags, it’s important to label them with the current date using a permanent marker. This simple step plays a crucial role in keeping track of your frozen grapes and ensuring their optimal usage within the recommended time frame.
Labeling the container or bags with the date of freezing allows you to easily identify when the grapes were frozen. This information becomes valuable as time passes, especially if you plan to store the grapes for an extended period, such as several months.
By knowing the freezing date, you can ensure that you consume the frozen grapes within the recommended storage time frame. While frozen grapes can generally be stored for up to twelve months, it’s best to consume them within the first six to eight months for the best quality and taste.
Additionally, labeling the package helps you keep your freezer organized. When you have multiple containers or bags of frozen grapes or other food items, it can be challenging to distinguish between them if they are not labeled. By clearly labeling the package with the freezing date, you can easily identify the grapes and avoid any confusion.
The use of a permanent marker is recommended because it withstands the cold temperatures of the freezer and remains legible over time. Avoid using water-based markers or labels that may smudge or become illegible when exposed to the freezer environment.
Step 6: Store the grapes in the freezer
Once you have labeled the container or bags of frozen grapes, it’s time to store them in the freezer. Proper storage is crucial to maintain the quality and freshness of the grapes over an extended period.
Select a suitable spot in your freezer where the grapes won’t be easily disturbed or subjected to temperature fluctuations. Ideally, choose a shelf or compartment that maintains a consistently low temperature. The recommended temperature for freezing grapes is below 0°F (-18°C). This low temperature helps keep the grapes frozen solid and minimizes any potential degradation in quality.
Placing the grapes in a stable and cold environment ensures that they retain their texture, flavor, and nutritional value. It also prevents the growth of bacteria or other microorganisms that could spoil the grapes.
Properly frozen grapes can maintain their quality for up to twelve months, although it’s best to consume them within the first six to eight months for optimal taste and texture. By adhering to the recommended storage time, you can enjoy the best experience when consuming the frozen grapes.
When storing the grapes in the freezer, it’s important to handle the container or bags with care to prevent any damage. Avoid stacking heavy items on top of the grapes to prevent crushing or flattening them.
How long can grapes last in the freezer?
Grapes can last in the freezer for up to 12 months while maintaining their quality. However, it is recommended to consume them within the first 6 to 8 months for the best taste and texture. Properly stored and frozen grapes can be enjoyed throughout this period.
Other related questions
How do I thaw frozen grapes?
To thaw frozen grapes, simply transfer them from the freezer to the refrigerator and let them thaw slowly. This gradual thawing helps maintain their texture and flavor. Alternatively, you can rinse the frozen grapes under cold water to thaw them more quickly, but this may slightly affect their texture.
Can I refreeze grapes?
It is generally safe to refreeze grapes if they have been thawed properly in the refrigerator. However, the texture and taste of the grapes may be slightly affected after being frozen and thawed multiple times. It is recommended to consume the grapes after the first thawing for the best quality, but if you decide to refreeze them, ensure they are stored properly to minimize any further deterioration.
How do I know the grapes have gone bad after being frozen?
When grapes have gone bad after being frozen, there are a few signs to look for. Inspect the grapes for any visible signs of mold, discoloration, or freezer burn. If they have a strong off-putting odor or an unusual slimy texture, it indicates spoilage. Trust your senses and discard grapes that show these signs to ensure food safety.
Are frozen grapes good for snacking?
Absolutely! Frozen grapes make for a delicious and refreshing snack, especially during hot weather. They have a unique texture and flavor when frozen, providing a satisfying and healthy alternative to traditional frozen treats.
What are some creative ways to use frozen grapes besides snacking?
Frozen grapes can be used creatively in various ways beyond snacking. They make a refreshing addition to beverages such as smoothies, juices, or infused water, adding a natural sweetness and a chilled element. Additionally, frozen grapes can be used as flavorful ice cubes to cool down drinks without diluting them. They can also be blended into sorbets or used as a topping for desserts like yogurt, ice cream, or fruit salads, providing a burst of fruity flavor and a unique texture.
Can I use frozen grapes for cooking or baking?
Yes, frozen grapes can be used in cooking or baking, depending on the recipe. They can be added to smoothies, used as a garnish for drinks, or even used as a flavorful ingredient in desserts and salads. Just keep in mind that the texture may change after thawing, so they may work best in recipes where a softer or juicier texture is desired.
Are there specific grape varieties that freeze better than others?
When it comes to freezing grapes, some varieties tend to freeze better than others. Generally, seedless grapes freeze more successfully due to their smaller size and absence of seeds, which can affect texture after freezing. Popular seedless grape varieties like Thompson Seedless, Flame Seedless, and Red Globe are commonly used for freezing due to their favorable texture and taste post-thaw. However, personal preferences and desired usage can also influence the choice of grape variety for freezing.
Are there any special considerations for freezing different colored grapes (red, green, black)?
When freezing different colored grapes, there are a few special considerations to keep in mind. While the freezing process is similar for all grape colors, it’s important to note that different colored grapes may have slight variations in taste and texture after thawing. Some individuals may prefer the taste of certain colored grapes when frozen, so personal preference plays a role in selecting which ones to freeze. Additionally, the color of the grapes may affect the appearance of dishes or recipes in which they are used after thawing, so consider this factor when deciding which colored grapes to freeze.
Can I freeze grapes for making wine or grape juice?
Freezing grapes for making wine or grape juice is not a common practice in traditional winemaking or juice production. Freezing grapes can alter their cell structure, which may affect the quality and flavor of the final product. It is generally recommended to use fresh grapes for winemaking or juice production to ensure the desired characteristics and taste are achieved.

