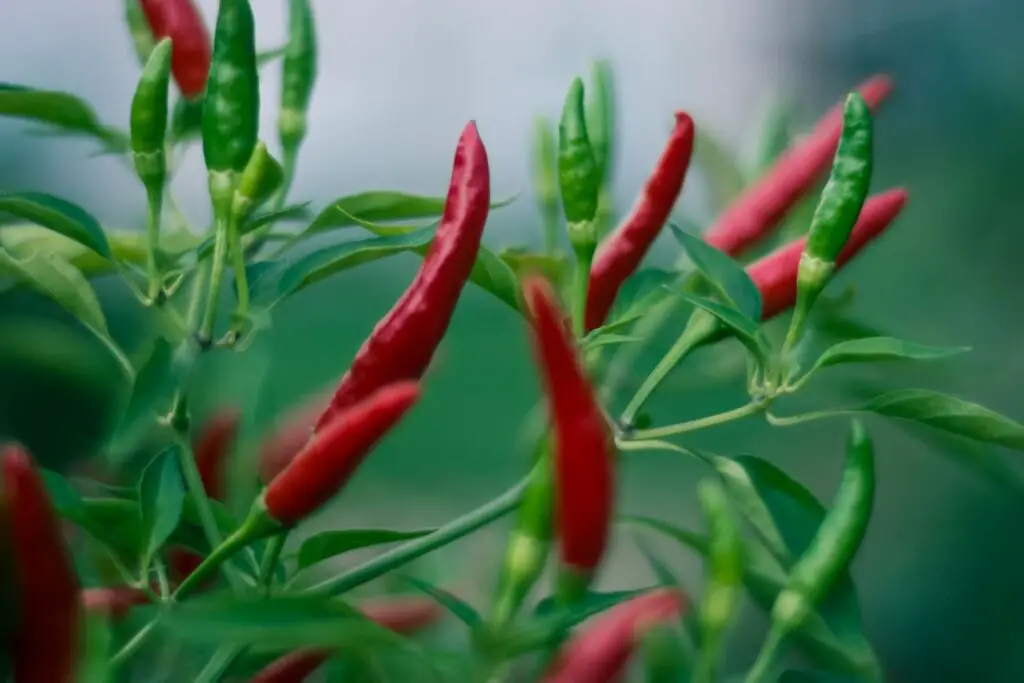
Green chilies, the vibrant and mildly spicy peppers, are a beloved ingredient in various cuisines around the world. With their bright green color and distinctive flavor, green chilies add a pleasant kick to a wide range of dishes, from salsas and curries to soups and stews. Whether you prefer the milder varieties like Anaheim or the spicier ones like jalapeños, green chilies bring a delightful heat and depth of flavor to culinary creations.
To make the most of the green chili season or to have a convenient supply on hand, freezing them can be a practical solution. Freezing green chilies not only helps preserve their freshness and flavor but also ensures that you can enjoy these versatile peppers in your favorite recipes throughout the year. In this guide, we will explore the best methods for freezing green chilies, providing you with a convenient and flavorful ingredient that can add a touch of heat and spice to your dishes whenever you desire, regardless of the season.
Here are the steps to freeze green chilies:
Step 1: Select and prepare the green chilies
When freezing green chilies, it is important to start with fresh and firm chilies. Choose chilies that are vibrant green in color, without any signs of wilting or soft spots. These characteristics indicate that the chilies are at their peak freshness and will freeze well.
Before freezing, it’s essential to inspect the chilies and remove any damaged or spoiled ones. Discard any chilies with mold, bruises, or signs of rotting, as they can affect the quality of the remaining chilies during storage.
To prepare the green chilies for freezing, give them a thorough wash under cool running water. This step helps remove any dirt, residue, or lingering debris from the chilies’ surface. Gently rub each chili with your fingers to ensure all areas are clean.
Once washed, use a paper towel to pat the chilies dry. Moisture on the surface of the chilies can contribute to ice crystals forming during freezing, which may impact the texture and flavor. Drying them with a paper towel helps minimize excess moisture. This step sets the foundation for maintaining the quality and taste of the chilies throughout the freezing process.
Step 2: Decide on the freezing method
When it comes to freezing green chilies, you have the flexibility to choose the freezing method that aligns with your future cooking plans. The decision between freezing the chilies whole, sliced, or diced depends on how you intend to use them in your dishes.
- Whole chilies: Freezing green chilies in their whole form is a great option if you plan to use them for stuffing or grilling. By freezing them whole, you preserve their shape and texture, making them ideal for stuffing with cheese, meat, or other fillings. Whole frozen chilies can also be grilled, roasted, or added to dishes where you want the chili to stand out as a flavorful garnish.
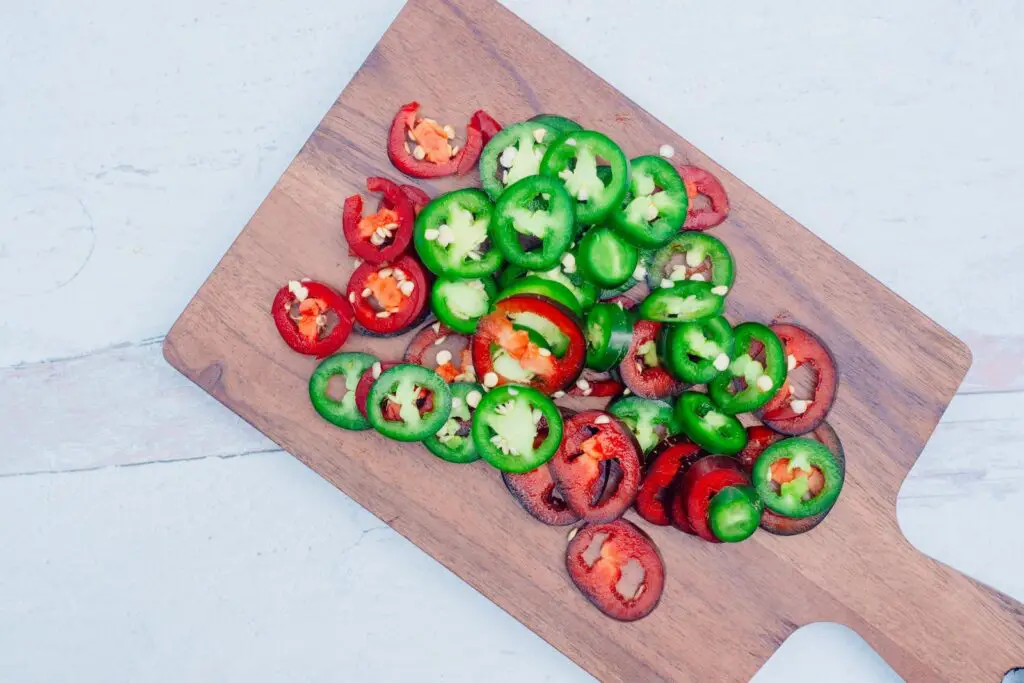
- Sliced chilies: If you often incorporate green chilies into soups, stews, or stir-fries, slicing them before freezing is a convenient choice. Sliced chilies can be easily added to your dishes straight from the freezer, saving you time and effort during meal preparation. Slicing the chilies also allows for better distribution of their heat and flavor throughout the dish.
- Diced chilies: Freezing green chilies in diced form is beneficial when you frequently use small amounts of chilies in your recipes. Diced chilies are versatile and can be added to various dishes, including salsas, dips, sauces, or marinades. They can provide a burst of heat and flavor without overpowering the other ingredients.
Consider your cooking preferences and the types of dishes you commonly prepare. Assess whether you tend to use green chilies as a prominent ingredient or as a subtle flavor enhancer. This evaluation will guide you in deciding whether to freeze the chilies whole, sliced, or diced.
Step 3: Blanch the chilies (optional)
Blanching green chilies before freezing is an optional step that can help preserve their vibrant color, texture, and flavor. Blanching involves briefly immersing the chilies in boiling water and then rapidly cooling them. While not necessary, blanching can enhance the overall quality of the frozen chilies.
To blanch green chilies, follow these steps:
- Bring a pot of water to a rolling boil: Fill a pot with enough water to fully submerge the chilies. Place it on the stove and bring the water to a vigorous boil.
- Prepare the chilies: While waiting for the water to boil, prepare the green chilies by washing and drying them as mentioned in Step 1. Remove the stems if desired.
- Boil the chilies: Carefully drop the chilies into the boiling water. Allow them to boil for about 2-3 minutes. The boiling process helps to deactivate enzymes that can cause the chilies to lose their flavor and vibrant color over time.
- Cool the chilies rapidly: After blanching, remove the chilies from the boiling water using a slotted spoon or tongs. Immediately transfer them into a bowl filled with ice water. The ice water bath rapidly cools the chilies and halts the cooking process, preserving their texture and color.
- Drain and dry the chilies: Once the chilies have cooled, drain them well. You can gently pat them dry using a clean kitchen towel or paper towels to remove any excess moisture. Ensuring the chilies are dry helps prevent ice crystals from forming during freezing.
Remember, blanching is an optional step, and the decision to blanch or not depends on personal preference and the intended use of the chilies.
Step 4: Package the green chilies
After preparing the green chilies for freezing, the next step is to properly package them. The packaging process varies depending on whether you are freezing whole chilies or sliced/diced chilies.
- Whole chilies:
If you are freezing whole chilies, you can place them directly into your chosen storage containers or freezer bags. Ensure that the containers or bags are airtight and suitable for freezing. This will help prevent freezer burn and maintain the quality of the chilies. Fill the containers or bags, leaving a little space at the top to allow for expansion during freezing. Seal them tightly to keep air out.
- Sliced or diced chilies:
For sliced or diced chilies, it’s best to spread them out in a single layer on a baking sheet lined with parchment paper. This method is known as “flash freezing” and helps prevent the individual pieces from sticking together in a clump. Make sure the chilies are evenly spaced and not overlapping. Place the baking sheet in the freezer and allow the chilies to partially freeze for about 1-2 hours.
Once the sliced or diced chilies are partially frozen, you can transfer them into your desired storage containers or freezer bags. This way, the individual pieces will remain separate and can be easily measured out or used as needed. Again, ensure that the containers or bags are airtight and properly sealed to maintain the chilies’ quality.
Proper packaging is crucial to prevent the chilies from developing freezer burn or absorbing unwanted odors from the freezer. By packaging the chilies in a way that suits their form, whether whole or sliced/diced, you ensure that they remain in optimal condition during their time in the freezer.
Step 5: Seal and label the packages
After the green chilies have been properly frozen and packaged, it is important to seal the containers or bags tightly to protect them from freezer burn and maintain their quality throughout storage. Additionally, labeling the packages with the date of freezing and the contents helps you easily identify them later when you need to use them.
Here’s why sealing and labeling are crucial:
- Preventing freezer burn: Freezer burn can occur when food is exposed to air inside the freezer. It leads to dry, discolored patches on the surface of the chilies and can affect their taste and texture. To prevent freezer burn, make sure to seal the containers or bags tightly, removing any excess air from the bags before sealing. For containers, ensure they have a tight-fitting lid that forms an airtight seal.
- Maintaining quality: Proper sealing helps create a barrier between the chilies and the air in the freezer. By minimizing air exposure, you preserve the taste, texture, and overall quality of the green chilies during their storage period. This ensures that they retain their flavor and spiciness when you eventually use them in your dishes.
- Easy identification: Labeling the packages with the date of freezing and the contents is essential for easy identification. Over time, it’s easy to forget when the chilies were frozen or confuse them with other frozen items. By labeling the packages, you can quickly identify the chilies and know their age. This helps you prioritize using them in a timely manner, as frozen chilies are best consumed within a certain period for optimal taste and quality.
When sealing the containers or bags, ensure you follow the manufacturer’s instructions for airtight sealing. For freezer bags, squeeze out any excess air before sealing them. For containers, double-check that the lids are securely fastened.
Use a permanent marker or freezer-safe labels to write the date of freezing and the contents on the packages. Place the labels where they are easily visible, making it convenient for you to locate and use the green chilies when needed.
Step 6: Store the green chilies in the freezer
Once you have sealed and labeled the packages of green chilies, it’s time to store them in the freezer. Proper storage in the freezer will help maintain the quality and freshness of the chilies for an extended period.
Follow these steps to store the green chilies in the freezer:
- Find a suitable spot: Look for a spot in your freezer where the packages of green chilies won’t be easily disturbed. This helps prevent any damage or shifting that could occur during the freezing process. Ideally, choose a flat surface where the packages can lie flat without being stacked or squeezed.
- Maximize space: Arrange the packages in a way that maximizes the use of space in your freezer. By placing them flat, you can stack multiple packages on top of each other, taking advantage of vertical space. Ensure there is sufficient space between the packages for proper air circulation.
- Maintain a low temperature: It’s important to set and maintain the temperature of your freezer at 0°F (-18°C) or below. This temperature range ensures that the chilies freeze quickly and remain frozen solid, preserving their texture, flavor, and nutritional value. Check your freezer settings and adjust them if necessary to maintain the recommended temperature.
- Avoid frequent temperature fluctuations: Try to minimize temperature fluctuations by avoiding frequent opening and closing of the freezer door. Keeping the freezer closed as much as possible helps maintain a consistent temperature, which is essential for optimal freezing and storage of the green chilies.
This way, the green chilies will remain frozen and ready for use whenever you need them, while retaining their quality and flavor.
How long can I store frozen green chilies?
You can store frozen green chilies for about 8 to 12 months without significant loss in quality. However, for the best flavor and texture, it is recommended to consume them within 6 to 8 months. Proper packaging and storage in a freezer set at or below 0°F (-18°C) help maintain their freshness. Over time, frozen chilies may lose some crispness, but they can still be used in cooked dishes like soups, stews, and sauces. Always label the packages with the freezing date for easy reference.
Other related questions
How do I thaw frozen green chilies?
To thaw frozen green chilies, remove the desired amount from the freezer and place them in the refrigerator overnight or for several hours. For faster thawing, you can also submerge the sealed package in cold water. Avoid using hot water as it may partially cook the chilies. Once thawed, the chilies may release some moisture, so pat them dry before using. Alternatively, you can add frozen chilies directly to cooked dishes like soups or stir-fries, allowing them to thaw and heat through during the cooking process.
Can I refreeze green chillies after they have been previously thawed?
It is generally not recommended to refreeze green chillies after they have been thawed. Freezing, thawing, and refreezing can affect the quality and texture of the chillies. It can lead to moisture loss, changes in flavor, and potential bacterial growth. To maintain optimal quality, it is best to use thawed green chillies within a reasonable time frame and avoid refreezing them. Plan your usage and portion the chillies accordingly to minimize waste and ensure the best culinary experience.
How do I know if frozen green chillies have gone bad?
To determine if frozen green chillies have gone bad, look for signs such as freezer burn, changes in color or texture, and off-putting odors. Freezer-burned chillies may appear dry, discolored, or have ice crystals. If the chilies have developed an unusual color or texture, or emit a strong, unpleasant odor, it’s an indication of spoilage. Additionally, if you notice any mold growth, it’s best to discard the chillies. Trust your senses and if in doubt, err on the side of caution and discard them to ensure food safety.
Can I use frozen green chilies with the fresh ones?
Yes, you can use frozen green chilies with fresh ones in your recipes. Mixing frozen and fresh chilies can add a variety of flavors and textures to your dishes. However, keep in mind that frozen chilies may have a slightly different texture after thawing. Adjust cooking times accordingly to ensure both frozen and fresh chilies are cooked to the desired consistency. This combination allows you to enjoy the convenience of frozen chilies while still incorporating the vibrant taste and crunch of fresh ones in your culinary creations.
Can I freeze green chillies in oil or other liquids?
It is not recommended to freeze green chillies in oil or other liquids. Freezing green chillies in oil can promote the growth of harmful bacteria, such as Clostridium botulinum, which thrives in low-oxygen environments like oil. This can lead to foodborne illnesses. If you want to store green chillies in oil or other liquids, it is safer to do so in the refrigerator and consume them within a few days. For long-term storage, it’s best to freeze green chillies in their dry form, following proper freezing techniques.
Are frozen green chillies as spicy as fresh ones?
Frozen green chillies may retain their spiciness to a certain extent, but they can lose a bit of their intensity compared to fresh ones. The freezing process can slightly affect the capsaicin content responsible for the heat. However, the difference in spiciness is generally minimal, and frozen green chillies can still add a satisfactory level of heat to your dishes. Adjust the quantity of frozen chillies according to your preferred spice level to achieve the desired flavor profile.


