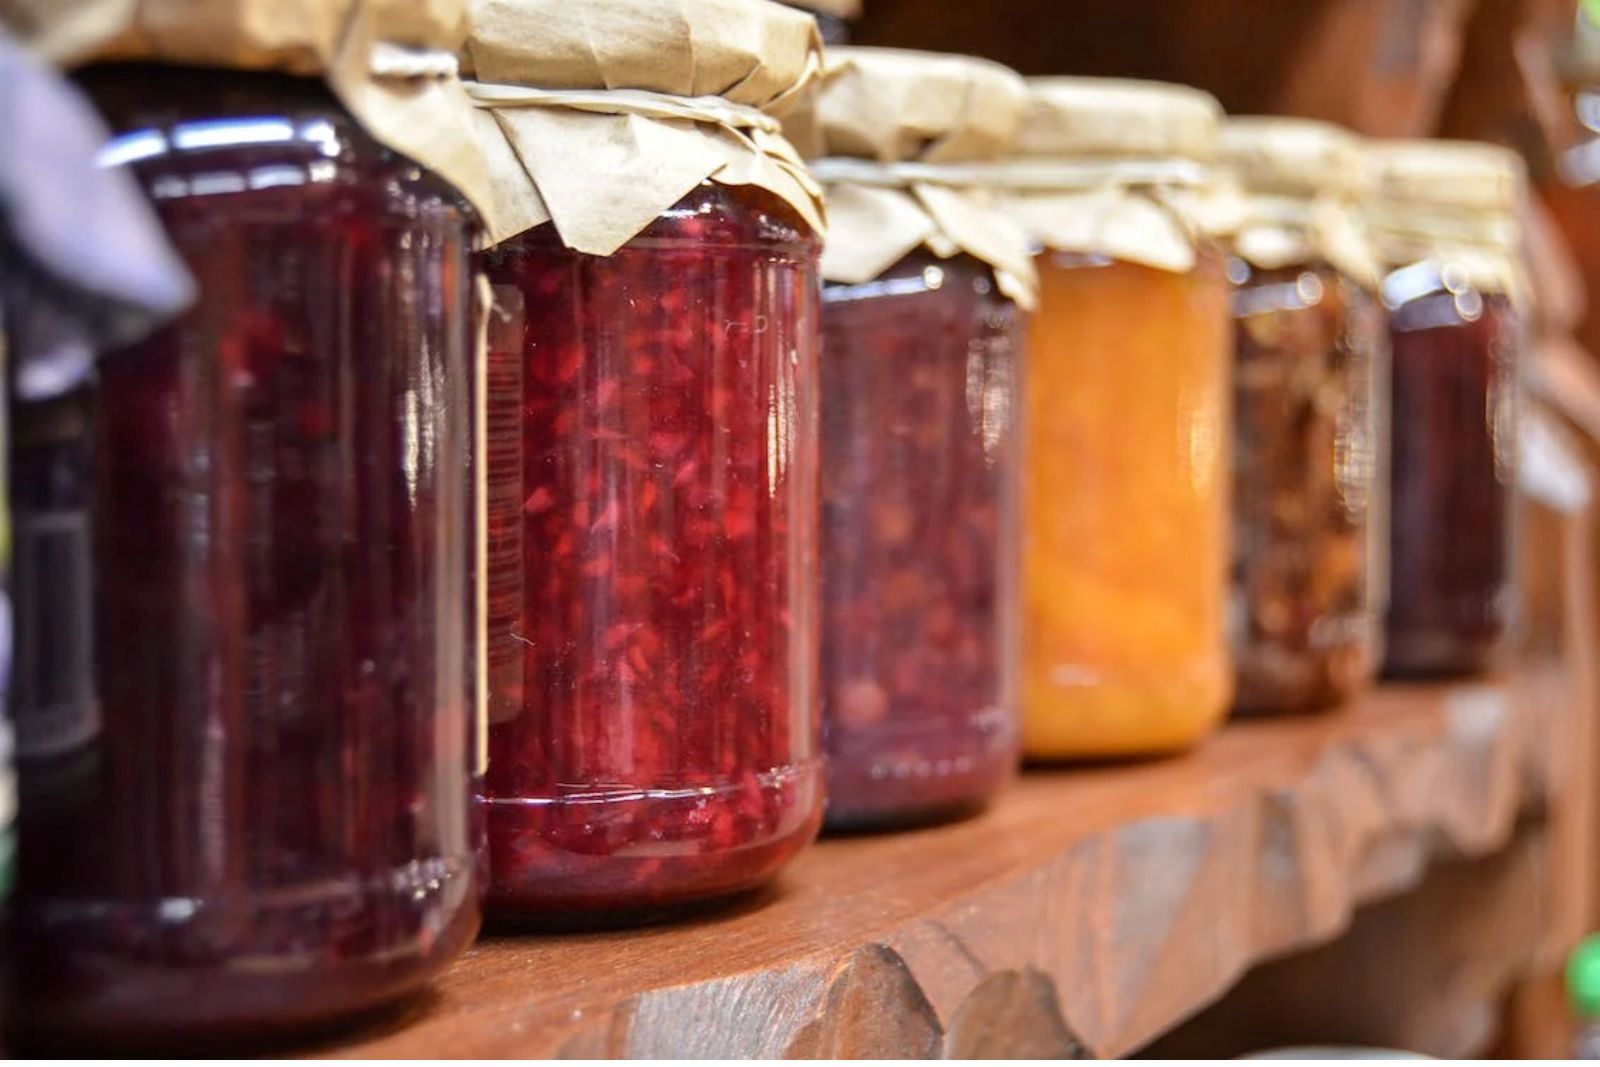
Jams are delightful spreads made from cooked fruits and sugar, often enjoyed on toast, scones, or as a topping for desserts. Whether you’ve made a large batch of homemade jam or found a delicious store-bought variety, freezing jams can be a convenient way to preserve their flavors and extend their shelf life. Freezing jams properly will help maintain their taste, texture, and overall quality. In this article, we will guide you through the step-by-step process of freezing jams, ensuring that you can savor your favorite jams even when they are not in season.
Follow these simple steps to freeze your jams:
Step 1: Choose the right jams
When it comes to freezing jams, it’s crucial to start with the right selection. Whether you have homemade jams or store-bought varieties, paying attention to the quality and freshness of the jams is essential. Here’s why:
- Freshness: Choosing jams that are fresh ensures that the flavors and textures are at their best. Freshly made jams tend to have vibrant fruit flavors and a smoother consistency. On the other hand, if you’re using store-bought jams, check the packaging for the “best by” or expiration date to ensure they haven’t expired. Using jams that have passed their expiration date may lead to a loss of flavor and compromised quality.
- Quality: Opting for high-quality jams is equally important. If you’re making homemade jams, ensure that you use ripe, high-quality fruits and follow a reliable recipe. This will result in a jam with excellent taste and texture. For store-bought jams, choose reputable brands known for their quality products. Reading reviews or seeking recommendations can help you make informed choices.
- Preservatives: Some jams contain preservatives to prolong their shelf life. While these preservatives may be effective at room temperature, freezing can alter their effectiveness. Therefore, it’s advisable to select jams without excessive preservatives when planning to freeze them. Natural or low-preservative jams are generally the best choice for freezing.
Can I freeze homemade jams that contain less sugar?
Yes, you can freeze homemade jams that contain less sugar. However, keep in mind that reducing sugar in jams can affect their texture and shelf life. It’s recommended to follow proper freezing procedures and consume the frozen jams within a reasonable time frame for the best quality.
Can I freeze jams that contain fruit chunks or whole berries?
Yes, you can freeze jams that contain fruit chunks or whole berries. However, be aware that the texture of the fruit chunks may change slightly after freezing and thawing. Consider the texture preferences for your intended use and ensure the jams are properly sealed and stored to maintain their overall quality.
Can I freeze jams made with artificial sweeteners?
It is generally not recommended to freeze jams made with artificial sweeteners. Freezing can alter the taste and texture of jams made with artificial sweeteners, leading to an undesirable final product. If you prefer to reduce sugar in your jams, consider using natural sweeteners or low-sugar recipes for better freezing results.
Step 2: Prepare the jars
Preparing the jars before freezing your jams is a crucial step to ensure their optimal preservation. Here’s why it’s important and how to do it:
- Inspecting for cracks or damages: Before using any jars or containers for freezing jams, carefully inspect them for any cracks, chips, or damages. Freezing liquids, including jams, can cause expansion, and jars with existing cracks or weak spots may break under the pressure. It’s essential to use jars that are in good condition to avoid any potential mess or loss of your precious jams.
- Freezer-safe jars or containers: When freezing jams, it’s important to use jars or containers specifically designed for freezer storage. Freezer-safe jars are made of materials that can withstand low temperatures without cracking or shattering. Look for jars that are explicitly labeled as freezer-safe or suitable for freezing. Using the wrong type of jars can lead to breakage and contamination of your jams.
- Cleaning and sanitizing: Cleanliness is crucial for preserving the freshness and quality of your jams. Before filling the jars with jams, make sure to wash them thoroughly with warm water and mild dish soap. Rinse them well to remove any soap residue. Additionally, sanitize the jars to eliminate any potential bacteria or contaminants. You can do this by boiling the jars in water for a few minutes or running them through a dishwasher cycle. Ensure they are completely dry before proceeding.
- Maintaining freshness: Properly cleaning and sanitizing the jars helps eliminate any lingering odors or residues that might affect the taste or quality of your jams. By starting with clean and sanitized jars, you ensure that your jams remain fresh and uncontaminated during the freezing process.
By inspecting the jars for damages, using freezer-safe containers, and thoroughly cleaning and sanitizing them, you’re taking necessary steps to protect your jams from breakage and maintain their freshness. These measures contribute to the overall success of freezing your jams and ensuring they stay delicious for an extended period of time.
Can I freeze jams in ice cube trays for portion control?
Yes, freezing jams in ice cube trays can be a convenient way to portion control. Fill the ice cube compartments with the desired amount of jam, cover with plastic wrap or foil, and freeze. Once frozen, transfer the jam cubes to airtight freezer bags or containers. Thaw only the amount needed for each use.
Step 3: Transfer the jams
When preparing to freeze your jams, it can be beneficial to transfer them from large jars to smaller containers. This step offers several advantages, including portion control and accommodating the expansion that occurs during freezing. Let’s explore why transferring jams and leaving headspace is essential:
- Portion control: Transferring jams to smaller containers allows for better portion control when it comes to defrosting and consuming them later. Smaller containers enable you to thaw only the amount of jam you need, reducing waste and ensuring that the rest of the jam remains frozen for future use. This way, you can enjoy your jams in smaller quantities without having to defrost the entire batch.
- Easier defrosting: Smaller containers of jams thaw more quickly and evenly compared to larger jars. It’s more convenient to defrost a small container, especially if you only need a small amount for immediate use. This way, you can enjoy your frozen jam without waiting for the entire jar to thaw.
- Headspace for expansion: Freezing liquids, including jams, causes them to expand as they solidify. Leaving some headspace at the top of each container before freezing allows room for this expansion. If you don’t leave enough headspace, the expanding jam may overflow or cause the container to break. Leaving a gap of about ½ inch (1.3 cm) at the top of each container is generally sufficient.
Step 4: Label the containers
Labeling your jam containers may seem like a small step, but it plays a significant role in keeping track of the contents and maintaining an organized freezer. Here’s why labeling is essential:
- Identifying the type of jam: When freezing multiple varieties of jams, it can be challenging to distinguish between them once they’re frozen. Labeling each container with the type of jam, such as “strawberry,” “apricot,” or “mixed berry,” ensures that you can easily identify the flavor without having to open and taste each container. This saves time and prevents any potential mix-ups or confusion when selecting jams from the freezer.
- Tracking the date of freezing: Knowing the date of freezing is crucial for managing the freshness and quality of your jams. By labeling each container with the date you froze the jam, you can easily keep track of how long it has been in the freezer. This helps you prioritize the use of older jams before newer ones, ensuring that you enjoy them at their best quality.
- Preventing waste and maintaining freshness: Labeling your containers allows you to use the oldest jams first, reducing the chances of jams being forgotten and left unused for extended periods. It promotes rotation, ensuring that your jams are consumed within a reasonable time frame and minimizing the risk of waste. Using jams in a timely manner helps maintain their flavor, texture, and overall quality.
- Organizing your freezer: Labeling your jam containers creates an organized freezer space. It enables you to locate specific jams quickly, even if they are stacked or stored in a crowded freezer. A well-organized freezer saves you time and ensures that you can easily find the jam you’re looking for without having to dig through multiple containers.
Step 5: Cool and refrigerate
Taking the time to cool and refrigerate your jams before freezing is an important step that helps preserve their texture and quality. Let’s explore why this step is necessary:
- Preserving texture: Jams consist of fruit and sugar, which undergo a transformation during the cooking process. Cooling the jams at room temperature before freezing allows them to set properly. This cooling process helps the pectin in the fruit and the sugar to gel and achieve the desired consistency. By allowing the jams to cool, you ensure that they maintain their smooth, spreadable texture even after freezing.
- Preventing condensation: Placing hot or warm jars of jam directly into the freezer can cause condensation to form inside the container. This moisture can lead to freezer burn or ice crystals, affecting the quality and taste of the jams. By allowing the jams to cool to room temperature and refrigerating them beforehand, you minimize the risk of condensation forming during the freezing process.
- Uniform freezing: Cooling the jams in the refrigerator for a few hours after they have cooled at room temperature helps to further solidify their consistency. This step ensures a more uniform and controlled freezing process. The cold temperature in the refrigerator helps set the jams, making them less likely to separate or become watery during freezing.
- Maintaining quality: By allowing the jams to cool and refrigerating them before freezing, you are taking proactive steps to maintain the quality of your jams. This process helps preserve the natural flavors and textures, ensuring that your frozen jams retain their deliciousness when thawed and consumed later.
Step 6: Place in the freezer
After properly preparing your jam containers, it’s time to place them in the freezer for long-term storage. Here’s why it’s important to handle this step with care and ensure proper spacing:
- Upright positioning: When placing the jars or containers in the freezer, it’s essential to keep them upright. This prevents any potential leaks or spills that may occur if the jams come into contact with the lid or sealing mechanism. By maintaining an upright position, you preserve the integrity of the containers and ensure that the jams remain securely sealed.
- Avoiding overcrowding: It’s crucial not to overcrowd the freezer when adding your jam containers. Crowding the freezer can hinder proper air circulation, leading to uneven freezing and potential temperature fluctuations. Adequate airflow is necessary for maintaining a consistent and low temperature throughout the freezer, which helps preserve the quality of your frozen jams. Avoid stacking or cramming the containers too close together.
- Sufficient space for air circulation: Leaving enough space between each container allows for proper air circulation within the freezer. Air circulation helps maintain a consistent temperature and prevents the formation of ice crystals or freezer burn on the jams. Adequate space also makes it easier to access and remove individual containers when you need to thaw or use specific jams.
- Organized arrangement: Taking care to arrange the jars or containers in an organized manner within the freezer makes it easier to locate and retrieve the specific jam you desire. You can group similar flavors together or organize them in a way that suits your preferences. This organization reduces the risk of accidentally knocking over or damaging other containers while searching for a particular jam.
Step 7: Freeze and store
Now that your jam containers are properly placed in the freezer, it’s time to freeze and store them for long-term preservation. Here’s why this step is crucial and how to go about it:
- Freezing time: Allow the jam containers to freeze for a minimum of 24 hours or until they are completely solid. This time frame ensures that the jams are fully frozen, which helps maintain their texture and prevents any potential spoilage. The freezing process solidifies the jams and helps preserve their flavors and quality over an extended period.
- Organizing for space-saving: Once the jams are fully frozen, you can rearrange the containers within the freezer to maximize space utilization. If needed, stack the containers carefully to save space and create a more organized arrangement. However, ensure that the stacked containers are stable and won’t topple over, potentially causing damage or injury when accessing the jams later.
- Storage location: It’s important to store the frozen jams in the coldest part of your freezer, typically the back or bottom shelf. The coldest area maintains a more consistent and uniform temperature, which helps preserve the quality of the jams. Fluctuations in temperature, such as those caused by frequently opening the freezer door, can impact the texture and taste of the jams over time. Therefore, placing them in the coldest part minimizes the risk of temperature variations and ensures optimal storage conditions.
- Maintaining quality: By following the recommended freezing time, organizing the containers for space-saving, and storing the jams in the coldest part of the freezer, you are taking steps to maintain the quality of your frozen jams. Freezing the jams thoroughly and storing them properly preserves their flavors, textures, and overall taste. This allows you to enjoy your jams at their best when you eventually thaw and consume them.
How long can jams last in the freezer?
Jams can last in the freezer for approximately 1 to 2 years. Properly stored and sealed jams can maintain their quality and flavor for an extended period. However, it’s recommended to consume them within the first year for the best taste and texture.
Step 8: Thaw and use frozen jams
Once you’re ready to savor your frozen jams, it’s important to thaw them properly to maintain their quality and flavor. Here’s how to thaw and use your frozen jams effectively:
- Refrigerator thawing: To thaw your frozen jams, transfer a jar or container from the freezer to the refrigerator. Allow it to thaw slowly and gradually in the refrigerator overnight or for approximately 8 to 12 hours. Thawing in the refrigerator ensures a controlled and gentle thawing process, preserving the texture and taste of the jams.
- Thawed jam storage: Once your jams have thawed completely, they can be stored in the refrigerator for up to two weeks. It’s essential to keep the jams refrigerated to maintain their freshness and prevent the growth of bacteria. Always check the jam’s appearance, aroma, and taste before consuming to ensure that it hasn’t spoiled during storage.
- Avoid refreezing thawed jams: Refreezing any portion of the jam that has been thawed is not recommended. The process of thawing and refreezing can degrade the quality of the jams, affecting their taste and texture. Moreover, it increases the risk of bacterial growth and potential foodborne illnesses. It’s best to thaw and consume the jams in small portions to avoid wastage and ensure the best quality.
- Enjoying your thawed jams: Thawed jams can be used in various ways, such as spreading on toast, topping pancakes or waffles, filling pastries, or adding to yogurt or ice cream. The thawed jams retain their delicious flavors and can be enjoyed just like fresh jams.
Other related questions
Can I refreeze jams?
It is generally not recommended to refreeze jams once they have been thawed. The process of thawing and refreezing can compromise the quality and texture of the jams. It is best to thaw only the amount needed and consume within a reasonable time to ensure the best flavor and freshness.
How do I know if the jams have gone bad after being frozen?
To determine if frozen jams have gone bad, inspect them for signs of spoilage such as mold growth, off smells, or unusual discoloration. If the jam exhibits an off odor or an off-putting taste, it is an indication that it may have spoiled. Additionally, changes in texture, such as excessive liquid separation or an overly mushy consistency, can also indicate that the jam has deteriorated and should not be consumed.
Can I freeze jams that have been opened?
Yes, you can freeze opened jams. Transfer the remaining jam into a freezer-safe container, leaving some headspace for expansion, and freeze it following the recommended freezing procedures. Remember to label the container with the date of freezing and use the thawed jam within a reasonable time frame.
Is it safe to freeze jams that contain spices or herbs?
Yes, it is safe to freeze jams that contain spices or herbs. Freezing helps preserve the flavors of the spices and herbs in the jams. Ensure the jams are properly sealed and labeled, and follow the recommended freezing and thawing procedures for best results.
Can I freeze jams made from fruits with high water content, such as watermelon or citrus fruits?
Freezing jams made from fruits with high water content can affect the texture and consistency. These fruits may become watery when thawed. If you still choose to freeze such jams, consider adding pectin or reducing the amount of liquid in the recipe. Thaw gently in the refrigerator before use and be prepared for potential texture changes.

