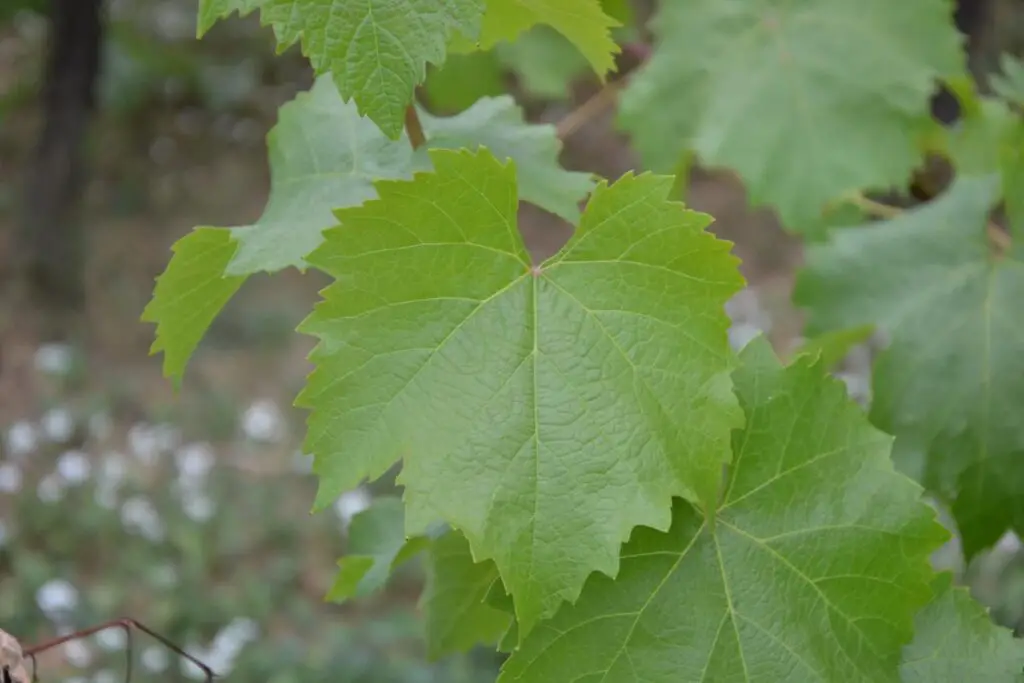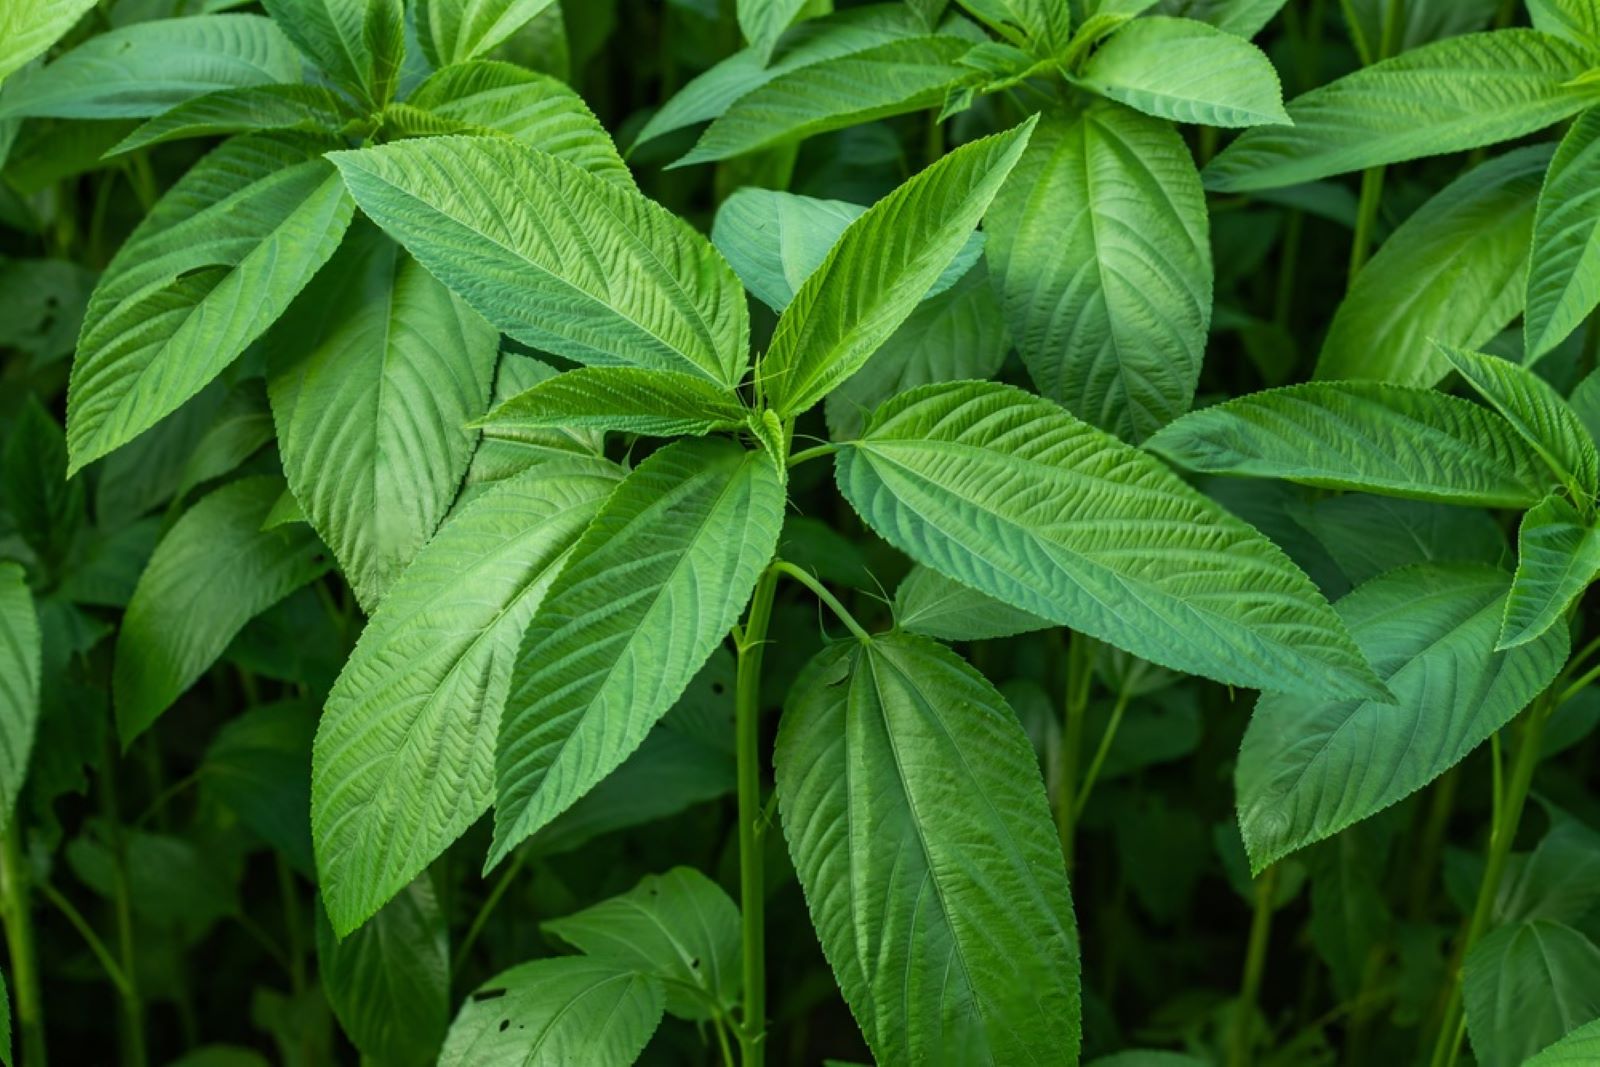
Jute leaves, also known as “ewedu” or “lalo,” are popular in many cuisines, particularly in West African and Asian dishes. These dark green leaves are packed with nutrients and have a unique flavor that adds depth to various recipes. Freezing jute leaves is a great way to preserve their freshness and ensure you have a supply even when they are out of season. By following a simple process, you can freeze jute leaves effectively, maintaining their texture and flavor. This article offers a comprehensive guide on how to freeze jute leaves to keep them in optimal condition for future use.
Here’s a step-by-step guide on freezing jute leaves:
- Step 1: Select fresh jute leaves
- Step 2: Wash and trim the leaves
- Step 3: Blanch the jute leaves
- Step 4: Drain and dry the leaves
- Step 5: Arrange the leaves for freezing
- Step 6: Flash-freeze the jute leaves
- Step 7: Package and seal the jute leaves
- Step 8: Label and date the packages
- Step 9: Store in the freezer
Step 1: Select fresh jute leaves
When freezing jute leaves, it is crucial to start with fresh and high-quality leaves. Choosing jute leaves that are fresh, vibrant, and free from any signs of wilting or yellowing is essential for optimal results.
Fresh leaves contain a higher amount of moisture, which helps maintain their texture and flavor during the freezing process. Leaves that are wilted or yellow indicate that they may have already begun to degrade and lose their quality. Freezing such leaves may result in a less desirable end product.
By selecting fresh jute leaves, you ensure that the natural nutrients, color, and taste of the leaves are preserved even after freezing. Fresh leaves will also have a firmer texture, which is preferable for cooking purposes.
To determine the freshness of jute leaves, look for crispness and a vibrant green color. Avoid leaves that are limp, discolored, or have any visible signs of decay. If possible, choose leaves that have been recently harvested or purchase them from a reliable source.
Step 2: Wash and trim the leaves
After selecting fresh jute leaves, the next step is to wash and trim them before freezing. This process helps remove any dirt, impurities, or contaminants that may be present on the leaves.
Thoroughly washing the jute leaves under cold running water ensures that any surface debris, such as dirt, dust, or pesticides, is effectively removed. It is important to gently rub the leaves with your hands to ensure all sides are properly cleaned. This step helps maintain the overall cleanliness and hygiene of the leaves, ensuring the final frozen product is safe for consumption.
In addition to washing, it is recommended to trim off any tough stems or damaged parts of the leaves. This is done to remove any woody or fibrous sections that may affect the texture or taste of the jute leaves. By trimming off these undesirable parts, you enhance the overall quality of the frozen leaves.
Trimming also helps in achieving uniformity in the size and shape of the jute leaves, making them easier to handle and store during the freezing process. It is advisable to use a sharp knife or kitchen shears to carefully remove any unwanted portions.
Step 3: Blanch the jute leaves
Blanching is a crucial step in the process of freezing jute leaves. It involves briefly immersing the leaves in boiling water, followed by rapid cooling in ice water. This blanching technique helps preserve the color, texture, and nutrients of the leaves, ensuring they maintain their quality during freezing.
The primary purpose of blanching is to inactivate enzymes present in the leaves. Enzymes are natural substances that can cause deterioration, discoloration, and loss of flavor and nutrients in fruits and vegetables. By blanching the jute leaves, these enzymes are deactivated, slowing down the natural degradation process that occurs even in frozen foods.
Blanching also helps to retain the vibrant green color of the jute leaves. The brief exposure to boiling water helps to set the chlorophyll pigments, which are responsible for the green color. This step prevents the leaves from turning brown or losing their visual appeal during freezing and subsequent storage.
Furthermore, blanching helps to maintain the texture of the jute leaves. The heat from the boiling water softens the leaves slightly, making them more pliable and easier to handle. It helps to partially cook the leaves, which can improve their tenderness and reduce the risk of toughness or chewiness after freezing.
To blanch the jute leaves, bring a large pot of water to a rolling boil. Carefully place the leaves into the boiling water and let them cook for approximately 2-3 minutes. The exact timing may vary depending on the thickness and size of the leaves. After blanching, promptly transfer the leaves to a bowl of ice water. This rapid cooling process halts the cooking and preserves the desired texture, color, and nutrients of the jute leaves.
Step 4: Drain and dry the leaves
After blanching and cooling the jute leaves, it is important to properly drain and dry them before proceeding with the freezing process. This step helps remove excess moisture from the leaves, which can contribute to the formation of ice crystals and freezer burn during freezing.
Draining the blanched jute leaves ensures that any residual water or ice clinging to the leaves is eliminated. Excess moisture can lead to the formation of ice crystals, which may result in a deterioration of texture and flavor once the leaves are frozen. By thoroughly draining the leaves, you reduce the risk of freezer burn and help maintain their overall quality.
After draining, gently patting the jute leaves dry with a clean kitchen towel or paper towels is necessary to remove any remaining moisture. It is important to be gentle during this process to avoid damaging the delicate leaves. By removing excess moisture, you minimize the chances of the leaves becoming soggy or developing undesirable textures after freezing.
Additionally, drying the jute leaves helps prevent them from sticking together when they are arranged for freezing. It ensures that the leaves remain separate, making it easier to portion and handle them when you want to use them in your recipes later.
Step 5: Arrange the leaves for freezing
Once the blanched and dried jute leaves are ready, it’s time to arrange them in a way that promotes even freezing and easy handling. This step involves laying the leaves in a single layer on a baking sheet or tray lined with parchment paper.
Arranging the jute leaves in a single layer ensures that each leaf freezes individually and prevents them from sticking together. If the leaves overlap or are stacked on top of each other, they may freeze into a solid mass, making it difficult to separate them when you need to use a portion.
By using a baking sheet or tray lined with parchment paper, you create a non-stick surface that allows for easy removal of the frozen jute leaves. The parchment paper prevents the leaves from sticking to the tray and facilitates their transfer to storage containers or bags once they are frozen.
Ensuring that the leaves are evenly spaced and not overlapping also promotes consistent freezing. This means that each leaf freezes at the same rate, preserving their texture and flavor uniformly. Even freezing prevents the formation of large ice crystals and helps maintain the overall quality of the jute leaves.
When arranging the leaves, it’s important to handle them gently to avoid damaging or tearing them. Spread them out in a single layer, leaving a small gap between each leaf. If you have a large quantity of jute leaves, you may need to use multiple baking sheets or trays to accommodate them all.
Step 6: Flash-freeze the jute leaves
After arranging the jute leaves in a single layer on a baking sheet or tray, the next step is to flash-freeze them. Flash-freezing involves placing the tray with the leaves in the freezer and allowing them to freeze quickly at a very low temperature. This technique ensures that the leaves freeze individually and prevents them from clumping together.
Flash-freezing is important because it helps maintain the integrity and individuality of each leaf. When jute leaves freeze slowly or are packed together tightly, they have a higher chance of sticking together, forming a solid mass or clump. This makes it difficult to separate them when you only need a portion of the frozen leaves for a recipe.
By placing the tray with the arranged jute leaves in the freezer, the leaves are exposed to the ultra-low temperatures of the freezer, typically around 0°F (-18°C) or below. This rapid freezing process quickly solidifies the water content within the leaves, minimizing the formation of large ice crystals. It allows each leaf to freeze separately, preserving their individual texture and preventing them from sticking together.
The recommended freezing time for jute leaves is typically around 1-2 hours or until they are firm. However, freezing times may vary depending on the thickness and moisture content of the leaves, as well as the temperature and efficiency of your freezer. It is important to check the leaves periodically during the freezing process to ensure they are fully frozen and firm to the touch.
By flash-freezing the jute leaves individually, you create convenience when it comes to portioning and using them in future recipes. The leaves can be easily removed from the tray without any clumping, allowing you to take out as many leaves as you need at a time. This step ensures that the frozen jute leaves retain their quality, texture, and individuality until you are ready to use them.
Flash-freezing the jute leaves is a crucial step in the freezing process, enabling you to preserve their individuality and prevent them from clumping together. This technique ensures that you have easy access to the desired quantity of leaves when you want to incorporate them into your dishes later on.
Step 7: Package and seal the jute leaves
Once the jute leaves have been flash-frozen and are firm to the touch, it’s time to transfer them into appropriate packaging for long-term storage in the freezer. This step involves using airtight freezer bags or containers to ensure the leaves are protected from moisture and air, which can lead to freezer burn.
Freezer burn occurs when food is exposed to air inside the freezer. It can cause dehydration and oxidation, resulting in changes to the texture, flavor, and overall quality of the frozen food. To minimize the risk of freezer burn, it is crucial to remove as much air as possible from the packaging before sealing it.
When using freezer bags, choose high-quality bags that are specifically designed for freezing. Place the jute leaves into the bags in a single layer, removing any excess air by gently pressing on the bag as you seal it. Alternatively, you can use a vacuum sealer to remove the air completely for optimal preservation.
If you prefer to use containers, ensure they are airtight and freezer-safe. Place the jute leaves inside the container, leaving a small headspace to allow for expansion during freezing. Press a piece of plastic wrap or parchment paper directly onto the surface of the leaves to minimize air exposure, then seal the container tightly.
By packaging the jute leaves in airtight freezer bags or containers, you create a barrier against moisture and air. This helps maintain the quality and flavor of the leaves for an extended period. The airtight seal also prevents cross-contamination with other foods in the freezer, ensuring the jute leaves retain their distinct taste.
Labeling the packaging with the date of freezing is also recommended. This allows you to keep track of the storage time and use the oldest frozen leaves first for the best quality.
Can I freeze jute leaves in ice cube trays?
Freezing jute leaves in ice cube trays is possible and can be a convenient way to portion and store them. Start by blanching the jute leaves to retain their color and quality. Chop or tear the blanched leaves into smaller pieces and distribute them into the ice cube compartments. Fill each compartment with water or vegetable broth to cover the jute leaves, then freeze until solid. Once frozen, transfer the jute leaf cubes into a freezer-safe bag or container for easier storage and use.
Step 8: Label and date the packages
After packaging and sealing the jute leaves for freezing, it is important to label each package with pertinent information. Using a permanent marker, clearly label the contents of the package and include the date of freezing. This step helps you keep track of the storage time and easily identify the jute leaves in the freezer.
Labeling the packages with the contents allows you to quickly identify what is inside each package without the need to open or guess. In the case of jute leaves, mentioning “Jute Leaves” or “Frozen Jute Leaves” on the label helps avoid confusion with other frozen items in your freezer. This simple labeling practice saves you time and effort when you are searching for a specific ingredient.
Additionally, including the date of freezing on the label is essential for proper inventory management. By knowing the date of freezing, you can easily determine the storage duration of the jute leaves. This information is crucial for maintaining optimal quality, as frozen foods are best consumed within a certain time frame to ensure taste and texture remain intact. Having the date readily visible on the package allows you to prioritize using the oldest leaves first and avoid potential waste.
Furthermore, labeling the packages provides a clear record of when the jute leaves were frozen. This can be particularly useful if you decide to freeze jute leaves again in the future. You can refer to the dates on previous packages to assess the freshness of the leaves and make informed decisions about their usage.
Step 9: Store in the freezer
After properly packaging and labeling the jute leaves, it’s time to store them in the freezer for long-term preservation. Follow these steps to ensure optimal storage conditions:
- Place the packages of jute leaves in the freezer: Find a suitable spot in your freezer to store the jute leaves. Ensure there is enough space to accommodate the packages in a flat position without excessive crowding. Avoid placing them near the freezer door or in areas that are prone to temperature fluctuations.
- Maximize space utilization: Arrange the packages in a way that maximizes the use of freezer space. Storing them flat allows for easy stacking and organization. You can stack the packages on top of each other, taking care not to crush or damage them. This method ensures efficient use of freezer space and easy access to the jute leaves when needed.
- Maintain a consistent freezer temperature: It is crucial to maintain a consistent freezer temperature of 0°F (-18°C) or below for optimal quality and preservation of the jute leaves. Fluctuating temperatures can affect the texture, flavor, and overall quality of the frozen leaves. Regularly monitor and adjust the freezer temperature as needed to ensure it remains consistently cold.
Consistent freezing at a low temperature helps maintain the integrity of the jute leaves and preserves their nutritional value and flavor. Freezing at 0°F (-18°C) or below ensures that the leaves remain properly frozen and reduces the risk of freezer burn and degradation over time.
Remember to keep track of the storage time and prioritize using the oldest packages first. This ensures that you make the most of the jute leaves while they are at their peak quality. With proper storage and handling, your frozen jute leaves will provide a convenient and nutritious ingredient for your culinary endeavors.
How long can frozen jute leaves be stored?
Frozen jute leaves can typically be stored for up to 6 to 12 months. However, for the best quality, it is recommended to use them within the first 3 to 6 months of freezing. Over time, frozen jute leaves may begin to lose their texture and flavor, so it’s advisable to consume them earlier rather than later. Proper packaging, such as using airtight containers or freezer bags, and maintaining a consistent freezing temperature of 0°F (-18°C) or below, can help extend their storage life.
Other related questions
How do I thaw frozen jute leaves?
To thaw frozen jute leaves, it is best to transfer them from the freezer to the refrigerator and allow them to thaw gradually. Place the frozen leaves in a container or a resealable bag to prevent any moisture loss or contamination. Let them thaw overnight or for approximately 24 hours. Once fully thawed, gently pat them dry with a paper towel before using in your preferred recipe. Avoid using heat or hot water to thaw the leaves quickly, as it may affect their texture and flavor.
Can I refreeze jute leaves that have been previously thawed?
It is generally not recommended to refreeze jute leaves that have been previously thawed. When jute leaves are thawed, the freezing process causes changes in their cellular structure and moisture content, which can lead to quality degradation. Refreezing them can further compromise their texture, flavor, and overall quality. To avoid waste, it is advisable to portion the jute leaves before freezing them, so you can thaw and use only the amount you need at a time.
How do I know if my frozen jute leaves have gone bad?
There are a few signs to look out for to determine if frozen jute leaves have gone bad. First, check for any noticeable changes in color. If the leaves have developed a dark or off-color appearance, it could indicate spoilage. Additionally, check for the presence of freezer burn, which appears as dry, discolored patches on the leaves. Lastly, if the jute leaves have an unpleasant odor or show signs of excessive ice crystals or freezer damage, it is best to discard them as they may have deteriorated in quality and taste. Trust your senses and if in doubt, it’s better to err on the side of caution and discard them.
Can I use frozen jute leaves with the fresh ones?
Yes, you can use frozen jute leaves alongside fresh ones in certain dishes. However, it’s important to note that frozen jute leaves may have a slightly different texture compared to fresh ones. They tend to become softer when thawed and cooked. Consider using frozen jute leaves in recipes that involve cooking, such as soups, stews, or curries, where the texture difference is less noticeable. Blending frozen jute leaves into smoothies or juices is another option where the texture is less critical.
Can frozen jute leaves be used in cooking directly?
Yes, frozen jute leaves can be used directly in cooking without the need for thawing. Due to their high water content, frozen jute leaves tend to wilt quickly when exposed to heat. Simply add the frozen leaves directly to your hot pan or pot during the cooking process. They will thaw and cook within a few minutes, incorporating well into your dish.
Can I freeze jute leaves without losing their nutritional value?
Freezing jute leaves may cause some minor loss of nutritional value, particularly in terms of texture and potentially some water-soluble vitamins. However, freezing is generally considered a good preservation method that helps retain a significant portion of the nutritional content. To minimize nutrient loss, blanching the jute leaves before freezing can help preserve their color, flavor, and nutritional value. Proper storage and handling techniques, such as using airtight containers or freezer bags and maintaining a consistent freezing temperature, can also help preserve the nutritional quality of frozen jute leaves.

