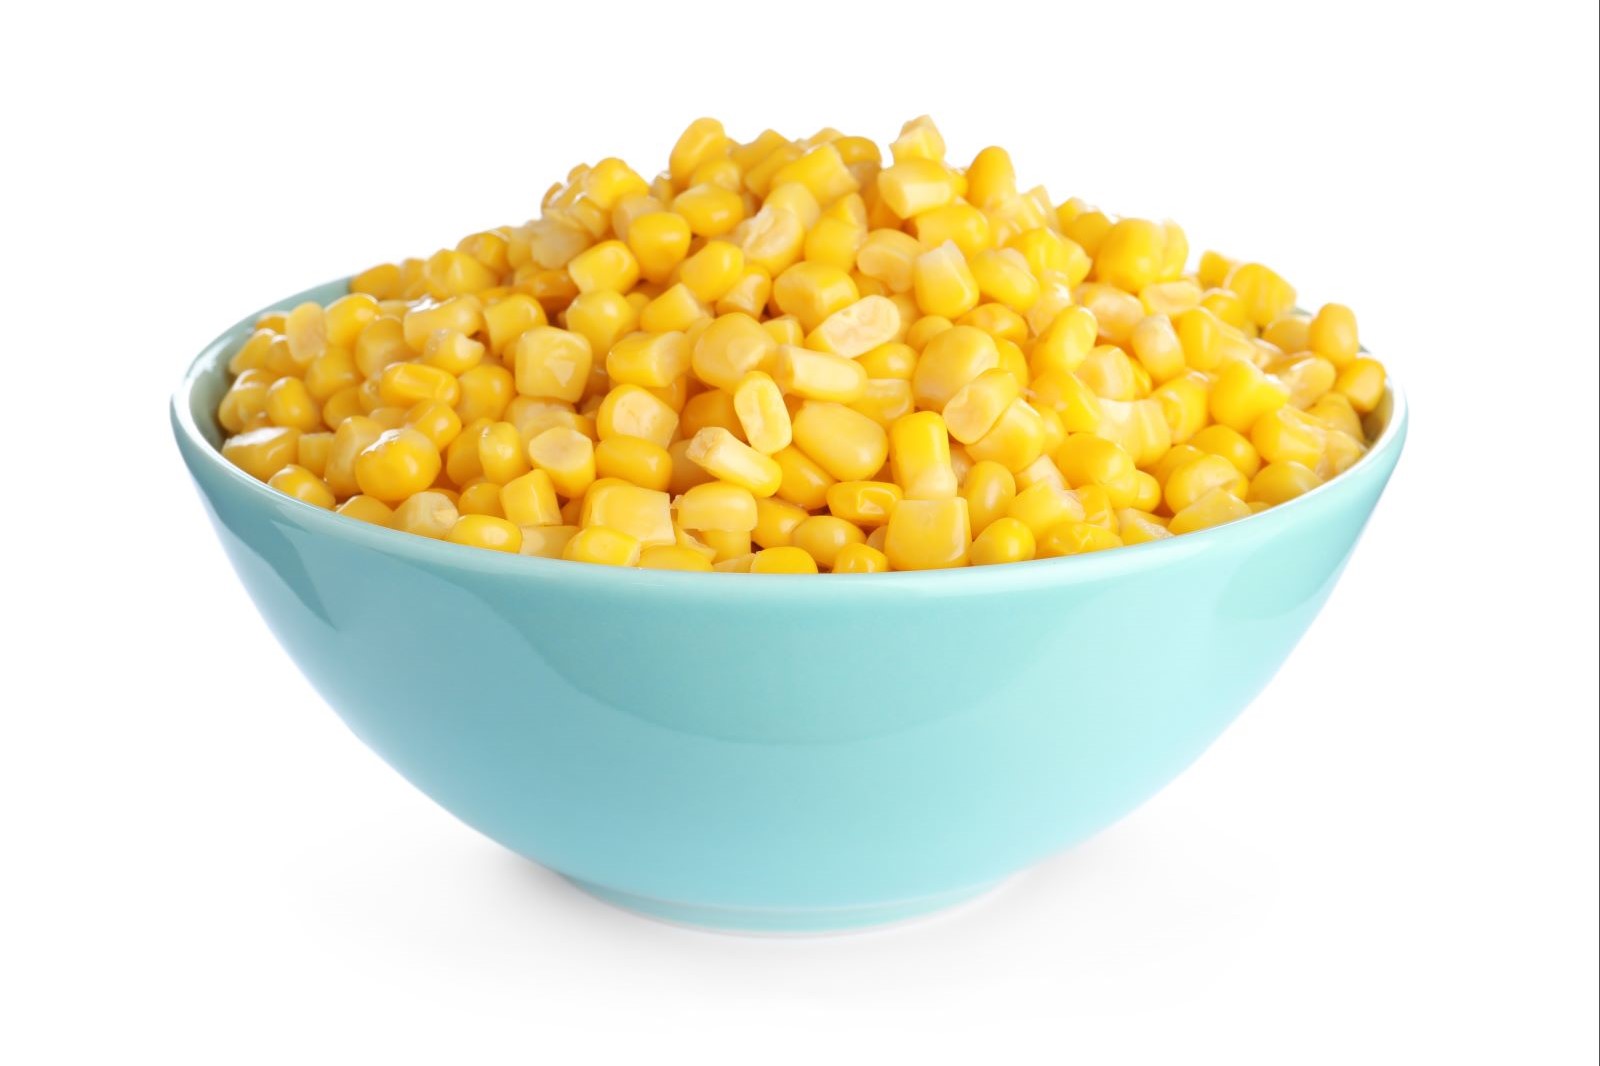
Kernel corn, also known as sweet corn, is a beloved summer staple that brings a burst of sweetness to our plates. Its plump, juicy kernels are perfect for a variety of dishes, from salads and soups to casseroles and salsas. Whether you enjoy it on the cob or prefer the convenience of canned or frozen varieties, kernel corn adds a vibrant touch to any meal. However, if you find yourself with an abundance of fresh corn or want to preserve its flavor and texture for later use, freezing is an excellent option. Freezing kernel corn allows you to lock in its natural sweetness and retain its crispness, ensuring that you can savor the taste of summer long after the harvest season has passed. Join us as we explore the process of freezing kernel corn, unlocking the secret to enjoying this delightful vegetable all year round.
Here are the simple steps to freeze kernel corn:
Step 1: Selecting the Right Corn
When it comes to freezing kernel corn, the first and most important step is to choose the right corn. Selecting fresh and high-quality corn will ensure the best results in terms of taste and texture when you later thaw and cook it. Follow these guidelines to make the right selection:
- Look for Plump and Firm Ears: When examining the corn, choose ears that feel plump and firm when you gently squeeze them. This indicates that the kernels are well-developed and juicy.
- Check the Husks: The husks should be vibrant and bright green in color. Avoid ears with discolored or dry husks, as they may be a sign of poor quality or corn that has been sitting out for too long.
- Feel for Uniform Kernel Distribution: Run your hands along the length of the ear to ensure that the kernels feel uniformly filled out. Avoid ears with large gaps or irregularly spaced kernels, as they may indicate inconsistent quality.
- Consider Recent Harvest: Whenever possible, choose corn that has been recently harvested. Freshly picked corn has a higher sugar content, which translates into sweeter and more flavorful kernels.
By selecting the right corn, you can ensure that you start the freezing process with the best possible corn, resulting in a delightful frozen product to enjoy later on.
Note: If you have access to a local farmer’s market or corn farm, you may have the opportunity to purchase corn directly from the source, ensuring its freshness and quality.
Step 2: Shuck and Clean
After selecting the right corn, the next step in freezing kernel corn is to shuck and clean the ears. This process ensures that the corn is free from any dirt, debris, or silk threads that may affect its quality. Follow these steps to properly shuck and clean the corn:
- Peel back the Husks: Hold the corn by its stem and peel back the husks, starting from the top. Gradually work your way down, peeling off the husks until you expose the entire ear of corn. You can remove the husks entirely or leave a few inner layers intact for aesthetic purposes, if desired.
- Remove Silk Threads: Once the husks are removed, you’ll notice silky threads covering the corn kernels. Carefully pick off and discard the silk threads from each ear. Take your time to ensure you remove as much of the silk as possible.
- Rinse Under Cold Water: After removing the silk, rinse each ear of corn under cold water. This helps to remove any remaining silk or loose debris. Make sure to rotate the corn while rinsing to ensure thorough cleaning.
- Scrub with a Vegetable Brush (Optional): If you notice any stubborn silk strands or dirt, you can use a vegetable brush to gently scrub the corn. This step is particularly useful if you prefer a more thorough cleaning or if the corn has been exposed to soil or other contaminants.
- Drain Excess Water: Once you’ve finished rinsing and, if necessary, scrubbing the corn, allow it to drain briefly. Shake off any excess water, or pat the ears dry with a clean kitchen towel or paper towels. It’s important to ensure that the corn is reasonably dry before proceeding to the next steps.
By shucking and cleaning, you’ll have effectively removed any impurities from the corn, leaving you with clean and ready-to-be-blanching ears of kernel corn.
Can I freeze corn on the cob?
Yes, corn on the cob can be frozen. To freeze corn on the cob, start by shucking and cleaning the corn. Blanch the corn in boiling water, cool it in an ice bath, drain and dry it, and then pack it in freezer bags. Properly stored, frozen corn on the cob can be enjoyed for up to 8 to 12 months.
Step 3: Blanch the Kernel
Blanching is a critical step in the process of freezing kernel corn as it helps to preserve the corn’s quality, flavor, and nutritional value. Blanching involves briefly boiling the corn ears to deactivate enzymes that can cause deterioration and to maintain the corn’s vibrant color. Follow these steps to blanch the corn properly:
- Prepare a Large Pot: Select a large pot that can comfortably accommodate the number of corn ears you’re planning to blanch. Fill the pot with water, leaving enough room to fully submerge the ears of corn.
- Bring the Water to a Boil: Place the pot on the stovetop and bring the water to a rolling boil over high heat. It’s important to have a vigorous boil to ensure proper blanching.
- Add the Cleaned Ears of Corn: Carefully place the cleaned ears of corn into the boiling water. Gently lower them into the pot to prevent splashing. Ensure that all the corn ears are fully submerged in the boiling water throughout the blanching process.
- Blanch for 4 to 6 Minutes: Set a timer for 4 to 6 minutes once all the corn ears are in the pot. The blanching time can vary slightly depending on the size and freshness of the corn, so it’s essential to stay within this range to achieve optimal results.
- Maintain a Boil: While the corn is blanching, make sure to maintain a steady boil throughout the process. Adjust the heat as needed to keep the water boiling but avoid excessive boiling that might cause the corn to break apart.
Blanching the corn in boiling water serves multiple purposes. It helps to deactivate enzymes that could affect the corn’s quality during freezing, preserves the vibrant color of the kernels, and enhances the corn’s flavor. By following these steps, you’ll ensure that the corn is properly blanched and ready for the next stage of the freezing process.
Step 4: Ice Bath the Kernel
After blanching the corn, the next crucial step is to rapidly cool it down to halt the cooking process and preserve the texture and color of the kernels. This is achieved by transferring the corn ears from the boiling water to an ice bath. Follow these steps to create an ice bath and properly cool the corn:
- Prepare an Ice Bath: Fill a large bowl or sink with cold water. Add ice cubes to the water to make it as cold as possible. The ice bath should be large enough to accommodate all the corn ears you blanched.
- Transfer the Corn to the Ice Bath: Once the blanching time is up, carefully remove the corn ears from the boiling water using tongs or a slotted spoon. Immediately place them into the prepared ice bath. Submerge the corn ears fully in the cold water.
- Maintain the Corn in the Ice Bath: Keep the corn in the ice bath for the same duration as the blanching time, typically 4 to 6 minutes. This ensures that the corn cools down rapidly and stops cooking.
- Stir or Agitate the Corn: While the corn is in the ice bath, you can gently stir or agitate it with your hands or a spoon. This helps to ensure even cooling and prevents any residual heat from lingering around the corn.
The ice bath is crucial for preserving the quality of the corn. The rapid cooling process halts the cooking, preventing the corn from becoming overcooked or losing its crispness. Additionally, it helps to preserve the vibrant color of the kernels.
After the corn has been properly cooled in the ice bath, it can be removed and allowed to drain. The corn is now ready for the next steps in the freezing process, ensuring that the texture and color of the kernels are preserved for future use.
Step 5: Drain and Dry
After the corn has been cooled in the ice bath, it’s essential to properly drain and dry it before moving on to the next steps of the freezing process. This step ensures that excess moisture is removed, preventing the formation of ice crystals during freezing and preserving the quality of the corn kernels. Follow these steps to drain and dry the corn:
- Remove from the Ice Bath: Carefully lift the corn ears out of the ice bath, allowing the excess water to drain off. Hold them over the bowl or sink for a few seconds to let the water drip away.
- Shake off Excess Water: Gently shake each corn ear to remove any remaining water droplets. This step helps to eliminate as much moisture as possible before drying.
- Pat Dry with a Towel: Use a clean kitchen towel or paper towels to pat the corn ears dry. Gently press the towel against the kernels, absorbing any moisture. Ensure that the entire surface of the corn is thoroughly dried.
By removing excess moisture from the corn, you reduce the risk of ice crystals forming during freezing. Ice crystals can affect the texture and quality of the corn, causing it to become mushy or lose its flavor. Properly drying the corn helps to maintain its integrity and taste.
By draining and drying, you ensure that the corn freezes more efficiently and maintains its quality when it’s time to enjoy it later.
Step 6: Pack and Freeze
After preparing the corn for freezing, you have two options: freezing whole ears or removing the kernels from the cobs. Follow these instructions to pack and freeze the corn based on your preference:
Option 1: Freezing Whole Ears
- Wrap Each Ear: Take each blanched and dried ear of corn and tightly wrap it in plastic wrap or aluminum foil. This step helps to protect the corn from freezer burn and maintain its quality.
- Place in Freezer-Safe Bag: Once wrapped, place the individual ears of corn in a freezer-safe bag. It’s advisable to use a bag specifically designed for freezing to ensure optimal preservation. Press out as much air as possible before sealing the bag tightly.
Option 2: Freezing Kernels
- Cut the Corn off the Cob: If you prefer to freeze just the kernels, use a sharp knife to carefully cut the corn off the cob. Hold the corn ear upright on a cutting board and slice downward, allowing the kernels to fall off. Repeat this process for all the ears of corn.
- Transfer to Freezer Bags: Transfer the kernels into freezer bags, distributing them evenly. Remove excess air from the bags by pressing gently or using a straw to suck out the air while sealing the bag tightly.
By packing the corn properly, you create a protective barrier against freezer burn and maintain the quality of the corn during storage. Whether you choose to freeze whole ears or kernels, it’s crucial to remove as much air as possible from the packaging to prevent the formation of ice crystals.
By following these packing and freezing steps, you can enjoy the taste of freshly harvested corn even during the off-season.
Step 7: Store the Kernel
After packing and sealing the corn for freezing, proper storage is essential to maintain its quality and flavor over an extended period. Follow these guidelines to store your frozen kernel corn effectively:
- Labeling: Take the time to label each freezer bag with the date of freezing and the contents. This step will make it easier to identify and track the corn later when you’re ready to use it. Use a permanent marker or adhesive labels to ensure the information remains visible.
- Maximizing Space: Place the sealed bags of corn in the freezer, laying them flat. This arrangement helps to maximize space and allows for easier stacking of multiple bags. Ensure that the bags are arranged in a way that prevents them from being crushed or damaged by other items in the freezer.
- Storage Duration: It’s important to note that frozen kernel corn is best consumed within 8 to 12 months for optimal flavor and quality. While the corn may still be safe to eat beyond this timeframe, the texture and taste may gradually decline. To enjoy the corn at its best, it’s recommended to consume it within this period.
By labeling the bags and organizing them properly in the freezer, you’ll be able to easily locate and retrieve the desired amount of corn when needed. This storage approach ensures that your frozen kernel corn retains its flavor and quality for an extended period, allowing you to enjoy the taste of fresh corn throughout the year.
Remember to keep an eye on the expiration dates and periodically check the quality of the corn in the freezer. Proper storage and adherence to recommended storage durations will help you make the most of your frozen kernel corn supply.
Step 8: Thaw the Frozen Kernel Corn
When you’re ready to use the frozen kernel corn, it’s important to thaw it properly to ensure the best texture and flavor. Follow these steps to thaw the corn and incorporate it into your favorite dishes:
- Transfer to the Refrigerator: Take the desired amount of frozen kernel corn from the freezer and transfer it to the refrigerator. Place it in a bowl or container to catch any potential moisture as it thaws. It’s best to thaw the corn overnight in the refrigerator to ensure even and gradual thawing.
- Thawing Time: Allow the corn to thaw in the refrigerator for several hours or overnight. The exact time will depend on the quantity of corn and the temperature of your refrigerator. Thawing overnight ensures that the corn thaws completely and retains its texture and flavor.
By properly thawing the frozen kernel corn, you ensure that it retains its texture and flavor, making it a versatile ingredient in various recipes. Enjoy the taste of fresh corn year-round by incorporating thawed corn into your favorite dishes.
Other related questions
Can you refreeze kernel corn?
Refreezing kernel corn is generally not recommended. Once corn has been thawed, it undergoes changes in texture and moisture content, which can lead to a decline in quality. Additionally, repeated freezing and thawing can affect the taste and overall integrity of the corn. It is best to only thaw the amount of corn needed for immediate use to preserve its flavor and texture.
How do I know if the kernel corn has gone bad after being frozen?
To determine if frozen kernel corn has gone bad, inspect its appearance, smell, and texture. If the corn has developed an off-putting odor, shows signs of freezer burn (such as dry or discolored patches), or has a mushy or slimy texture, it may be spoiled. Additionally, if there are any unusual discoloration or mold growth, it is best to discard the corn to avoid the risk of foodborne illness.
Can I freeze cooked kernel corn?
Yes, cooked kernel corn can be frozen for later use. Allow the cooked corn to cool completely before transferring it to freezer-safe containers or bags. Ensure that the containers are airtight to prevent freezer burn, and label them with the date of freezing. Frozen cooked kernel corn can be stored for approximately 2 to 3 months, and it can be reheated by steaming, microwaving, or sautéing before serving.
Can I freeze seasoned or flavored kernel corn, like buttered or spicy varieties?
Yes, you can freeze seasoned or flavored kernel corn, including buttered or spicy varieties. However, it’s important to note that freezing may affect the overall taste and texture of the seasoned or flavored corn. To freeze, ensure the corn is fully cooled and dry, then place it in airtight containers or freezer bags. When ready to consume, allow the corn to thaw in the refrigerator and reheat it gently to preserve its flavors.
What is the best way to reheat frozen kernel corn to retain its flavor and texture?
The best way to reheat frozen kernel corn and retain its flavor and texture depends on personal preference and the desired outcome. One popular method is to thaw the corn in the refrigerator overnight, then gently heat it in a saucepan with a small amount of butter or water until it is warmed through. Alternatively, you can also microwave the frozen corn using a microwave-safe dish, stirring occasionally to ensure even heating. Experimenting with different reheating methods will help determine the best approach for achieving the desired flavor and texture.

