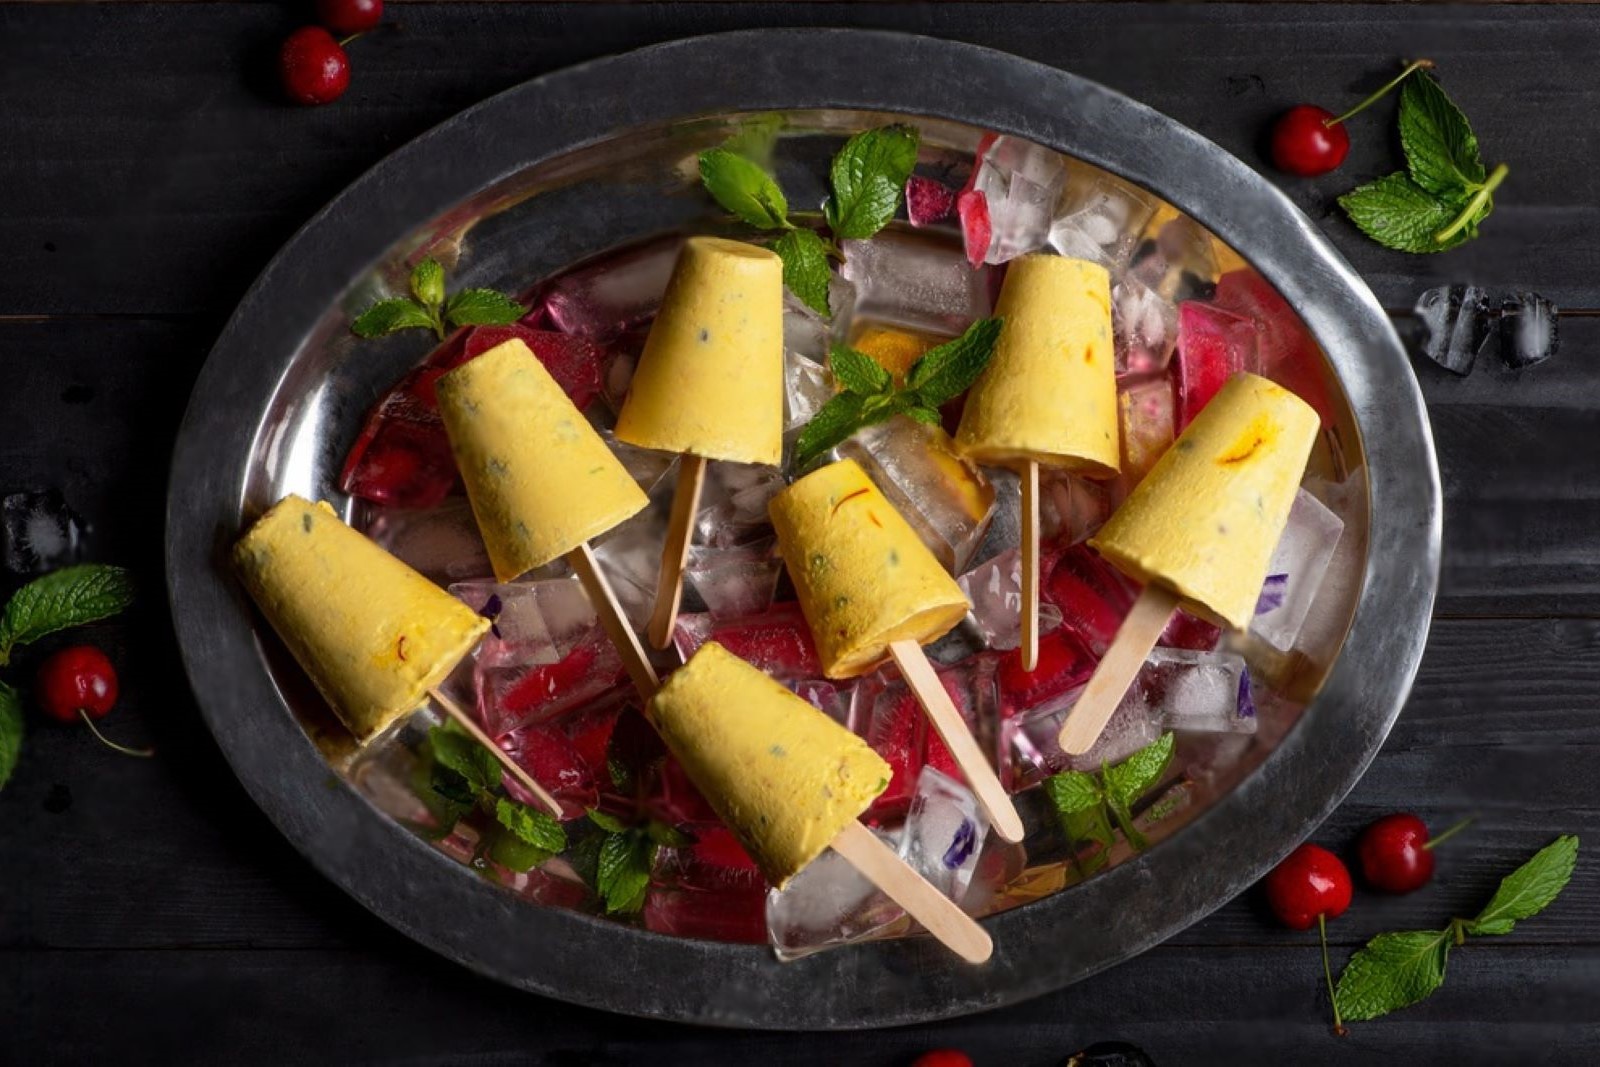
Kulfi is a popular frozen dessert originating from the Indian subcontinent. It is known for its rich and creamy texture, flavored with ingredients such as cardamom, saffron, pistachios, and almonds. Freezing kulfi allows you to enjoy this delectable treat at any time, even when it’s not readily available. By following a few simple steps, you can freeze kulfi while preserving its unique taste and texture. This article provides a comprehensive guide on how to freeze kulfi, ensuring that it maintains its deliciousness for future indulgence.
Here’s a step-by-step guide on how to freeze kulfi:
Step 1: Prepare the kulfi mixture
To begin the process of freezing kulfi, you need to prepare the kulfi mixture according to your preferred recipe. Kulfi is traditionally made using milk, condensed milk, and various flavorings such as cardamom, saffron, pistachios, and almonds.
Start by combining the milk and condensed milk in a saucepan. The condensed milk adds sweetness and helps in achieving the creamy texture of kulfi. You can adjust the ratio of milk to condensed milk based on your preference for sweetness and richness.
Next, add your desired flavorings to the mixture. Cardamom is a popular choice as it imparts a fragrant and distinct taste to the kulfi. Saffron can be added to give a beautiful golden color and a subtle aroma. Chopped or crushed pistachios and almonds can be included for added texture and nutty flavors.
Place the saucepan on medium heat and start heating the mixture. Stir constantly to prevent the milk from scorching or forming a skin on top. As the mixture heats up, the milk will start to thicken gradually. This process helps to concentrate the flavors and create the creamy consistency that is characteristic of kulfi.
Continue stirring until the mixture reaches a thickened consistency, similar to that of a custard. It should coat the back of a spoon and have a smooth texture. Be patient during this step, as it may take around 15-20 minutes for the mixture to thicken properly.
Once the kulfi mixture has reached the desired thickness, remove the saucepan from heat and allow it to cool down to room temperature. This cooling step is important as it helps the kulfi mixture to set properly during the freezing process.
Are there any additives or stabilizers I can use to improve the texture of frozen kulfi?
Yes, there are additives and stabilizers you can use to improve the texture of frozen kulfi. One commonly used additive is cornstarch, which can help prevent excessive ice crystal formation and maintain a smoother texture. Another option is to use stabilizers like guar gum or xanthan gum, which can enhance the creaminess and reduce iciness in frozen desserts. However, it’s important to carefully follow the recommended usage guidelines for these additives to avoid negatively impacting the flavor or consistency of the kulfi.
Can I freeze homemade kulfi without affecting its texture?
Freezing homemade kulfi may result in slight changes to its texture, as freezing can cause the formation of ice crystals. However, there are steps you can take to minimize the impact on its texture. Using a recipe that incorporates ingredients like cornstarch, condensed milk, or nuts can help stabilize the texture during freezing. Additionally, ensuring the kulfi is properly sealed in an airtight container and thawing it gently in the refrigerator can help preserve its creamy texture to a large extent.
Step 2: Pour the kulfi mixture into molds
After the kulfi mixture has cooled to room temperature, it’s time to transfer it into individual kulfi molds or small airtight containers. This step is crucial for shaping the kulfi and preparing it for the freezing process.
Start by selecting the molds or containers that you will be using. It’s important to ensure that they are clean and dry before filling them with the kulfi mixture. Any residual moisture or impurities can affect the quality and taste of the frozen kulfi.
Using a ladle or a small pitcher, carefully pour the kulfi mixture into each mold or container. Fill them to about three-fourths of their capacity, leaving some space at the top. This space is essential because liquids expand when they freeze, and leaving room for expansion prevents the molds from cracking or overflowing during the freezing process.
If you are using individual kulfi molds, they usually come with wooden sticks or popsicle sticks. Insert the sticks into the center of each kulfi mold, ensuring that they are upright and positioned in the middle of the mixture. This will provide a convenient handle for eating the frozen kulfi later on.
If you prefer using small airtight containers, make sure to close them tightly with their respective lids to prevent any air or moisture from entering and affecting the kulfi’s texture and taste.
Can I add toppings or sauces to kulfi before freezing it?
Yes, you can add toppings or sauces to kulfi before freezing it, but it’s important to consider the texture and stability of the toppings. Chunky toppings like nuts or chocolate chips may become hard and lose their texture when frozen. Sauces can also freeze and solidify, potentially altering the overall taste and texture of the kulfi. It’s generally recommended to add toppings or sauces to kulfi just before serving to maintain their freshness and desired consistency.
Step 3: Secure the lids or wrap with cling film
Once you have filled the kulfi molds or containers with the kulfi mixture, it’s important to secure them properly before placing them in the freezer. This step helps to maintain the quality and prevent freezer burn, ensuring that your frozen kulfi remains delicious and enjoyable.
If you are using kulfi molds with individual portions, they usually come with their own lids. Place the lids on top of each mold and ensure they are tightly secured. This creates a seal that helps to prevent air from entering and freezer burn from affecting the kulfi. It also helps to maintain the texture and flavor of the kulfi during the freezing process.
Alternatively, if you are using small airtight containers, cover them tightly with cling film. Stretch the cling film across the opening of each container, ensuring it adheres tightly to create a seal. This prevents air from reaching the kulfi and helps maintain its quality in the freezer.
Both methods—using lids or cling film—serve the purpose of creating a barrier between the kulfi and the freezer environment. This barrier prevents the kulfi from being exposed to air, which can cause it to develop ice crystals and freezer burn. Freezer burn can negatively affect the taste and texture of the kulfi, resulting in a less enjoyable frozen dessert.
Step 4: Arrange the molds in the freezer
After securely sealing the kulfi molds or containers, it’s time to arrange them in the freezer for the freezing process. Proper arrangement and placement are crucial to ensure even freezing and maintain the shape and texture of the kulfi.
When arranging the kulfi molds in the freezer, it’s important to handle them carefully to avoid any spills or mishaps. Place the molds on a flat surface such as a baking sheet or tray to provide stability and prevent them from tipping over.
Avoid stacking the kulfi molds on top of each other, as this can lead to uneven freezing. Stacking them may cause the molds to touch or press against each other, potentially altering the shape of the kulfi or resulting in uneven freezing and texture.
By arranging the molds individually and ensuring they are spaced apart, each kulfi can freeze uniformly and maintain its desired consistency. This allows for a consistent texture and flavor throughout the entire batch of frozen kulfi.
Furthermore, placing the molds on a flat surface helps prevent any accidental spills or leakage during the freezing process. It also makes it easier to handle the molds when you want to remove them from the freezer for serving.
Proper arrangement of the kulfi molds in the freezer is an important step in preserving the integrity and quality of the frozen kulfi. It allows for even freezing and ensures that each kulfi maintains its intended shape and texture, resulting in a delightful dessert experience when it’s time to enjoy them.
Step 5: Freeze the kulfi
Once the kulfi molds or containers are properly arranged in the freezer, it’s time to let the kulfi freeze. Freezing is a crucial step in the process as it solidifies the kulfi and preserves its texture and flavor for future enjoyment.
The recommended freezing time for kulfi is typically around 4 to 6 hours or until it is completely solid. However, it’s important to note that freezing times may vary depending on factors such as the size and thickness of the kulfi molds or containers, as well as the temperature of your freezer.
During the freezing process, the liquid kulfi mixture transforms into a solid state due to the low temperature of the freezer. This solidification process helps retain the creamy texture of kulfi while maintaining its distinct flavors and aromas.
To ensure that the kulfi freezes evenly and thoroughly, it’s essential to avoid opening the freezer frequently during this period. Opening the freezer door can cause temperature fluctuations, which may result in inconsistent freezing and affect the quality of the kulfi.
It’s advisable to check the kulfi periodically after the initial freezing time has passed. Gently touch the surface of the kulfi to assess its firmness. If it feels solid and holds its shape, it is likely frozen completely. However, if it still feels soft or has a slightly mushy consistency, it may need additional freezing time.
Step 6: Label and date the kulfi molds
Labeling and dating the kulfi molds or containers is an important step in maintaining organization and freshness when freezing kulfi. By clearly indicating the date of freezing, you can easily keep track of the storage time and prioritize the order of consumption.
Labeling each kulfi mold or container with the date of freezing allows you to identify how long each batch of kulfi has been stored in the freezer. This information is particularly useful if you plan to make multiple batches or variations of kulfi at different times. It helps you ensure that you consume the kulfi in a timely manner and prevent any from being stored for an extended period, which may affect its quality.
Moreover, labeling the kulfi molds or containers with the date helps you follow a “first in, first out” approach when it comes to consumption. By knowing the freezing dates, you can prioritize the order in which you consume the kulfi based on freshness. This ensures that the older batches are consumed first, while the newer ones can be saved for later.
In addition to the date, you may also consider labeling the kulfi molds or containers with any specific flavors or variations you have prepared. This way, you can easily identify different types of kulfi when choosing which one to enjoy.
Step 7: Store the kulfi in the freezer
After the kulfi has completely frozen and you have labeled and dated the molds, it’s time to store them in the freezer for long-term preservation. Proper storage is crucial to maintain the quality, flavor, and texture of the kulfi over an extended period.
To store the frozen kulfi, transfer the molds or containers to airtight freezer bags or airtight freezer-safe containers. This additional layer of protection helps to prevent freezer burn, which can occur when the kulfi is exposed to air and moisture in the freezer for an extended time.
Freezer burn can negatively impact the taste and texture of the kulfi, resulting in a less enjoyable frozen dessert. By placing the kulfi in airtight bags or containers, you create a barrier that seals out air and moisture, reducing the risk of freezer burn and helping to preserve the kulfi’s flavor and quality.
When selecting freezer bags or containers, ensure they are specifically designed for freezer storage. These containers are made from materials that are resistant to low temperatures and prevent the transfer of odors or flavors between the kulfi and other frozen items in the freezer.
Once the kulfi molds or containers are placed in the airtight bags or containers, make sure to seal them tightly to maintain the integrity of the seal. This will prevent any air or moisture from entering and affecting the kulfi.
When storing the kulfi in the freezer, try to find a designated spot where the temperature remains constant and doesn’t experience frequent fluctuations when the freezer door is opened. This helps maintain a consistent freezing environment and ensures the kulfi retains its desired texture and flavor.
How long can I freeze kulfi before it starts to lose its flavor?
Kulfi can typically be frozen for up to 2 to 3 months before it starts to lose its flavor. However, for the best taste and quality, it is recommended to consume it within the first month of freezing. Over time, frozen kulfi may experience flavor degradation due to factors like ice crystal formation and exposure to air. To maintain the optimal flavor, it is advisable to store kulfi in airtight containers and minimize thawing and refreezing cycles.
Step 8: Thaw and serve
When the time comes to savor the frozen kulfi, it’s important to thaw it properly to achieve the desired creamy texture and enhance the flavors. Thawing allows the kulfi to soften and become enjoyable to eat. Here’s how to thaw and serve the kulfi.
To thaw the frozen kulfi, start by removing the airtight freezer bags or containers from the freezer. Carefully take out the desired number of kulfi molds or containers you wish to thaw. Keep the remaining kulfi stored in the freezer for future use.
The ideal method to thaw the kulfi is to place the molds or containers in the refrigerator. Transfer them to the refrigerator and let them thaw for about 15 to 30 minutes. Thawing in the refrigerator gradually brings the kulfi to a soft and creamy consistency while maintaining its flavors. The time required for thawing may vary depending on the size and thickness of the kulfi molds or containers.
If you prefer a quicker thawing method, you can leave the kulfi at room temperature for a shorter period. However, it’s important to monitor the process closely to avoid over-thawing, which can result in a melted and runny texture.
Once the kulfi has thawed to the desired consistency, it is ready to be served. Gently remove the kulfi from the molds by running them under warm water for a few seconds or using a small knife to loosen the edges. Carefully unmold the kulfi onto dessert bowls or plates.
For a traditional presentation, you can also serve the thawed kulfi on sticks. Insert wooden sticks or popsicle sticks into the kulfi molds before freezing, and they will act as convenient handles for enjoying the frozen treat.
Thawed kulfi is a delightful dessert with its creamy texture and rich flavors. It offers a refreshing and indulgent experience, particularly on warm days or as a sweet conclusion to a meal.
Other related questions
Can I refreeze previously thawed kulfi?
It is generally not recommended to refreeze previously thawed kulfi. When kulfi is thawed, its texture and structure may undergo changes due to the formation of ice crystals and loss of moisture. Refreezing a thawed kulfi can further degrade its quality, resulting in a less desirable texture and potentially impacting its flavor. To maintain the best taste and texture, it is advisable to consume the thawed kulfi promptly rather than refreezing it.
How do I know if my frozen kulfi has gone bad?
There are a few signs to look for to determine if your frozen kulfi has gone bad. Firstly, check for any visible signs of freezer burn, such as ice crystals or discoloration on the surface. If the kulfi appears significantly dried out or has a strange odor, it may have lost its quality. Additionally, if the texture has become excessively icy or grainy, it could indicate spoilage. Trust your senses and if anything seems off, it’s best to err on the side of caution and discard the kulfi to avoid any potential health risks.
Can I use frozen kulfi with the fresh ones?
Yes, you can use frozen kulfi alongside fresh ones, but there are a few considerations. Frozen kulfi may have a slightly different texture and consistency compared to freshly made kulfi due to the freezing process. When serving, it’s advisable to thaw the frozen kulfi properly in the refrigerator and give it a gentle stir to regain its creamy texture before combining it with fresh kulfi. Keep in mind that the flavors of fresh and frozen kulfi may slightly vary, so it’s important to balance the serving proportions accordingly.
Are there any special considerations when freezing flavored kulfi, such as mango or pistachio?
When freezing flavored kulfi, such as mango or pistachio, there are a few special considerations to keep in mind. Firstly, ensure that the flavorings or ingredients used in the kulfi base are suitable for freezing and won’t undergo significant texture changes. Additionally, some fruits may release excess moisture during freezing, potentially affecting the texture of the kulfi. To counter this, you can consider reducing the amount of added liquids or using concentrated flavors to maintain the desired taste and consistency.
Can I freeze kulfi on a stick, like an ice cream bar?
Yes, you can freeze kulfi on a stick to create kulfi popsicles or ice cream bars. To do this, pour the kulfi mixture into popsicle molds or small disposable cups, insert sticks or wooden popsicle sticks into each one, and then freeze until solid. Freezing kulfi on a stick allows for a fun and convenient way to enjoy it, especially during hot weather. Just make sure to unmold the kulfi popsicles by briefly running the molds under warm water before serving.

