Meat is a staple ingredient in many households and can be enjoyed in a variety of dishes. Freezing meat is a convenient way to extend its shelf life and ensure its availability for future use. Whether you have a surplus of fresh meat that you want to preserve or you’re planning to stock up during a sale, freezing meat properly is essential to maintain its quality and flavor. In this article, we will provide you with a step-by-step guide on how to freeze meat effectively, allowing you to enjoy it at a later time while retaining its desired texture and taste.
Here’s a comprehensive guide on how to freeze meat:
Step 1: Select fresh meat
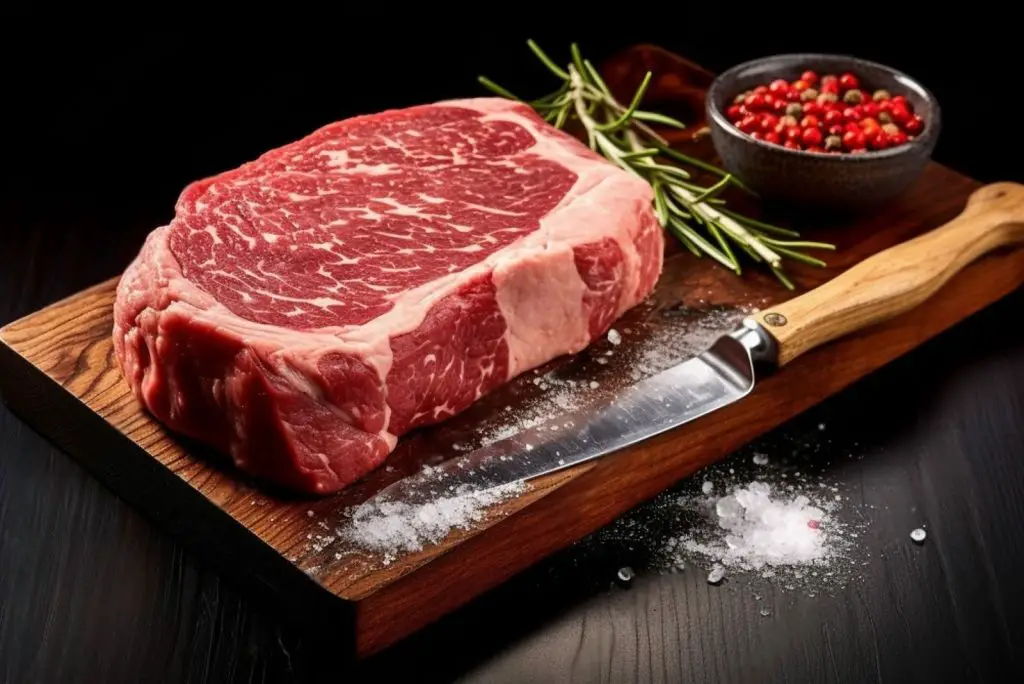
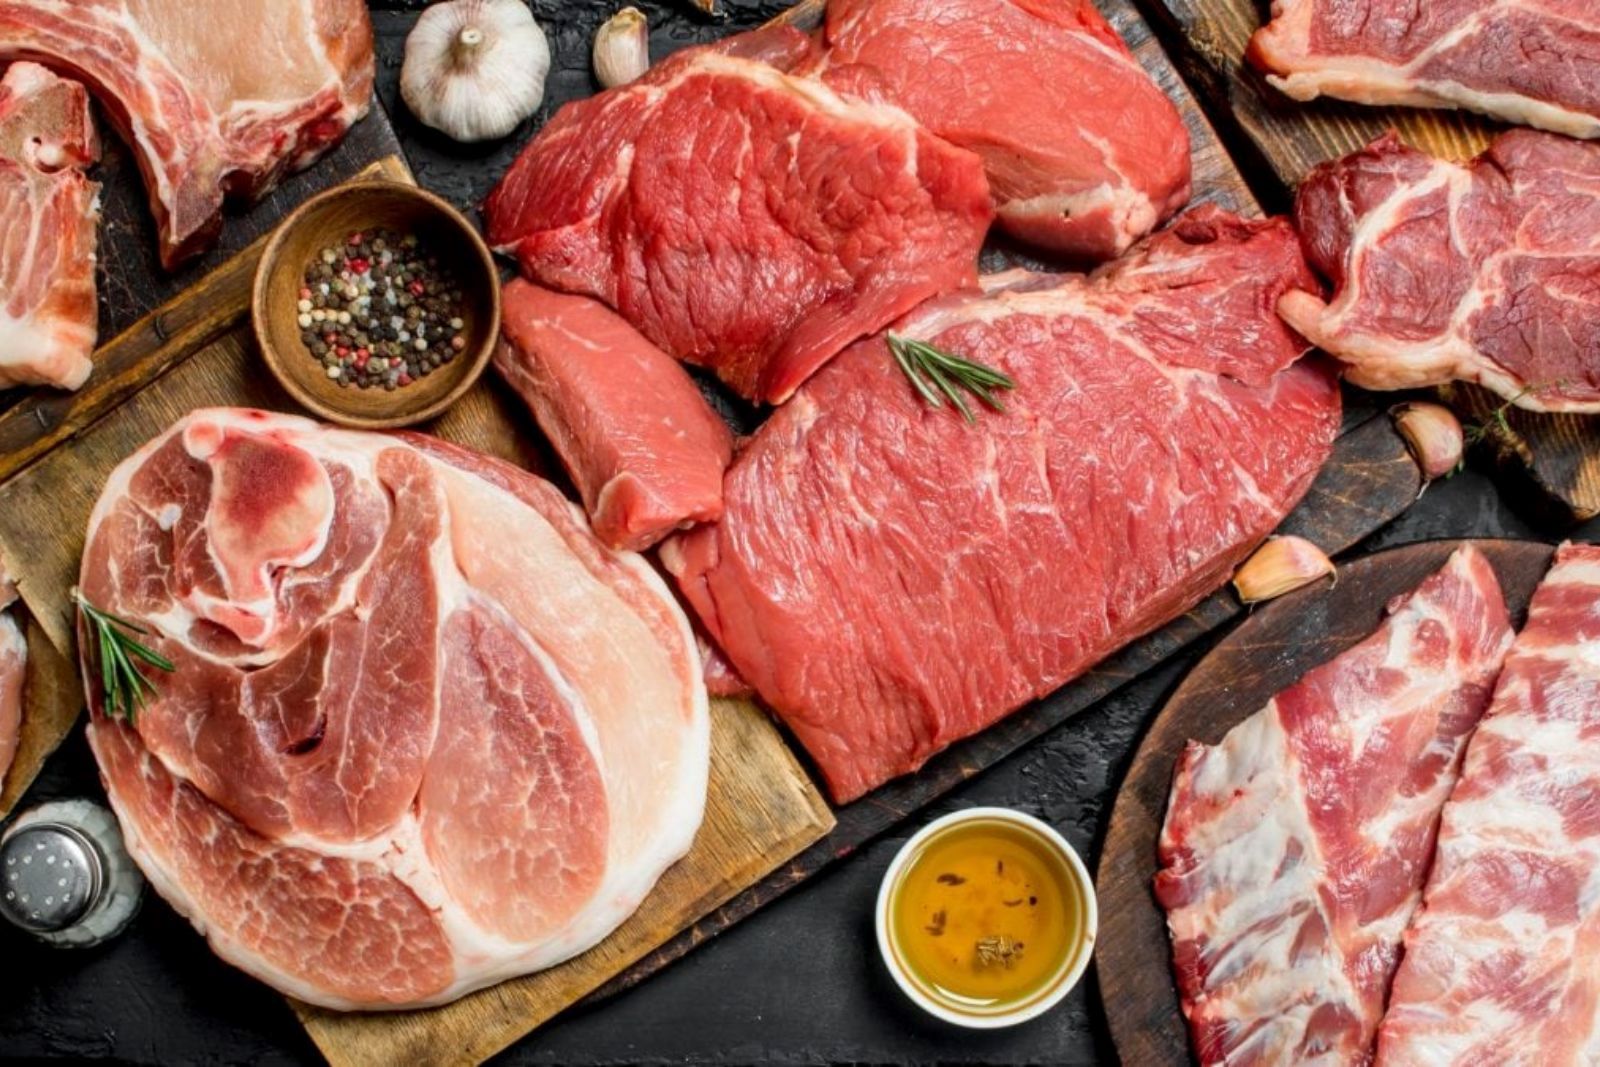
Selecting fresh meat is the first and most crucial step in the process of freezing meat. When you begin with high-quality meat, you ensure that the end result after freezing will be flavorful and maintain its desired texture.
Fresh meat should have a vibrant color and appear moist. Avoid meat that shows any signs of discoloration, such as a dull or grayish appearance, as this could indicate spoilage. Additionally, excessive fat or visible marbling is not ideal for freezing, as it can contribute to off-flavors and affect the overall quality of the meat during freezing and subsequent thawing.
Choosing fresh meat is essential because freezing does not improve the quality of the meat; it simply preserves it. Freezing slows down the natural enzymatic and bacterial activity in meat, but it does not reverse any existing deterioration. Therefore, if the meat is already of poor quality before freezing, it will likely remain so after thawing.
By starting with fresh meat, you ensure that the flavors and textures you enjoy in fresh cuts will be retained when you eventually thaw and cook the meat. Fresh meat freezes more successfully, preserving its moisture content and preventing the development of freezer burn, which can negatively impact taste and texture.
Remember to purchase meat from reputable sources, such as trusted butchers or reliable grocery stores, to increase the likelihood of obtaining fresh, high-quality cuts. Proper handling and storage of the meat before freezing, such as maintaining appropriate temperatures and avoiding cross-contamination, are also important factors to consider in preserving its freshness.
Step 2: Clean and trim the meat
Cleaning and trimming the meat before freezing is an essential step to maintain its quality and prevent any potential issues during storage and thawing.
Rinsing the meat under cold water helps remove any dirt, debris, or surface contaminants that may be present. This step is particularly important for raw meats, as they may have come into contact with bacteria or other pathogens during handling and processing. By thoroughly rinsing the meat, you reduce the risk of introducing these contaminants into the freezer, where they could potentially multiply and compromise the safety and quality of the meat.
Trimming excess fat and gristle from the meat is also crucial before freezing. Fat has a tendency to become rancid over time, and when frozen, it can develop off-flavors and affect the overall taste of the meat. Additionally, excess fat can lead to freezer burn, which occurs when moisture evaporates from the meat’s surface and causes it to become dry and discolored. Trimming off visible fat and gristle helps prevent these issues and ensures that the meat retains its optimal flavor and texture during freezing and subsequent thawing.
Furthermore, removing excess fat and gristle also promotes more even freezing. Irregularly shaped or excessively fatty portions of meat may freeze at different rates compared to leaner parts, leading to uneven texture and potential quality degradation. By trimming the meat to a uniform shape and removing excess fat, you facilitate a more consistent freezing process, resulting in better overall quality when it’s time to cook the meat.
It’s important to note that while trimming excess fat is recommended, you don’t need to remove all fat from the meat, as it can contribute to flavor and juiciness. It’s a matter of striking a balance between removing excessive fat that could negatively impact the frozen meat’s quality and preserving an appropriate amount for taste and moisture retention.
Should I remove bones from meat before freezing?
While it is not necessary to remove bones from meat before freezing, it can be more space-efficient to do so. Boneless cuts of meat are easier to package and thaw, and they also allow for more flexibility when it comes to portioning and cooking.
Step 3: Package the meat
Packaging the meat properly before freezing is crucial to maintain its quality, prevent freezer burn, and ensure convenience when thawing and using the portions later.
Dividing the meat into portions that suit your needs allows you to freeze only the amount you plan to use for a particular meal. This approach has several benefits. First, it reduces the need to thaw and refreeze the entire package, which can lead to a loss of quality and compromise the safety of the meat. By freezing individual portions, you can selectively thaw the exact amount needed, minimizing waste and ensuring that the remaining portions remain frozen and intact.
When wrapping each portion tightly in plastic wrap or aluminum foil, you create a protective barrier that helps prevent freezer burn. Freezer burn occurs when the meat is exposed to air, causing moisture to evaporate from the surface and leading to dehydration. This can result in dry, discolored patches on the meat and negatively impact its taste and texture. By tightly wrapping the portions, you limit their exposure to air, preserving moisture and preventing freezer burn.
Choosing between plastic wrap and aluminum foil depends on personal preference. Plastic wrap is effective at preventing air exposure and is convenient for sealing individual portions. It is transparent, allowing you to easily identify the contents of each package. Aluminum foil, on the other hand, provides an additional layer of protection against freezer burn and is more durable, making it suitable for longer-term storage. Some individuals also prefer using freezer-safe resealable plastic bags, as they provide an airtight seal and allow for efficient space utilization in the freezer.
Maintaining the meat’s moisture is essential for preserving its quality during freezing. By tightly wrapping the portions, you help retain the natural juices and prevent excessive moisture loss, which can lead to dry and tough meat upon thawing and cooking.
Proper packaging also helps in organizing and optimizing freezer space. By individually wrapping and packaging the meat, you can stack and arrange the portions efficiently, making the best use of the available freezer space and facilitating easy access to the desired portions when needed.
Step 4: Place the meat in freezer-safe containers or bags
Placing the wrapped meat portions in freezer-safe containers or resealable plastic bags is an important step to provide an additional layer of protection and maintain the quality of the meat during freezing. Here’s why it’s necessary:
- Protection from freezer burn: Freezer-safe containers or bags offer an extra barrier against air and moisture, minimizing the risk of freezer burn. Freezer burn occurs when the surface of the meat is exposed to air, leading to moisture loss and the formation of dry, discolored patches. By placing the wrapped portions in airtight containers or bags, you create a more secure environment, reducing the likelihood of freezer burn and preserving the quality of the meat.
- Prevention of odors and cross-contamination: Freezer-safe containers or bags help prevent the meat from absorbing unwanted odors from other foods in the freezer. These containers or bags act as a barrier, keeping the meat’s aroma contained and ensuring that it maintains its original flavor. Additionally, they protect the meat from potential cross-contamination with other items in the freezer, such as raw meats or strong-smelling foods. This separation helps maintain the integrity and taste of the meat.
- Air removal: When using resealable plastic bags, removing as much air as possible from the bags before sealing them is essential. Air contains moisture and can contribute to freezer burn. Removing excess air helps maintain the optimal texture and taste of the meat during freezing. One way to achieve this is by utilizing the water displacement method: Partially seal the bag, leaving a small opening. Slowly submerge the bag in water, allowing the water to push out the air. Seal the bag completely just before all the air is expelled, ensuring a tight seal.
Can I freeze raw meat directly from the grocery store packaging?
It is generally recommended to transfer raw meat from its original grocery store packaging to freezer-safe containers or resealable plastic bags. This helps protect the meat from freezer burn and allows for better organization and labeling.
Step 5: Label and date the packages
Labeling and dating the packages of frozen meat is a crucial step for organization, convenience, and food safety. Here’s why it’s important:
- Easy identification: Labeling each package with the name of the meat and the cut allows for easy identification when you’re searching for a specific type of meat in your freezer. This saves time and prevents you from having to unwrap multiple packages to find what you need. Clear labeling also helps avoid confusion if you have different types of meat stored together.
- Freezing date: Adding the date of freezing to the label allows you to keep track of how long the meat has been in the freezer. Different types of meat have varying recommended storage durations, and knowing the freezing date helps you determine the freshness and quality of the meat. By using the oldest packages first, you can avoid keeping the meat in the freezer for an extended period, which may lead to a decline in taste and texture.
- Rotation and usage: By labeling and dating the packages, you can implement a first-in, first-out (FIFO) system for using the frozen meat. This ensures that you consume the oldest meat first, minimizing the chances of any meat going to waste due to prolonged storage. It also helps you plan meals and use the frozen meat within the recommended time frame, maximizing its quality and taste.
- Food safety: Proper labeling and dating contribute to food safety practices. It allows you to monitor and manage the shelf life of the frozen meat effectively. If the meat has been in the freezer for an extended period, beyond the recommended storage time, it’s advisable to discard it to avoid potential health risks. Accurate labeling helps you make informed decisions about the freshness and safety of the meat.
When labeling the packages, use a permanent marker that is resistant to moisture and won’t smudge. Write the information clearly and prominently on the containers or bags to ensure legibility. Consider using freezer-safe labels or adhesive tape if you prefer removable labels that won’t damage the packaging.
Step 6: Store in the freezer
Storing the properly packaged and labeled meat in the freezer is the final step in the freezing process. Here’s why it’s important and how to do it correctly:
- Maintaining quality: Placing the meat in the freezer promptly after packaging helps maintain its quality. Freezing slows down the natural deterioration processes in meat, such as bacterial growth and enzymatic activity. By freezing the meat quickly, you preserve its freshness, taste, and texture at the point of freezing.
- Freezer temperature: The freezer temperature plays a vital role in preserving the quality and safety of the meat. Set your freezer temperature to 0°F (-18°C) or below. These temperatures ensure that the meat remains solidly frozen and inhibits the growth of bacteria or other microorganisms that can cause spoilage. Keeping the freezer at the recommended temperature is essential to maintain the meat’s optimal quality throughout its storage period.
- Coldest part of the freezer: Store the meat in the coldest part of the freezer, usually the back or bottom shelves. These areas experience the least temperature fluctuations when the freezer door is opened and closed. Consistent temperatures help prevent thawing and refreezing cycles, which can negatively impact the quality and safety of the meat.
- Proper storage: To prevent cross-contamination and maintain the integrity of the packaging, it’s important to organize the meat in the freezer. Place the packaged meat in a way that allows for efficient use of space and easy access. Consider stacking the packages, but avoid overcrowding to maintain proper airflow and ensure consistent freezing.
- Avoid freezer door openings: Limit the frequency and duration of freezer door openings to maintain stable temperatures. Frequent openings and prolonged exposure to room temperature can lead to temperature fluctuations inside the freezer, affecting the quality and safety of the meat.
Remember, frozen meat has a recommended storage duration for optimal quality and safety. It’s important to consume the meat within the recommended time frame and avoid prolonged storage, as it may result in a decline in taste and texture.
Additionally, regular maintenance of your freezer, such as defrosting when needed and ensuring proper airflow, contributes to its efficient operation and helps maintain consistent freezing temperatures, further preserving the quality of the meat.
How long can I keep meat in the freezer?
The storage duration for frozen meat varies depending on the type of meat and its cut. In general, raw meat can be safely stored in the freezer for several months. Refer to specific guidelines for recommended storage times for different types of meat, and remember to label and date the packages for easy reference.
Step 7: Thaw meat
Thawing frozen meat safely is crucial to preserve its quality and ensure food safety. Here are the recommended methods for thawing meat:
- Refrigerator thawing: The best and safest method for thawing meat is to transfer it from the freezer to the refrigerator and allow it to thaw slowly. Place the packaged meat on a tray or plate to catch any potential drips. Thawing in the refrigerator is a gradual process that ensures the meat stays at a safe temperature while thawing evenly. This method helps maintain the meat’s texture, flavor, and overall quality. However, it requires advance planning, as it can take several hours or overnight, depending on the size and thickness of the meat.
- Microwave thawing: If you need to thaw the meat quickly, you can use the microwave’s defrost setting. Follow the microwave’s instructions for defrosting meat and set the appropriate time and power level. It’s important to monitor the meat closely during the process to prevent any part of it from starting to cook. Microwave thawing is faster but may result in slight texture changes and uneven thawing, so it’s best suited for immediate cooking rather than refreezing.
- Cold water thawing: Another method to thaw meat more quickly is by using the cold water method. Place the sealed plastic-wrapped meat in a sink or basin filled with cold water. Ensure that the water remains cold throughout the process by changing it every 30 minutes. This method allows for faster thawing than refrigeration but requires more attention and supervision. It’s crucial to keep the meat in a leak-proof plastic bag to prevent water absorption and potential contamination. Once thawed, cook the meat immediately.
It’s important to note that thawed meat should not be refrozen unless it has been cooked thoroughly. Refreezing thawed meat can affect its quality and safety. Therefore, it’s advisable to only thaw the amount of meat you plan to use for a particular meal.
Regardless of the thawing method chosen, it’s essential to follow proper food safety practices. Always keep the meat away from other food items during thawing to prevent cross-contamination. After thawing, cook the meat promptly according to your desired recipe and recommended cooking temperatures to ensure it reaches a safe internal temperature and is safe for consumption.
Other related questions
Can I refreeze meat that has been thawed in the refrigerator?
If you have thawed meat in the refrigerator, it is safe to refreeze it without cooking as long as the meat has been kept at a safe refrigerator temperature (below 40°F or 4°C) and has not exceeded the recommended storage duration. However, keep in mind that the quality and texture of the meat may be affected after the second freeze-thaw cycle.
How do I know if the meat has gone bad after being frozen?
After being frozen, you can assess the quality of meat by checking for signs of freezer burn, such as dry, discolored patches on the surface. Additionally, examine the meat for any noticeable changes in texture, such as excessive softness, sliminess, or a grainy texture. Lastly, trust your sense of smell and discard the meat if it emits a strong, unpleasant odor, as this may indicate spoilage.
Can I freeze cooked meat?
Yes, cooked meat can be frozen. Allow it to cool completely before packaging and freezing. Properly stored, cooked meat can be frozen for 2 to 3 months. Thaw and reheat thoroughly before consuming.
Can I freeze ground meat?
Yes, ground meat can be frozen. Divide it into portion sizes suitable for your needs, and tightly wrap or package it to prevent freezer burn. Ensure the ground meat is properly cooked after thawing before consumption.
Is it safe to freeze meat that has been marinated?
Yes, you can freeze meat that has been marinated. However, it is best to freeze the meat and marinade together to preserve the flavor. Ensure that the marinade ingredients are safe for freezing and thawing, and store the meat in an airtight container or bag to prevent cross-contamination.

