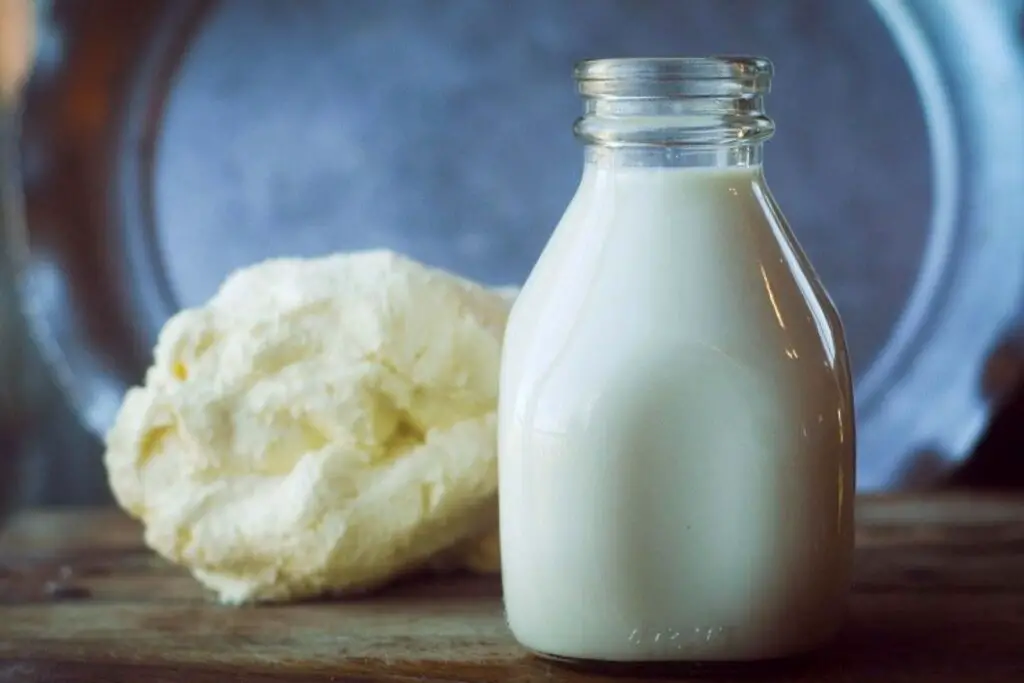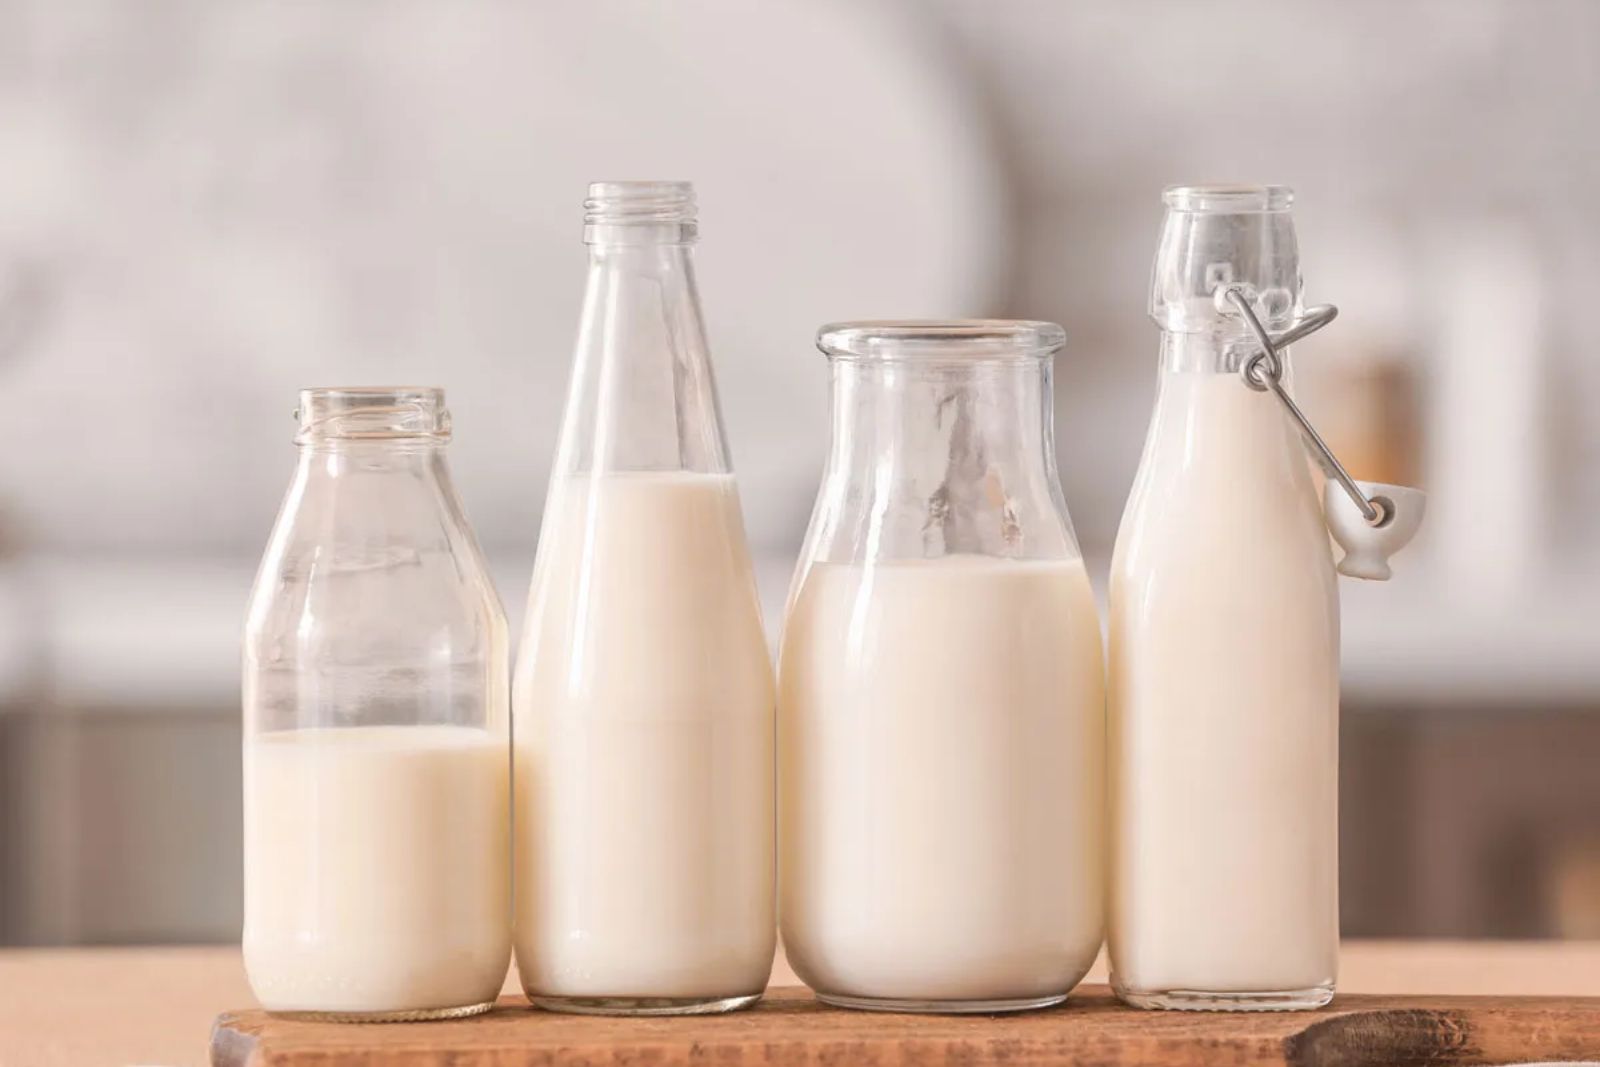
Milk is a staple beverage enjoyed by people of all ages worldwide. It is a rich source of essential nutrients, including calcium, vitamin D, and protein. However, milk can sometimes be in abundance, or you might find a great sale at the grocery store that prompts you to buy in bulk. Freezing milk can be an excellent solution to avoid wastage and ensure you always have a fresh supply on hand. When done correctly, freezing milk allows you to preserve its quality and taste for an extended period. This article outlines a step-by-step guide on how to freeze milk properly, so you never have to worry about running out.
Here are simple steps to freeze milk:
Step 1: Check the milk’s expiration date
Before freezing milk, it’s essential to check the expiration date on the milk container. The expiration date indicates the date until which the milk is expected to remain fresh and safe for consumption. Freezing milk can be a great way to extend its shelf life beyond the expiration date, but it’s essential to note that freezing will not reverse the spoiling process if the milk has already gone bad.
The expiration date is determined based on the milk’s pasteurization process, packaging, and storage conditions. It is crucial to adhere to this date because after it has passed, the milk may develop off-flavors, spoil, or harbor harmful bacteria, even when frozen. Freezing milk that has already expired could result in an unpleasant taste and texture when thawed, rendering it unfit for consumption.
If you plan to freeze milk, make sure it is well within its expiration date or close to it. This way, you can ensure that the milk retains its quality during freezing and remains safe for consumption once thawed. If the milk is close to its expiration date, freezing it can help you preserve its freshness for future use, avoiding waste and saving money.
Always remember to use your senses to check the milk’s freshness before freezing it. If the milk appears lumpy, has an unusual smell, or tastes sour, it is likely spoiled and should not be frozen or consumed. Quality milk, when properly frozen and thawed, can retain its taste, texture, and nutritional value, making it a valuable addition to your kitchen storage strategy.
Step 2: Select appropriate containers
Selecting the right containers for freezing milk is crucial to maintaining its quality and preventing any potential hazards during the freezing process. Not all containers are suitable for freezing, and it’s essential to choose ones specifically designed for this purpose.
Plastic containers and freezer-safe bags are excellent choices for freezing milk. These containers are made from materials that can withstand the low temperatures of the freezer without cracking or breaking. They are designed to expand slightly as the milk freezes, accommodating the volume increase that occurs during the freezing process. This prevents the containers from bursting and ensures that the milk remains safely contained.
Freezer-safe plastic containers come in various sizes, allowing you to portion the milk into smaller quantities before freezing. This is particularly useful if you often use milk in measured amounts for cooking or baking. Additionally, plastic containers with airtight lids create a strong seal, preventing air and moisture from entering the container and causing freezer burn or affecting the milk’s taste and texture.
On the other hand, it is advisable to avoid using glass containers for freezing milk. Glass is not as flexible as plastic when exposed to freezing temperatures, and the expansion of the milk during freezing can cause glass containers to crack or shatter. This can be dangerous and also lead to milk leakage in the freezer.
When freezing milk in plastic containers or freezer-safe bags, ensure that you leave some space at the top to allow for expansion during freezing. As the milk freezes, it will increase in volume, and leaving room for expansion prevents the containers from being damaged and allows the milk to freeze evenly.
Can I freeze milk in its original container?
Freezing milk in its original container is generally not recommended. The carton might not be designed to withstand the expansion that occurs during freezing, which can lead to leaks or bursting. It’s best to transfer the milk to a freezer-safe container, leaving some room for expansion, before freezing.
Should I freeze milk in large or small quantities?
Freezing milk in smaller quantities allows for easier portioning and thawing when needed. Consider freezing milk in smaller containers or ice cube trays for convenience.
Step 3: Leave room for expansion
When freezing milk, it is essential to leave some space at the top of each container to allow for expansion during the freezing process. Milk is composed of water, fat, and other solids, and when it freezes, its water content forms ice crystals that take up more space than the liquid state. As a result, the volume of the milk increases during freezing.
If you were to freeze milk without leaving any room for expansion, the expanding ice crystals would put tremendous pressure on the container’s walls. This pressure could cause the container to burst or crack, leading to messy leaks in the freezer and potential damage to other frozen items.
By pouring out a small amount of milk from each container before freezing, you create extra space to accommodate the expansion. As the milk freezes and forms ice crystals, the extra space allows the milk to expand within the container without causing any damage. This simple step ensures that the milk remains safely contained during the freezing process and maintains the integrity of the container.
It’s important to note that the amount of space you leave at the top of the container should be proportional to the amount of milk inside. For example, if you’re freezing a large container of milk, you may need to leave more room for expansion than you would for a smaller one.
Additionally, when pouring out the milk, try to minimize the exposure to air as much as possible. Air exposure can lead to the oxidation of the milk’s fats and result in a decline in quality, affecting its taste and nutritional value.
Step 4: Seal the containers tightly
Sealing the containers tightly when freezing milk is essential to maintaining its quality and preventing any negative effects that can arise from exposure to air and moisture. Proper sealing creates a barrier that helps preserve the milk’s taste, texture, and nutritional value during its time in the freezer.
When milk is exposed to air, it is susceptible to oxidation. Oxidation is a chemical reaction that can lead to the breakdown of the milk’s fats, causing off-flavors and a rancid taste. By tightly sealing the containers, you minimize the milk’s exposure to air, reducing the risk of oxidation and preserving its fresh, natural taste.
Moisture is another factor to consider when freezing milk. If moisture enters the container, it can form ice crystals on the milk’s surface or lead to freezer burn. Freezer burn occurs when the milk’s surface dehydrates due to exposure to air and low temperatures, resulting in a dry, grainy texture and potential loss of flavor. Properly sealed containers help prevent moisture from entering and maintain the milk’s desired consistency and flavor.
Additionally, sealing the containers tightly prevents the milk from absorbing any unwanted odors from other foods stored in the freezer. Milk is sensitive to surrounding odors, and if not properly sealed, it can take on the flavors of nearby items, affecting its overall taste.
To ensure a tight seal, use containers with secure lids that fit snugly. For freezer-safe bags, press out as much air as possible before sealing. Double-check that there are no gaps or openings that could compromise the seal.
Step 5: Label the containers
Labeling each container with the date of freezing is a crucial step when it comes to freezing milk (or any food item, for that matter). This simple practice helps you keep track of how long the milk has been in the freezer, enabling you to maintain a first-in-first-out system for consumption. Proper labeling ensures that you use the oldest milk first, minimizing food waste and ensuring that you always have the freshest milk available for use.
Here’s why labeling the containers is essential:
- Monitoring storage time: Different types of food have varying optimal storage times in the freezer. By labeling the containers with the date of freezing, you have a clear reference point to know when each batch of milk was frozen. This information is crucial as it allows you to determine the milk’s storage duration accurately. Milk quality can deteriorate over time, even when frozen, and consuming milk that has been frozen for too long might lead to diminished taste and texture.
- First-in-first-out system: Following a first-in-first-out system ensures that you use the oldest milk before the newer batches. As you continuously freeze fresh milk, the older containers move to the front of the freezer, and the newly frozen ones are placed at the back. This way, you consume the older milk first, reducing the risk of milk going bad due to prolonged storage.
- Avoiding waste: Labeling the containers with the date helps you plan your consumption effectively. It allows you to gauge how much milk you need to use before a particular batch reaches its limit for optimal taste and quality. This way, you can avoid wasting milk by using it before it becomes less enjoyable.
- Organizational benefits: Having labeled containers in the freezer creates a sense of organization and makes it easier to find what you need quickly. You won’t have to guess how long each container has been frozen or worry about accidentally using expired milk.
When labeling the containers, use adhesive labels or masking tape and a permanent marker to write the date of freezing clearly. Place the label on the front of the container, where it’s easily visible. If you are using freezer-safe bags, write the date directly on the bag with the marker.
Step 6: Store in the right spot
Proper storage of frozen milk is essential to maintain its quality and ensure it remains safe for consumption. When freezing milk, it’s important to place the milk containers in the coldest part of the freezer, usually the back or bottom. Consistent freezing temperatures are crucial for preserving the taste, texture, and nutritional value of the milk.
Here’s why storing milk in the coldest part of the freezer is important:
- Consistent freezing temperature: The coldest part of the freezer is where the temperature remains most stable and consistent. Fluctuations in temperature can lead to the formation of larger ice crystals within the milk, which can negatively impact its texture when thawed. By storing the milk in the coldest spot, you ensure that it freezes evenly and retains its desired consistency.
- Faster freezing: Placing the milk containers in the coldest part of the freezer allows them to freeze more rapidly. The faster the milk freezes, the smaller the ice crystals that form within it. Smaller ice crystals help maintain the milk’s cellular structure, resulting in a smoother texture when thawed.
- Minimize temperature fluctuations: Frequent opening and closing of the freezer door can cause temperature fluctuations inside the freezer. Placing the milk containers in the back or bottom reduces their exposure to temperature changes, helping them maintain a steady frozen state.
- Preventing thawing and refreezing: If milk containers are placed near the freezer door or in warmer areas, there is a higher risk of thawing and refreezing when the door is opened frequently. Thawing and refreezing can lead to texture and quality degradation of the milk, as well as potential safety concerns due to bacterial growth.
Remember to leave some space around the milk containers to allow for proper air circulation in the freezer. Crowding the freezer can hinder the circulation of cold air, leading to uneven freezing and potential temperature fluctuations.
How long can I freeze milk?
Frozen milk can maintain its quality for up to 3-6 months when stored at 0°F (-18°C) or lower. However, for the best taste and texture, it’s advisable to use the milk within 1-3 months after freezing.
Step 7: Thaw with care
Thawing frozen milk properly is crucial to preserve its quality and ensure it remains safe for consumption. When you need to use the frozen milk, it’s best to transfer the container to the refrigerator and allow it to thaw slowly. Avoid thawing milk at room temperature, as it can promote bacterial growth and spoilage, compromising the safety and taste of the milk.
Here’s why thawing milk in the refrigerator is the recommended method:
- Gradual thawing: Thawing milk in the refrigerator allows for a gradual and controlled thawing process. Slow thawing helps maintain the milk’s texture and prevents the formation of large ice crystals, which can negatively impact the milk’s quality when it’s thawed.
- Temperature control: The refrigerator provides a consistent and safe temperature for thawing milk. It keeps the milk at a temperature below the danger zone (40°F or 4°C), where bacteria can rapidly multiply. This helps prevent bacterial growth and minimizes the risk of spoilage.
- Food safety: Thawing milk at room temperature can create conditions that encourage bacterial growth. As the milk approaches room temperature, it enters the danger zone, providing an environment where harmful bacteria can thrive and multiply. Consuming milk that has been thawed at room temperature for an extended period can lead to foodborne illnesses.
- Even thawing: Thawing milk in the refrigerator ensures that it thaws evenly throughout. On the other hand, thawing at room temperature can lead to uneven thawing, where the outer portions of the milk may thaw faster than the inner parts, potentially leading to textural changes or inconsistencies.
To thaw frozen milk in the refrigerator, simply place the container in the fridge and allow it to thaw slowly over a period of several hours or overnight, depending on the quantity of milk and the thickness of the container. It’s a good idea to place the container on a plate or tray to catch any potential drips as the milk thaws.
If you need to use the milk more quickly, you can thaw it under cold running water. Make sure the milk is in a leak-proof bag or container and submerge it in cold water. Change the water every 30 minutes to maintain a safe temperature and ensure even thawing.
Avoid using hot water or the microwave for thawing milk, as this can lead to uneven heating and may cause the milk to curdle or develop off-flavors.
Other related questions
Can I refreeze milk?
It is generally safe to refreeze milk if it has been thawed properly in the refrigerator and has not been left at room temperature for an extended period. However, the quality and taste of the milk may be affected with each freeze-thaw cycle. It is advisable to use refrozen milk in cooked dishes rather than for drinking purposes.
How do I know if the milk has gone bad after being frozen?
If milk has gone bad after being frozen, there are several signs to look for. These include a sour or off odor, curdled appearance, unusual texture, or changes in color. If any of these indicators are present, it is best to discard the milk as it may pose a health risk if consumed.
Can I freeze milk alternatives like almond or soy milk?
Yes, you can freeze milk alternatives such as almond, soy, or oat milk. Follow the same freezing guidelines as regular milk, ensuring you use freezer-safe containers and leave room for expansion. Thawing and shaking before use can help maintain consistency.
Can I freeze milk that has been flavored or sweetened?
Flavored or sweetened milk can be frozen, but it’s important to note that the taste and texture may change slightly after thawing. Consider freezing plain milk instead, and add flavorings or sweeteners after thawing for the best results.
What can I use frozen milk for?
Frozen milk can be used in various recipes, including soups, sauces, smoothies, and baked goods. It is best suited for cooked dishes rather than drinking due to potential changes in taste and texture. Thawed milk can be used as a substitute for fresh milk in most recipes.
Can I freeze milk that has been opened?
Yes, you can freeze milk that has been opened. However, make sure to use it within the recommended storage time after opening for the best quality.
Can I freeze milk with added cereal or other ingredients?
It is not advisable to freeze milk with added cereal or other ingredients. Freezing can affect the texture and taste of added components. Freeze plain milk and add cereal or other ingredients after thawing.

