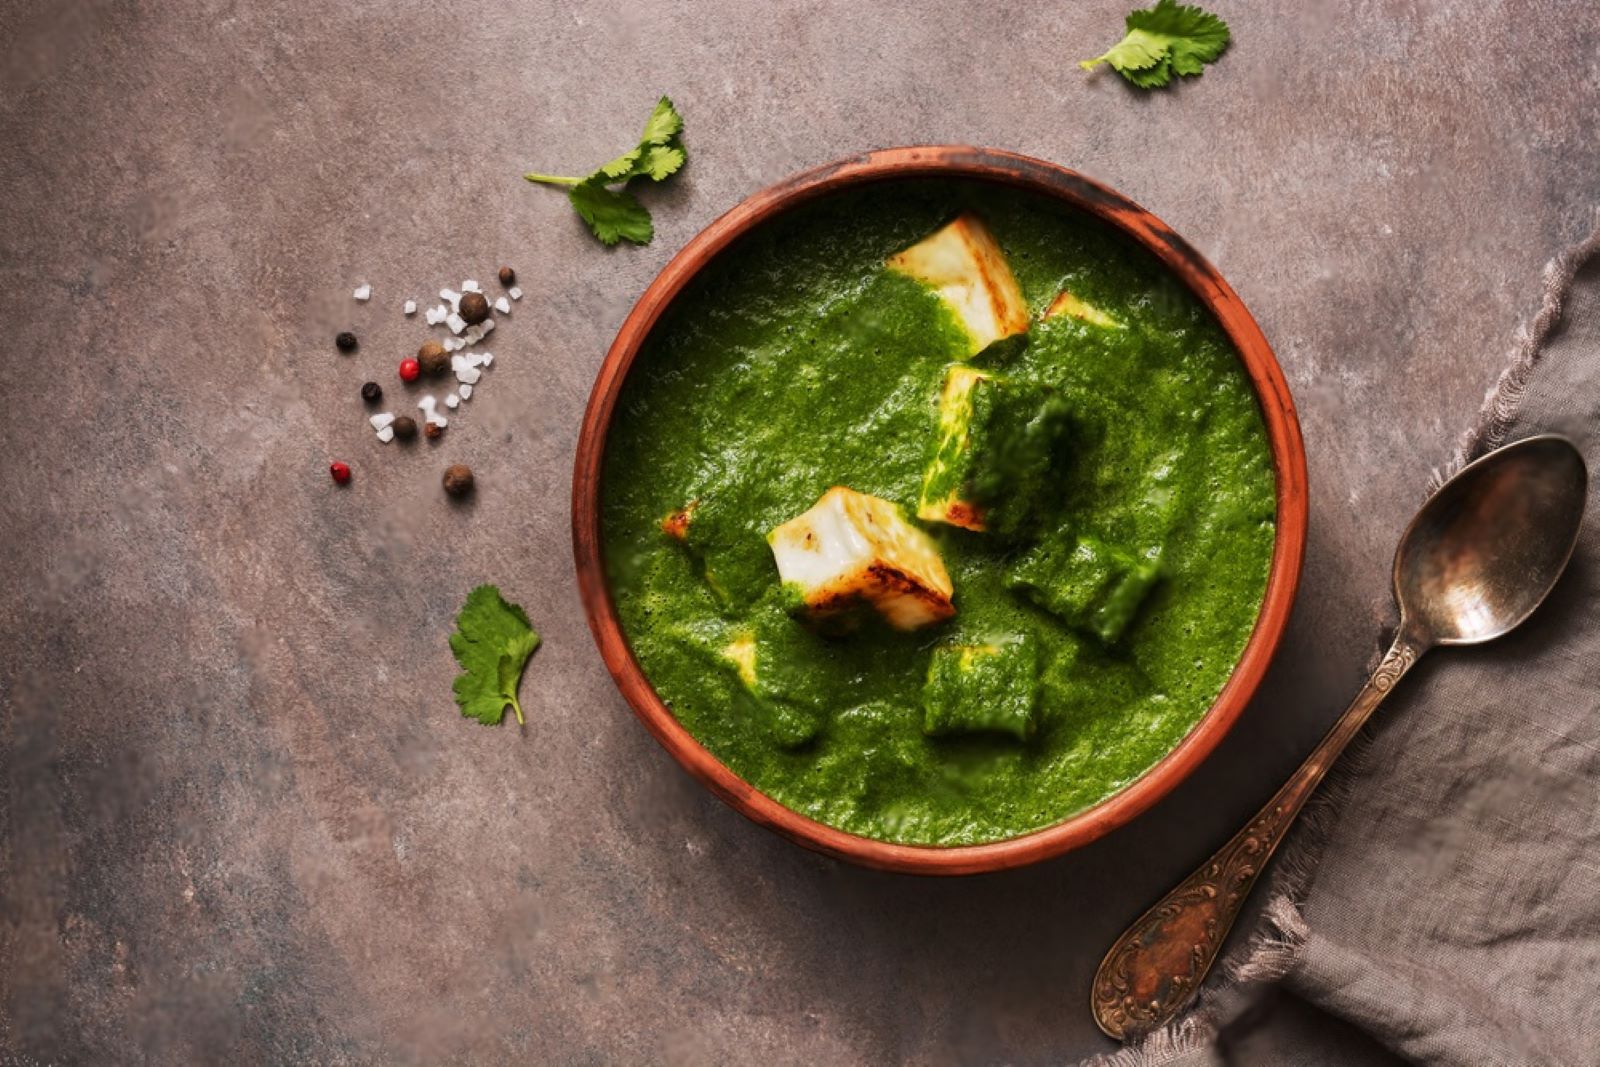
Palak, is a leafy green vegetable that boasts a wealth of nutritional benefits and a delightful taste. With its vibrant green leaves and tender texture, palak has become a beloved ingredient in various cuisines around the world. From Indian saag dishes to Italian spinach pasta, palak’s versatility in the kitchen knows no bounds. This nutrient-packed leafy green is an excellent source of vitamins, minerals, and antioxidants, making it a wholesome addition to any meal. However, when palak is abundant during its peak season or when purchased in large quantities, it may be challenging to consume it all before it starts to wilt or lose its freshness. Freezing palak becomes a practical and effective method to preserve its nutritional value and vibrant color, ensuring that each leaf remains tender and ready to elevate your meals with its delightful taste and healthful goodness, even when fresh palak is not readily available or when you wish to enjoy this nutrient-packed vegetable at your convenience. In this guide, we will explore the best practices for freezing palak, allowing you to savor its delightful taste and elevate your culinary creations with the essence of this versatile leafy green, whenever you desire, without the need for a fresh purchase or harvest from your garden or local market. Get ready to embrace the richness of palak’s culinary potential, with perfectly frozen leaves that await to add a touch of wholesome goodness to your dishes.
Here are the simple steps to freeze palak:
- Step 1: Choose Fresh Palak Leaves
- Step 2: Wash and Trim the Leaves
- Step 3: Blanch the Palak Leaves
- Step 4: Drain and Dry the Leaves
- Step 5: Arrange the Leaves for Freezing
- Step 6: Flash-Freeze the Palak Leaves
- Step 7: Package and Seal the Palak Leaves
- Step 8: Label and Date the Packages
- Step 9: Store in the Freezer
Step 1: Choose Fresh Palak Leaves
Selecting fresh palak leaves is the initial and essential step in the process of freezing palak. The quality of the leaves you choose will significantly impact the overall taste and texture of the frozen palak. Here’s why this step is crucial:
- Optimal Taste and Nutrition: Fresh palak leaves have a vibrant green color and a crisp texture, which indicates that they are at their peak freshness. Choosing fresh leaves ensures that the palak retains its natural flavor and nutritional value after freezing.
- Avoid Spoilage: Wilted, discolored, or damaged palak leaves might already be on their way to spoilage, and freezing such leaves will not prevent further deterioration. It is essential to pick fresh leaves without any signs of wilting or discoloration to ensure that they remain palatable and nutritious after freezing.
- Prolonged Shelf Life: Fresh palak leaves have a longer shelf life when compared to leaves that are already showing signs of age or damage. By selecting fresh palak leaves, you are setting yourself up for successfully preserving the quality of the leaves during the freezing process.
- Better Texture: Fresh palak leaves have a firm and crisp texture, making them more enjoyable to eat even after freezing and thawing. On the other hand, wilted or damaged leaves might become mushy or lose their structure, affecting the overall appeal of the frozen palak.
To identify fresh palak leaves, look for the following characteristics:
- Vibrant Green Color: Fresh palak leaves should have a bright and uniform green color, indicating that they are full of chlorophyll and essential nutrients.
- Firmness: Gently press the leaves to ensure they are firm and not limp or wilted. A firm texture indicates freshness.
- No Discoloration: Avoid leaves with yellow or brown spots, as these indicate age or potential decay.
- No Signs of Damage: Check for tears, holes, or other signs of physical damage, as these can lead to quicker spoilage.
Step 2: Wash and Trim the Leaves
Washing and trimming the palak leaves are vital steps to ensure that the frozen palak remains clean, safe to consume, and free from any unwanted debris. Properly cleaning and trimming the leaves offer several benefits:
- Remove Dirt and Pesticides: Palak leaves, like any leafy vegetable, can accumulate dirt, dust, and pesticides during the growing and harvesting process. Washing the leaves under cold running water helps remove these impurities, ensuring that the frozen palak is safe for consumption.
- Improve Hygiene: Thoroughly washing the palak leaves eliminates any potential contaminants, including bacteria or pathogens that may be present on the surface. This step is especially crucial if you grow the palak in your garden or buy it from local markets.
- Enhance Flavor: Clean palak leaves contribute to a better-tasting final product. Removing any dirt or residues allows the natural flavor of the palak to shine through after freezing and cooking.
- Preserve Nutrients: Washing the leaves gently helps preserve their nutritional content. By avoiding harsh washing methods, you can retain the essential vitamins and minerals present in palak.
- Trim Tough Stems: The stems of palak leaves can be tough and fibrous, making them less enjoyable to eat. Trimming off the stems ensures that the frozen palak remains tender and easy to cook with.
- Discard Damaged Leaves: Removing damaged or wilted leaves is essential to maintain the overall quality of the frozen palak. Damaged leaves are more susceptible to spoilage and can negatively affect the taste and texture of the frozen greens.
To wash and trim the palak leaves effectively, follow these steps:
- Separate the Leaves: Gently separate the leaves from the bunch or stem, discarding any yellowed or severely damaged leaves.
- Rinse Under Cold Water: Place the palak leaves in a colander or a large bowl and rinse them thoroughly under cold running water. Gently rub each leaf with your fingers to remove any dirt or residues.
- Trim the Stems: Using a sharp knife or kitchen shears, trim off the tough stems from the base of each leaf. You can discard the stems or use them for composting.
- Check for Damaged Leaves: Examine each leaf carefully for any signs of damage or wilting. Remove any damaged leaves from the batch.
Step 3: Blanch the Palak Leaves
Blanching is a crucial and highly beneficial step in the process of freezing palak leaves. It involves briefly immersing the washed and trimmed palak leaves in boiling water, followed by rapid cooling in an ice-cold water bath. This blanching process serves several important purposes:
- Preserve Color: Blanching helps retain the vibrant green color of the palak leaves. Enzymes naturally present in vegetables, including palak, can cause discoloration and loss of brightness over time. By blanching, these enzymes are deactivated, preserving the attractive green color of the leaves even after freezing.
- Retain Texture: Blanching also helps to preserve the texture of the palak leaves. It partially softens the cell walls, making the leaves tender and preventing them from becoming too tough or fibrous during freezing and subsequent cooking.
- Enzyme Inactivation: As mentioned earlier, blanching deactivates enzymes that can cause deterioration of the palak leaves. This enzyme inactivation also helps to slow down the loss of nutrients, ensuring that the frozen palak retains a higher nutritional value.
- Remove Surface Contaminants: While washing removes most surface dirt and impurities, blanching goes a step further by eliminating any remaining bacteria or pathogens that might be present on the leaves. This improves the safety and hygiene of the frozen palak.
To blanch the palak leaves effectively, follow these steps:
- Boil Water: Bring a large pot of water to a rolling boil. Use enough water to fully submerge the palak leaves.
- Add Palak Leaves: Carefully add the washed and trimmed palak leaves to the boiling water. It’s essential to work quickly to minimize the time the leaves are exposed to heat.
- Blanching Time: Allow the palak leaves to blanch for about 2 minutes. The exact timing may vary depending on the size and thickness of the leaves, but typically, 2 minutes is sufficient for small to medium-sized palak leaves.
- Ice-Cold Water Bath: After blanching, promptly remove the palak leaves from the boiling water and transfer them to a bowl of ice-cold water. This rapid cooling process, known as “shocking,” halts the cooking and preserves the bright green color and crispness of the leaves.
- Drain and Dry: Once the palak leaves have cooled, drain them thoroughly to remove excess water. You can use a colander or gently pat them dry with paper towels.
Step 4: Drain and Dry the Leaves
After blanching the palak leaves, it is crucial to drain and dry them properly to remove excess water. This step is essential for maintaining the quality of the frozen palak and ensuring it freezes evenly without excess moisture. Here’s why draining and drying the blanched palak leaves is important:
- Prevent Overcooking: By promptly transferring the blanched palak leaves to an ice-cold water bath, you stop the cooking process immediately. This prevents the leaves from becoming overly soft and losing their texture during the blanching stage.
- Retain Color and Texture: Rapid cooling in an ice-cold water bath helps preserve the vibrant green color of the palak leaves. It also helps to maintain their crispness, preventing them from turning soggy or mushy during freezing.
- Remove Excess Water: Draining the palak leaves thoroughly is crucial to remove any excess water. If the leaves retain too much moisture, they can form ice crystals during freezing, leading to freezer burn and negatively affecting their overall quality.
- Prevent Freezer Burn: Properly draining and drying the palak leaves reduce the chances of freezer burn. Freezer burn occurs when moisture on the surface of the leaves evaporates and refreezes, causing dehydration and affecting the taste and texture.
To drain and dry the blanched palak leaves effectively, follow these steps:
- Transfer to Ice-Cold Water Bath: Using a slotted spoon or tongs, quickly remove the blanched palak leaves from the boiling water and transfer them to a bowl filled with ice-cold water. Submerging the leaves in ice water halts the cooking process and preserves their color and texture.
- Drain the Leaves: Allow the palak leaves to sit in the ice water bath for a few minutes to cool completely. Then, drain the leaves in a colander or on a clean kitchen towel to remove excess water.
- Pat Dry: To ensure thorough drying, gently pat the palak leaves with a clean kitchen towel or paper towels. Avoid squeezing or pressing too hard, as this may damage the delicate leaves.
Step 5: Arrange the Leaves for Freezing
Once the blanched and dried palak leaves are ready, it’s essential to arrange them properly on a baking sheet before freezing. This step is crucial to ensure even freezing and prevent the leaves from sticking together. Here’s why arranging the palak leaves in a single layer is important:
- Prevent Clumping: Laying the palak leaves in a single layer ensures that they do not clump together during freezing. If the leaves freeze in a lump, it becomes challenging to separate them when you need to use only a portion, leading to unnecessary waste.
- Even Freezing: Placing the palak leaves in a single layer allows for even exposure to the cold air in the freezer. This results in a more consistent freezing process, preventing uneven freezing or the formation of large ice crystals.
- Faster Freezing: A single layer of palak leaves allows the cold air to circulate around each leaf, facilitating faster freezing. The quicker the freezing process, the better the preservation of the palak’s flavor, color, and texture.
- Easy Storage: Arranging the palak leaves in a single layer makes it easier to stack and store them once they are fully frozen. This organized storage helps maximize freezer space and keeps the leaves from becoming crushed or damaged.
To arrange the palak leaves for freezing effectively, follow these steps:
- Line a Baking Sheet: Place a clean, flat baking sheet or tray on a level surface. You can use parchment paper or a silicone baking mat to prevent the leaves from sticking to the surface.
- Lay Leaves in a Single Layer: Carefully place the blanched and dried palak leaves on the baking sheet, ensuring they do not overlap. Leave a small space between each leaf to allow air circulation.
- Avoid Piling: Avoid piling the leaves on top of each other, as this can lead to clumping and hinder the freezing process.
- Use Multiple Baking Sheets: If you have a large quantity of palak leaves to freeze, consider using multiple baking sheets to ensure all the leaves are in a single layer.
Once the palak leaves are arranged in a single layer, place the baking sheet in the freezer. The individual freezing of the leaves in this manner allows for better quality and easy handling when you transfer them to storage containers or freezer bags after freezing is complete.
Step 6: Flash-Freeze the Palak Leaves
Flash-freezing is a rapid freezing technique used to preserve the quality of food items, including palak leaves, by freezing them quickly at very low temperatures. This step is critical in preventing the formation of large ice crystals and maintaining the palak’s color, texture, and nutritional value. Here’s why flash-freezing the palak leaves is essential:
- Prevents Ice Crystal Formation: Flash-freezing helps minimize the formation of large ice crystals within the palak leaves. Slow freezing can cause the formation of bigger ice crystals, which can damage the cell structure and result in a loss of texture and flavor when the palak is thawed.
- Retains Color and Freshness: Flash-freezing preserves the vibrant green color of the palak leaves, making them visually appealing even after they are thawed and used in various dishes.
- Locks in Nutrients: By freezing the palak leaves quickly, the nutrients present in the leaves are better preserved. This ensures that the frozen palak remains a nutritious and healthy addition to your meals.
- Prevents Sticking: Flash-freezing the palak leaves individually on a baking sheet prevents them from sticking together. This makes it easier to portion out the leaves when you need to use only a few at a time.
To flash-freeze the palak leaves effectively, follow these steps:
- Place the Arranged Leaves in the Freezer: Once the palak leaves are laid out in a single layer on the baking sheet, carefully place the baking sheet in the freezer.
- Set the Freezer to Its Coldest Setting: Ensure that your freezer is set to its coldest temperature to achieve a rapid freezing process.
- Freeze for 1 to 2 Hours: Allow the palak leaves to freeze for about 1 to 2 hours, or until they are solid and firm to the touch.
- Check for Solidity: The palak leaves are ready to be transferred to storage containers or freezer bags when they are fully frozen and no longer sticking together.
Step 7: Package and Seal the Palak Leaves
After flash-freezing the palak leaves, it’s essential to transfer them into proper storage containers or freezer bags for long-term preservation. This step ensures that the frozen palak remains fresh and free from freezer burn during storage. Here’s why packaging and sealing the palak leaves correctly are crucial:
- Prevents Freezer Burn: Freezer burn occurs when moisture on the surface of frozen food evaporates and refreezes, causing dehydration. Proper packaging and sealing prevent excess air from coming into contact with the palak leaves, reducing the risk of freezer burn.
- Maintains Quality: Airtight packaging maintains the palak leaves’ color, texture, and flavor, ensuring they remain in optimal condition until you are ready to use them.
- Convenient Portioning: Using airtight containers or bags allows you to portion out the palak leaves according to your needs. You can take out only the required amount without thawing the entire batch.
To package and seal the palak leaves effectively, follow these steps:
- Use Airtight Containers or Freezer Bags: Choose high-quality, airtight containers specifically designed for freezing or sturdy freezer bags. Ensure that they are clean and free from any contaminants.
- Transfer the Flash-Frozen Palak: Carefully transfer the flash-frozen palak leaves into the chosen containers or bags. Use a spoon or spatula to avoid damaging the delicate leaves.
- Squeeze Out Excess Air: For freezer bags, gently press down on the bag to squeeze out any excess air before sealing. Removing excess air helps prevent freezer burn and maintains the quality of the frozen palak.
- Seal Tightly: Make sure to seal the containers or bags tightly to create an airtight environment. Double-check for any leaks or gaps in the seals.
- Store in the Freezer: Place the properly packaged and sealed palak leaves in the freezer. For the best results, keep them in a spot with a consistent temperature.
Step 8: Label and Date the Packages
Labeling and dating the containers or bags containing the frozen palak leaves is a crucial organizational step for proper freezer management. By providing essential information on each package, you can easily keep track of the palak’s freshness and usage. Here’s why labeling and dating the packages are important:
- Identifies Contents: Labeling each package with “palak leaves” allows you to quickly identify the contents without the need to open or inspect the package. This saves time and ensures you use the correct ingredient in your recipes.
- Avoids Confusion: If you freeze various vegetables or food items, labeling prevents confusion between different packages. It helps distinguish the palak leaves from other frozen items, preventing accidental use of the wrong ingredient.
- Facilitates Organization: Clearly labeled packages make it easier to organize your freezer efficiently. You can stack or arrange the packages in a way that optimizes storage space and accessibility.
- Tracks Freshness: Adding the date of freezing allows you to track the palak’s freshness accurately. This information helps you identify the oldest packages and prioritize their use before the newer ones.
- Prevents Food Waste: Knowing the date of freezing enables you to use the frozen palak leaves within a reasonable time frame. This helps prevent food waste by ensuring you consume them before they deteriorate in quality.
To label and date the packages effectively, follow these steps:
- Use Waterproof Labels: Choose labels that are waterproof and won’t smudge when exposed to moisture. Alternatively, you can use adhesive tape and a permanent marker to write directly on the container or bag.
- Write Clear Information: Clearly write “palak leaves” on each label or container to indicate the contents. Include the date of freezing as well, so you can easily identify the freshness of the palak leaves.
- Apply Labels to the Packages: Stick the labels on the containers or bags containing the palak leaves. If you’re writing directly on the package, do so in a visible area.
- Check for Legibility: Ensure that the information on the labels or written on the package is legible and won’t fade over time.
Step 9: Store in the Freezer
After properly packaging and labeling the palak leaves, it’s time to store them in the freezer for long-term preservation. Correct storage is crucial to maintain the palak’s quality, flavor, and nutritional value. Here’s why storing the frozen palak leaves in the freezer is essential:
- Temperature Control: Freezers are designed to maintain a consistent low temperature, typically below 0 degrees Fahrenheit (-18 degrees Celsius). Storing the palak leaves in the freezer ensures that they remain frozen and safe to eat for an extended period.
- Prevents Spoilage: Freezing halts the growth of bacteria and enzymes that can cause spoilage in fresh produce. Properly stored, frozen palak leaves can maintain their quality and safety for several months.
- Long-Term Availability: By freezing the palak leaves, you can enjoy this nutritious green even when it’s out of season. Proper storage allows you to have a readily available supply of palak for up to 10 to 12 months.
To store the palak leaves in the freezer effectively, follow these steps:
- Choose a Consistent Temperature Spot: Select a spot in your freezer that maintains a consistent temperature. Avoid placing the palak leaves near the freezer door, as temperature fluctuations can occur when the door is frequently opened.
- Arrange the Packages: Place the sealed packages of palak leaves in the chosen spot, ensuring they are organized in a way that maximizes storage space and keeps them easily accessible.
- Avoid Overpacking: Avoid overpacking the freezer with too many items, as this can hinder air circulation and lead to uneven freezing.
- Check the Freezer Temperature: Periodically check the temperature of your freezer using a thermometer to ensure it remains at the optimal freezing temperature.
- Minimize Thawing and Refreezing: Whenever you need to use the palak leaves, take out only the required amount and promptly return the remaining packages to the freezer. Avoid thawing and refreezing, as it can compromise the quality of the palak leaves.
Other related questions
How do you defrost palak?
To defrost palak, transfer the frozen leaves from the freezer to the refrigerator. Allow them to thaw slowly overnight or for several hours. Avoid using heat or warm water for defrosting, as it may affect the palak’s texture and color.
Can you refreeze palak?
Refreezing palak is generally not recommended. Once palak has been thawed, it undergoes changes in texture and moisture content, which may lead to a decline in quality and taste. Refreezing can also increase the risk of bacterial growth and spoilage. It’s best to use the thawed palak promptly or cook it before freezing again to ensure food safety and maintain its optimal flavor and texture.
How do I know if the palak has gone bad after being frozen?
To determine if frozen palak has gone bad, look for signs of spoilage, such as an off odor, discoloration, or sliminess. If the palak has an unusual or foul smell, appears brown or gray, or feels slimy to the touch, it may have deteriorated and should not be consumed. Additionally, taste a small amount before using it in larger quantities to check for any off flavors or textural changes that could indicate spoilage. If in doubt, it’s best to err on the side of caution and discard the palak to avoid any potential foodborne illness.
Can I freeze palak that has been seasoned with spices or herbs?
Yes, you can freeze palak that has been seasoned with spices or herbs. After seasoning the palak, blanch it quickly in boiling water and then plunge it into ice water to retain its color and nutrients. Allow it to drain and pat dry before transferring to airtight containers or freezer bags, ensuring proper sealing, and store for up to 2-3 months in the freezer for later use in various recipes. Freezing seasoned palak can add flavor to your dishes while preserving its nutritional value.
Can you freeze palak that has been mixed with other vegetables?
Yes, you can freeze palak that has been mixed with other vegetables. However, consider that the texture and taste of the vegetables may be slightly altered upon freezing and thawing. After mixing the palak with other vegetables, blanch them quickly in boiling water, then plunge them into ice water to retain their color and nutrients. Allow the mixture to drain and pat dry before transferring to airtight containers or freezer bags, ensuring proper sealing, and store for up to 2-3 months in the freezer for later use in various recipes. Freezing mixed palak and vegetables can provide a convenient and flavorful addition to your culinary endeavors.
Can I freeze palak with added yogurt or cream?
Yes, you can freeze palak with added yogurt or cream, but it’s essential to consider the texture and consistency changes upon freezing and thawing. Dairy-based additions like yogurt or cream may undergo separation or curdling when frozen, affecting the palak’s overall appeal. If you still wish to freeze palak with yogurt or cream, consider using it in cooked dishes like curries or soups, where the texture changes are less noticeable, and stir well during reheating to incorporate any separated elements.

