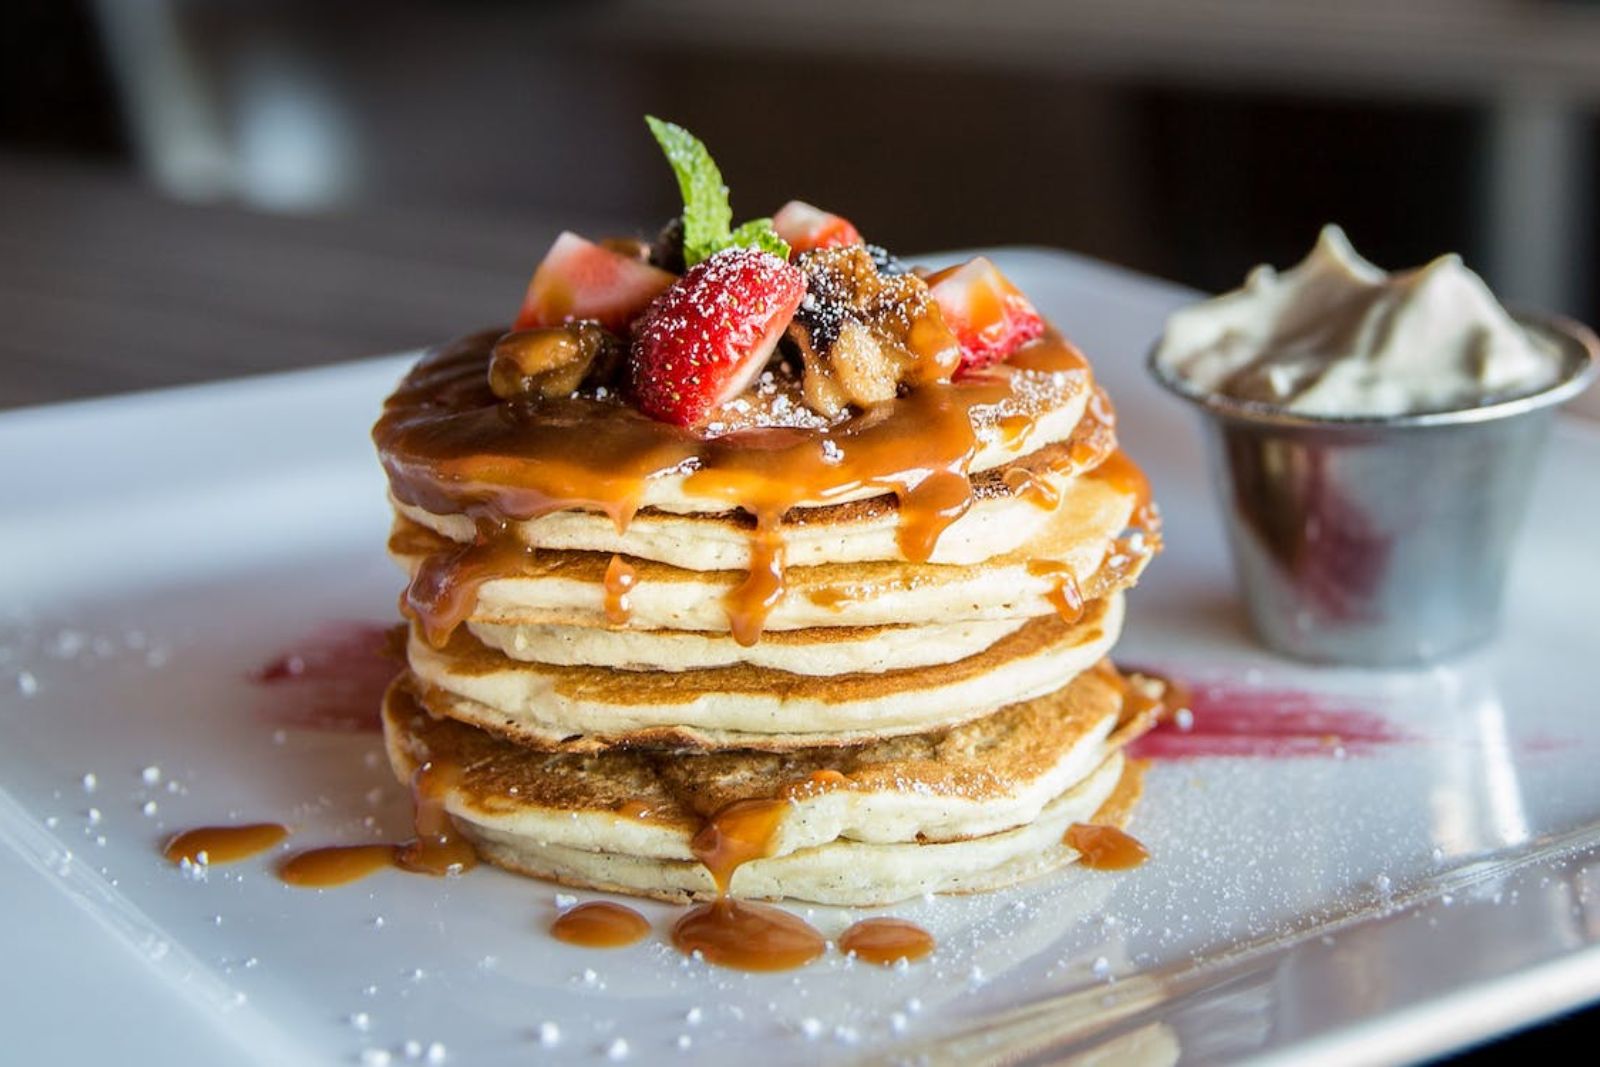
Pancakes are a beloved breakfast staple enjoyed by people of all ages. Whether you prefer them stacked high with syrup, topped with fruit, or simply buttered, there’s no denying the universal appeal of these fluffy, golden disks. Making a big batch of pancakes in advance and freezing them is a fantastic way to have a quick and delicious breakfast on busy mornings or to satisfy those sudden pancake cravings. In this article, we’ll walk you through the steps to freeze pancakes properly, ensuring they taste just as delicious as when they were freshly made.
Here’s a guide on how to freeze pancakes:
Step 1: Prepare your pancakes
The first step in freezing pancakes is to prepare a fresh batch of your favorite pancake batter and cook the pancakes. This step is essential because it ensures that your pancakes are ready to be frozen while they are at their peak deliciousness. Here’s a more detailed explanation of this crucial step:
- Gather your ingredients: Start by collecting all the ingredients needed to make your pancake batter. This typically includes flour, sugar, baking powder, salt, eggs, milk, and melted butter. You can also add flavorings like vanilla extract or spices to customize your pancakes to your liking.
- Mix the batter: In a mixing bowl, combine the dry ingredients, such as flour, sugar, baking powder, and salt. In a separate bowl, whisk together the wet ingredients, including eggs, milk, and melted butter. Then, gradually add the wet ingredients to the dry ones, stirring until you have a smooth batter. Be careful not to overmix, as this can make the pancakes tough.
- Heat your griddle or skillet: Preheat a griddle or skillet over medium-high heat. You can test if it’s hot enough by sprinkling a few drops of water on the surface; they should sizzle and evaporate quickly.
- Grease the cooking surface: To prevent the pancakes from sticking, lightly grease the griddle or skillet with a small amount of oil or butter. You can use a paper towel or a cooking spray for this purpose.
- Pour the batter: Once the cooking surface is hot and greased, ladle or pour the pancake batter onto it. You can make your pancakes as small or as large as you prefer, keeping in mind that larger pancakes may require slightly longer cooking times.
- Cook until bubbles form: Allow the pancakes to cook until you see bubbles forming on the surface. This usually takes a few minutes. When the edges of the pancakes look set and the bottom is golden brown, it’s time to flip them.
- Flip and cook the other side: Carefully flip the pancakes using a spatula and cook the other side until it’s also golden brown and the pancakes are cooked through. The total cooking time may vary depending on the size of your pancakes and the heat of your griddle or skillet.
- Remove from heat: Once your pancakes are cooked to perfection, remove them from the griddle or skillet and transfer them to a plate. Allow them to cool to room temperature before proceeding to the next steps in the freezing process.
Step 2: Cool the pancakes
After you’ve prepared and cooked your delicious pancakes, the next crucial step in freezing them is to allow them to cool completely at room temperature. This step may seem simple, but it’s essential for several reasons, and here’s a detailed explanation of why it matters:
- Prevents condensation: When you remove hot pancakes from the griddle or skillet, they can release steam and moisture. Placing them directly into an airtight container or wrapping them while still warm can lead to condensation inside the packaging. This excess moisture can result in freezer burn, which negatively impacts the texture and flavor of the pancakes.
- Maintains texture: Allowing pancakes to cool naturally helps maintain their ideal texture. If you seal or package them while they’re still warm, they may become soggy as steam gets trapped inside. Cooling at room temperature ensures that the pancakes retain their desired fluffiness and don’t become overly soft or mushy.
- Prevents sticking: Placing hot pancakes in a container or wrapping them before cooling can cause them to stick together or to the packaging material. This can make it challenging to separate them when you’re ready to reheat and enjoy them.
- Preserves freshness: Cooling the pancakes on a wire rack or a clean, dry surface allows air to circulate around them. This airflow helps dissipate any residual heat and moisture, ensuring that your pancakes maintain their freshness during the cooling process. Stacking them directly on top of each other while hot can lead to a loss of quality.
- Food safety: Rapidly cooling hot food items to room temperature is a crucial food safety practice. It helps prevent the growth of harmful bacteria that can thrive in the temperature danger zone (between 40°F and 140°F or 4°C and 60°C). Cooling the pancakes promptly reduces the time they spend in this danger zone.
- Flavor preservation: Allowing the pancakes to cool naturally can also help preserve their flavor. Hot pancakes may release more volatile compounds, potentially leading to flavor loss if sealed too soon. Cooling them properly ensures that you’ll enjoy the full, delicious taste of your pancakes when you reheat them.
To cool your freshly cooked pancakes, place them on a wire rack or a clean, flat surface, making sure they are in a single layer. This allows air to circulate around them, promoting even cooling. Once they have reached room temperature, you can proceed with the next steps for freezing them while maintaining their quality and deliciousness.
Step 3: Separate the pancakes
Now that your freshly cooked pancakes have cooled to room temperature, the next critical step in preparing them for freezing is to separate them properly. This step ensures that the pancakes don’t stick together during storage and remain easy to handle when you’re ready to enjoy them. Here’s a detailed explanation of why and how to separate the pancakes:
- Prevents sticking: Pancakes have a tendency to stick together when stored in close proximity, especially if they have any residual moisture. Sticking can lead to damage when trying to separate them, potentially resulting in torn pancakes or a mess on your hands.
- Facilitates portioning: Separating the pancakes with parchment paper or wax paper creates individual layers, making it easier to take out and thaw only the number of pancakes you need at any given time. This ensures that you won’t have to thaw the entire batch if you only want a few pancakes.
- Maintains freshness: Placing a barrier between the pancakes, such as parchment paper, helps prevent moisture transfer between them. This separation reduces the risk of pancakes becoming soggy or freezer burned over time, preserving their freshness.
- Protects texture and appearance: Separation ensures that pancakes retain their texture and appearance. When pancakes stick together, they can become misshapen or lose their outer crispness, affecting both their visual appeal and taste.
- Ease of handling: Separated pancakes are easier to handle during the freezing and thawing process. You won’t need to pry them apart, reducing the risk of damaging them.
Here’s how to separate the pancakes effectively:
- Lay a sheet of parchment paper or wax paper on a clean, flat surface.
- Place one pancake on the parchment paper.
- Add another sheet of parchment paper on top of the first pancake.
- Carefully place another pancake on the second sheet of parchment paper.
- Continue this process, alternating between pancakes and parchment paper, until you’ve stacked all the pancakes. Make sure to finish with a sheet of parchment paper on top to create a protective barrier.
- Repeat this stacking process for any additional sets of pancakes you wish to freeze. You can stack as many pancakes as you like in each set, but make sure that the stack is not too high to prevent them from getting crushed.
Step 4: Wrap the stack
After successfully separating your pancakes with parchment paper or wax paper, the next crucial step in freezing them is to wrap the entire stack securely in plastic wrap. This step is essential to protect your pancakes from exposure to air, which can lead to freezer burn. Here’s a detailed explanation of why and how to wrap the stack of pancakes:
- Prevents freezer burn: Freezer burn occurs when moisture in food turns into ice crystals on the surface. When food is exposed to air, these ice crystals can form, causing the food to become dehydrated and develop unpleasant textures and flavors. Wrapping the pancakes in plastic wrap creates a barrier that helps prevent air from reaching the surface of the pancakes, reducing the risk of freezer burn.
- Maintains freshness: Properly wrapped pancakes retain their moisture and freshness for an extended period in the freezer. This means that when you eventually thaw and reheat them, they will taste as delicious as they did when you first made them.
- Protects against odors: Plastic wrap not only guards against air exposure but also helps prevent your pancakes from absorbing any unwanted odors or flavors from other foods in the freezer. This ensures that your pancakes maintain their original taste.
- Facilitates organization: Wrapping the stack of pancakes individually allows for easy organization in your freezer. You can stack them neatly and make the most of your freezer space without worrying about them sticking together or getting damaged.
Here’s how to wrap the stack of pancakes properly:
- Place the stack of pancakes in the center of a sheet of plastic wrap that is large enough to completely cover the stack.
- Fold one side of the plastic wrap over the top of the pancakes.
- Pull the other side of the plastic wrap over the pancakes, ensuring that they are fully enclosed.
- Tuck in the ends of the plastic wrap to seal the stack completely. It’s important to create a tight seal to prevent any air from getting inside.
- If necessary, you can use an additional sheet of plastic wrap to ensure complete coverage and protection.
- Press down gently on the wrapped stack to remove any trapped air and create a snug, airtight seal.
Step 5: Place the wrapped stack in a freezer bag
After wrapping your stack of pancakes tightly in plastic wrap, the next important step in preserving their quality during freezing is to place them inside a resealable freezer bag. This additional layer of protection serves two crucial purposes: guarding against freezer burn and preventing the absorption of unwanted odors. Here’s a detailed explanation of why and how to use a freezer bag:
- Guarding against freezer burn: As mentioned earlier, freezer burn occurs when moisture in food turns into ice crystals on the surface. While plastic wrap provides a good initial barrier against air exposure, using a freezer bag further enhances protection. The thicker material of the bag and its airtight seal significantly reduce the risk of freezer burn, ensuring your pancakes remain moist and flavorful.
- Preventing odors and flavors: Freezer bags are designed to be airtight, which means they effectively isolate the contents from the surrounding environment. This isolation helps prevent your pancakes from absorbing any unwanted odors or flavors from other items in your freezer. It ensures that your pancakes retain their original taste.
- Organization and storage: Placing wrapped pancakes inside a freezer bag not only protects them but also makes it easier to organize your freezer. You can stack multiple bags neatly, optimizing your freezer space without the risk of damaging the pancakes.
Here’s how to use a freezer bag to protect your wrapped pancake stack:
- Take a resealable freezer bag large enough to comfortably accommodate the wrapped stack of pancakes. You can use gallon-sized or quart-sized bags, depending on the quantity of pancakes you’re freezing.
- Carefully place the wrapped stack of pancakes inside the freezer bag.
- As you seal the bag, press out as much air as possible to create an airtight seal. Removing excess air reduces the chances of freezer burn.
- Once sealed, double-check the closure to ensure it’s tightly secured.
- If you have multiple stacks of pancakes to freeze, repeat this process for each stack and place them in separate freezer bags.
Step 6: Label and date the bag
Now that your wrapped stack of pancakes is securely placed inside a resealable freezer bag, it’s essential to label the bag with specific information. This step is crucial for maintaining organization, tracking freshness, and ensuring you know what’s inside each bag when you’re ready to use them. Here’s a detailed explanation of why and how to label and date the freezer bag:
- Tracking freshness: Labeling the bag with the date of freezing helps you keep track of how long the pancakes have been in the freezer. Pancakes are at their best quality when consumed within a certain timeframe, typically three to four months. Knowing the freezing date allows you to use the oldest pancakes first, ensuring they remain as fresh as possible.
- Identification: If you have different types of pancakes or variations with unique flavors or toppings, labeling the bag provides clear identification. This prevents any confusion when you’re selecting pancakes from your freezer, especially if you have multiple bags containing different varieties.
- Organization: Labeling and dating each bag contributes to overall freezer organization. It simplifies the process of finding and selecting the specific pancakes you want to enjoy, reducing the need to open multiple bags to identify their contents.
- Prevents waste: By including any special notes on the bag, such as flavor or toppings, you can remind yourself of any specific details about the pancakes. This information can help you plan your breakfast and prevent waste by ensuring you use the right pancakes for your desired meal.
Here’s how to label and date the freezer bag effectively:
- Take a permanent marker or a label and write the date of freezing on the bag. Be sure to include the month and year. For example, “09/2023” for September 2023.
- If you have different types of pancakes in your freezer, write a brief description on the bag, such as “Blueberry Pancakes” or “Chocolate Chip Pancakes.” This will help you easily identify the contents.
- If your pancakes have any special notes, such as dietary considerations (e.g., gluten-free) or specific toppings (e.g., maple syrup drizzle), you can write these details on the bag as well.
- Ensure that your labeling is clear and legible for easy reference.
Step 7: Freeze the pancakes
Now that you’ve properly prepared your pancakes for freezing by wrapping, sealing, and labeling them, it’s time to store them in the freezer. Freezing your pancakes correctly is essential to maintain their quality and taste. In this step, we’ll explain why it’s crucial to lay the labeled and sealed freezer bag flat in your freezer and how this practice ensures even freezing and efficient use of freezer space.
- Even freezing: Laying the freezer bag flat in the freezer allows the pancakes to freeze evenly. When the bag is flat, the pancakes are in direct contact with the freezer shelves or rack, ensuring consistent freezing temperatures all around. This prevents any uneven freezing, which can lead to variations in texture and taste.
- Efficient use of space: Storing the freezer bag flat maximizes the use of your freezer space. Pancakes are typically flat and thin, making them ideal for stacking in a horizontal arrangement. This method allows you to stack other items on top, making the most of the available space in your freezer.
- Prevents sticking and damage: Laying the freezer bag flat also helps prevent pancakes from sticking together or getting damaged during freezing. When pancakes are stacked flat, they are less likely to adhere to each other. This reduces the risk of having to pry them apart when you want to remove just a few for reheating.
- Easy retrieval: Storing the bag flat makes it easier to locate and retrieve specific items from your freezer. You can quickly identify and access the labeled bag without having to move other items around.
Here’s how to properly freeze your pancakes:
- Make sure the labeled and sealed freezer bag containing your wrapped stack of pancakes is securely closed.
- Lay the bag flat in your freezer. Ensure that it’s on a level surface and not tilted or slanted.
- If you have multiple bags of pancakes or other items to freeze, arrange them neatly in your freezer, leaving enough space between each bag for air circulation.
- Avoid stacking multiple bags on top of each other immediately after placing them in the freezer. Instead, allow them to freeze flat for a few hours or until they are solid. Once frozen, you can stack them if needed.
How long can pancakes last in the freezer?
Pancakes can last in the freezer for approximately 3 to 4 months when stored properly in an airtight container or freezer bag. Beyond this timeframe, they may still be safe to eat but can gradually lose their flavor and texture. Labeling and dating the packaging helps track their freshness.
Step 8: Reheat and enjoy
After successfully freezing your pancakes, the final step is to reheat and savor them when you’re ready for a delicious breakfast. Properly reheating frozen pancakes ensures that they taste nearly as good as when they were first made. Here’s an explanation of why reheating is essential and how to do it effectively:
- Restores texture and flavor: Reheating frozen pancakes helps restore their original texture and flavor. Freezing can cause slight moisture loss, but reheating helps rehydrate them, making them fluffy and flavorful once again.
- Convenience: Having frozen pancakes on hand provides a convenient and quick breakfast option, especially on busy mornings. You won’t need to spend time preparing batter and cooking pancakes from scratch.
- Versatility: You can reheat frozen pancakes using various methods, allowing you to choose the one that best suits your preferences and available equipment.
Here’s how to reheat frozen pancakes effectively:
- Remove from the freezer: When you’re ready to enjoy your frozen pancakes, remove the labeled and dated freezer bag from the freezer. Take out as many pancakes as you need for your meal.
- Thaw (optional): If you have time, you can let the frozen pancakes thaw in the refrigerator overnight. Thawing before reheating can help ensure even heating throughout the pancakes.
- Toaster or toaster oven: Preheat your toaster or toaster oven to a low to medium setting. Place the frozen pancakes directly into the toaster slots or on the toaster oven rack. Toast them until they are heated through and have a slightly crispy exterior, typically 1-2 cycles.
- Microwave: Place the frozen pancakes on a microwave-safe plate and cover them with a microwave-safe lid or microwave-safe plastic wrap. Microwave on a low to medium power setting in 20-30 second intervals, flipping the pancakes between intervals, until they are heated to your desired temperature. Be cautious not to overheat, as this can make them tough or rubbery.
- Oven: Preheat your oven to around 350°F (175°C). Place the frozen pancakes on a baking sheet and cover them with aluminum foil to prevent excessive drying. Bake for about 10-15 minutes or until the pancakes are heated through.
- Serve and enjoy: Once your pancakes are heated to your liking, remove them from the heat source, and serve them with your favorite toppings, such as maple syrup, butter, fresh fruit, or whipped cream. They should taste nearly as good as when they were first made, providing a convenient and satisfying breakfast option.
Other related questions
Can I refreeze pancakes?
It is generally safe to refreeze pancakes if they have been thawed in the refrigerator and handled and cooked properly during the initial thawing process. However, repeated freezing and thawing cycles can affect their quality, leading to changes in texture and taste. It’s advisable to avoid unnecessary refreezing to preserve the pancakes’ original quality.
How do I know if the pancakes have gone bad after being frozen?
Pancakes that have gone bad after freezing may exhibit signs such as freezer burn, ice crystals, or a noticeable change in texture or flavor. Inspect the pancakes for any unusual odors or off-putting appearances. If there are any doubts about their safety or quality, it is advisable to discard them to avoid the risk of consuming spoiled food.
Can I freeze pancakes with toppings like syrup or berries?
Yes, you can freeze pancakes with toppings, but it’s often better to freeze them without toppings. Toppings like syrup can become soggy during freezing and reheating. Consider adding fresh toppings after reheating.
Can I freeze different types of pancakes, like whole wheat or gluten-free?
Absolutely! You can freeze various types of pancakes, including whole wheat, gluten-free, or any other variations. Just follow the same freezing and reheating instructions tailored to the specific type.
Can I freeze pancakes that have been sitting out for a while?
It is not advisable to freeze pancakes that have been sitting out for an extended period as they may have lost their freshness and quality. Pancakes should be cooled to room temperature shortly after cooking and then promptly frozen to preserve their texture and flavor. Freezing pancakes that have been left out for an extended time may result in suboptimal taste and texture upon thawing and reheating.
Can I freeze pancakes made with alternative flours (e.g., almond or coconut flour)?
Yes, pancakes made with alternative flours like almond or coconut flour can be frozen following the same procedures as regular pancakes. However, be mindful of excess moisture in ingredients like vegetables or dairy substitutes, as they may impact texture during freezing and reheating. Properly wrapped and sealed, alternative flour pancakes can be preserved in the freezer for future enjoyment.
Is it possible to freeze pancakes with savory toppings like cheese or vegetables?
Yes, it is possible to freeze pancakes with savory toppings like cheese or vegetables. However, consider removing excess moisture from ingredients like vegetables to prevent sogginess during freezing. Proper wrapping and sealing can help maintain the texture and quality of savory pancakes when frozen.

