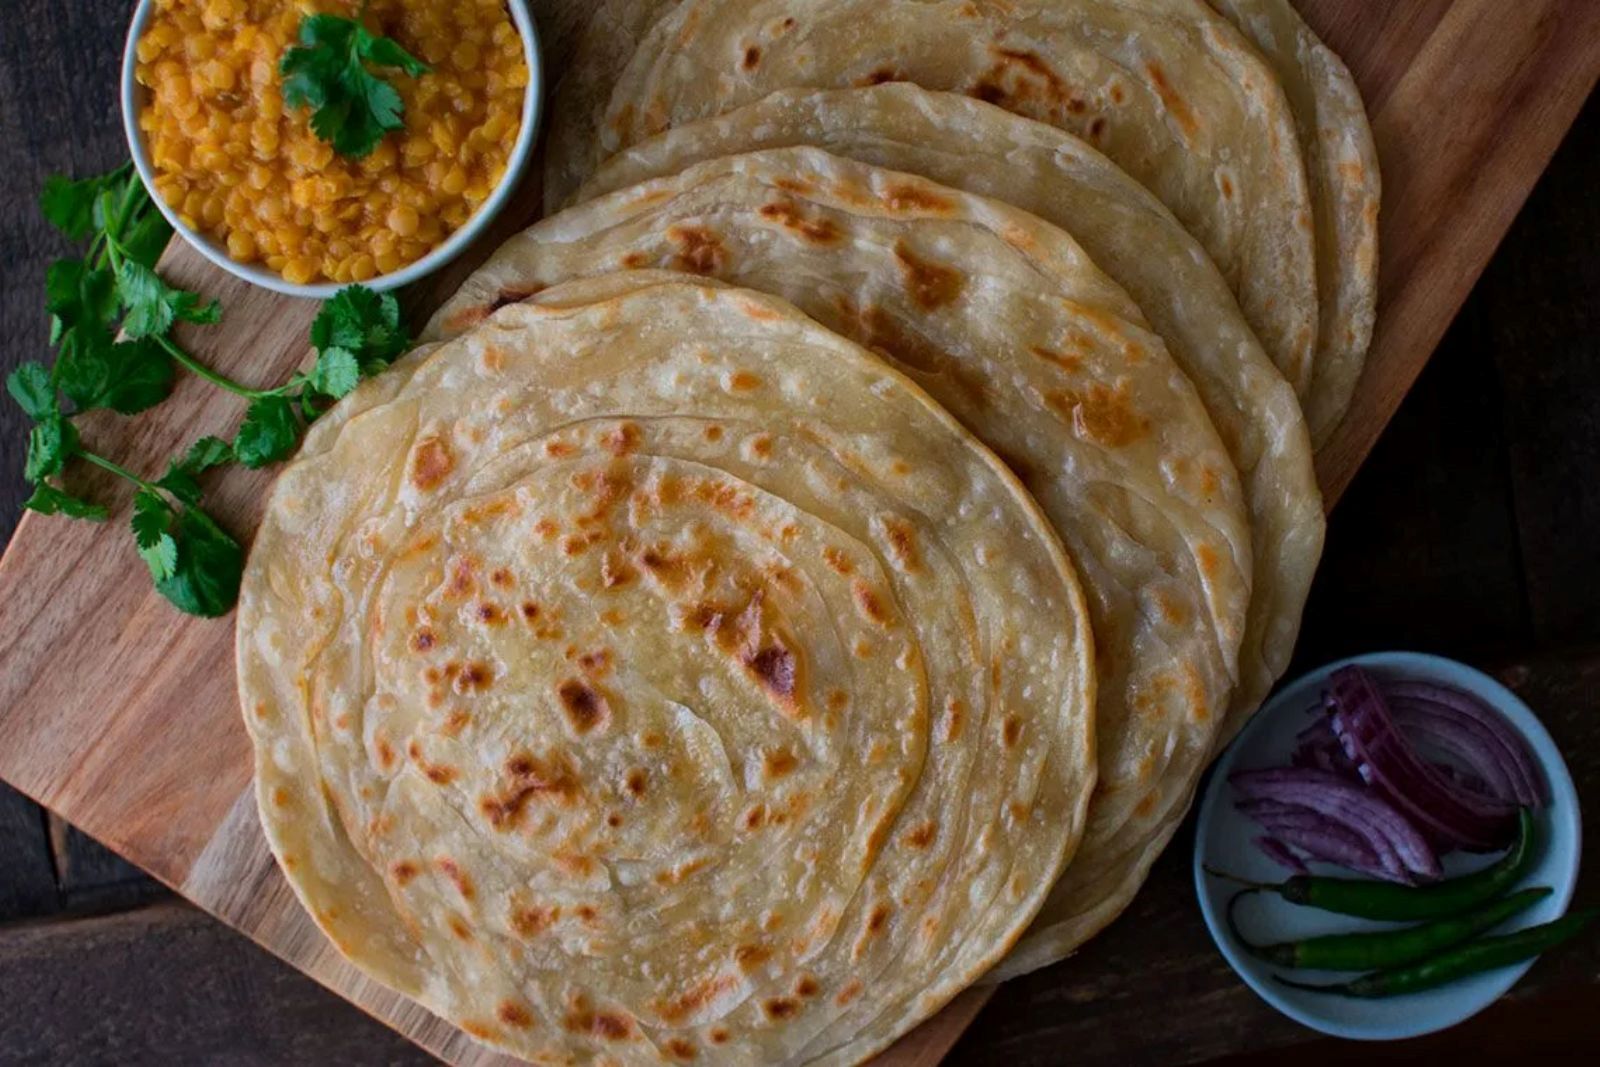
Parathas are a popular type of Indian flatbread that is known for its flaky layers and delicious taste. Whether you make parathas from scratch or buy them from a store, freezing them is a great way to extend their shelf life and have them on hand whenever you’re craving a tasty meal. Freezing parathas is a simple process that can be done with just a few steps. In this article, we will guide you through the process of freezing parathas to ensure that they retain their texture and flavor for future enjoyment.
Here’s a step-by-step guide on how to freeze parathas:
Step 1: Prepare the parathas
Before freezing your parathas, it’s important to ensure that they are fully cooked and cooled. This step applies whether you choose to make fresh parathas from scratch or use store-bought ones. Here’s why:
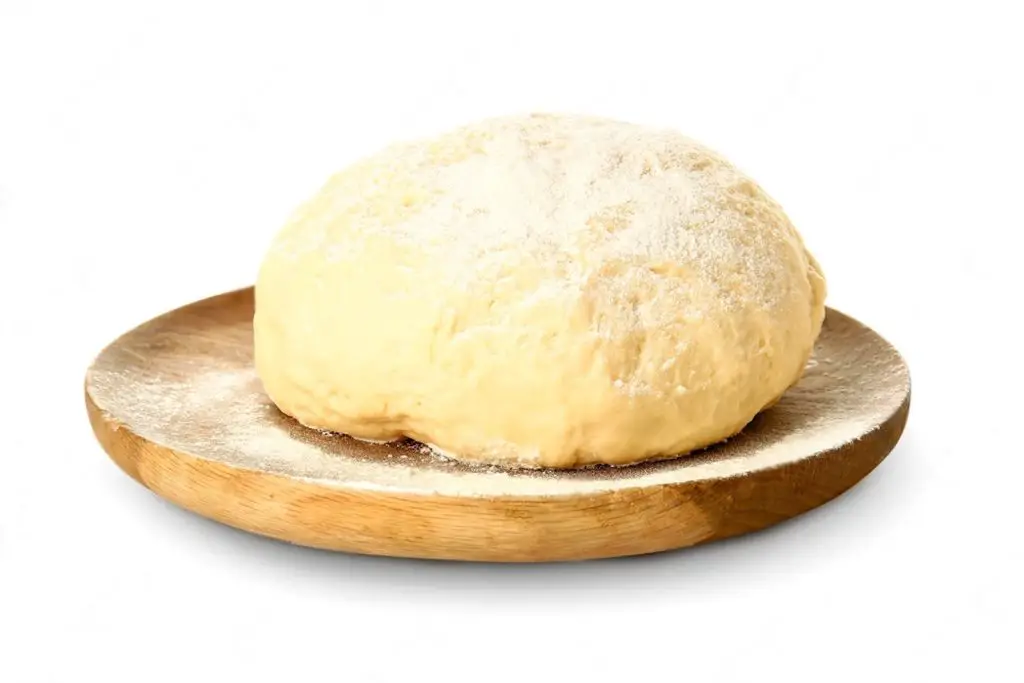
If you decide to make fresh parathas, you’ll need to prepare the dough, roll it out, and cook them on a hot griddle or skillet. Once cooked, allow the parathas to cool completely before moving on to the freezing process. This is crucial because freezing warm or hot parathas can result in excess moisture, leading to a loss of texture and quality when thawed.
On the other hand, if you opt for store-bought parathas, they usually come pre-cooked and may even be partially cooked. However, it’s still essential to follow the instructions on the packaging and ensure that the parathas are fully cooked before freezing. Partially cooked parathas may not hold up well during the freezing process and could develop an uneven texture when reheated later.
By ensuring that your parathas are fully cooked and cooled before freezing, you’re setting a solid foundation for maintaining their taste, texture, and overall quality. This step allows the parathas to retain their flakiness and prevents any potential issues that may arise from freezing them while still warm or partially cooked. So take the time to cook your parathas thoroughly and let them cool down completely before proceeding to the next step of the freezing process.
Step 2: Separate the parathas
If your parathas are stacked together, it’s essential to separate them carefully before freezing. This step is important to prevent the parathas from sticking together, which can make it difficult to thaw and separate individual parathas later on. Here’s why this is necessary:
- When parathas are stacked together without any separation, there is a higher likelihood of them sticking to each other as they freeze. This can happen due to moisture present on the surface of the parathas or the moisture released during the freezing process. If the parathas freeze together as a solid block, it becomes challenging to thaw and separate them without causing them to tear or break apart.
- By taking the time to separate the parathas before freezing, you ensure that each paratha maintains its integrity and can be individually thawed and reheated without any issues. This is particularly useful when you only want to thaw and enjoy a single paratha, rather than the entire batch. It allows for greater flexibility and convenience when it comes to serving and portioning the parathas.
To separate the parathas, gently peel them apart one by one, making sure to handle them with care to avoid any tearing or damage. If needed, you can place a small piece of parchment paper or wax paper between each paratha to provide an additional layer of separation and prevent sticking.
Step 3: Wrap the parathas
Once you have separated the parathas, the next step in freezing them is to individually wrap each paratha tightly with plastic wrap or aluminum foil. This step is crucial as it helps prevent the parathas from sticking together during the freezing process and allows for easy retrieval of the desired quantity later on. Here’s why this step is important:
- Prevention of sticking: Wrapping each paratha individually creates a protective barrier between them. This prevents the parathas from coming into direct contact with each other and sticking together as they freeze. Sticking can be problematic because it can lead to tearing or breakage when attempting to separate the parathas, which can result in a loss of their original shape and texture.
- Ease of portioning: By wrapping each paratha individually, you can easily retrieve the desired quantity of parathas from the freezer without having to thaw the entire batch. This is particularly useful when you only need a few parathas at a time. The individually wrapped parathas can be stored compactly, allowing you to take out and thaw only the number of parathas you require for a meal.
- Protection from freezer burn: Wrapping the parathas tightly with plastic wrap or aluminum foil helps protect them from freezer burn. Freezer burn occurs when moisture is lost from the surface of the food, leading to dry and dehydrated spots. By creating a tight seal around each paratha, you minimize exposure to air and reduce the risk of freezer burn, preserving the quality and taste of the parathas.
When wrapping the parathas, ensure that they are tightly sealed to prevent any air or moisture from getting in. This can be done by wrapping them snugly with plastic wrap or aluminum foil, making sure there are no gaps or openings. You can also consider double-wrapping them for added protection.
Step 4: Place in a freezer bag
After wrapping each paratha individually, the next step is to transfer them into a resealable freezer bag. This additional layer of packaging provides extra protection against freezer burn and helps maintain the quality of the parathas during their time in the freezer. Here’s why this step is important:
- Prevention of freezer burn: Freezer burn can occur when food is exposed to air and moisture in the freezer for an extended period. It leads to dry and dehydrated patches on the surface of the food, resulting in a loss of flavor and texture. Placing the individually wrapped parathas in a freezer bag helps create a more airtight environment, reducing the chances of freezer burn and preserving the parathas’ quality.
- Removal of air: Before sealing the freezer bag, it’s essential to remove as much air as possible from the bag. Air contains moisture that can contribute to freezer burn and deteriorate the parathas’ texture. By squeezing out excess air from the bag, you minimize the presence of moisture and create a more optimal freezing environment for the parathas.
- Organization and space efficiency: Using a freezer bag allows for better organization and space utilization in the freezer. The bag keeps the parathas together and prevents them from getting lost or scattered. It also helps to maintain a neat and compact storage arrangement, making it easier to locate and retrieve the parathas when needed.
When placing the individually wrapped parathas in the freezer bag, ensure that they are arranged in a single layer if possible. This prevents them from being stacked too tightly, which can lead to unnecessary pressure and potential damage. If you have a large number of parathas, you can use multiple freezer bags or separate them into smaller portions for added convenience.
Once the parathas are in the freezer bag, carefully seal it, ensuring that there are no gaps or openings. You can use the zip-lock or press-to-seal feature of the bag to create a secure closure.
Step 5: Label and date the bag
Once the parathas are placed in the freezer bag, it’s important to label and date the bag. By marking the date of freezing on the bag, you establish a system of organization and ensure that you use the oldest parathas first. Here’s why this step is important:
- Freshness and quality control: Labeling and dating the bag allows you to keep track of how long the parathas have been in the freezer. Over time, frozen foods can lose their quality, flavor, and texture. By knowing the date of freezing, you can monitor the freshness of the parathas and ensure that they are consumed within a reasonable timeframe to enjoy them at their best.
- Rotation and inventory management: When you label and date the bag, you establish a system of rotation and inventory management. Using the oldest parathas first ensures that none of them are left in the freezer for an extended period, where they may deteriorate in quality. This practice helps prevent food waste and ensures that you maximize the enjoyment of your frozen parathas.
- Convenience and planning: Labeling and dating the bag also provide convenience and assist in meal planning. By knowing the date of freezing, you can plan ahead and incorporate the frozen parathas into your meal rotation. This allows you to defrost and reheat the parathas as needed, making meal preparation more efficient and streamlined.
To label the freezer bag, you can use a marker or a label. Write the date of freezing in a clear and visible manner, ensuring that it is legible. You may also consider adding any additional information or specific details you find helpful, such as the type of parathas or any flavor variations.
Step 6: Freeze the parathas
Once the labeled and sealed bag of parathas is ready, it’s time to place it in the freezer for the actual freezing process. Proper freezing ensures that the parathas maintain their quality and remain fresh for an extended period. Here’s why this step is important:
- Solidification of texture: Freezing the parathas helps solidify their texture and structure. As the parathas freeze, the moisture within them turns into ice crystals. This solidification process helps preserve the integrity of the parathas, preventing them from becoming mushy or losing their shape.
- Prevention of breakage: When placing the bag of parathas in the freezer, it’s important to lay it flat. Placing the bag flat helps distribute the weight evenly and minimizes the risk of the parathas breaking or getting damaged. It also allows for easier stacking and organizing of the freezer space.
- Ideal freezing time: Leaving the parathas in the freezer for at least 2 to 3 hours, or until they are completely frozen, ensures that the freezing process is completed. The exact freezing time may vary depending on factors such as the thickness of the parathas and the temperature of your freezer. It’s important to give the parathas sufficient time to freeze thoroughly, as partially frozen parathas may not hold up well and could result in an uneven texture when reheated.
To freeze the parathas, place the sealed bag flat in the freezer, making sure it is positioned in a way that avoids any undue pressure or weight on the parathas. If you have limited freezer space, you can also consider placing the bag vertically against a wall or stacking it carefully with other frozen items, taking care not to crush the parathas.
It’s recommended to leave the parathas in the freezer for the suggested minimum time of 2 to 3 hours, or until they are completely frozen. However, if you plan to store them for an extended period, it’s advisable to check if they are frozen solid before transferring them to a more permanent storage position.
Step 7: Store in the freezer
After the parathas have been frozen and solidified, it’s time to store them in the freezer for long-term preservation. Proper storage ensures that the parathas remain in good condition and are easily accessible when you’re ready to enjoy them. Here’s why this step is important:
- Maximizing freezer space: Once the parathas are frozen, you may need to rearrange them in the freezer to maximize the available space. By organizing and stacking the frozen parathas efficiently, you can make the most of the freezer’s capacity. Consider placing them in a designated spot where they can be stored without getting crushed or damaged by other items.
- Protection from damage: It’s crucial to store the frozen parathas in a way that protects them from being crushed, bent, or damaged. Avoid placing heavy items on top of the parathas, as this can deform their shape or cause breakage. If necessary, you can use freezer-safe containers or bins to keep the parathas separate from other items and provide an extra layer of protection.
- Accessibility and convenience: Store the frozen parathas in a location that is easily accessible and visible to avoid searching or rummaging through the freezer. This makes it more convenient to retrieve the desired quantity of parathas when needed. You may want to consider organizing them in a way that allows for easy identification and grabbing, such as storing them upright or placing them in labeled containers.
When storing the parathas, it’s essential to maintain a consistent freezing temperature. Make sure your freezer is set to the appropriate temperature (usually around 0°F or -18°C) to ensure optimal preservation.
Remember to maintain a record of the date of freezing and consume the parathas within a reasonable time frame to enjoy them at their best. Proper storage in the freezer helps prolong the shelf life of the parathas and ensures a delightful culinary experience in the future.
How long can I store frozen parathas?
Frozen parathas can be stored for up to 3 months without significant loss of quality. However, for the best taste and texture, it is recommended to consume them within 1-2 months. Remember to check the date of freezing on the labeled bag and use the oldest parathas first.
Step 8: Thaw and reheat
When the time comes to enjoy the frozen parathas, it’s important to properly thaw and reheat them to bring back their delicious taste and texture. Here’s how you can do it:
- Thawing the parathas: Remove the desired quantity of parathas from the freezer and place them on a plate or a clean surface. Let them thaw at room temperature for about 30 minutes. Thawing at room temperature allows the parathas to gradually reach a softer and pliable state, making them easier to handle during the reheating process.
- Reheating options: Once the parathas have thawed, you have a couple of options to reheat them. One popular method is using a skillet or a frying pan. Preheat the skillet over medium heat and place the thawed paratha on it. Cook for a few minutes on each side until the paratha becomes warm, flaky, and lightly browned. Another option is to use a toaster oven. Preheat the toaster oven and place the paratha directly on the rack or a baking sheet. Heat for a few minutes until warmed through and crisp.
- Monitoring the reheating process: While reheating the parathas, it’s important to keep an eye on them to prevent overcooking or burning. Flip them gently in the skillet or toaster oven to ensure even heating on both sides. The exact reheating time may vary depending on the thickness of the parathas and the desired level of crispness.
- Serving and enjoying: Once the parathas are heated to your liking, remove them from the skillet or toaster oven and serve immediately. Parathas are best enjoyed fresh and hot. You can serve them as a standalone dish or pair them with your favorite accompaniments such as curries, chutneys, or yogurt.
Thawing the parathas at room temperature before reheating allows them to regain their flexibility and prevents them from becoming too brittle during the reheating process. Reheating the parathas in a skillet or toaster oven ensures that they become warm, flaky, and appetizing.
It’s worth mentioning that if you need to reheat only a few parathas from a larger batch, you can return the remaining parathas to the freezer promptly to maintain their freshness. Always follow safe food handling practices and discard any parathas that have been left at room temperature for more than two hours.
Can I thaw and reheat frozen parathas in the microwave?
While it is possible to thaw and reheat frozen parathas in the microwave, it may result in a softer texture compared to using a skillet or toaster oven. If using the microwave, place the frozen paratha on a microwave-safe plate and heat it on medium power in short intervals, flipping it occasionally until heated through.
Other related questions
Can I refreeze parathas?
Refreezing parathas is generally not recommended. When parathas are thawed and then refrozen, their texture and quality may deteriorate. Additionally, repeated thawing and refreezing can increase the risk of bacterial growth and compromise food safety. It is best to consume parathas after thawing them once and avoid refreezing them for optimal taste and safety.
How do I know if the parathas have gone bad after being frozen?
To determine if frozen parathas have gone bad, examine their appearance, smell, and texture. Look for signs of mold, freezer burn, or discoloration on the surface of the parathas. If they have an off or rancid odor, or if they feel excessively dry or soggy, it is an indication that they may have spoiled. When in doubt, it is advisable to err on the side of caution and discard any parathas that show signs of spoilage to avoid foodborne illness.
Can I freeze homemade parathas that contain filling?
Yes, you can freeze parathas with filling. Ensure that the filling is fully cooked and cooled before assembling and freezing the parathas. Follow the same steps mentioned in the article, wrapping and storing them in freezer bags. Thaw and reheat them as instructed when you’re ready to enjoy.
Can I freeze parathas made with whole wheat flour?
Absolutely! Parathas made with whole wheat flour can be frozen in the same way as those made with regular flour. The freezing process will help preserve their freshness and nutritional value. Just ensure they are fully cooked before freezing.
Can I freeze parathas with different flavors or spices?
Yes, you can freeze parathas with different flavors or spices. Whether you have plain parathas or ones with added flavors like garlic, herbs, or spices, the freezing process remains the same. Just ensure that the parathas are fully cooked and cooled before wrapping and freezing them.
Can I freeze parathas that have been partially cooked?
It is not recommended to freeze parathas that have been partially cooked. Freezing partially cooked parathas may result in an uneven texture and affect their overall quality. It is best to fully cook the parathas, allow them to cool, and then freeze them following the steps mentioned in the article.
Can I freeze parathas made with alternative flours, such as gluten-free or almond flour?
Yes, you can freeze parathas made with alternative flours. The freezing process is the same regardless of the type of flour used. Just ensure the parathas are fully cooked before freezing. Keep in mind that parathas made with alternative flours may have a slightly different texture compared to those made with traditional wheat flour.
Can I freeze parathas without any oil or ghee?
Yes, you can freeze parathas without adding oil or ghee. The freezing process focuses on preserving the texture and taste of the parathas. If you prefer to add oil or ghee to the parathas during the reheating process for added flavor, you can do so after thawing and just before reheating.


