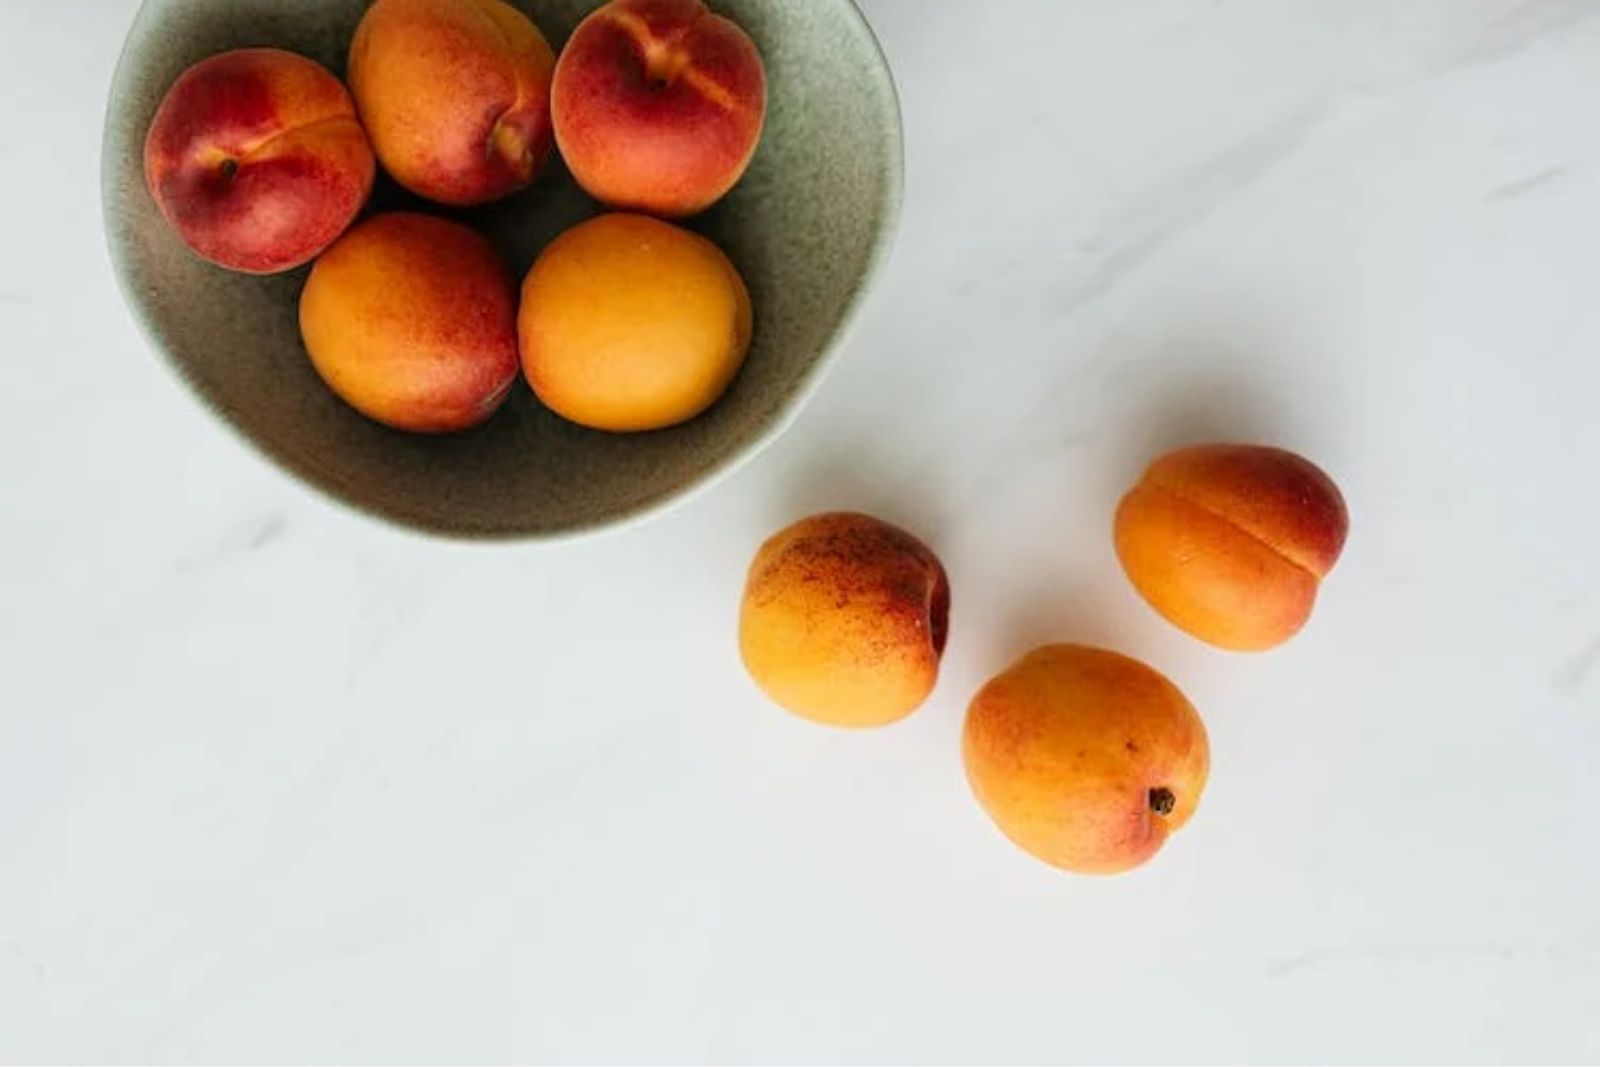
Peaches are a type of fruit that belong to the Rosaceae family. They are characterized by their fuzzy skin, juicy flesh, and a large pit in the center. Peaches are known for their sweet and aromatic flavor, making them a popular choice for eating fresh, baking, canning, and freezing. If you have a surplus of peaches or want to enjoy their goodness even when they’re out of season, freezing them is a great way to preserve their freshness. Freezing peaches is a simple process that can be done at home, allowing you to enjoy these luscious fruits throughout the year. In this article, we will provide a step-by-step guide on how to freeze peaches to maintain their taste and texture.
Here’s a comprehensive guide on how to freeze peaches:
- Step 1: Select ripe and firm peaches
- Step 2: Wash and peel the peaches (optional)
- Step 3: Remove the pit and slice the peaches
- Step 4: Treat the peaches with an anti-browning solution (optional)
- Step 5: Prepare a sugar syrup (optional)
- Step 6: Arrange the peach slices for freezing
- Step 7: Flash-freeze the peach slices
- Step 8: Package and seal the peach slices
- Step 9: Label and date the packages
- Step 10: Store in the freezer
Step 1: Select ripe and firm peaches
When selecting peaches for freezing, it’s important to choose ones that are ripe but still firm. Ripe peaches will have developed their full flavor and sweetness, ensuring a delicious end result. However, if the peaches are too soft or overripe, they may become mushy and lose their texture during the freezing process. By selecting peaches that are firm, you can ensure that they hold up well and maintain their shape and texture after freezing. A vibrant color indicates that the peaches are fresh and have ripened properly. Additionally, peaches should be free from bruises or blemishes, as these can indicate damage or spoilage. When gently pressed, ripe peaches should yield slightly, indicating that they are juicy and ready for consumption. Following these guidelines will help you choose the best peaches for freezing and ensure a high-quality end result.
Step 2: Wash and peel the peaches (optional)
Washing the peaches under cool running water is an optional step that can help remove any dirt, debris, or surface contaminants. While peaches have a protective outer layer, it’s still a good practice to give them a quick rinse before freezing to ensure cleanliness.
If you prefer to remove the skin from the peaches, blanching them briefly in boiling water for about 30 seconds can make the peeling process easier. Blanching involves immersing the peaches in boiling water for a short period and then transferring them to an ice bath to halt the cooking process. The hot water helps loosen the skin, making it easier to peel off.
Blanching is particularly useful when dealing with peaches that have clingy or stubborn skins. By blanching them, the skin becomes more pliable and less likely to tear or leave behind any residue. However, it’s worth noting that peeling the skin is a matter of personal preference, as the skin itself is edible and adds texture and flavor to the fruit.
Ultimately, whether to wash or peel the peaches is a choice based on personal preference and the intended use of the frozen peaches.
Step 3: Remove the pit and slice the peaches
To prepare the peaches for freezing, it is necessary to remove the pit and slice them into uniform pieces. Here’s an explanation of the steps involved:
- Cut each peach in half: Start by locating the natural indentation on the peach. Run a knife along the indentation, gently cutting through the flesh until you reach the pit in the center.
- Twist the halves: Once the peach is cut in half, hold each half firmly and twist them in opposite directions. This twisting motion helps separate the two halves, exposing the pit in the process.
- Remove the pit: Use a spoon or your fingers to carefully scoop out the pit from each peach half. Make sure to discard the pits as they are not suitable for freezing.
- Slice the peaches: Take each peach half and slice it into uniform pieces. The thickness of the slices is a matter of personal preference, but it’s generally recommended to aim for slices that are not too thick or too thin. Uniform slicing ensures that the peaches freeze and thaw evenly.
By removing the pit and slicing the peaches, you make them more convenient to use in various recipes or enjoy as a frozen treat. Slicing them into uniform pieces also promotes consistent freezing and helps preserve the texture and flavor of the peaches when they are thawed later on.
Can I freeze whole peaches?
Yes, you can freeze whole peaches. However, it’s recommended to peel and pit them first for easier handling and to save storage space. Consider slicing or halving the peaches before freezing for more versatility in using them later.
Step 4: Treat the peaches with an anti-browning solution (optional)
When peaches are exposed to air, enzymes in the fruit cause them to undergo a process called enzymatic browning, resulting in a brown discoloration. While this browning doesn’t affect the safety or taste of the peaches, it can impact their visual appeal. Treating the sliced peaches with an anti-browning solution is an optional step that can help prevent or minimize this enzymatic browning. Here’s an explanation of why and how this treatment works:
- Enzymatic browning: Enzymatic browning is a natural reaction that occurs when fruits or vegetables are exposed to oxygen. The enzyme responsible for this reaction, called polyphenol oxidase, reacts with phenolic compounds present in the fruit, leading to the formation of brown pigments.
- Anti-browning solution: An anti-browning solution, usually made from lemon juice or ascorbic acid (vitamin C), can be applied to the sliced peaches. Both lemon juice and ascorbic acid are acidic substances that inhibit the activity of polyphenol oxidase, thus slowing down or preventing enzymatic browning.
- Lemon juice: Lemon juice is a commonly used anti-browning solution due to its natural acidity. It provides a protective barrier by lowering the pH level of the peaches, creating an unfavorable environment for enzymatic browning to occur.
- Ascorbic acid: Ascorbic acid, also known as vitamin C, is another effective anti-browning agent. It works by reducing the pH level and acting as an antioxidant, inhibiting the enzymatic browning reaction.
By treating the sliced peaches with an anti-browning solution, you can help maintain their visual appeal and delay the onset of browning. However, it’s worth noting that this step is optional, and if you plan to use the frozen peaches in cooked or baked recipes where the appearance is less important, you may choose to skip this treatment.
Step 5: Prepare a sugar syrup (optional)
Preparing a sugar syrup is an optional step when freezing peaches, but it can enhance their flavor and help preserve their texture. Here’s an explanation of why and how to prepare a sugar syrup for freezing peaches:
- Flavor enhancement: Sugar syrup adds a touch of sweetness to the peaches, enhancing their natural flavor. It can bring out the natural sweetness of the fruit and make it more enjoyable when thawed later on.
- Texture preservation: Freezing peaches can sometimes result in a loss of texture, making them softer or mushier. The sugar syrup acts as a protective barrier, helping to retain the peaches’ texture by reducing the formation of ice crystals.
- Sugar syrup preparation: To prepare a sugar syrup, combine water and sugar in a saucepan. The ratio of sugar to water can vary based on personal preference and the desired sweetness. A common ratio is equal parts sugar and water (e.g., 1 cup sugar and 1 cup water).
- Dissolving the sugar: Heat the saucepan over medium heat, stirring continuously until the sugar completely dissolves. This ensures that the sugar is evenly distributed throughout the syrup.
- Cooling the syrup: Once the sugar has dissolved, remove the saucepan from the heat and allow the sugar syrup to cool completely. Cooling the syrup is important before using it to prevent premature thawing of the peaches during the freezing process.
By preparing a sugar syrup, you can add sweetness and help preserve the texture of the peaches when they are frozen. However, it’s important to note that this step is optional, and if you prefer to freeze the peaches without the sugar syrup, you can skip this step and proceed with the freezing process using the plain sliced peaches.
Step 6: Arrange the peach slices for freezing
Arranging the peach slices in a single layer on a baking sheet is an important step in the freezing process. Here’s an explanation of why and how to arrange the peach slices for freezing:
- Prevent sticking together: Placing the peach slices in a single layer ensures that they freeze individually and do not stick together. If the slices freeze in a clumped or stuck-together manner, it can make it difficult to separate them when you want to use only a portion of the frozen peaches.
- Even freezing: By arranging the peach slices in a single layer, it allows for even airflow and distribution of cold air during freezing. This helps promote uniform freezing of the slices, resulting in better texture and quality when they are thawed.
- Using a baking sheet and lining: Using a baking sheet lined with parchment paper or a silicone mat provides a non-stick surface and makes it easier to remove the frozen peach slices once they are fully frozen. The parchment paper or silicone mat also helps prevent any moisture or juices from the peaches from seeping into the baking sheet, making cleanup easier.
- Spacing the slices: It’s important to ensure that the peach slices are not touching each other on the baking sheet. This prevents them from freezing together into a solid mass. If the slices touch, they can freeze together, making it challenging to separate them later on.
- Adding sugar syrup (optional): If you prepared a sugar syrup in Step 5, you can pour it over the peach slices at this stage. The sugar syrup will coat the peaches and further enhance their flavor while also helping to preserve their texture and prevent browning.
Step 7: Flash-freeze the peach slices
Flash-freezing the peach slices is a crucial step in the freezing process that helps preserve their shape, texture, and prevent clumping. Here’s an explanation of why and how to flash-freeze the peach slices:
- Retaining shape and texture: Flash-freezing involves rapidly freezing the peach slices at a very low temperature. This quick freezing process helps to preserve the cellular structure of the fruit, ensuring that the slices maintain their shape and texture when thawed later on. Slow freezing can lead to the formation of larger ice crystals, which can cause cell damage and result in a mushy texture.
- Preventing clumping: Flash-freezing the peach slices individually on a baking sheet prevents them from sticking together and forming a solid mass. By freezing them separately, you have the flexibility to remove only the desired amount of frozen slices without having to thaw the entire batch.
- Freezing time: The peach slices should be left in the freezer for approximately 2 to 3 hours, or until they are firm and completely frozen. The exact freezing time can vary based on the thickness of the slices, the temperature of the freezer, and other factors. It’s important to ensure that the slices are frozen solid before proceeding to the next step.
- Freezing on a baking sheet: By leaving the peach slices on the baking sheet during freezing, you provide a flat and stable surface for them to freeze on. This prevents the slices from sticking to each other or the baking sheet, making it easier to remove them later on.
Step 8: Package and seal the peach slices
Packaging and sealing the frozen peach slices properly is essential to protect them from freezer burn and maintain their quality during storage. Here’s an explanation of why and how to package and seal the peach slices:
- Freezer-safe containers or bags: Choose airtight containers or resealable freezer bags specifically designed for freezer storage. These containers and bags are made from materials that are resistant to low temperatures and are less prone to cracking or leaking in the freezer environment.
- Minimizing air exposure: Air exposure is one of the main factors that can lead to freezer burn, which causes the texture and flavor of the frozen peaches to deteriorate. When transferring the peach slices to containers or bags, it’s important to remove as much air as possible from the packaging to reduce the risk of freezer burn.
- Resealable bags: If using resealable freezer bags, gently press out the excess air before sealing them. You can use the “water displacement” method by partially closing the bag, leaving a small opening, and then submerging it in a bowl of water, allowing the water to push out the air. Once the air is removed, seal the bag completely.
- Vacuum sealing: Vacuum-sealing the peach slices can provide an extra layer of protection against freezer burn. Vacuum sealers remove the air from the packaging, creating a tight seal around the slices. This method helps to maintain the quality of the frozen peaches for an extended period.
Step 9: Label and date the packages
Labeling and dating the packages of frozen peaches is a crucial step in organizing your freezer and ensuring that you use the peaches within their optimal time frame. Here’s an explanation of why and how to label and date the packages:
- Contents identification: Labeling each package with the contents, in this case, “peaches,” allows you to easily identify the package without having to open it. This is particularly useful if you have multiple types of frozen fruits or vegetables in your freezer.
- Date of freezing: Including the date of freezing on the package helps you keep track of how long the peaches have been in the freezer. This information is important as frozen peaches are best consumed within a certain time frame for optimal flavor and quality.
- Optimal storage duration: Frozen peaches can maintain their quality for an extended period, but it’s recommended to consume them within 8 to 12 months for the best flavor and texture. By labeling the date of freezing, you can monitor the duration of storage and prioritize using the older packages first.
- Rotating stock: Labeling and dating the packages also facilitate a “first in, first out” approach to using your frozen peaches. By consuming the oldest packages first, you can ensure that none of the peaches go past their recommended storage duration.
To label the packages, you can use adhesive labels or simply write the information directly on the packaging with a marker. Include the contents (“peaches”) and the date of freezing. Make sure the label is clear and visible for easy identification.
Step 10: Store in the freezer
Storing the labeled packages of frozen peaches in a well-organized manner in the freezer is important for several reasons. Here’s an explanation of why and how to store the packages properly:
- Efficient use of space: Organizing the packages in the freezer allows you to make the most efficient use of the available space. By arranging them in a neat and organized manner, you can stack and store them without wasting any valuable freezer space. This helps prevent overcrowding and allows for better airflow, ensuring that the peaches freeze and maintain their quality effectively.
- Easy access and retrieval: When the packages are well-organized, it becomes much easier to locate and retrieve the desired package of frozen peaches. By arranging them in a logical order, such as by date of freezing or by type of fruit, you can quickly identify and access the specific package you need without having to search through a disorganized freezer.
- Preventing damage and spills: Proper organization helps prevent damage to the packages and minimizes the risk of spills or leaks in the freezer. When the packages are stacked securely and in an orderly manner, they are less likely to fall or get damaged, ensuring that your frozen peaches remain intact and free from contamination.
- Rotation and usage tracking: Storing the packages in an organized manner facilitates the rotation and tracking of their usage. By keeping older packages towards the front and newer ones towards the back, you can easily implement a “first in, first out” approach, ensuring that you consume the oldest packages before they exceed their optimal storage duration.
To store the labeled packages in an organized manner, consider the following tips:
- Stack the packages in a vertical position, if possible, to maximize space utilization.
- Group similar items together, such as different fruits or vegetables, for easy identification.
- Use dividers or bins to separate different types of frozen produce, creating sections within the freezer.
- Consider using clear plastic containers or storage bins to keep smaller packages organized and contained.
- Regularly rearrange and reorganize the freezer as you add or use items to maintain an organized system.
How long can I keep frozen peaches in the freezer?
Frozen peaches can be stored in the freezer for approximately 8 to 12 months while maintaining their quality. However, for the best flavor and texture, it is recommended to use them within the first 8 to 10 months.
Other related questions
How do I defrost peaches?
Defrosting peaches is a simple process that can be done using different methods depending on your preference and the time available. Here are three common methods for defrosting peaches:
- Refrigerator thawing:
- Place the frozen peaches in a bowl or container and transfer them to the refrigerator.
- Allow the peaches to thaw slowly in the refrigerator overnight or for approximately 6 to 8 hours.
- Once thawed, the peaches can be used as desired. The texture may be slightly softer than fresh peaches.
- Room temperature thawing:
- Remove the frozen peaches from their packaging and place them in a bowl or on a plate.
- Leave the peaches at room temperature for about 30 minutes to 1 hour, or until they have thawed completely.
- Use the peaches once they are thawed. Keep in mind that this method can result in slightly softer peaches compared to refrigerator thawing.
- Quick thawing:
- If you need to defrost peaches quickly, you can use a microwave.
- Place the frozen peaches in a microwave-safe dish.
- Use the defrost setting or low power setting on your microwave and defrost the peaches in short intervals, typically 30 seconds to 1 minute at a time.
- Check the peaches frequently and rotate them to ensure even thawing. Be careful not to overheat or cook the peaches.
- Once the peaches are mostly thawed but still slightly firm, remove them from the microwave and let them sit for a few minutes to finish thawing.
Can I refreeze peaches?
It is generally not recommended to refreeze peaches once they have been thawed. When peaches are thawed, their texture and quality may be affected, and refreezing can further diminish their taste and texture. It is best to plan your peach usage and only thaw the amount needed for a specific recipe or meal to avoid the need for refreezing.
How do I know if the peaches have gone bad after being frozen?
After being frozen, there are a few signs to look for to determine if peaches have gone bad. If the peaches have developed an off odor, appear discolored or have significant freezer burn, it is likely that they have deteriorated. Additionally, a mushy or excessively soft texture is a sign that the peaches may have degraded in quality and are no longer suitable for consumption.
Can I use frozen peaches for baking or cooking?
Yes, frozen peaches can be used for baking and cooking. They work well in pies, cobblers, jams, sauces, and other recipes that call for cooked or softened peaches. Adjustments in cooking time and additional thickening agents may be necessary due to the extra moisture released during freezing.

