Pineapple, with its tropical sweetness and vibrant flavor, is a delightful addition to a wide range of dishes, from fruit salads to desserts and even savory entrees. While pineapples are readily available during certain times of the year, there may come a time when you want to enjoy this tropical fruit out of season. Freezing pineapple is a fantastic way to ensure you have access to its juicy goodness year-round. This article will guide you through the process of freezing pineapple chunks, allowing you to savor their natural sweetness whenever you desire.
Here’s a step-by-step guide on how to freeze pineapple chunks:
Step 1: Select ripe pineapples
Selecting the right pineapples is crucial when preparing to freeze this tropical fruit. Follow these guidelines to ensure you choose the best pineapples for freezing:
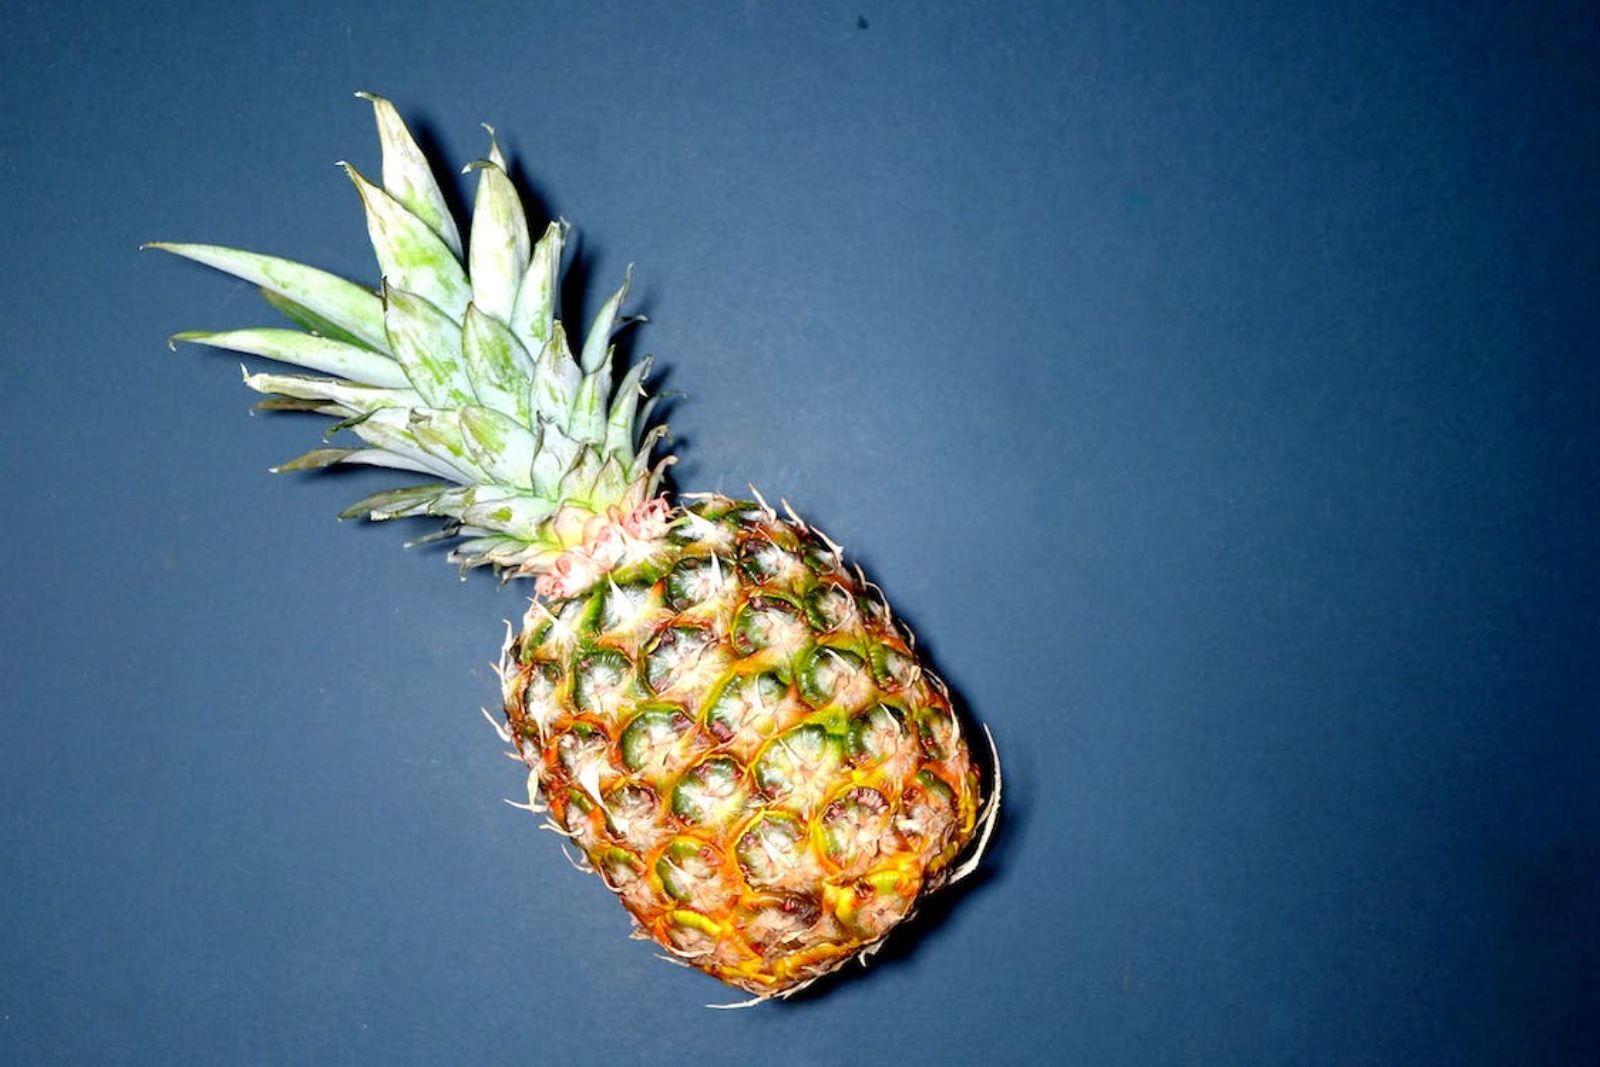
- Color: Look for pineapples with a vibrant yellow or golden color. The skin should be mostly yellow, indicating ripeness. While some greenish spots are normal, avoid pineapples that are predominantly green, as they may not be fully ripe.
- Aroma: Give the pineapple a gentle sniff near the base. Ripe pineapples emit a sweet, fruity aroma. If it smells fresh and tropical, it’s a good sign that the pineapple is ready to be enjoyed and frozen.
- Texture: Gently press the pineapple with your fingers. A ripe pineapple should yield slightly to gentle pressure. If it feels rock-hard, it’s likely underripe. Conversely, if it’s too mushy or soft, it may be overripe, which can affect the quality when freezing.
Selecting ripe pineapples ensures that your frozen pineapple chunks will have the best flavor and texture. The sweetness and juiciness of the fruit will be preserved, making it a delicious addition to your recipes or a refreshing snack when thawed.
Step 2: Wash and peel the pineapples
Properly washing and peeling pineapples is a crucial step in preparing them for freezing. Follow these instructions to ensure your pineapple is clean and ready for the next stages of freezing:
- Wash Under Running Water: Start by placing the pineapple under a stream of running water. Use your hands to rub the surface gently. This helps remove any dirt, dust, or contaminants that may be on the skin. Washing the pineapple under running water ensures that you’re not just moving debris around but actually removing it.
- Cut Off the Top and Bottom: Once the pineapple is clean, use a sharp knife to cut off the top and bottom. This creates flat, stable surfaces, making it easier to work with the fruit.
- Remove the Skin: Stand the pineapple upright on one of the flat ends you created. With a steady hand, carefully slice downward to remove the skin, following the curve of the fruit from top to bottom. Make sure to remove all of the tough, outer skin, leaving only the sweet and juicy flesh behind.
- Remove the Eyes: Pineapples have small, prickly “eyes” embedded in the flesh. To remove these, look for diagonal rows of eyes that spiral down the pineapple’s surface. Use the tip of your knife to make shallow, diagonal cuts along these rows, removing the eyes. Be cautious while doing this to avoid cutting too deep into the flesh.
By thoroughly washing and peeling the pineapples, you ensure that your fruit is clean and free from any surface contaminants. Removing the tough outer skin and eyes not only enhances the fruit’s appearance but also improves its texture and taste after freezing. Now that your pineapple is cleaned and peeled, you’re ready to move on to the next steps of freezing it into delicious pineapple chunks.
Step 3: Remove the core and cut into chunks
After washing and peeling the pineapple, the next step in the freezing process involves removing the tough core and cutting the fruit into convenient chunks. Here’s how to do it:
- Slice into Rounds: Lay the peeled pineapple on its side on a clean cutting board. Using a sharp knife, slice the pineapple horizontally into rounds of your desired thickness. These rounds will serve as the foundation for creating pineapple chunks.
- Remove the Tough Core: Pineapples have a tough, fibrous core that runs through the center of each round. To remove it, make a circular cut around the core in each round. Position your knife at an angle and follow the natural curve of the fruit. This will leave you with a core-free round of pineapple.
- Chop into Chunks: Once the core is removed, cut each pineapple round into bite-sized chunks. You can make the chunks as small or large as you prefer, depending on how you plan to use the frozen pineapple. Smaller chunks are great for smoothies, while larger ones work well for fruit salads and desserts.
By removing the tough core and cutting the pineapple into manageable chunks, you ensure that your frozen pineapple is easy to work with in various recipes. The removal of the core also improves the texture of the fruit, making it more enjoyable to eat when thawed. Now that you have your pineapple chunks prepared, it’s time to proceed with the freezing process to preserve their freshness and flavor.
Can I freeze a whole pineapple?
Freezing a whole pineapple is not recommended. The high water content and large size of a whole pineapple make it challenging to freeze effectively. Instead, it’s best to peel, core, and cut the pineapple into manageable chunks or slices before freezing for better preservation and usability.
Step 4: Flash-freeze the pineapple chunks
Flash-freezing is a crucial step in the pineapple freezing process that helps maintain the individual integrity of each pineapple chunk and prevents them from clumping together in a solid mass. Here’s why and how to do it:
- Preventing Clumping: When fruits are frozen without first being flash-frozen, they tend to release some moisture as they freeze, causing them to stick together. Pineapple chunks can become a solid mass if they freeze together, making it challenging to use them in recipes later.
- Why Use a Baking Sheet or Tray: To avoid this issue, arrange the pineapple chunks in a single layer on a baking sheet or tray lined with parchment paper. This ensures that each chunk has enough space around it to freeze individually.
- Spacing: Make sure the pineapple chunks are not touching one another. Proper spacing is essential because it allows the cold air in the freezer to circulate around each piece, freezing them quickly and independently.
- Flash-Freezing Time: Place the tray in the freezer for approximately 1-2 hours, or until the pineapple chunks are firm to the touch. This rapid freezing process helps lock in the fruit’s freshness and flavor while preventing the formation of ice crystals that can degrade the texture.
By flash-freezing the pineapple chunks, you’re taking an important step to preserve their quality. Once they are solidly frozen, you can proceed to package and store them, ensuring that you’ll have convenient access to delicious, frozen pineapple chunks whenever you need them for your culinary creations.
Step 5: Package and seal the pineapple chunks
Now that your pineapple chunks are flash-frozen and ready to be stored, it’s essential to package and seal them properly. This step is crucial for preserving the quality and flavor of the fruit during storage. Here’s how to do it:
- Use Freezer-Safe Containers or Bags: Select airtight, freezer-safe containers or resealable freezer bags for packaging the pineapple chunks. Freezer-safe options are designed to prevent moisture and air from entering, which helps maintain the quality of the frozen fruit.
- Transfer the Chunks: Gently transfer the flash-frozen pineapple chunks into the selected containers or bags. Be careful not to damage the fruit during this process.
- Remove Excess Air: To minimize the risk of freezer burn, it’s essential to remove as much air as possible from the containers or bags. Air can cause moisture to accumulate on the pineapple chunks, affecting their texture and flavor over time.
- Seal Securely: Seal the containers or bags securely to create an airtight barrier. For resealable freezer bags, press out any remaining air before sealing. With containers, ensure that the lids are tightly closed.
Properly packaging and sealing the pineapple chunks in freezer-safe containers or bags is crucial for maintaining their freshness and preventing freezer burn. When you remove excess air and create an airtight seal, you create an environment where the fruit remains in excellent condition throughout its time in the freezer.
Step 6: Label and date the packages
Labeling and dating your frozen pineapple packages is a simple yet crucial step in the freezing process. It helps you maintain organization and ensures you can enjoy the pineapple chunks at their best. Here’s why it’s essential and how to do it effectively:
- Tracking Freshness: The main purpose of labeling and dating is to track the freshness of your frozen pineapple. By clearly marking the date when you froze the fruit, you’ll have a reference point for how long it has been in the freezer.
- Quantity and Variety: You may also want to include additional information on the label, such as the quantity of pineapple in the package or the variety of pineapple used. This extra detail can be especially helpful if you have multiple packages in the freezer with different quantities or types of pineapple.
- Rotation and Use: Proper labeling allows you to practice a first-in, first-out (FIFO) system. This means you use the oldest frozen pineapple first, ensuring none of it goes to waste. It’s particularly useful when you have batches of frozen pineapple prepared at different times.
- Avoiding Confusion: Clear labels help prevent confusion. You won’t have to guess when the pineapple was frozen or wonder about its quantity or type. This simplicity makes meal planning and recipe preparation more efficient.
- Quality Control: Over time, frozen foods can lose quality, even in the freezer. Labeling allows you to monitor the quality of your pineapple and use it while it’s still at its best.
To label and date your packages effectively, use a permanent marker or freezer-safe labels. Write the date of freezing, quantity, and any other relevant information directly on the container or bag. Make sure the label is legible and easy to read.
With well-labeled packages, you can confidently incorporate your frozen pineapple into various recipes, knowing its freshness and quality are intact. This simple step ensures that you get the most out of your frozen pineapple chunks and minimizes any waste.
Step 7: Store in the freezer
After properly packaging and labeling your pineapple chunks, the final step is to store them in the freezer. Proper storage is crucial to maintain the quality and safety of your frozen pineapple. Here’s how to do it:
- Seal Securely: Ensure that the containers or bags containing the pineapple chunks are securely sealed with no gaps or openings. This step is essential to prevent air and moisture from entering, which can lead to freezer burn and deteriorate the fruit’s quality.
- Choose the Right Freezer: Place the sealed pineapple packages in your freezer. It’s important to use a freezer that maintains a consistently cold temperature, ideally at or below 0°F (-18°C). Keeping the freezer at this temperature ensures that the pineapple remains frozen and safe for an extended period.
- Proper Placement: Arrange the packages in a way that maximizes space utilization and allows for efficient air circulation. Avoid overloading the freezer, as overcrowding can obstruct airflow, potentially leading to uneven freezing and lower quality.
- Avoid Frequent Thawing and Refreezing: Try to minimize the number of times you remove the pineapple from the freezer. Frequent thawing and refreezing can compromise the texture and taste of the fruit. Plan ahead and remove only the amount of frozen pineapple you need for your recipes to reduce unnecessary thawing.
- FIFO Method: As mentioned in the labeling step, practice the first-in, first-out (FIFO) method when selecting frozen pineapple for use. Use the oldest packages first to ensure you enjoy your pineapple at its peak quality.
By storing your sealed and labeled pineapple packages in a properly maintained freezer, you’ll keep the fruit in excellent condition for an extended period. The consistently cold temperature prevents the growth of harmful microorganisms and helps maintain the pineapple’s freshness, flavor, and nutritional value.
With your frozen pineapple chunks safely stored in the freezer, you can enjoy the convenience of having this tropical treat on hand for a wide range of recipes and snacking occasions, regardless of the season.
How long can I store frozen pineapple?
Frozen pineapple can be stored for up to 10-12 months in a well-maintained freezer at or below 0°F (-18°C). While it remains safe to consume beyond this period, the fruit’s quality may deteriorate over time, resulting in changes in texture and flavor. Properly sealed packaging and consistent freezer temperatures are essential for maximizing the storage life of frozen pineapple.
Other related questions
How do I defrost pineapple?
To defrost pineapple, transfer the frozen chunks to a refrigerator and allow them to thaw for several hours or overnight. For quicker thawing, you can place the sealed package in a bowl of cold water, changing the water every 30 minutes until thawed. Avoid using the microwave for defrosting, as it may cause the pineapple to become mushy.
Can I refreeze pineapple?
It is generally safe to refreeze pineapple if it has been thawed in the refrigerator and not allowed to sit at room temperature for an extended period. However, repeated freezing and thawing can affect the texture and flavor of the fruit, making it less desirable. To maintain the best quality, it is advisable to use thawed pineapple promptly rather than refreezing it.
How do I know if the pineapple has gone bad after being frozen?
Signs that frozen pineapple has gone bad include changes in color, texture, and aroma. If the pineapple appears discolored, has developed freezer burn, or emits an off-putting odor, it should be discarded. Taste a small piece to confirm if it has an unpleasant or unusual flavor, which is another indication of spoilage.
What can I make with frozen pineapple chunks?
Frozen pineapple chunks can be used in a variety of culinary creations. They are commonly featured in smoothies, adding a tropical twist to your beverages. Additionally, you can use them in fruit salads, desserts like pineapple upside-down cake, or savory dishes like sweet and sour chicken. Their versatility makes them a valuable ingredient for both sweet and savory recipes.
Should I sugar-coat pineapple before freezing?
Sugar-coating pineapple before freezing is not necessary but can be done based on personal preference. Tossing pineapple chunks in sugar before flash-freezing can enhance their sweetness and flavor. However, if you prefer to avoid added sugars, you can freeze pineapple without sugar for a more natural taste, suitable for various culinary applications.
Can I freeze canned pineapple?
Yes, you can freeze canned pineapple, but there are considerations. Drain the canned pineapple thoroughly before freezing, as excess liquid can affect texture. Canned pineapple may experience a slight change in texture upon thawing, making it better suited for cooking or baking rather than consumed as a fresh snack. Proper packaging is crucial to maintain its quality during freezing and storage.
What’s the best way to use frozen pineapple in smoothies?
The best way to use frozen pineapple in smoothies is to add the frozen chunks directly to your blender. Frozen pineapple not only adds a sweet and tropical flavor but also provides a natural chill and creaminess to your smoothie. Combine it with other fruits, yogurt, or your preferred liquid base for a refreshing and nutritious beverage.

