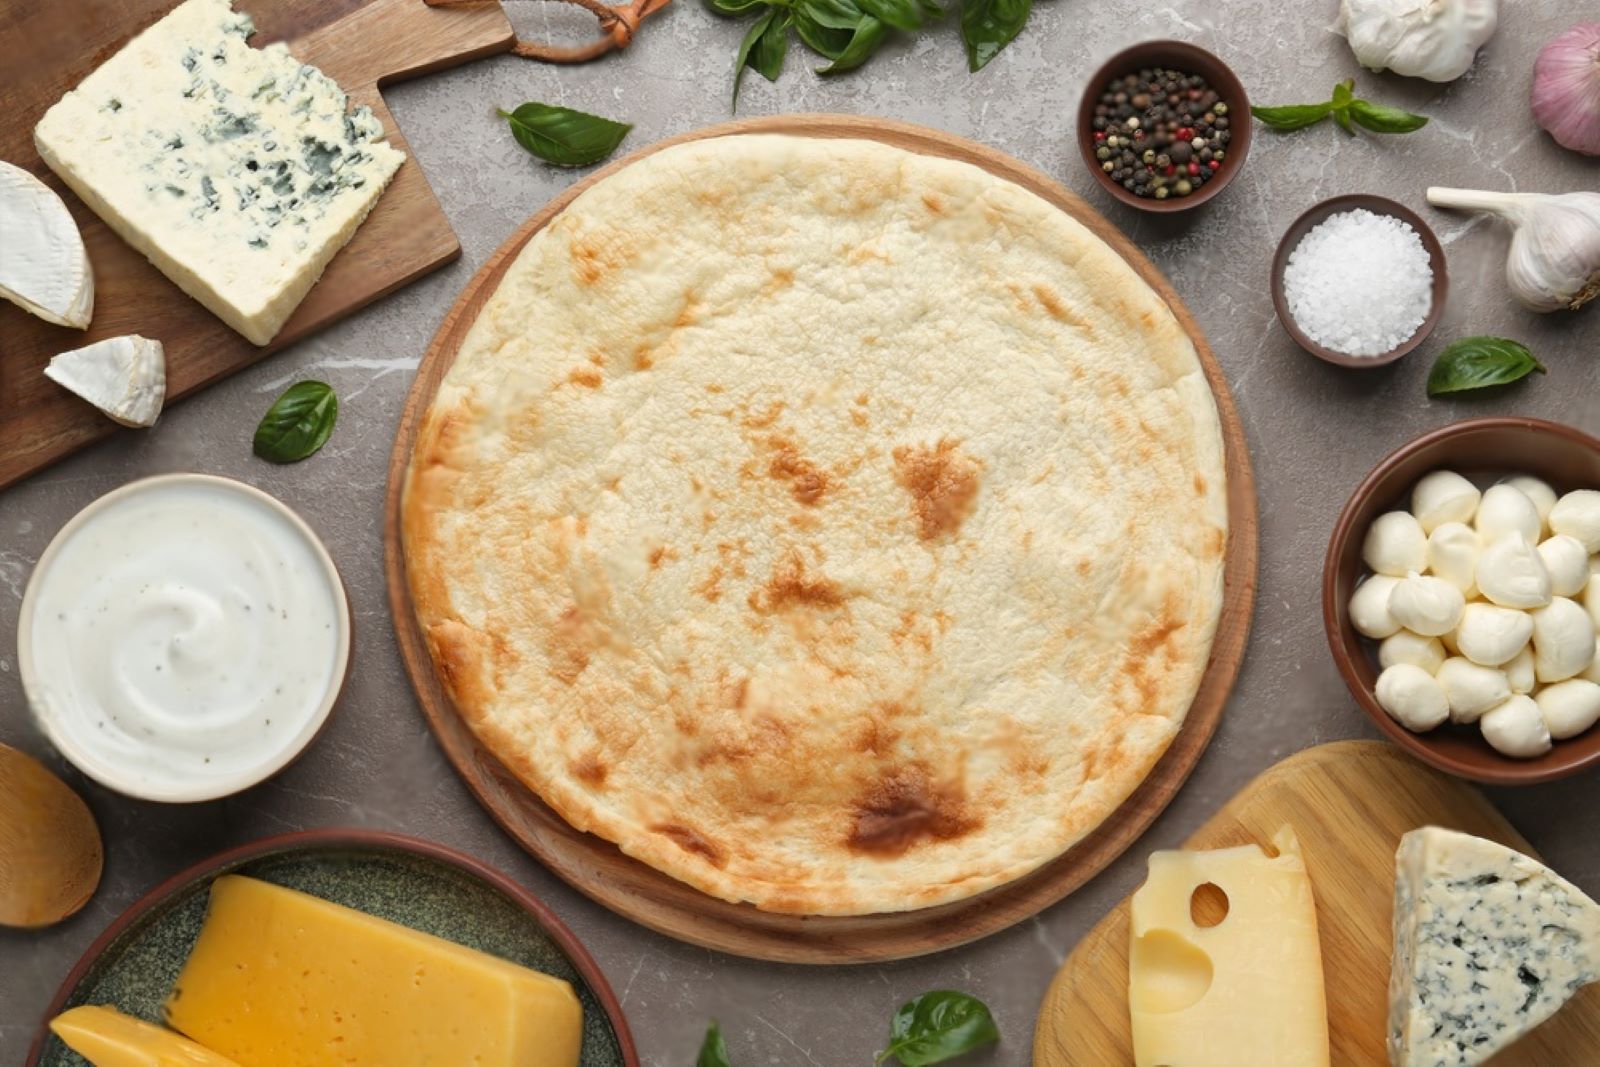
Pizza crusts, the fundamental element of every delectable pizza, have garnered a devoted following among pizza enthusiasts across the globe. With their signature blend of crispiness and chewiness, pizza crusts form the canvas upon which a symphony of flavors and toppings come together to create the ultimate culinary masterpiece. Whether handcrafted with love in traditional Italian fashion or readily available from your favorite pizzeria or grocery store, pizza crusts provide the essential foundation for the perfect pizza experience. From classic Margherita to gourmet combinations of fresh ingredients, pizza crusts offer endless possibilities for culinary creativity. However, when making pizza crusts from scratch or when purchasing them in bulk, it may be challenging to consume them all before they start to lose their ideal texture or taste. Freezing pizza crusts emerges as a practical and efficient method to preserve their delightful crispness and tender bite, ensuring that each crust remains ready to be adorned with your favorite toppings and elevate your pizza creations with the essence of perfectly frozen crusts, even when fresh ones are not readily available or when you wish to enjoy homemade pizza at your convenience. In this guide, we will explore the best practices for freezing pizza crusts, allowing you to savor the goodness of these delightful dough discs and elevate your pizza experience with the essence of perfectly frozen crusts, without the need for a fresh preparation or frequent visits to your favorite pizzerias. Get ready to embrace the art of pizza making, with a freezer stocked with these versatile crusts that await to add a touch of culinary magic to your pizza parties and weeknight dinners.
Here are the simple steps to freeze pizza crust:
Step 1: Choose the Right Pizza Crust
Selecting the right pizza crust is essential to ensure the best results when freezing it. Whether you plan to freeze homemade pizza dough or store-bought crusts, certain considerations will help maintain the crust’s quality and taste throughout the freezing process.
Firstly, if you’re making your own pizza dough from scratch, make sure it is of high quality. The freshness of the ingredients used in the dough will directly impact the final product. Freshly prepared dough with good-quality flour, yeast, water, and a pinch of salt will yield the best results. It’s best to use the dough while it’s still at its peak freshness, so freezing it shortly after making is ideal.
If you opt for store-bought pizza crusts, ensure they are fresh and not close to their expiration date. Check the packaging for any signs of damage, such as tears or punctures, and avoid selecting crusts with any visible signs of mold or spoilage. Also, avoid crusts with pre-applied toppings or sauces as these can lead to soggy and unappetizing results when frozen.
By choosing a high-quality pizza crust, you set the foundation for a delicious pizza even after freezing. Fresh ingredients and the absence of toppings or sauces will help retain the crust’s texture and prevent any undesirable flavors during the freezing and storage process. Properly chosen pizza crust will ensure that your frozen pizzas turn out just as delicious as freshly made ones, offering you the convenience of enjoying pizza at your leisure without compromising on taste or texture.
Step 2: Prep the Pizza Crust
Properly preparing the pizza crust before freezing is crucial to ensure the best possible results when you’re ready to use it for making pizzas. The preparation process may vary depending on whether you’re working with homemade pizza dough or store-bought crusts.
If you’re freezing homemade pizza dough, it’s essential to allow it to rise and proof properly before freezing it. The rising process is when the dough ferments and develops its flavor and texture. Follow your pizza dough recipe’s instructions and give it enough time to rise until it has doubled in size. This step is essential because freezing the dough while it’s still in the early stages of rising may result in a less desirable texture and taste once it’s thawed and baked. Once the dough has risen, it will be ready for the next steps in the freezing process.
For store-bought crusts, always refer to the packaging for any specific instructions or recommended freezing methods. Some store-bought crusts may come pre-cooked, while others may be partially cooked or raw. Understanding the type of crust you have will help you determine the best approach for freezing it. Additionally, check if the crust contains any preservatives or additives that may affect its freezing and thawing properties.
Once the pizza crust, whether homemade or store-bought, is ready for freezing, gently shape it into the desired size and thickness for your pizzas. You can choose to freeze the entire dough in a large ball or divide it into smaller portions, depending on how many pizzas you plan to make in the future. Shaping the dough before freezing makes it easier to handle and thaw later when you’re ready to use it.
By properly prepping the pizza crust, you ensure that it has gone through the necessary rising process for homemade dough and understand any specific considerations for store-bought crusts. Gently shaping the crust according to your preferences makes it more convenient to handle later, whether you’re making one large pizza or several individual ones. These steps contribute to the overall success of your frozen pizza crust, resulting in pizzas that have the perfect texture and taste, just like freshly prepared ones.
Step 3: Wrap and Protect
Properly wrapping and protecting the pizza crust is a crucial step to prevent freezer burn and maintain its integrity during freezing. Freezer burn occurs when the moisture in the crust’s surface evaporates and forms ice crystals, leading to the development of dry, discolored patches that can negatively affect the taste and texture of the crust.
To prevent freezer burn, the first option is to tightly wrap the pizza crust in plastic wrap. Make sure the entire crust is covered with the plastic wrap, leaving no exposed areas. Press the plastic wrap firmly against the crust’s surface to minimize air contact and reduce the chances of moisture loss.
An alternative method is to use a resealable plastic bag for added protection. If you’re dividing the dough into smaller portions, place each portion in a separate resealable plastic bag. Before sealing the bag, squeeze out as much excess air as possible. Removing excess air from the bag will create a vacuum-like environment, further reducing the risk of freezer burn and ice crystal formation.
Both methods work well in protecting the pizza crust during freezing. However, using a resealable plastic bag can be particularly effective because it provides an additional layer of protection against air and moisture. If you don’t have resealable plastic bags, you can use a regular plastic bag and secure it with a rubber band or twist tie to keep it airtight.
Properly wrapping and protecting the pizza crust will ensure it stays in optimal condition during freezing and prevent any unwanted changes in taste and texture. By taking these measures, you can be confident that your frozen pizza crust will be ready to deliver a delicious pizza whenever you’re in the mood for a homemade pie.
Step 4: Double Layer for Extra Protection
Double-wrapping the pizza crust with a layer of aluminum foil provides an extra level of protection against freezer burn and moisture, ensuring that the crust remains in top condition during freezing.
Aluminum foil is a barrier that helps to prevent air and moisture from reaching the pizza crust. By enclosing the plastic-wrapped crust in a layer of foil, you create an additional shield against the elements that can cause freezer burn. Freezer burn occurs when moisture in the food evaporates and then condenses on the food’s surface, leading to the formation of ice crystals. These ice crystals can cause dehydration, making the crust dry and less enjoyable when it’s later thawed and baked.
When using aluminum foil, make sure to wrap it tightly around the plastic-wrapped crust to create a secure seal. Ensure that there are no gaps or openings in the foil that could allow air to enter. A well-sealed double layer will significantly reduce the risk of freezer burn and help maintain the crust’s moisture content, preserving its taste and texture.
Another advantage of using aluminum foil is that it provides an extra layer of insulation. This can be particularly useful if you plan to store the frozen pizza crust for an extended period. The foil helps to maintain a more constant temperature around the crust, minimizing temperature fluctuations that can contribute to freezer burn.
Keep in mind that double-wrapping the pizza crust is optional, but it is highly recommended for extended storage periods or if you want to ensure the best possible quality when using the crust at a later date. The combination of plastic wrap and aluminum foil creates a robust protective barrier that helps maintain the crust’s freshness and flavor until you’re ready to make your delicious homemade pizzas.
Step 5: Label the Package
Labeling the package with the date of freezing is a simple yet essential step when storing pizza crust in the freezer. It serves as a reminder of when the crust was frozen and helps you keep track of its storage time, ensuring you use it within its optimal quality period.
Pizza crust, whether homemade or store-bought, can be stored in the freezer for up to three months. Beyond this period, the quality may start to decline, and the crust could develop freezer burn or off-flavors. By labeling the package with the freezing date, you can easily determine how long the crust has been in the freezer and plan to use it accordingly.
To label the package, use a marker or a piece of tape and write down the date when you are placing the pizza crust in the freezer. Be sure to make the label clear and easy to read. If you are freezing multiple pizza crusts or dividing a larger batch into smaller portions, label each package separately. This way, you can use them one at a time without having to defrost the entire batch.
Having a clear label will also help you prioritize the use of the oldest pizza crusts first. This rotation ensures that you use the crusts within their optimal storage time, guaranteeing the best taste and texture when you eventually bake your pizzas.
Furthermore, labeling is particularly helpful if you have various types of crusts or dough in the freezer. For example, if you have different crusts like thin, thick, or whole wheat, labeling will help you identify them easily without the need to unwrap each package.
Labeling the package with the date of freezing is a crucial step to ensure that you use the pizza crust within its recommended storage period of up to three months. By staying organized and rotating your frozen crusts properly, you can enjoy delicious homemade pizzas at your convenience without compromising on taste or quality.
Step 6: Freezing Time
Once you have properly wrapped and labeled the pizza crust, it’s time to place it in the freezer. This step is crucial to ensure that the crust freezes efficiently and retains its quality until you’re ready to use it for making delicious pizzas.
Firstly, choose the coldest part of your freezer to store the pizza crust. The colder the temperature, the quicker and more effectively the crust will freeze. Usually, the back of the freezer is colder than the front, so consider placing the crust there.
Ensure there is enough space around the pizza crust so that cold air can circulate freely. Adequate airflow is essential for maintaining a consistent and low temperature, which helps to prevent freezer burn and maintain the crust’s texture and taste.
Avoid stacking or crushing the pizza crust when placing it in the freezer. Stacking multiple pizza crusts on top of each other can lead to uneven freezing and increase the risk of freezer burn in areas where they touch. Similarly, avoid placing heavy items on top of the crust, as this can deform its shape and affect its texture.
If you are freezing multiple pizza crusts, try to spread them out in a single layer to maximize airflow. If you have limited space, you can stack them, but be sure to place a sheet of wax paper or parchment paper between each crust to prevent sticking and make it easier to separate them later.
Once the pizza crust is in the freezer, try not to disturb it too much until it’s fully frozen. Frequent opening and closing of the freezer door can cause fluctuations in temperature, which may affect the freezing process.
The freezing time for pizza crust can vary depending on the thickness and size of the crust, as well as the freezer’s temperature. In general, pizza crusts will freeze completely within a few hours. However, to be certain, check the crust after a few hours to see if it’s firm and frozen throughout.
By following freezing guidelines, you can ensure that your pizza crust freezes properly, maintaining its shape, texture, and taste until you’re ready to create your perfect pizzas. Proper freezing techniques will allow you to enjoy homemade pizza with the same delightful results as if the crust were freshly made.
How long can pizza crust last in the freezer?
Pizza crust can last in the freezer for up to three months. Properly wrapped and stored in the coldest part of the freezer, it maintains its quality and taste during this period. Thawing in the refrigerator is recommended for best results.
Step 7: Thaw and Use Frozen Pizza Crust
Thawing the frozen pizza crust properly is essential to ensure that it retains its texture and taste when you’re ready to use it for making pizzas. Thawing should be done slowly and in a controlled environment to avoid any potential issues like uneven thawing or bacterial growth.
The recommended method for thawing frozen pizza crust is to remove it from the freezer and place it in the refrigerator. Thawing in the refrigerator is a slow and safe process that allows the crust to thaw gradually without the risk of bacterial growth. Plan ahead and place the wrapped pizza crust in the refrigerator the night before you plan to use it. This slow thawing process prevents the formation of ice crystals on the crust’s surface and maintains its moisture content, resulting in a perfectly thawed crust.
Avoid thawing the pizza crust at room temperature or using quick thawing methods like microwaving or running it under warm water. Thawing at room temperature can lead to uneven thawing, where the outer layers may thaw faster than the inner parts, which can affect the crust’s texture and make it less enjoyable.
Using quick thawing methods may partially cook the outer layer of the crust and lead to a soggy or tough texture once it’s baked with the pizza toppings. Additionally, rapid temperature changes can create conditions that promote bacterial growth, which can be a food safety concern.
Once the pizza crust is fully thawed in the refrigerator, you can proceed with your favorite pizza toppings and bake it to perfection. Preheat your oven to the recommended temperature and prepare the pizza as desired. The fully thawed crust will bake more evenly and develop the right texture, resulting in a delicious homemade pizza that rivals the taste of freshly made dough.
By following the proper thawing method, you can ensure that your frozen pizza crust is ready for use whenever you have a craving for a homemade pizza. Thawing in the refrigerator ensures food safety, retains the crust’s quality, and allows you to enjoy a perfectly prepared pizza crust every time you cook.
Other related questions
Can you refreeze pizza crust?
Refreezing pizza crust is generally not recommended. Once pizza crust has been thawed, it should be used promptly and not refrozen to maintain its quality and prevent potential food safety risks. Repeated freezing and thawing can affect the texture and taste of the crust, leading to a less enjoyable pizza experience.
How do I know if the pizza crust has gone bad after being frozen?
To determine if a frozen pizza crust has gone bad, look for signs of freezer burn, such as discolored or dry patches. Check for any off-putting odors, mold growth, or unusual texture. If the crust appears and smells normal, it is likely safe to use, but if you notice any of these signs, discard it to avoid potential health risks.
Can you freeze pizza crust with toppings already added?
It is not recommended to freeze pizza crust with toppings already added. Freezing toppings like sauce, cheese, and vegetables can lead to undesirable texture changes and may result in a soggy crust after thawing and reheating. For optimal results, freeze the pizza crust separately without toppings, and add fresh toppings when preparing the pizza for baking.
Is it possible to freeze partially baked pizza crust?
Yes, it is possible to freeze partially baked pizza crust. To do so, partially bake the crust until it’s set but not fully cooked, then allow it to cool completely. Wrap it tightly in plastic wrap or aluminum foil, place it in a freezer-safe bag, and store in the freezer for up to three months. When ready to use, simply thaw the crust and add your desired toppings before baking it to perfection.
Can I freeze pizza dough with toppings on it?
It is not recommended to freeze pizza dough with toppings on it, as freezing can affect the texture and quality of the toppings. Instead, it’s best to freeze the pizza dough separately. After preparing the dough, shape it into balls, and wrap each ball individually in plastic wrap or aluminum foil. Place the wrapped dough balls in a freezer-safe bag and store in the freezer for up to three months. When ready to use, thaw the dough in the refrigerator overnight, then add your desired toppings and bake as usual.


