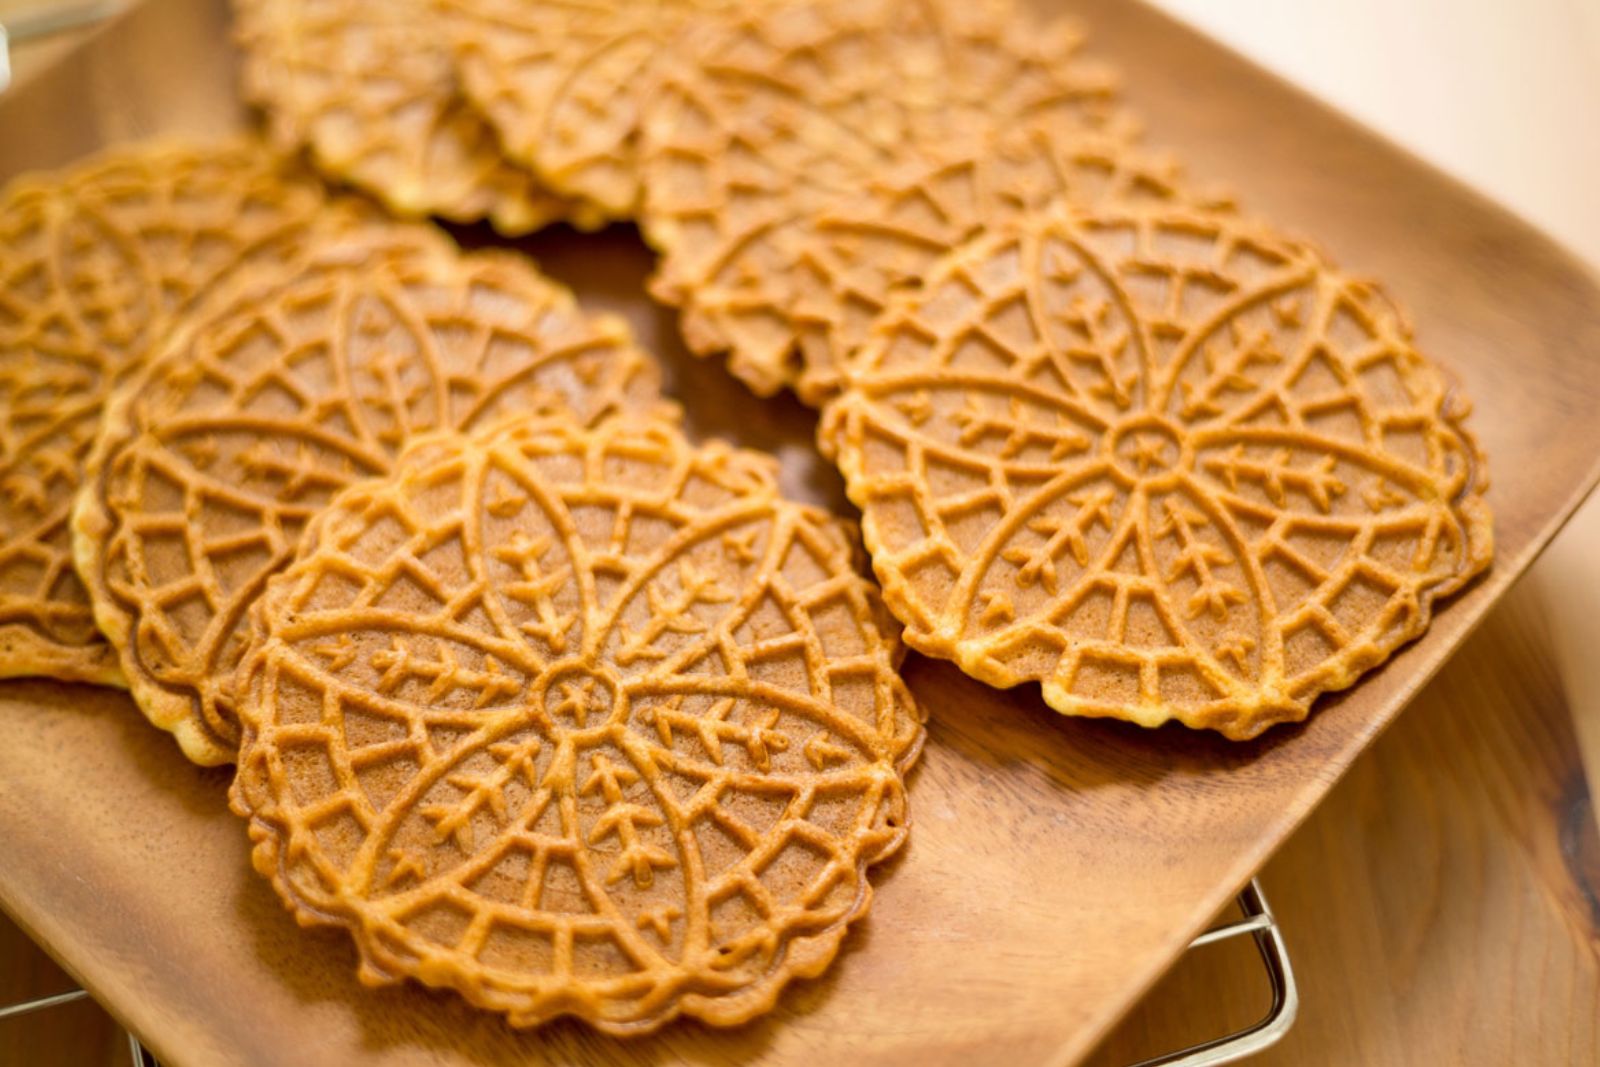
Pizzelles are delightful Italian waffle cookies that have gained popularity worldwide for their thin and crispy texture. These traditional treats come in various flavors, such as vanilla, anise, and chocolate, and they are often enjoyed during festive occasions and family gatherings. Baking a batch of pizzelles can be time-consuming, so freezing them is an excellent way to have a ready-to-enjoy supply on hand. Whether you’ve made a surplus of pizzelles or want to plan ahead for future cravings, freezing pizzelles is a simple process that ensures they stay fresh and tasty. This article offers a step-by-step guide on freezing pizzelles, so you can savor these delectable cookies whenever you desire.
Here’s a step-by-step guide on how to freeze pizzelles:
Step 1: Bake the Pizzelles
The journey to freezing delightful pizzelles begins with the creation of these delectable Italian waffle cookies. To get started, gather all the necessary ingredients for your preferred pizzelle batter. The classic ingredients include flour, eggs, sugar, butter, baking powder, and flavorings such as vanilla or anise extract. However, feel free to add your own personal touch by experimenting with different flavors and ingredients.
Once you have your pizzelle batter ready, it’s time to fire up the pizzelle maker. A pizzelle maker is a specialized appliance designed specifically to create these thin and crispy cookies. It consists of two patterned plates that cook the batter evenly, leaving you with perfectly shaped pizzelles.
Preheat the pizzelle maker according to the manufacturer’s instructions. While it’s heating up, you can begin to drop spoonfuls of the pizzelle batter onto the hot plates. The amount of batter you use will depend on the size of your pizzelle maker and the desired size of your cookies.
Close the lid of the pizzelle maker and allow the cookies to cook for the recommended time, typically around 30 seconds to 1 minute. The cooking time may vary depending on your pizzelle maker and the thickness of the batter. Keep a close eye on them to ensure they don’t overcook and turn too dark.
As the pizzelles cook, you’ll notice the delightful aroma of freshly baked cookies filling the air. This scent alone is enough to make mouths water and set the mood for a delicious treat.
Once the cooking time is up, carefully lift the cooked pizzelles off the plates using a non-metallic spatula or a fork. Place them on a wire rack to cool completely. Allowing them to cool on a wire rack ensures that they maintain their crispness and don’t become soggy due to trapped steam.
While the first batch of pizzelles cools, you can continue to cook the rest of the batter in the pizzelle maker. Depending on the size of your maker, you may be able to cook multiple cookies simultaneously, which speeds up the process.
Step 2: Arrange the Pizzelles
After the pizzelles have cooled down to room temperature, it’s time to prepare them for the freezing process. Properly arranging the pizzelles is a crucial step to prevent them from sticking together and becoming difficult to separate when you want to enjoy them later.
Firstly, find a suitable flat surface, such as a baking sheet or a large tray, where you can arrange the pizzelles in a single layer. The flat surface ensures that the cookies maintain their shape and don’t get squished or deformed during the freezing process.
Take care to ensure that the pizzelles do not touch each other while arranging them on the baking sheet or tray. This is especially important as pizzelles have a delicate and crispy texture, and if they stick together, they may break or lose their distinct shape.
If you have baked a large batch of pizzelles, you might need to use multiple baking sheets or trays to accommodate them all. Alternatively, you can stack layers of pizzelles between parchment paper or wax paper to separate them and prevent any contact.
Maintaining a single layer or using parchment paper between layers also facilitates the freezing process. When the pizzelles are not stacked on top of each other, the cold air can circulate around them more effectively, allowing them to freeze faster and uniformly.
By arranging the pizzelles carefully and keeping them separated, you ensure that you won’t end up with a frozen clump of cookies. This makes it easier to take out the exact number of pizzelles you desire, without having to thaw and refreeze the entire batch.
Moreover, the neat arrangement of the pizzelles on the baking sheet or tray makes it easier to transfer them into storage containers or ziplock bags later on. You can simply lift the parchment paper or the entire layer of cookies and slide them gently into the containers without any hassle.
Step 3: Pre-Freeze the Pizzelles
Pre-freezing the pizzelles is a vital step in the freezing process that ensures the cookies maintain their individual shape and texture. This step is particularly important for pizzelles since they have a thin and delicate structure, making them susceptible to sticking together if frozen immediately after arranging them.
Once you have the baking sheet(s) with the neatly arranged pizzelles, carefully place them in the freezer. It’s essential to put them in a single layer or with parchment paper between layers as you did during the arranging step. This way, the pizzelles won’t come into contact with each other during the pre-freezing phase.
The pre-freezing period typically lasts for about 1 to 2 hours, but this may vary depending on your freezer’s temperature and the thickness of the cookies. The goal is to allow enough time for the pizzelles to become firm and solid to the touch without completely freezing them.
Pre-freezing the pizzelles is critical to prevent them from sticking together during long-term storage. When you freeze cookies directly after arranging them without pre-freezing, the moisture inside the cookies may cause them to fuse together into a clump. This undesirable outcome not only makes it challenging to separate the cookies when you want to enjoy them, but it can also ruin their delicate texture and appearance.
By pre-freezing the pizzelles on the baking sheet(s), each cookie freezes individually. This means that when you transfer them into a storage container or ziplock bag, they won’t be touching or sticking to one another. The pre-freezing process ensures that each pizzelle maintains its distinct shape and remains separate from the others throughout the entire freezing period.
Step 4: Package the Pizzelles
Once the pizzelles have undergone the essential pre-freezing process and are firm to the touch, it’s time to package them for long-term storage in the freezer. Proper packaging ensures that the pizzelles remain fresh, free from freezer burn, and easy to access whenever you crave a delightful treat.
Retrieve the baking sheet(s) with the pre-frozen pizzelles from the freezer and place them on a flat surface. You can transfer the pizzelles to airtight freezer-safe containers or ziplock bags for storage. Choose containers or bags that are appropriately sized to accommodate the quantity of pizzelles you want to freeze.
When stacking the pizzelles in the containers or bags, it’s crucial to maintain their separation to prevent them from sticking together. Pizzelles have a thin and delicate texture, and if they fuse during freezing, they may lose their crispness and become difficult to separate when you want to enjoy them.
To keep the pizzelles separated, place a layer of parchment paper or wax paper between each cookie. This simple yet effective technique creates a barrier that prevents the cookies from coming into contact with one another. As a result, they remain in pristine condition and maintain their distinct shape and flavor.
Stack the pizzelles in layers inside the containers or bags, with parchment paper between each layer. The number of cookies you stack per layer may depend on the size and depth of your containers or bags. Make sure not to overfill the containers or bags, as leaving some space allows for easy access and prevents unnecessary pressure on the cookies.
Step 5: Seal and Label
After carefully arranging the pizzelles in airtight freezer-safe containers or ziplock bags with parchment paper between layers, the next crucial step is to seal the packages tightly. Proper sealing is essential to create a protective barrier that prevents air from entering and causing freezer burn, which can negatively affect the quality of the frozen pizzelles over time.
Freezer burn occurs when the surface of frozen food is exposed to air, leading to dehydration and the formation of ice crystals. This can result in changes to the texture, taste, and appearance of the pizzelles, making them less enjoyable when thawed and consumed. By sealing the containers or bags tightly, you can minimize the air exposure and preserve the freshness of the pizzelles during their time in the freezer.
When using freezer-safe containers, ensure that the lids fit securely and form an airtight seal. Press down firmly on the lids to check for any gaps or loose areas, and make any necessary adjustments to ensure a tight seal.
If you are using ziplock bags, remove as much air as possible before sealing them. Press the bag gently to expel the air, starting from the bottom and moving towards the opening. Once the excess air is removed, close the ziplock bag securely to create a tight seal.
After sealing the containers or bags, the next important step is labeling. Labeling your frozen pizzelles is a practical and convenient way to keep track of their contents and storage time. It also helps you quickly identify the flavors if you have stored different varieties of pizzelles.
Write the contents of the package on the label, specifying the flavor of the pizzelles, such as “Anise Pizzelles” or “Chocolate Pizzelles.” This way, you can easily distinguish between the different types without having to open the containers or bags.
Additionally, include the date of freezing on the label. Knowing when you froze the pizzelles allows you to manage their storage time effectively. While frozen pizzelles can generally last for several months, it’s good practice to consume them within a reasonable period for the best taste and quality.
Step 6: Store in the Freezer
With the pizzelles neatly packaged, sealed, and labeled, it’s time to find their new home in the freezer. Proper storage in the freezer is crucial to maintain the pizzelles’ taste, texture, and overall quality until you’re ready to enjoy them.
Firstly, find a flat and even surface inside your freezer where you can place the packages. Placing them flat helps preserve the shape of the pizzelles and prevents any potential crushing or deformation that might occur if they were placed at an angle or on top of other items.
Carefully position the packages in the freezer, ensuring they are not stacked on top of each other, as stacking might lead to unwanted pressure on the cookies, causing them to break or stick together.
It’s essential to maintain a consistent and appropriate temperature in the freezer to ensure optimal preservation of the pizzelles. Set the freezer temperature at 0°F (-18°C) or lower. This low temperature helps prevent the growth of microorganisms, ensuring the pizzelles stay safe to eat and retain their deliciousness for an extended period.
Keeping the freezer at the correct temperature also minimizes the risk of freezer burn. As mentioned earlier, freezer burn occurs when the food’s surface is exposed to air, leading to dehydration and the degradation of quality. By maintaining a freezing temperature at or below 0°F, you reduce the chances of air exposure and keep the pizzelles in top condition.
Avoid frequent fluctuations in the freezer temperature by minimizing the number of times you open the freezer door. Rapid changes in temperature can lead to moisture condensation, which may affect the texture and taste of the pizzelles.
Furthermore, make sure that the packages are not placed near the freezer’s vents, as this can expose them to varying temperatures and impact their overall quality.
How long can I store frozen pizzelles in the freezer?
When properly frozen and stored at 0°F (-18°C) or below, pizzelles can maintain their quality for up to 3 months. Beyond this timeframe, their quality may begin to decline, affecting their taste and texture. For the best taste and texture, try to consume them within this time frame.
Other related questions
How do I defrost pizzelles?
To defrost pizzelles, remove them from the freezer and let them sit at room temperature for about 15-30 minutes. Alternatively, you can place the frozen pizzelles in a resealable bag and microwave them on low power in 10-second intervals until thawed. Avoid using high heat to prevent overcooking.
Can I reheat frozen pizzelles in the oven for a fresher taste?
Yes, you can reheat frozen pizzelles in the oven for a few minutes at a low temperature (around 250°F or 120°C). This will help refresh their crispy texture and bring back some of the freshly baked aroma.
Can I refreeze pizzelles?
It is generally not recommended to refreeze pizzelles once they have been thawed. Refreezing can lead to a loss of quality, taste, and texture due to moisture loss during the thawing and refreezing process. It is best to consume the thawed pizzelles promptly or store them in the refrigerator for a short period if needed, but avoid refreezing to maintain their optimal freshness.
How do I know if the pizzelles have gone bad after being frozen?
To determine if frozen pizzelles have gone bad, look for signs of freezer burn, such as dry and discolored spots on the cookies. Additionally, check for changes in texture, such as becoming overly soft or brittle. If there is an unusual odor or taste, it could indicate spoilage, and in such cases, it is advisable to discard the pizzelles to avoid any health risks.
Can I freeze different flavored pizzelles together in one container?
Yes, you can freeze various flavored pizzelles together in the same airtight container or ziplock bag. However, consider using parchment paper or wax paper to separate the different flavors to prevent any flavor mixing.
Can I freeze pizzelles with delicate fillings or toppings?
It is generally not recommended to freeze pizzelles with delicate fillings or toppings, as these may not retain their texture and taste after thawing. For pizzelles with fillings, consider freezing the unfilled cookies and adding the fillings fresh when ready to serve.
Can I add powdered sugar or other toppings before freezing pizzelles?
It is advisable to add powdered sugar or other toppings after thawing the pizzelles, as these toppings may clump or dissolve during freezing and thawing. Sprinkle them on the pizzelles just before serving for the best presentation.
Can I freeze gluten-free or vegan pizzelles?
Absolutely! Gluten-free or vegan pizzelles can be frozen using the same methods as traditional pizzelles. Ensure that the ingredients used are freezer-friendly, and follow the standard freezing procedures for optimal results.
Can I freeze pizzelles in decorative shapes or patterns?
Yes, you can freeze pizzelles in decorative shapes or patterns. Arrange them carefully on a baking sheet or tray, ensuring they do not touch each other, and follow the standard pre-freezing and packaging steps for the best results.
Can I freeze flavored pizzelles with chunks of fruit or nuts?
Flavored pizzelles with chunks of fruit or nuts can be frozen, but keep in mind that the texture of the fruit or nuts may change after freezing. To retain their freshness, consider adding the fruit or nuts to the pizzelles just before serving.

