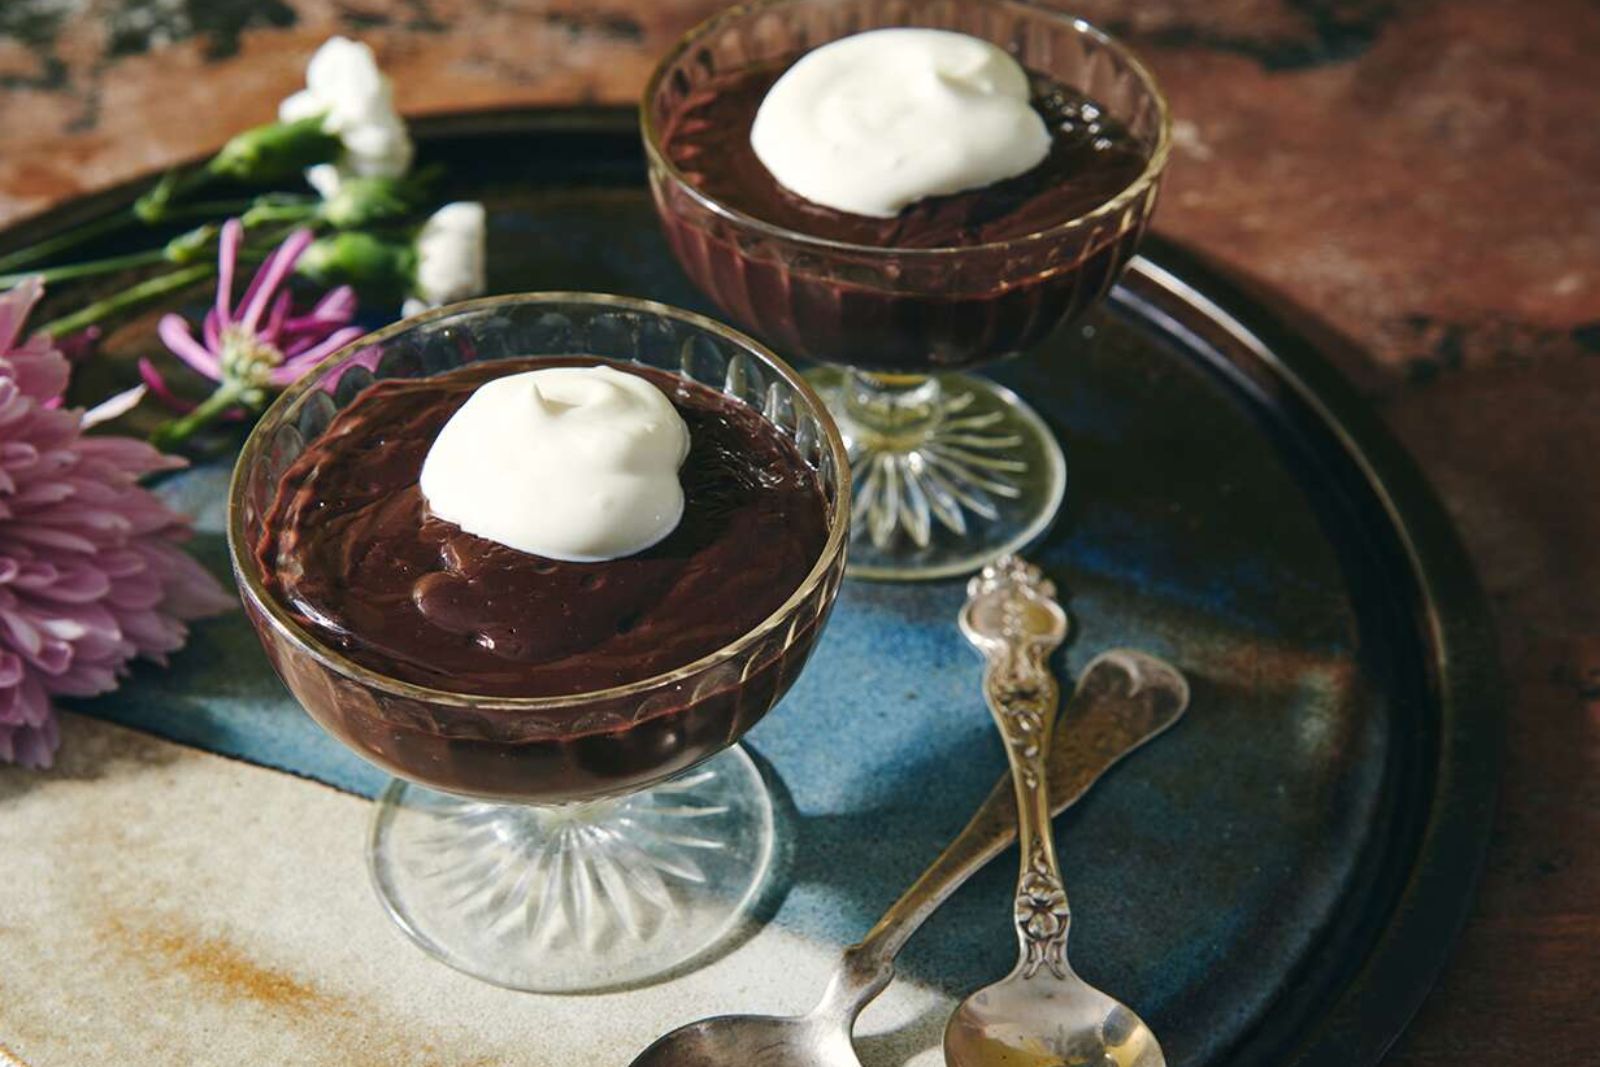
Pudding is a delightful and creamy dessert loved by many. It comes in various flavors and can be served warm or cold, making it a versatile treat for any occasion. If you find yourself with leftover pudding or simply want to prepare a batch in advance, freezing is an excellent option to preserve its taste and texture. Freezing pudding is a straightforward process that, when done correctly, allows you to enjoy this delectable dessert at a later time. This article will present a step-by-step guide on how to freeze pudding, ensuring that it maintains its scrumptiousness for future indulgence.
Here’s a step-by-step guide on how to freeze pudding:
Step 1: Prepare the Pudding
The first and crucial step in freezing pudding is to ensure that the pudding itself is well-prepared and ready for freezing. Whether you’ve just made a fresh batch of pudding or you have some leftovers from a previous dessert, taking the time to properly prepare the pudding before freezing will contribute to its overall quality and taste after it’s thawed.
One essential aspect of preparation is to make sure the pudding is free of any toppings or mix-ins. Toppings such as whipped cream, fruit, or chocolate chips can alter the pudding’s texture and might not freeze well. Mix-ins, like cookie crumbs or nuts, may become soggy or lose their crunch when frozen alongside the pudding. To maintain the desired consistency and flavor, it’s best to freeze plain pudding without any additional toppings or mix-ins.
Moreover, you should consider the flavor of the pudding. Whether you have classic vanilla, indulgent chocolate, or refreshing fruity flavors, it’s essential to ensure that the pudding is smooth and homogeneous in texture. This means that all the ingredients have been well combined, creating a uniform and creamy mixture. If you notice any lumps or inconsistencies in the pudding, take the time to stir or whisk it until it’s perfectly smooth.
By paying attention to these details during the preparation stage, you set the foundation for a successful freezing process. Freezing a well-prepared and topping-free pudding will help preserve its original taste and texture, allowing you to enjoy a delicious and creamy dessert even after it has been stored in the freezer.
Step 2: Cool the Pudding
After you have prepared the pudding and placed it in the selected containers for freezing, it’s important to allow the pudding to cool down to room temperature before placing it in the freezer. Cooling the pudding is a crucial step to ensure its optimal quality during freezing and subsequent thawing.
When hot or warm pudding is placed directly into the freezer, it creates a temperature difference between the pudding and the surrounding cold environment. This temperature difference can lead to condensation forming on the surface of the pudding or inside the container.
Condensation occurs when moisture in the air comes into contact with the colder surface of the pudding. The moisture then turns into tiny water droplets. If this condensation forms on the surface of the pudding, it can freeze and create ice crystals, which may alter the pudding’s texture and affect its overall quality when thawed.
Additionally, if condensation forms inside the container, it can cause freezer burn. Freezer burn happens when moisture in the pudding evaporates and then re-freezes on the surface, causing the pudding to dehydrate and develop a dry, unappealing texture.
By allowing the freshly prepared pudding to cool down to room temperature before freezing, you give it time to naturally release excess heat and moisture. This helps to reduce the risk of condensation forming both on the surface of the pudding and inside the container.
To cool the pudding, you can leave it on the kitchen counter for about 30 minutes to an hour, depending on the size of the container and the ambient room temperature. Once it has cooled down, it will be closer in temperature to the freezer, minimizing the temperature difference and reducing the likelihood of condensation forming during freezing.
Step 3: Choose Suitable Containers
Once you have prepared the pudding and it’s ready for freezing, the next step is to select appropriate containers for storing it in the freezer. The right choice of containers will help maintain the quality of the pudding during freezing and make it easier to manage portions when you decide to thaw and consume it.
It is essential to opt for freezer-safe containers or airtight, resealable plastic bags designed specifically for freezing purposes. Freezer-safe containers are made of materials that can withstand low temperatures without cracking or becoming brittle. Using containers not intended for freezing could result in leaks, freezer burn, or unpleasant odors and flavors being absorbed by the pudding.
Airtight containers are important because they prevent air from getting inside, which can lead to freezer burn and negatively affect the pudding’s taste and texture. Freezer burn occurs when moisture in the pudding evaporates and forms ice crystals on the surface, causing it to become dehydrated and develop an “off” or stale flavor.
If you are using plastic bags, make sure they are designed for freezing and have a secure seal to prevent any leaks or spills. Plastic bags are particularly useful when you want to freeze individual portions of pudding. They also save space in the freezer and allow you to stack them neatly.
When dividing the pudding into containers or bags, consider portion sizes that suit your needs. Freezing the pudding in individual or smaller portions allows you to thaw only what you plan to consume, reducing waste and ensuring that the rest of the pudding remains frozen and fresh.
Step 4: Fill the Containers
Once the pudding has cooled down to room temperature, it’s time to transfer it into the chosen freezer-safe containers or bags for freezing. Properly filling the containers is crucial to ensure that the pudding freezes and thaws evenly, maintaining its smooth texture and preventing any potential issues during storage.
When spooning the cooled pudding into the containers or bags, it’s essential to leave a bit of space at the top. Pudding, like many liquids and semi-liquids, expands when frozen due to the formation of ice crystals. If the container is filled to the brim, there won’t be enough space for the pudding to expand, which can lead to the container cracking or bursting. Leaving some room for expansion prevents this from happening and helps preserve the integrity of the container.
In addition to allowing for expansion, leaving space at the top of the container also helps minimize the contact between the pudding and the air inside the container. Air exposure can cause freezer burn or degrade the pudding’s taste and texture over time. By reducing the air contact, you help maintain the quality of the pudding during freezing.
After filling the containers, it’s essential to seal them tightly to prevent any air from getting in. Airtight seals ensure that the pudding remains protected from freezer odors and prevents the development of ice crystals on the pudding’s surface. Properly sealed containers also help maintain the pudding’s moisture content and prevent it from becoming too dry or developing an unpleasant texture.
If you’re using resealable plastic bags, squeeze out any excess air before sealing them shut. This ensures that the pudding is in close contact with the plastic, minimizing air exposure and promoting even freezing.
Taking care to fill the containers with cooled pudding, leaving room for expansion, and sealing them tightly are all critical steps to ensure that the pudding freezes and stays in optimal condition during storage. When you’re ready to thaw and enjoy the pudding, you’ll be rewarded with a creamy, delicious dessert that tastes just as delightful as when it was freshly made.
Can I freeze pudding cups or single-serve portions?
Yes, you can freeze pudding cups or single-serve portions. Just make sure the containers are freezer-safe, airtight, and properly labeled with the type of pudding and freezing date. Freezing in individual servings allows for convenient portioning and reduces waste.
Step 5: Label the Containers
Labeling the containers of frozen pudding is a crucial step to ensure organization and to keep track of the pudding’s type and freezing date. Properly labeled containers will help you avoid confusion and make it easier to manage your frozen desserts effectively.
- Type of Pudding:
If you have multiple types of pudding or different flavors stored in the freezer, labeling each container with the specific type of pudding is essential. This way, you can easily identify what’s inside without having to open each container. Knowing the type of pudding also helps when planning for future desserts or selecting a particular flavor to enjoy.
- Date of Freezing:
Freezing pudding is a convenient way to extend its shelf life, but it’s essential to keep track of how long it has been in the freezer. By labeling each container with the date of freezing, you’ll have a clear reference point to determine its freshness.
By knowing the freeze date, you can prioritize consuming the older batches of pudding first, reducing the likelihood of any going to waste. This practice ensures that you always enjoy the pudding at its best and prevents you from accidentally keeping it in the freezer for an extended period, where it might lose its desirable qualities.
To label the containers, you can use adhesive labels, masking tape, or even write directly on the containers with a permanent marker. Include the name of the pudding flavor and the date it was frozen in a clear and legible manner.
Keeping the containers labeled and organized not only prevents confusion but also makes it easier to manage your frozen pudding inventory effectively. It allows you to enjoy a variety of flavors and ensures that each serving of pudding is enjoyed at its peak freshness. With a well-labeled collection of frozen puddings, you can savor these delightful treats whenever the craving strikes, without any uncertainty or wastage.
Step 6: Arrange in the Freezer
After filling the containers with the cooled pudding and ensuring they are tightly sealed, the next step is to arrange them in the freezer for proper freezing. How you position the containers in the freezer can impact the quality and convenience of accessing the frozen pudding later on.
Firstly, find a flat surface in your freezer where you can place the containers. It’s important to select a level area to prevent any tilting or shifting of the containers during freezing. A flat surface ensures that the pudding inside the containers remains evenly distributed, which contributes to consistent freezing and thawing.
Avoid stacking the containers immediately after placing them in the freezer. Stacking the containers while they are still in the process of freezing can lead to deformation or misshaping of the pudding. Pudding has a semi-liquid consistency, and when stacked before freezing solid, it can lose its defined shape, especially if the containers are not completely airtight.
Maintaining the individual containers in an upright position during the initial freezing phase helps preserve the pudding’s structure. Once the pudding is fully frozen and solid, you can then stack the containers on top of each other, if needed, to save space in the freezer.
By avoiding immediate stacking, you also make it easier to access individual portions of the frozen pudding. When the containers are arranged side by side rather than stacked, you can easily take out the specific amount of pudding you want to thaw and consume without disturbing the rest of the containers.
How long can I keep frozen pudding in the freezer?
Frozen pudding can maintain its quality for up to three months if stored correctly. After this period, its taste and texture may start to deteriorate. To enjoy the best taste, consume the frozen pudding within the recommended time frame.
Step 7: Thaw the Pudding
Thawing the frozen pudding properly is essential to ensure that it regains its creamy texture and delicious taste. When you’re ready to enjoy your frozen pudding, there are two main methods for thawing: refrigerator thawing and microwave thawing.
- Refrigerator Thawing:
The recommended method for thawing frozen pudding is to do so slowly and gently in the refrigerator. To thaw the pudding using this method, take a container of frozen pudding from the freezer and place it in the refrigerator. Allow it to thaw overnight or for several hours, depending on the size of the container and the thickness of the pudding.
Thawing the pudding in the refrigerator gradually helps to retain its creamy texture and prevents any drastic temperature changes that could compromise its quality. Slow thawing allows the pudding to reabsorb any excess moisture and maintain its smooth consistency.
- Microwave Thawing:
If you’re short on time and prefer a quicker thawing method, you can use the defrost setting on your microwave. However, it’s crucial to exercise caution to avoid overheating the pudding.
To thaw the pudding in the microwave, transfer a portion of the frozen pudding to a microwave-safe dish. Use the defrost setting or lower power setting to thaw the pudding slowly and evenly. Pause the microwave and stir the pudding every 30 seconds to prevent uneven heating and ensure that no areas become too hot.
Microwave thawing is faster than refrigerator thawing but requires careful monitoring to prevent overheating. Overheating the pudding can cause some parts to become overcooked while others remain frozen, affecting the overall texture and taste.
Regardless of the thawing method you choose, avoid using high heat or leaving the pudding at room temperature for extended periods. Rapid temperature changes can lead to moisture loss, affecting the pudding’s consistency and taste.
Other related questions
Can I refreeze pudding?
Refreezing pudding is generally not recommended. When pudding is thawed, bacteria can multiply, and refreezing can further compromise its safety and quality. It’s best to portion the pudding before freezing to avoid refreezing any leftovers and ensure the best taste and texture upon consumption.
How do I know if the pudding has gone bad after being frozen?
To determine if frozen pudding has gone bad, look for signs of spoilage, such as an off or sour odor, unusual color changes, or the presence of mold. Additionally, check for ice crystals or freezer burn, which can affect the texture and taste. If any doubt exists about the pudding’s safety or quality, it is advisable to discard it to avoid potential health risks.
Can I freeze homemade pudding or only store-bought varieties?
You can freeze both homemade and store-bought pudding. The key is to ensure the pudding is well-prepared, cooled to room temperature, and stored in freezer-safe containers with proper labeling.
Can I freeze pudding made with milk alternatives, such as almond or coconut milk?
Yes, you can freeze pudding made with milk alternatives. The freezing process remains the same as with traditional dairy-based pudding. Just ensure the pudding is well-prepared, cooled, and stored in suitable freezer-safe containers.
Is it safe to freeze pudding with egg-based recipes?
Freezing egg-based pudding is generally safe; however, the texture may change slightly upon thawing. To maintain the best quality, try using cornstarch-based pudding recipes when planning to freeze.
Can I freeze pudding with gelatin or agar-agar as a setting agent?
Puddings made with gelatin or agar-agar can be frozen, but the texture may be affected. The pudding may become slightly firmer after thawing due to the setting agent. Consider using cornstarch or tapioca-based puddings for optimal results.
Can I freeze leftover store-bought pudding cups with the original packaging?
Answer: It’s better to transfer store-bought pudding cups into airtight freezer-safe containers before freezing. The original packaging may not provide sufficient protection from freezer burn and odors. Label the containers with the type of pudding and freezing date for easy identification.


