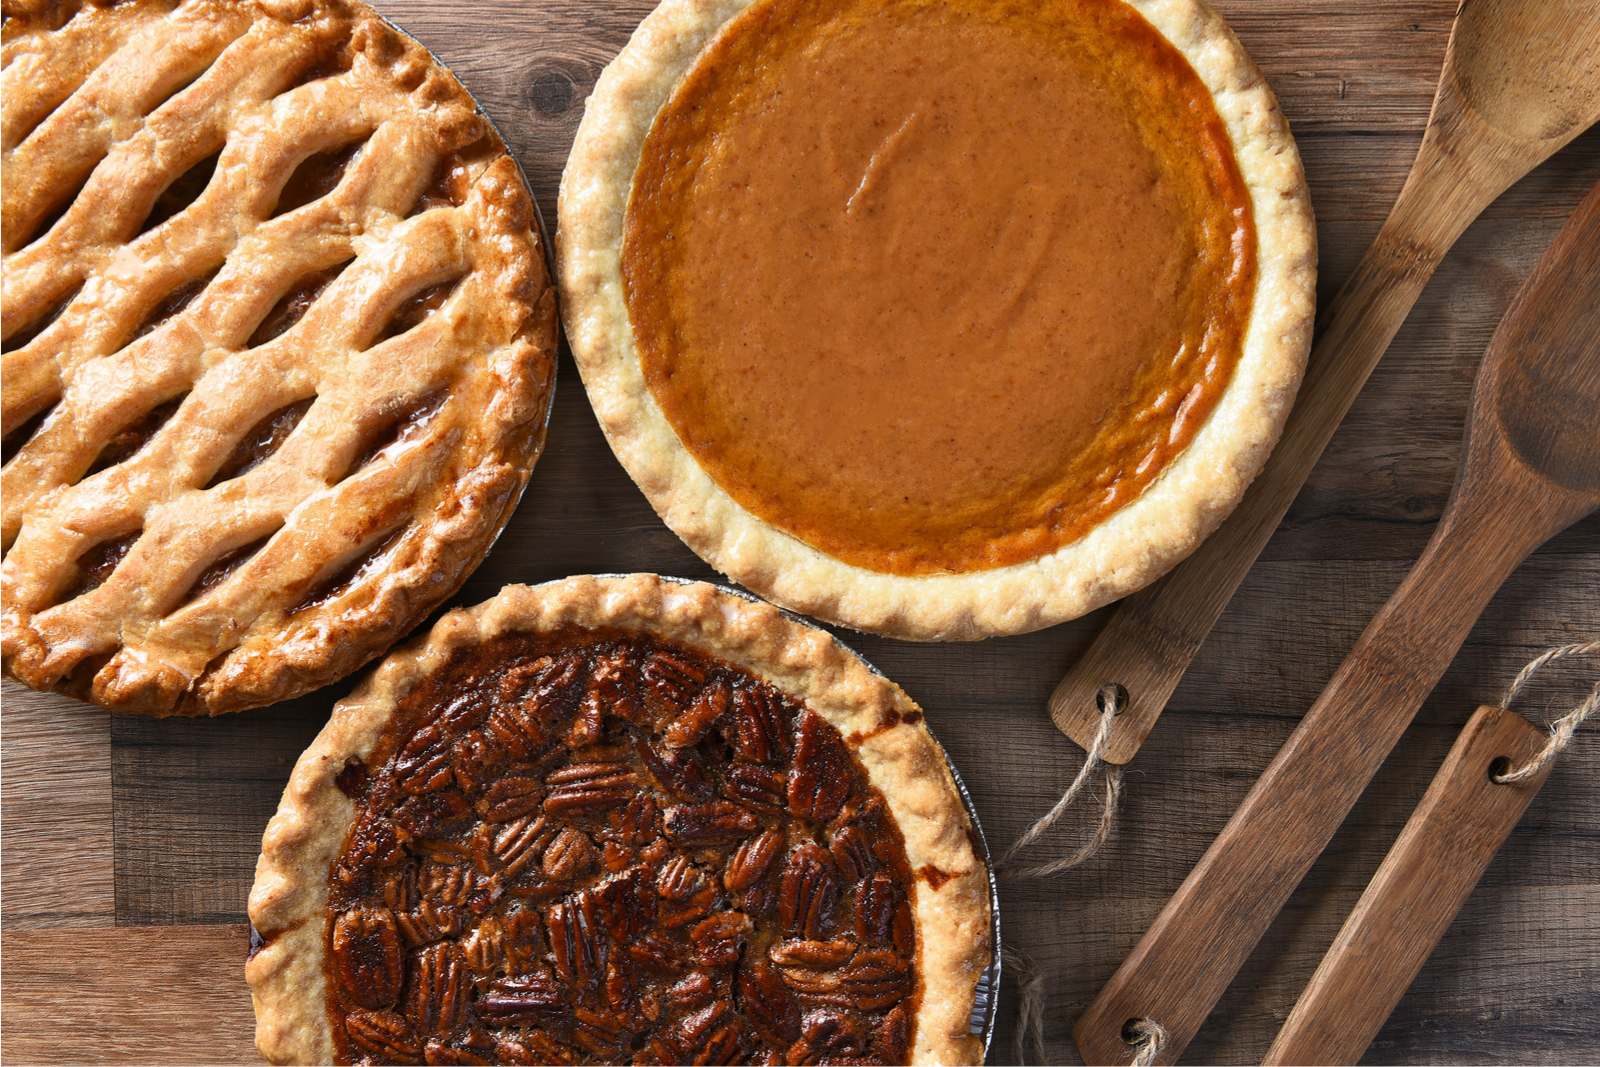
Pumpkin pies, with their velvety smooth pumpkin filling and flaky, buttery crust, are an iconic dessert that symbolizes the heartwarming flavors of autumn and holiday gatherings. This classic treat, enriched with a blend of aromatic spices like cinnamon, nutmeg, and cloves, evokes feelings of nostalgia and comfort with every heavenly slice. Whether served as the grand finale to a Thanksgiving feast or enjoyed as a special indulgence throughout the fall season, pumpkin pies hold a special place in the hearts of dessert enthusiasts. However, baking an entire pie can result in leftovers, leading to the question of how best to preserve its delightful taste and texture. Freezing pumpkin pies emerge as a practical solution to extend their enjoyment, allowing you to savor the quintessential taste of autumn in each delectable slice, even when the holiday season has passed. In this guide, we will explore the best practices for freezing pumpkin pies, ensuring that their creamy filling, spiced aroma, and flaky crust remain lovingly preserved, ready to bring a taste of fall’s splendor to your palate whenever you crave a slice of seasonal delight.
Here are the simple steps to freeze pumpkin pies:
Step 1: Choose Fresh Pumpkin Pies
Selecting fresh pumpkin pies is crucial when preparing to freeze them. The freshness of the pies plays a significant role in determining the quality and taste after they are thawed. There are a few essential reasons why choosing fresh pumpkin pies is important:
- Flavor and Texture: Freshly baked pumpkin pies have the best flavor and texture. The filling is still moist and flavorful, while the crust maintains its crispness. When frozen, pies that were already past their prime may become dry and lose their original taste.
- Food Safety: Food safety is a vital aspect when freezing any type of food, including pumpkin pies. If a pie has been left at room temperature for an extended period, harmful bacteria could multiply, making it unsafe for consumption even after freezing. By choosing fresh pies, you reduce the risk of foodborne illnesses.
- Optimal Freezing: Freezing fresh pumpkin pies ensures that the freezing process is efficient and preserves the pie’s characteristics effectively. The quicker you freeze a pie after it has been baked, the better the quality will be when you eventually thaw and serve it.
- Longer Shelf Life: Starting with fresh pumpkin pies means that you’ll have a longer shelf life after freezing. The fresher the pie, the longer it will maintain its original taste and texture in the freezer.
How to choose fresh pumpkin pies:
- Look for pies that have been recently baked, either at home or from a reputable bakery.
- Check the packaging or label for the “baked on” or “best before” date to ensure they are within a reasonable timeframe.
- If buying pre-packaged pies, inspect the packaging for any signs of damage or tampering, which could indicate that the pie has been stored improperly or for too long.
Selecting fresh pumpkin pies is the first step in ensuring that your frozen pies will taste as delicious as they did when they were first baked. By avoiding pies that have been left at room temperature for too long or have exceeded their expiration date, you’ll be on your way to savoring the delightful flavors of pumpkin pie long after the fall season has passed.
Step 2: Cool the Pies
After baking the pumpkin pies, it is essential to allow them to cool completely before proceeding with the freezing process. Cooling the pies serves several critical purposes, ensuring that the pies freeze evenly and maintain their desired texture and taste. Here’s why cooling the pies is an important step:
- Even Freezing: Cooling the pies helps distribute the internal heat evenly throughout the pie. If you were to place hot pies directly into the freezer, the outer edges of the pie would freeze rapidly while the center remains relatively warm. This uneven freezing can result in ice crystals forming within the pie, affecting its texture and leading to a loss of moisture.
- Texture Preservation: Pumpkin pies have a delicate and creamy texture, which is a significant part of their appeal. Allowing the pies to cool gradually helps them set properly. Rapidly freezing a hot pie can cause the filling to become watery or separate, resulting in a less desirable consistency when thawed.
- Preventing Condensation: Warm pies placed in the freezer can create condensation inside the packaging or wrapping. This moisture can lead to freezer burn, affecting the taste and texture of the pie over time. Cooling the pies beforehand minimizes the risk of condensation forming during the freezing process.
How to cool the pumpkin pies properly:
- Remove the pies from the oven once they are fully baked, with the crust turning golden brown, and the filling set (it shouldn’t jiggle excessively).
- Allow the pies to cool at room temperature on a wire rack. This process may take anywhere from 1 to 2 hours, depending on the size and thickness of the pie.
- Avoid cooling the pies in the refrigerator or freezer to expedite the process, as this can lead to condensation forming on the surface of the pie.
Once the pies have cooled completely, they are ready to be wrapped securely and placed in the freezer for storage. Cooling the pies before freezing ensures that they retain their delectable texture and flavor, providing you with a delightful pumpkin pie experience even after they have been thawed.
Step 3: Protect the Crust (optional)
Preserving the crispness of the crust is a common concern when freezing pies, including pumpkin pies. While this step is optional, it can be beneficial if you want to ensure that the crust retains its texture and doesn’t become soggy during the freezing process. Applying a thin layer of beaten egg white over the crust creates a protective barrier that helps maintain the crust’s crispness when the pie is eventually thawed and served. Here’s why this optional step can be helpful:
- Barrier against Moisture: The egg white creates a thin layer over the crust, acting as a barrier against excess moisture. During freezing, ice crystals can form and cause the crust to absorb moisture, leading to a loss of crispness. The egg white helps prevent this by forming a protective shield.
- Enhanced Texture: By preserving the crispness of the crust, you can enhance the overall texture of the pumpkin pie. A crispy crust complements the smooth and creamy filling, creating a delightful contrast that is especially enjoyable when the pie is freshly thawed.
- Improved Presentation: A well-preserved crust adds to the visual appeal of the pumpkin pie when serving. It maintains its golden color and looks more appetizing compared to a soggy or less attractive crust.
To protect the crust with a thin layer of beaten egg white follow these steps:
- After the pumpkin pie has cooled completely, crack an egg and separate the egg white from the yolk.
- Beat the egg white until it becomes frothy and slightly foamy.
- Gently brush the beaten egg white over the surface of the crust using a pastry brush. Be sure to cover the entire crust evenly.
- Keep in mind that this step is optional, and if you prefer a softer crust or don’t mind a slight change in texture, you can skip this process. Additionally, if you have specific dietary restrictions or concerns about consuming raw egg whites, it’s best to avoid this step altogether.
By considering this optional step, you can help maintain the crispness of the crust and enhance the overall experience of enjoying a delicious, freshly thawed pumpkin pie, making it a delightful treat for family gatherings, special occasions, or whenever you crave a taste of the fall season.
Step 4: Wrap the Pie Securely
Properly wrapping the pumpkin pie is a critical step in the freezing process to ensure its preservation and prevent freezer burn. Freezer burn occurs when food is exposed to air and moisture in the freezer, causing dehydration and deterioration of the food’s quality, texture, and flavor. By wrapping the pie securely, you create a protective barrier that keeps the pie fresh and maintains its moisture content. Here’s why this step is essential:
- Protection against Freezer Burn: Plastic wrap, aluminum foil, or a combination of both act as effective barriers, preventing air and moisture from coming into contact with the pie. Freezer burn can cause the surface of the pie to dry out, leading to changes in taste and texture.
- Maintaining Moisture: The plastic wrap or foil helps trap moisture inside the pie, preserving its original consistency and preventing it from becoming dry or soggy during freezing.
- Avoiding Odor Transfer: Properly wrapped pies also prevent the absorption of odors from other foods in the freezer, ensuring that the pumpkin pie retains its distinct flavor.
Follow these steps to securely wrap the pumpkin pie:
- Begin by allowing the pie to cool completely after baking and optional crust protection.
- Place the cooled pie on a flat, clean surface.
- Take a piece of plastic wrap and gently cover the entire surface of the pie. Ensure there are no gaps or exposed areas. You can use your hands to press the plastic wrap tightly against the pie.
- For added protection, you can then wrap the pie with a layer of aluminum foil. This extra layer further insulates the pie from potential freezer burn.
- Alternatively, you can use a combination of plastic wrap and foil by first wrapping the pie in plastic wrap and then wrapping it in foil.
By wrapping the pie securely, you can be confident that it will remain fresh and delicious, ready to be enjoyed whenever you’re craving a delightful slice of pumpkin pie goodness.
Step 5: Place in an Airtight Container
After wrapping the pumpkin pie securely with plastic wrap and/or aluminum foil, placing it in an airtight container provides an extra layer of protection during freezing. While this step is optional, it is especially beneficial if you intend to store the pies in the freezer for an extended period or if you want to ensure maximum preservation of their quality. Here’s why using an airtight container is advantageous:
- Enhanced Protection: Airtight containers create a sealed environment, preventing any air or moisture from entering and coming into contact with the pie. This added protection further guards against freezer burn and helps maintain the pie’s original taste, texture, and moisture content.
- Minimize Odor Transfer: Airtight containers also prevent the absorption of unwanted odors from other foods in the freezer, ensuring that the pumpkin pie’s unique flavor is preserved.
- Prevent Freezer Damage: Placing the pie in an airtight container shields it from potential damage that may occur if it comes into contact with other items or gets jostled around in the freezer.
- Easy Organization: Using airtight containers can help keep the freezer organized and tidy. Storing the pies in individual containers makes it simpler to access and identify them later without having to unwrap each pie.
When choosing an airtight container, consider the size and shape of the container to ensure it accommodates the wrapped pie without squishing or deforming it. You can use plastic or glass containers with secure locking lids, or freezer-safe resealable bags for this purpose.
How to place the wrapped pumpkin pie in an airtight container:
- Select a suitable airtight container that is large enough to accommodate the pie without any bending or folding of the wrapping.
- Gently place the wrapped pie inside the container, making sure it sits flat and doesn’t have any gaps around the edges.
- Seal the container tightly to create an airtight seal.
- Label the container with the date of freezing and any additional information, such as the type of pie or any special instructions.
Keep in mind that if you plan to consume the frozen pumpkin pie within a relatively short period (within a month or so), and you are confident in the secure wrapping, using an airtight container may be optional. However, for long-term storage or for added peace of mind, the airtight container offers an extra layer of protection and ensures your pumpkin pie remains in its best condition until you’re ready to savor it.
Step 6: Label the Container
Labeling the container that holds the frozen pumpkin pie is a crucial step in the freezing process. By marking the container with the date of freezing, you create a clear reference point that allows you to keep track of how long the pies have been stored in the freezer. Properly labeling the container provides several benefits:
- Tracking Storage Time: Freezing food, including pumpkin pies, does not mean they will remain in peak condition indefinitely. By adding the date of freezing, you have a reference point to determine how long the pies have been stored. This information is essential for knowing when the pies might begin to lose their optimal taste and texture.
- Maintaining Quality: Different types of foods have varying recommended storage durations in the freezer. Knowing the date of freezing helps you avoid keeping the pies for too long, ensuring you consume them at their best quality.
- Prioritizing Consumption: If you have multiple frozen pumpkin pies or other items in the freezer, labeling allows you to prioritize their consumption. You can use the storage dates to decide which pies to enjoy first, reducing the risk of them remaining in the freezer beyond their recommended storage period.
- Reducing Food Waste: Proper labeling helps prevent the accidental consumption of old or expired frozen foods. By knowing when the pies were frozen, you can ensure you use them before they deteriorate in quality.
To label the container these are steps to follow:
- Use a marker or a label and write the date of freezing on the container’s lid or side. You can also include any additional information, such as the type of pie or any special instructions for serving.
- Be clear and legible with the labeling to avoid confusion.
- If you plan to store multiple pies, it’s a good idea to label each container individually to make it easier to track the storage time of each pie.
Proper labeling is a simple yet effective way to keep your freezer organized and ensure that your pumpkin pies remain at their best quality. By following this step, you can confidently enjoy your frozen pumpkin pies knowing they are consumed within the recommended storage period, providing you with a delightful treat whenever you choose to indulge in the taste of autumn.
Step 7: Store in the Freezer
Once you have wrapped and labeled the pumpkin pie, it’s time to store it in the freezer. Proper storage in the freezer is essential to maintain the pie’s quality, flavor, and texture over an extended period. Following this step ensures that the pumpkin pie remains in the best possible condition until you’re ready to thaw and serve it. Here’s why storing the pie correctly in the freezer is crucial:
- Preserve Quality: Placing the pumpkin pie in the freezer promptly after wrapping and labeling prevents any further deterioration in quality. The low temperature of the freezer slows down the natural aging process of the pie, preserving its taste and texture.
- Prevent Damage: Positioning the pie flat in the freezer avoids any crushing or damaging of the pie’s structure. Laying the pie on a flat surface ensures it remains intact and visually appealing when you eventually take it out of the freezer.
- Temperature Consideration: The ideal temperature for freezing pumpkin pies, as well as most other foods, is at or below 0°F (-18°C). At this temperature, bacterial activity is significantly reduced, minimizing the risk of spoilage and ensuring the pie remains safe for consumption over an extended period.
To store the pumpkin pie in the freeze these are steps to follow:
- Find a designated spot in your freezer where the pie can lie flat without being tilted or squeezed by other items. This helps maintain its shape and prevents any potential damage to the pie’s appearance.
- If you have multiple pies or other frozen items in the freezer, try to create a dedicated space for the pies to keep them organized and easily accessible.
- Ensure the freezer maintains a consistent temperature of 0°F (-18°C) or lower. Fluctuating temperatures can affect the quality of the frozen pie.
- Avoid placing the pie near the freezer door or in areas that are frequently exposed to warm air when the freezer is opened. The temperature fluctuations in these areas can affect the pie’s texture and taste over time.
By storing the pumpkin pie in a designated spot in the freezer and maintaining the ideal freezing temperature, you can be confident that the pie will remain fresh and ready to enjoy whenever you desire a taste of the delightful flavors of pumpkin and warm spices. Proper storage is the final step in preserving the pumpkin pie’s quality, ensuring a delicious treat to savor at any time of the year.
How long can pumpkin pie last in the freezer?
Pumpkin pie can last in the freezer for about 2 to 3 months when properly stored. To maintain its best quality, it is essential to wrap it securely in plastic wrap or foil, place it in an airtight container, and label it with the freezing date. Thaw the pie in the refrigerator overnight before serving, avoiding room temperature thawing to prevent foodborne illnesses.
Step 8: Thaw the Frozen Pies
Thawing frozen pumpkin pie properly is essential to ensure it retains its delicious taste and safe consumption. Rushing the thawing process can lead to uneven heating, compromising the pie’s texture and potentially causing foodborne illnesses. Following this step ensures that the pumpkin pie is ready to be enjoyed in its best condition. Here’s why thawing and serving the pie correctly is important:
- Safe Thawing: Thawing the pumpkin pie in the refrigerator is the safest method. The controlled and gradual temperature change prevents the growth of harmful bacteria that can occur when thawing at room temperature.
- Preserve Texture: Thawing the pie overnight in the refrigerator allows it to thaw evenly, preserving the pie’s texture. This method prevents the filling from becoming watery or the crust from becoming soggy, providing a more enjoyable eating experience.
- Prevent Foodborne Illnesses: Thawing at room temperature can lead to the growth of bacteria, especially on the surface of the pie. Thawing in the refrigerator minimizes the risk of foodborne illnesses, making it a safer option.
How to thaw the frozen pumpkin pie:
- Remove the pie from the freezer and place it on a plate or in a shallow container to catch any condensation that may occur during thawing.
- Transfer the pie to the refrigerator and let it thaw overnight. The time required for thawing may vary depending on the size of the pie, but overnight is typically sufficient for most standard-sized pies.
- Avoid thawing the pie at room temperature, as this can lead to the growth of harmful bacteria and compromise the safety of the pie.
By thawing the pumpkin pie securely, you can savor the deliciousness of the frozen pumpkin pie while ensuring it is safe for consumption. Properly thawing the pie in the refrigerator and reheating it gently in the oven, if desired, will provide you with a wonderful dessert experience that captures the essence of the fall season anytime you crave a delightful pumpkin treat.
Other related questions
Can you refreeze pumpkin pie?
Refreezing pumpkin pie is generally not recommended. Once thawed, the pie’s quality may deteriorate, leading to changes in taste and texture. It’s best to consume the pie after thawing or consider portioning it before freezing to avoid the need to refreeze the entire pie.
How do I know if the pumpkin pie has gone bad after being frozen?
To determine if frozen pumpkin pie has gone bad, look for signs of freezer burn, such as dry or discolored patches on the surface. Additionally, check for changes in texture or an off-putting odor. If the pie appears to have undergone significant changes in appearance, texture, or smell, it may be spoiled and should not be consumed. When in doubt, it’s best to err on the side of caution and discard the pie to avoid the risk of foodborne illnesses.
Can you freeze pumpkin pie with a whipped cream topping or meringue?
While you can freeze pumpkin pie with a whipped cream topping or meringue, it’s essential to take precautions to maintain their quality. For pies with whipped cream, freeze the pie without the topping and add fresh whipped cream after thawing. For meringue-topped pies, it’s best to freeze the pie without the meringue and add the meringue before serving, then lightly brown the meringue with a torch or under a broiler. Properly wrapped and stored, frozen pumpkin pie with toppings can be enjoyed without compromising taste and texture.
Can you freeze pumpkin pie with a graham cracker crust?
Yes, you can freeze pumpkin pie with a graham cracker crust. To freeze, allow the pie to cool completely, then wrap it tightly in plastic wrap or aluminum foil to prevent freezer burn. Place the wrapped pie in an airtight container or freezer bag and store it in the freezer for up to two months.
What are some creative ways to use frozen pumpkin pie in desserts or other recipes?
Frozen pumpkin pie can be repurposed creatively in various dessert recipes. One option is to blend frozen pumpkin pie slices with milk or ice cream to create a delicious pumpkin pie milkshake. You can also crumble the frozen pie and use it as a base for a pumpkin pie parfait or trifle, layering it with whipped cream and other toppings. Additionally, you can chop the frozen pie into cubes and use them in a pumpkin pie-inspired ice cream sundae, combining it with caramel sauce, nuts, and a drizzle of melted chocolate.
Are there any alternatives to traditional freezing methods for pumpkin pie?
Yes, there are alternatives to traditional freezing methods for pumpkin pie. One option is to freeze the pumpkin pie filling separately without the crust to save space and prevent the crust from becoming soggy. Another alternative is to make pumpkin puree and freeze it, allowing for versatility in using the puree for various recipes beyond just pumpkin pie.

