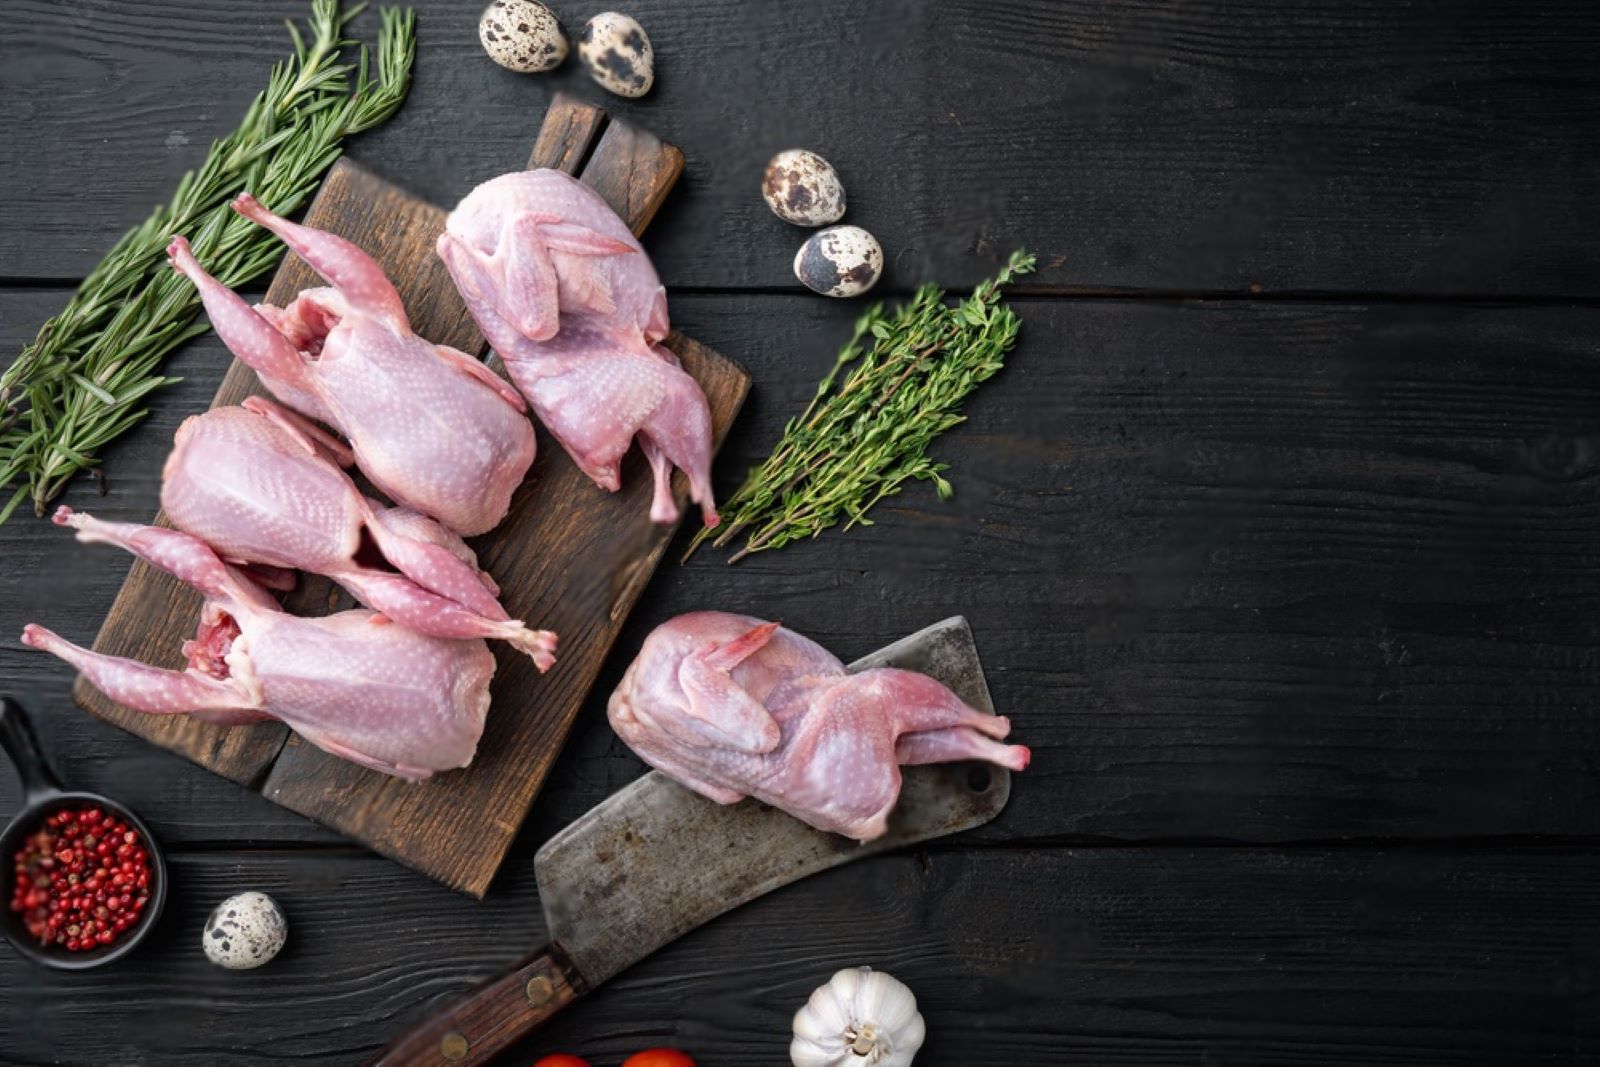
Quail, those petite and flavorful game birds, have found their way into the hearts of adventurous food enthusiasts and culinary connoisseurs alike. With their tender and succulent meat, quail offers a delightful taste that is often described as a cross between chicken and game birds. These small fowl are cherished for their rich flavor and versatility in the kitchen, making them a beloved choice for elegant dinners and gourmet creations. Whether roasted to perfection, grilled with aromatic herbs, or braised in hearty stews, quail showcases its culinary prowess in various cuisines around the world. However, when quail is purchased in larger quantities or harvested during hunting season, it may be challenging to consume them all before they lose their freshness or reach their expiration date.
Freezing quail becomes a practical and efficient method to preserve their delightful taste and tender texture, ensuring that each bird retains its rich flavor and succulence, ready to elevate your dishes with the essence of perfectly frozen quail, even when fresh quail is not readily available or when you wish to enjoy this gourmet delight at your convenience. In this guide, we will explore the best practices for freezing quail, allowing you to savor the richness of these delightful game birds and elevate your culinary repertoire with the essence of perfectly frozen quail, without the need for a fresh purchase or hunting trip. Get ready to embrace the culinary adventures of quail, with a freezer stocked with these petite fowl that await to add a touch of gourmet sophistication to your meals.
Here are the simple steps to freeze quail:
Step 1: Choose Fresh Quail
When it comes to freezing quail, the first and most crucial step is selecting fresh, high-quality birds. Choosing the right quail at the beginning will significantly impact the taste and overall outcome of your frozen quail. Here’s a breakdown of what to look for when selecting quail for freezing:
- Opt for Freshness: Always aim to purchase or use quail that is as fresh as possible. Fresh quail will have a vibrant appearance and firm texture. Avoid quail that look limp, have discolored skin, or give off a bad smell, as these are signs of deterioration.
- Check for Plumpness: Look for quail with plump bodies. This indicates that they are well-fed and healthy, and their meat will be tender and succulent after freezing.
- Smooth Skin: Examine the quail’s skin for any cuts, bruises, or blemishes. Smooth and unblemished skin is a good indicator of the quail’s overall health and freshness.
- Aroma: Take a whiff of the quail to check for a pleasant and fresh aroma. A strong, foul odor is a definite sign of spoilage and should be avoided.
- Source: If possible, choose quail from reputable sources, such as farmers’ markets or trusted suppliers. Ensuring the quail’s source is reliable can give you added confidence in their quality.
By selecting fresh quail with plump bodies, smooth skin, and a pleasing aroma, you’re setting the foundation for a successful freezing process. Fresh quail will freeze better and retain their natural flavor and tenderness, providing you with a delightful culinary experience when you decide to thaw and cook them. Remember, the quality of the ingredients directly affects the quality of the final dish, so always prioritize freshness when freezing quail or any other food.
Step 2: Clean and Prepare the Quail
After selecting fresh quail for freezing, the next step is to clean and prepare them properly. This process ensures that the quail are free from any impurities and ready for freezing. Here’s a detailed explanation of how to clean and prepare the quail:
- Rinse Under Cold Running Water: Place the quail under cold running water to rinse off any surface dirt, dust, or other contaminants. Gently rub the quail with your fingers to ensure thorough cleaning.
- Remove Feathers and Debris: Check the quail’s skin for any remaining feathers or debris. Pluck out any visible feathers and remove any undesirable parts, such as quill tips or any lingering feathers.
- Gutting (Optional): If the quail has not been gutted already, you have the option to do so at this stage. Carefully make a small incision near the vent (located on the underside of the bird) and remove the innards, if desired.
- Pat Dry: After cleaning, use paper towels to pat the quail dry. Absorb any excess water or moisture on the skin, as this will help ensure better freezing results.
- Use Safe Handling Practices: Throughout the cleaning and preparation process, make sure to follow proper food safety guidelines. Wash your hands thoroughly with soap and water before and after handling the quail to prevent cross-contamination.
By cleaning the quail under cold running water, removing feathers and debris, and patting them dry, you ensure that the quail is clean and ready for freezing. Optionally, adding seasoning at this stage can infuse the quail with delicious flavors that will complement your future cooking preparations. Following these steps will set the stage for freezing quail that is fresh, flavorful, and safe for consumption once thawed and cooked.
Step 3: Package the Quail
Proper packaging is crucial when freezing quail to maintain their quality and prevent freezer burn. By following the right packaging methods, you can ensure that your quail will retain their natural flavor, texture, and moisture during their time in the freezer. Here’s an explanation of how to package the quail correctly:
- Choose Suitable Packaging: There are two common options for packaging quail for freezing – airtight plastic bags or vacuum-sealed bags. Both methods work effectively, but vacuum-sealed bags offer an additional layer of protection against freezer burn and are ideal for long-term storage.
- Use Single Layer: Arrange the quail in a single layer inside the bags. This ensures that the quail freezes evenly and allows for quicker and more consistent freezing. If you stack the quail on top of each other, it can lead to uneven freezing and potential loss of quality.
- Remove Excess Air (for Regular Plastic Bags): If using regular airtight plastic bags, gently press out as much air as possible before sealing. Removing excess air helps prevent the formation of ice crystals, which can cause freezer burn and negatively impact the quail’s texture and taste.
- Vacuum Seal (for Vacuum-Sealed Bags): If using vacuum-sealed bags, follow the manufacturer’s instructions to remove the air and create a tight seal. Vacuum sealing removes nearly all the air, providing an optimal environment for freezing and preserving the quail’s freshness.
- Label the Bags: Before placing the quail in the freezer, label the bags with the contents and the date of freezing. Proper labeling ensures easy identification and allows you to use the oldest quail first for rotation, maintaining their quality over time.
- Seal Tightly: Ensure that the bags are sealed tightly to prevent any air or moisture from entering. A proper seal will also prevent any potential contamination from other items in the freezer.
By packaging the quail in airtight plastic bags or vacuum-sealed bags in a single layer and removing excess air, you create an ideal freezing environment that protects the quail from freezer burn and preserves their taste and texture. Properly packaged quail can remain fresh and delicious for an extended period, allowing you to enjoy them whenever you desire a sumptuous meal.
Step 4: Remove Air and Seal
Properly removing air from the packaging is a critical step in freezing quail to maintain their quality and prevent freezer burn. The method of removing air depends on whether you are using regular plastic bags or vacuum-sealed bags. Let’s explore the two options and their importance in preserving the quail’s flavor and texture:
1.Removing Air from Regular Plastic Bags:
When using regular airtight plastic bags, it’s essential to remove as much air as possible before sealing them. Air inside the bag can lead to the formation of ice crystals, which can cause freezer burn and negatively affect the quail’s taste and texture. Freezer burn can cause the meat to become dry and unappetizing, leading to a less enjoyable dining experience.
To remove air from regular plastic bags:
- Place the quail inside the bag in a single layer.
- Gently press the bag around the quail to push out the air while leaving enough space to avoid crushing the quail.
- Seal the bag tightly, ensuring there are no gaps or openings.
2. Vacuum Sealing:
Using vacuum-sealed bags provides an even higher level of protection against freezer burn and extends the quail’s shelf life in the freezer. Vacuum sealing removes nearly all the air from the bag, creating a tightly sealed environment that preserves the quail’s freshness and flavor.
To vacuum seal the quail:
- Place the quail inside the vacuum-sealed bag in a single layer.
- Follow the manufacturer’s instructions for your specific vacuum sealer model.
- The vacuum sealer will extract the air from the bag, creating a tight seal around the quail.
Properly removing air from the packaging, whether through pressing out air from regular plastic bags or using a vacuum sealer for vacuum-sealed bags, creates an oxygen-free environment inside the bag. This significantly reduces the risk of freezer burn and helps preserve the quail’s natural moisture and flavor. The absence of excess air and the tight seal prevent moisture from entering the bag and maintain the quail’s high-quality taste and texture when you eventually thaw and cook them.
Step 5: Label and Date
Labeling and dating the packaged quail is a vital step in the freezing process that helps you keep track of the quail’s age and maintain proper rotation. Proper labeling ensures that you can easily identify the quail and use them in the order they were frozen, optimizing their quality and freshness. Here’s an explanation of why labeling and dating are essential:
- Easy Identification:
When freezing quail, it’s common to have multiple packages in the freezer. By labeling each bag with the contents (“quail”) and any additional information, such as the number of quail in the bag or any specific seasonings used, you can easily identify what’s inside without having to open the packages.
- Date of Freezing:
Adding the date of freezing on the label allows you to track how long the quail have been in the freezer. This information is crucial for determining the quail’s shelf life and ensuring that you use the oldest quail first. Proper rotation prevents any quail from being forgotten and left unused for extended periods, leading to potential food waste.
- Quality Control:
By knowing the date of freezing, you can manage the quail’s freshness. Frozen quail are best when used within a specific time frame to maintain their taste and texture. Labeling and dating the packages help you determine when it’s best to use the quail to ensure the highest quality dishes.
- Organization:
A well-organized freezer with properly labeled and dated packages makes meal planning and preparation more convenient. You can easily select the right amount of quail for your recipes without defrosting more than necessary.
- Safety:
Labeling is also crucial for food safety. In case you have multiple types of frozen meats or foods in your freezer, clearly labeling the quail helps avoid confusion and accidental consumption of the wrong item.
Properly labeled and dated quail packages provide you with valuable information about their contents and age, helping you make informed decisions about their use. This simple step ensures that you can enjoy the quail at their peak quality while minimizing the risk of food waste.
Step 6: Freeze the Quail
Properly freezing the packaged quail is a crucial step to ensure their long-term preservation and maintain their quality. Following the right freezing techniques helps prevent bacterial growth, maintains the quail’s texture, and preserves their natural flavors. Here’s an explanation of how to freeze the quail effectively:
- Choose the Coldest Part of the Freezer:
Identify the coldest part of your freezer, which is typically the back or bottom shelf. This area experiences the least temperature fluctuations and provides the most stable freezing environment. Placing the quail in this part of the freezer ensures even and consistent freezing, reducing the risk of freezer burn.
- Avoid Stacking the Quail:
Arrange the packaged quail in a single layer and avoid stacking them on top of each other. Stacking the quail can lead to uneven freezing and may result in the quail sticking together, making it challenging to separate them when you want to use a portion.
- Use a Deep Freezer or Lowest Temperature Setting:
- For optimal results, consider using a deep freezer (a standalone freezer with lower temperatures) if you have access to one. Deep freezers maintain lower temperatures than standard home freezers, enhancing the preservation of the quail.
- If using a regular home freezer, set the temperature to the lowest setting available. Lower temperatures slow down the formation of ice crystals, reducing the risk of freezer burn and extending the quail’s shelf life.
- Freeze as Quickly as Possible:
It’s essential to freeze the quail as quickly as possible to maintain their quality. Rapid freezing helps preserve the quail’s texture and flavor by minimizing the formation of large ice crystals, which can damage the meat’s cell structure. It also reduces the risk of bacterial growth during the freezing process.
- Leave Adequate Space Between Items:
Ensure there is enough space between the packaged quail and other items in the freezer. Sufficient space allows for proper airflow, promoting efficient freezing and maintaining consistent temperatures throughout the freezer.
By placing the packaged quail in the coldest part of the freezer, avoiding stacking, using a deep freezer or lowest temperature setting, and freezing the quail as quickly as possible, you create the optimal conditions for preserving the quail’s quality. These freezing practices ensure that your quail remains fresh, flavorful, and safe for consumption for an extended period, allowing you to enjoy them whenever you’re ready to prepare a delicious meal.
How long can quail last in the freezer?
Quail can last in the freezer for up to 6 months to 1 year. Properly packaged and stored in a deep freezer or at the lowest temperature setting, quail can maintain their quality for an extended period. However, for the best taste and texture, it’s recommended to use them within the first 6 months of freezing.
Step 7: Thaw the Quail
Thawing frozen quail properly is crucial to ensure food safety and preserve the quail’s quality. Improper thawing can lead to bacterial growth and compromise the taste and texture of the meat. Here’s an explanation of the safest method to thaw quail:
- Transfer to the Refrigerator:
When you’re ready to cook the frozen quail, plan ahead and transfer the packaged quail from the freezer to the refrigerator. Place the quail on a plate or in a shallow container to catch any potential drips.
- Allow Slow Thawing Overnight:
The safest and recommended method for thawing quail is to let them thaw slowly in the refrigerator. This gradual thawing process ensures that the quail stays at a consistent and safe temperature. Depending on the size of the quail, it may take several hours or overnight to thaw completely.
- Avoid Thawing at Room Temperature:
Never thaw quail or any other frozen meat at room temperature. Thawing at room temperature allows the outer surfaces to reach a temperature where bacteria can multiply rapidly while the inner parts are still frozen. This can lead to foodborne illnesses and compromise the safety of the quail.
- Use a Microwave (Optional):
If you need to thaw quail quickly, you can use a microwave on the defrost setting. However, be cautious when using this method, as it can lead to uneven thawing and even partial cooking of the quail if not monitored carefully. It’s best to follow the manufacturer’s instructions for your specific microwave and rotate the quail during the defrosting process.
Properly thawed quail will retain their flavor, texture, and moisture, resulting in a delicious and enjoyable meal. By using the refrigerator for slow thawing, you ensure that the quail remains at a safe temperature throughout the process, minimizing the risk of bacterial growth and foodborne illnesses. Remember to plan ahead and allow enough time for the quail to thaw properly, so you can prepare a delectable dish when the time comes.
Other related questions
Can you refreeze quail?
Refreezing quail is not recommended, as it can compromise the quality and safety of the meat. Once quail has been thawed, the temperature changes can promote bacterial growth, and refreezing can lead to loss of moisture and texture. It’s best to cook the thawed quail and consume it immediately rather than refreezing it.
How do I know if the quail has gone bad after being frozen?
To determine if frozen quail has gone bad, look for signs of spoilage such as a sour or off odor, unusual discoloration, or freezer burn. Freezer burn appears as white or grayish patches on the surface of the quail, indicating dehydration and potential loss of quality. If the quail shows any of these signs, it’s best to discard them to avoid the risk of foodborne illnesses and ensure a safe and enjoyable dining experience.
Is there a difference in freezing techniques for wild-caught quail vs. farm-raised quail?
The freezing techniques for wild-caught quail and farm-raised quail are generally similar. However, wild quail may have a leaner and gamier flavor, which could affect freezing times and storage recommendations. Regardless of the source, it is essential to follow standard freezing procedures to ensure safe and high-quality frozen quail.
How to marinate quail before freezing to enhance the flavor?
To marinate quail before freezing, prepare a marinade of choice using ingredients like oil, herbs, spices, and acids like lemon juice or vinegar. Place the quail in a resealable plastic bag or airtight container, pour the marinade over them, and ensure they are fully coated. Refrigerate the quail in the marinade for a few hours or overnight, allowing the flavors to penetrate the meat. Before freezing, remove excess air from the bag, seal tightly, and label with the date. The frozen marinated quail can then be thawed and cooked for a delicious, flavorful meal.
Can you freeze quail with stuffing, or should it be removed first?
It is not recommended to freeze quail with stuffing, as the stuffing can become soggy and affect the overall texture and taste of the quail. If you plan to freeze quail, it is best to remove the stuffing before freezing. After removing the stuffing, follow standard freezing procedures to ensure the quail retains its quality during storage.

