Scones are delightful baked goods loved by many for their tender texture and rich flavors. Whether you’re preparing a batch of scone dough in advance or have leftover dough from a baking session, freezing it can be a convenient way to enjoy fresh scones at any time. Properly freezing scone dough preserves its quality and saves you time in the kitchen. In this article, we will walk you through the step-by-step process of freezing scone dough to ensure you can savor these delectable treats whenever the craving strikes.
Here are the simple steps to freeze scone dough:
Step 1: Prepare the Scone Dough
To begin the process of freezing scone dough, the first step is to make a fresh batch of scone dough according to your preferred recipe. Scones are versatile and can be customized with various flavors, from classic plain scones to more adventurous combinations like blueberry, chocolate chip, or savory options with herbs and cheese.
When preparing the scone dough, it’s essential to follow your chosen recipe meticulously. Different recipes may have specific ingredient ratios and unique techniques to achieve the desired texture and taste. Pay attention to measurements and instructions to ensure the best results.
The scone dough typically consists of dry ingredients such as flour, sugar, baking powder, and salt, as well as wet ingredients like cold butter, eggs, milk or cream, and any flavorings you desire. The cold butter is usually cut into the dry ingredients to create a crumbly texture, resulting in the scones’ characteristic flakiness.
To form a cohesive dough, you’ll need to mix the dry and wet ingredients until they come together. Be careful not to overmix, as this can lead to tough and dense scones. Once the dough has formed, it should be slightly sticky but not excessively so.
Depending on the recipe, you may have additional steps like folding in fruits or other mix-ins, or gently kneading the dough on a floured surface to bring it together.
Ultimately, the success of freezing scone dough relies on the quality of the dough you prepare initially. Following your recipe accurately and paying attention to details during the mixing process will set the foundation for delicious scones once they are baked from the frozen dough later on.
Step 2: Shape the Scone Dough
After successfully preparing your scone dough, the next crucial step is shaping it appropriately for freezing. The way you shape the dough will determine how you can easily handle and bake the scones once you’re ready to enjoy them.
Option 1: Individual Scones
If you prefer serving individual scones, you’ll want to shape the dough into separate portions. To do this, take a portion of the scone dough and gently shape it into a round, flat disc using your hands. Alternatively, you can use a biscuit cutter to create uniform shapes for a more polished appearance.
To shape the dough with a biscuit cutter, lightly dust the cutter with flour to prevent sticking. Then, press the cutter firmly into the dough, being careful not to twist it, as this may prevent the scones from rising properly during baking. Lift the cut scone from the surrounding dough and place it onto a parchment-lined baking sheet.
Repeat the process with the remaining dough until you have shaped all the individual scones. Make sure to leave enough space between them on the baking sheet to allow for even baking and rising during the freezing and baking processes.
Option 2: Round Disc
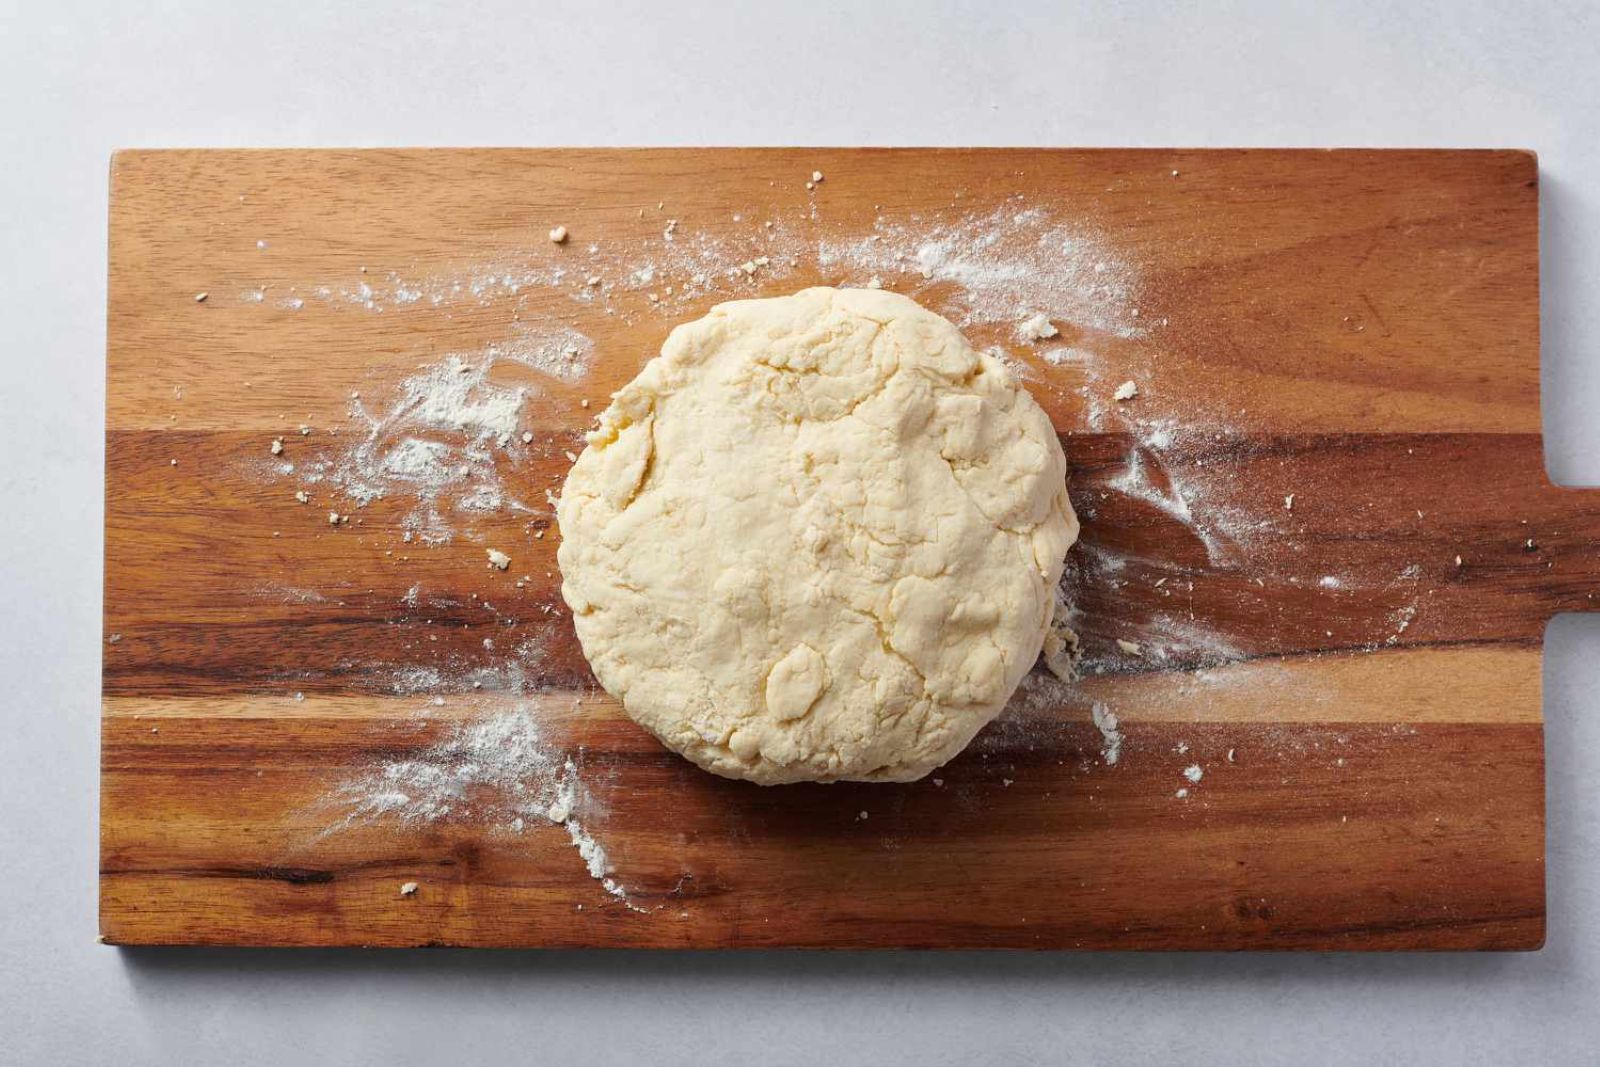
An alternative way to shape the scone dough is to form it into a round disc. To do this, gently pat the entire portion of the dough into a flat, circular shape, resembling a thick pancake. This method is particularly convenient if you plan to serve wedge-shaped scones.
After shaping the dough into a round disc, wrap it well in plastic wrap or aluminum foil, ensuring it is securely sealed to prevent any moisture loss or freezer burn.
Regardless of the shaping option you choose, it’s essential to handle the dough with care during this step. Avoid overworking the dough as much as possible, as excessive handling can lead to tough and less fluffy scones.
Step 3: Wrap the Scone Dough
Properly wrapping the scone dough is a crucial step in the freezing process, as it ensures the dough retains its freshness and quality during its time in the freezer. The primary goal is to protect the dough from freezer burn and prevent it from absorbing any unwanted odors or flavors from the freezer environment.
To achieve this, follow these steps to wrap the scone dough effectively:
- Plastic Wrap or Aluminum Foil: Choose either plastic wrap or aluminum foil to encase the scone dough. Both materials work well in preserving the dough, but ensure you use high-quality, freezer-safe options.
- Flatten the Dough: Before wrapping, gently flatten the shaped scone dough to create a uniform thickness. This step ensures even freezing and thawing, making it easier to handle the dough later.
- Wrapping Individual Scones: If you shaped the scone dough into individual scones, wrap each one separately. Lay a piece of plastic wrap or aluminum foil flat on the counter, place a scone in the center, and wrap it securely by folding the sides over the dough and sealing it tightly. Ensure there are no gaps or exposed areas to prevent freezer burn.
- Wrapping a Round Disc: If you formed the scone dough into a round disc, wrap it thoroughly in plastic wrap or aluminum foil. Make sure to cover the entire surface of the disc, sealing it tightly to keep out any air or moisture.
Step 4: Double Wrap for Extra Protection
Double wrapping the scone dough provides an additional layer of insulation and protection against freezer burn. Freezer burn occurs when air comes into contact with the surface of the food, causing it to dehydrate and develop unappealing textures and flavors. By double wrapping the scone dough, you create a more effective barrier against air exposure, ensuring the dough’s quality is preserved for a longer period.
Here’s how to double wrap the scone dough for extra protection:
- Initial Wrapping: After shaping and wrapping the scone dough with plastic wrap or aluminum foil as explained in Step 3, ensure it is securely sealed to prevent any air from reaching the dough. The initial wrapping serves as the primary defense against freezer burn.
- Resealable Plastic Freezer Bag or Airtight Container: Place the wrapped scone dough inside a resealable plastic freezer bag or an airtight container. Both options work well to prevent air from seeping into the dough.
- Squeeze Out Excess Air: Before sealing the plastic bag, gently press on it to remove any excess air trapped inside. The presence of air can lead to freezer burn, so squeezing it out ensures that the dough remains well-protected.
- Seal the Bag or Container: Once you’ve removed the excess air, seal the plastic bag tightly, or if you’re using an airtight container, make sure the lid is securely closed. A proper seal ensures the dough is isolated from the freezer’s fluctuating temperatures and potential odors.
Step 5: Label the Package
Labeling the package of scone dough with the current date is a vital step in the freezing process. Proper labeling allows you to keep track of how long the dough has been in the freezer, ensuring you use it within its recommended storage time frame. For scone dough, it is generally best to use it within three months for optimal results.
Here’s why labeling is important:
- Track Storage Time: By writing the current date on the package, you create a reference point for when the scone dough was frozen. This information helps you calculate how long the dough has been in the freezer, enabling you to use it before it exceeds the recommended storage duration.
- Maintain Quality: Scone dough, like any other food, can lose its quality over time in the freezer. While proper wrapping and storage can delay the effects of freezer burn, scone dough is best when used within three months of freezing. The label acts as a reminder, prompting you to prioritize using the dough while it’s still at its best.
- Prevent Overlooking: Without labeling, frozen scone dough can easily blend in with other items in the freezer, and you may forget about its existence. A clear label with the contents (“Scone Dough”) and the date of freezing stands out and prevents overlooking the dough, ensuring you can enjoy delicious scones without wasting any dough that has surpassed its ideal storage duration.
- Organization: Keeping your freezer organized with labeled packages enhances efficiency and ease of use. When you know what’s inside each package and when it was frozen, you can plan your baking sessions accordingly.
To label the package, use a permanent marker or a label sticker. Write “Scone Dough” prominently on the package and add the date of freezing beside it. Make sure the label is clear and legible to avoid any confusion later on.
Step 6: Freeze the Scone Dough
Freezing the scone dough properly is crucial to maintain its quality and ensure it remains in perfect condition until you’re ready to bake the scones. To achieve this, it’s essential to follow the right freezing procedures and choose an appropriate location within your freezer.
Here’s how to freeze the scone dough effectively:
- Choose a Flat Surface: Look for a flat and stable surface inside your freezer where you can place the scone dough package. This could be a freezer shelf or a flat area on the freezer door, depending on the design of your freezer.
- Prevent Crushing or Bending: Lay the wrapped scone dough package flat on the chosen surface. Avoid placing heavy items or stacking other objects on top of the package, as this could crush or bend the dough, leading to uneven thawing and potential damage to the scones’ texture.
- Allow Sufficient Space: Ensure there is enough space around the scone dough package to promote efficient freezing. Adequate airflow is essential for quick and even freezing, preventing the formation of large ice crystals that could affect the dough’s quality.
- Quick Freeze: If your freezer has a “quick freeze” or “fast freeze” setting, you can use it during the initial freezing period to expedite the process. This function temporarily lowers the freezer’s temperature, helping the scone dough freeze faster and minimizing ice crystal formation.
- Avoid Frequent Opening: Minimize the number of times you open the freezer door during the freezing process. Frequent openings can cause fluctuations in temperature and impact the freezing efficiency.
By taking care to lay the wrapped scone dough flat on a stable surface and providing adequate space for efficient freezing, you ensure that the dough freezes evenly and retains its quality. Properly frozen scone dough can be stored in the freezer for up to three months, giving you the flexibility to bake fresh scones whenever you desire, with minimal effort.
How long can I keep frozen scone dough in the freezer?
Frozen scone dough can be stored in the freezer for up to three months while maintaining its quality. Beyond this period, the dough may start to lose its freshness and develop freezer burn, affecting the texture and flavor of the baked scones.
Step 7: Thaw and Bake
Thawing the frozen scone dough properly is essential to achieve the best results when baking your scones. Slow, gentle thawing helps preserve the dough’s texture and ensures even baking. Here’s how to thaw and bake the scones to perfection:
- Retrieve the Frozen Scone Dough: When you’re ready to bake your scones, remove the wrapped scone dough package from the freezer. If the package is double-wrapped and stored in a resealable plastic freezer bag or airtight container, you may want to remove the outer wrapping before placing it in the refrigerator for thawing.
- Thaw in the Refrigerator: The best way to thaw the frozen scone dough is to place it in the refrigerator. Allow the dough to thaw overnight or for at least 8-12 hours. This slow and gentle thawing process prevents any sudden temperature changes that could affect the dough’s quality and helps retain its moisture.
- Preserve the Shape: As the scone dough thaws, it may soften and become more pliable. To preserve the scones’ intended shape, avoid pressing or handling the dough excessively. If you shape the dough into individual scones, they should maintain their form during the thawing process.
- Cut or Shape the Thawed Dough: Once the scone dough has completely thawed, you can proceed with cutting individual scones or slicing the disc into wedges, depending on your initial shaping choice. If you shaped the dough into a round disc, you can now cut it into equal-sized wedges.
- Bake the Scones: Preheat your oven to the recommended temperature specified in your scone recipe. Place the individual scones or wedges on a parchment-lined baking sheet, leaving some space between each piece to allow for expansion during baking.
- Baking Time and Temperature: Bake the scones according to your recipe’s instructions, usually for around 15 to 20 minutes, or until they turn golden brown and are cooked through. The baking time may vary depending on the size and thickness of the scones, so keep a close eye on them to avoid over-baking.
- Enjoy Freshly Baked Scones: Once the scones are done baking, remove them from the oven and let them cool slightly on a wire rack. Serve the warm, freshly baked scones with your favorite accompaniments like clotted cream, jam, or butter, and enjoy the delightful flavors and textures you’ve created!
Is it possible to freeze scone dough and bake it straight from the freezer?
While it’s technically possible to bake scone dough directly from the freezer, it is recommended to thaw the dough first for even baking and consistent results. Thaw the dough in the refrigerator overnight before baking to ensure the scones rise and bake uniformly.
How should I adjust baking time when using frozen scone dough?
When baking scones using frozen dough, it’s generally not necessary to adjust the baking time. Follow your original recipe’s instructions for baking time and temperature. The thawed dough will bake evenly, resulting in delicious scones with the same baking time as fresh dough.
Other related questions
Can I refreeze scone dough?
It is generally not recommended to refreeze scone dough once it has been thawed. Refreezing can compromise the dough’s texture and result in lower quality baked scones. It’s best to use the thawed scone dough for baking as intended and avoid refreezing to preserve its taste and consistency.
How do I know if the scone dough has gone bad after being frozen?
To determine if scone dough has gone bad after being frozen, check for signs of freezer burn, such as dry and discolored patches on the surface. Bad dough may also develop an off-putting odor or sour smell. If the dough exhibits any of these characteristics, it is best to discard it, as it may lead to undesirable flavors and textures in the baked scones.
Can I freeze scone dough with added mix-ins like fruits or chocolate chips?
Yes, you can freeze scone dough with added mix-ins. Simply incorporate the fruits or chocolate chips into the dough during the initial preparation. Follow the same freezing steps, ensuring the mix-ins are evenly distributed, and enjoy deliciously flavored scones later.
Can I freeze scone dough with glaze or toppings already applied?
It is not recommended to freeze scone dough with glaze or toppings already applied. The moisture from the glaze can cause the scones to become soggy during freezing and thawing. It’s best to freeze the plain scone dough and apply glaze or toppings after baking.
Can I freeze scone dough made with alternative flours like gluten-free or almond flour?
Yes, you can freeze scone dough made with alternative flours. Follow the same freezing process, ensuring proper wrapping and storage. Keep in mind that some alternative flours may have different baking characteristics, so you may need to adjust the recipe or baking time accordingly.
Can I freeze scone dough with dairy-free or vegan ingredients?
Absolutely! Scone dough made with dairy-free or vegan ingredients can be frozen following the same guidelines. Choose suitable substitutes for butter and milk in your recipe, shape the dough, wrap it thoroughly, and store it in the freezer until you’re ready to bake.
Can I freeze unbaked scone dough in muffin tins for easy baking later?
Yes, you can freeze unbaked scone dough in muffin tins for easy baking later. Fill each muffin cup with the shaped dough, freeze until solid, and then transfer the frozen dough to a resealable bag or container. This method allows you to bake individual scones with minimal effort whenever you desire.
How do I prevent scone dough from sticking to the baking sheet during freezing?
To prevent scone dough from sticking to the baking sheet during freezing, line the sheet with parchment paper before placing the shaped dough on it. The parchment paper provides a non-stick surface and ensures easy removal of the frozen dough for storage.


