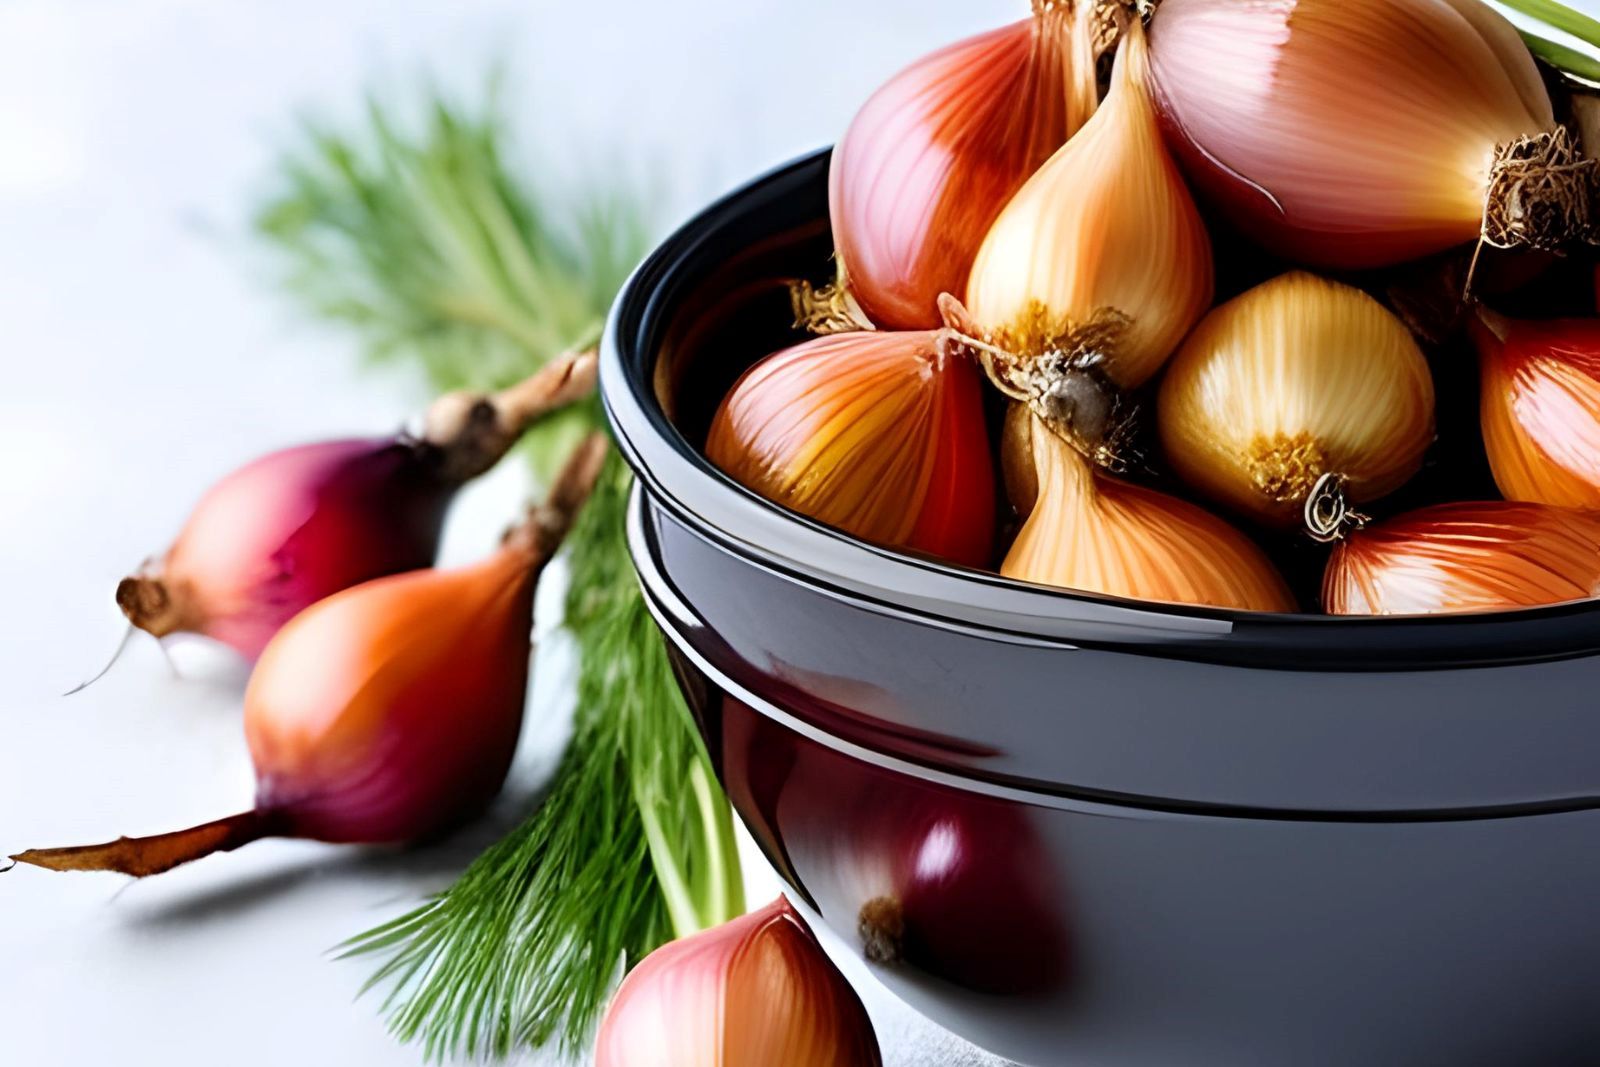
Shallots are a versatile and flavorful member of the onion family, known for their delicate taste and mild sweetness. With their distinctive elongated shape and coppery-brown outer skin, shallots add a touch of sophistication to various culinary dishes. While they are commonly used in cooking, having a surplus of shallots can pose a challenge when it comes to preserving their freshness. Freezing shallots is an excellent solution to prevent waste and extend their shelf life, ensuring you always have this aromatic ingredient on hand. In this guide, we will explore the best methods for freezing shallots, allowing you to conveniently store them for future use while maintaining their quality and flavor.
Here are the steps to freeze shallots:
Step 1: Choose fresh shallots
When freezing shallots, it’s essential to begin with fresh, high-quality shallots. The quality of the shallots you use will directly impact the flavor and texture of the frozen shallots. Here’s why it’s crucial to select fresh shallots for freezing:
- Flavor preservation: Fresh shallots have a more pronounced and vibrant flavor compared to older or decaying ones. Freezing can slightly dull the flavor of shallots, so starting with fresh ones ensures that the frozen shallots will retain a desirable taste when used in your recipes later on.
- Texture maintenance: Fresh shallots have a firm and crisp texture. They hold up better during the freezing and thawing process, allowing them to maintain their texture and structure. Older or damaged shallots may become mushy or lose their shape when frozen, resulting in a less desirable texture in your dishes.
- Nutritional value: Fresh shallots are packed with essential nutrients, including vitamins, minerals, and antioxidants. When you freeze fresh shallots, you preserve these nutrients to some extent, ensuring that your frozen shallots retain their nutritional value and contribute to the overall healthiness of your meals.
To ensure you’re selecting fresh shallots for freezing, consider the following guidelines:
- Firmness: Choose shallots that are firm to the touch. Avoid those that feel soft or mushy, as they may have started to deteriorate.
- Plumpness: Look for shallots that appear plump and well-rounded. Avoid shriveled or withered shallots, as they are likely past their prime and may not freeze well.
- Decay or damage: Inspect the shallots for any signs of decay, such as mold, soft spots, or visible damage. Damaged shallots are more prone to spoilage and may negatively impact the quality of the frozen shallots.
By starting with fresh shallots, you set the foundation for successful freezing, ensuring that your frozen shallots maintain their flavor, texture, and nutritional value. Remember to handle the shallots gently during the freezing process to minimize any bruising or damage that could affect their overall quality.
Step 2: Peel and chop the shallots
Once you have selected fresh shallots for freezing, the next step is to prepare them by peeling and chopping. Here’s why this step is important and the considerations to keep in mind:
- Removal of papery skin: Shallots, like onions, have dry, papery skin that needs to be removed before freezing. Peeling the shallots helps eliminate any dirt, debris, or potential contaminants that may be present on the outer layer. This ensures that only clean shallots are frozen, maintaining the overall quality of the final product.
- End trimming and blemish removal: Cut off the ends of the shallots, including the roots and any dried or damaged parts. Trimming the ends helps create a neat, uniform shape for the shallots. Additionally, discarding blemished or discolored parts helps prevent any off-flavors or spoilage from affecting the frozen shallots.
- Whole or chopped shallots: You have the option to freeze shallots either as whole bulbs or after chopping them into smaller pieces. The choice depends on how you plan to use the shallots later on:
- Whole shallots: Freezing shallots as whole bulbs are suitable if you intend to use them primarily as a garnish or if you prefer the convenience of having intact shallots. Whole shallots can be sliced or diced after thawing according to your recipe’s requirements.
- Chopped shallots: Chopping the shallots before freezing makes them more convenient for cooking purposes. Pre-chopped shallots are readily portioned, allowing you to take out only the amount you need without having to defrost the entire bulb. This can save time and effort when incorporating shallots into your dishes.
When chopping shallots, aim for uniform pieces to ensure even freezing and ease of use. You can dice them finely, chop them into medium-sized pieces, or slice them depending on your personal preference and the recipes you plan to prepare.
Remember to handle the shallots gently to avoid bruising or damaging them, as this can impact their quality and texture. Using a sharp knife will make the peeling and chopping process easier and more precise.
Step 3: Flash freeze the shallots
Flash freezing is a crucial step when freezing shallots (whether chopped or whole) to prevent them from clumping together. Flash freezing involves quickly freezing the individual shallot pieces or bulbs before storing them together. Here’s why and how to flash freeze shallots:
- Prevent clumping: Shallots contain a high water content, and if they are frozen together without proper spacing, they can stick to each other and form a solid clump. Flash freezing ensures that the shallots freeze individually, allowing you to easily retrieve the desired amount without having to defrost the entire batch.
- Maintain quality: Flash freezing helps preserve the quality of the shallots. By freezing them quickly, you minimize the formation of large ice crystals, which can lead to texture degradation and affect their taste and appearance. The rapid freezing process helps lock in the natural flavors and textures of the shallots, ensuring they retain their freshness and integrity.
To flash freeze shallots, follow these steps:
- Prepare a baking sheet: Line a baking sheet with parchment paper. The parchment paper prevents the shallots from sticking to the surface and facilitates easy removal once frozen.
- Arrange the shallots: Spread the chopped or whole shallots in a single layer on the prepared baking sheet. Make sure they are not touching each other, allowing for airflow and preventing them from freezing together.
- Freezing time: Place the baking sheet with the shallots in the freezer and let them freeze for about an hour or until they become firm. The exact freezing time may vary depending on the size and thickness of the shallot pieces, as well as the temperature of your freezer. Monitor them periodically and remove them once they are fully frozen.
- Test for firmness: To check if the shallots are adequately frozen, gently press on one of the pieces. It should feel firm and solid to the touch. If they are still soft or pliable, allow them to freeze for a bit longer.
Flash-freezing the shallots individually on a baking sheet ensures that they maintain their separate forms, making it easier to measure and use the desired amount when cooking. Once the shallots are fully frozen, you can proceed to the next step of transferring them to freezer-safe containers for long-term storage.
Step 4: Transfer to freezer-safe containers
After flash-freezing the shallots, it’s time to transfer them to freezer-safe containers for long-term storage. This step ensures that the shallots remain protected and maintain their quality during freezing. Here’s how to transfer them to freezer-safe containers:
- Protection from freezer burn: Freezer burn occurs when food is exposed to air, resulting in moisture loss and the deterioration of flavor, texture, and quality. By transferring the shallots to freezer-safe containers, you provide an additional layer of protection against freezer burn. The containers help seal out air and moisture, preserving the freshness of the shallots.
- Choosing freezer-safe containers: You have several options for freezer-safe containers, depending on your preference and the quantity of shallots you’re storing. Some common choices include resealable plastic bags, airtight plastic or glass containers, or even ice cube trays. Ensure that the containers are designed for freezer use and can withstand low temperatures without cracking or breaking.
- Resealable plastic bags: If using resealable plastic bags, select those specifically designed for freezer storage. They should be thick and durable to prevent punctures or leaks. Place the flash-frozen shallots into the bags, remove as much air as possible by gently squeezing the bags, and then seal them tightly. This minimizes air exposure and helps prevent freezer burn. Label the bags before placing them in the freezer for easy identification later.
- Airtight containers: If using airtight containers, choose those with secure lids that provide a tight seal. Plastic or glass containers with silicone gaskets or locking mechanisms work well to prevent air and moisture from entering. Leave some headspace in the containers to allow for expansion as the shallots freeze. This prevents the containers from cracking or breaking due to pressure build-up.
- Ice cube trays: Another option for storing chopped shallots is using ice cube trays. Fill each compartment with the flash-frozen shallots, ensuring they fit snugly. Cover the trays with plastic wrap or aluminum foil to protect the shallots from air exposure and freezer odors. Once frozen, remove the shallot cubes from the trays and transfer them to airtight containers or resealable bags.
Step 5: Label and date the containers
When freezing shallots, it is essential to label and date the containers that hold them. Properly labeling your containers with the contents and the date of freezing serves several important purposes. Here’s why this step is crucial and how to go about it:
- Easy identification: Labeling the containers allows you to quickly identify the contents without having to open or defrost them. When you have multiple items stored in the freezer, such as different types of frozen ingredients or leftovers, clear labeling prevents confusion and saves time when searching for specific items.
- Organization and inventory management: By labeling and dating the containers, you create an organized system for your frozen shallots. It helps you keep track of what you have on hand, especially if you freeze different batches at different times. This way, you can easily plan meals and use the oldest shallots first to maintain freshness and prevent food waste.
- Quality control: Shallots, like other frozen ingredients, have a recommended storage duration for optimal quality. By dating the containers, you can keep track of how long the shallots have been frozen. This information allows you to prioritize their use and ensure that you consume them within the recommended time frame for the best flavor and texture.
To label and date your containers effectively, consider the following tips:
- Use a permanent marker or adhesive labels: Choose a labeling method that will withstand the cold temperature and moisture of the freezer. A permanent marker is a reliable option, as it writes directly on the container’s surface. Alternatively, you can use adhesive labels specifically designed for freezer use, ensuring they adhere well and remain legible.
- Clearly write the contents: Clearly indicate that the containers contain frozen shallots. You can write “Frozen Shallots” or be more specific, such as “Chopped Frozen Shallots,” depending on your preference. This makes it easy to distinguish the shallots from other frozen items.
- Date of freezing: Write the date when you froze the shallots on the label. Include the month, day, and year to ensure accuracy. This information helps you keep track of how long the shallots have been frozen and prioritize their usage accordingly.
- Placement of labels: Place the labels on the containers where they are clearly visible. You can affix them on the lids or sides, depending on the container’s design.
Step 6: Store in the freezer
After properly packaging and labeling your frozen shallots, it’s time to store them in the freezer. Proper storage is crucial to maintain the quality and longevity of the frozen shallots. Here’s how to store them correctly:
- Choose a suitable location: Select a spot in your freezer where the containers of shallots won’t get crushed or damaged by other items. Avoid placing them near the freezer door, where they may be exposed to temperature fluctuations whenever the door is opened.
- Freezer temperature: Set your freezer temperature to 0°F (-18°C) or below. This low temperature is ideal for freezing shallots and helps to preserve their flavor, texture, and nutritional value. Maintaining a consistent freezing temperature minimizes the risk of freezer burn and ensures the shallots stay in optimal condition.
- Avoid frost exposure: Ensure that the shallot containers are protected from direct contact with frost or ice in the freezer. Excessive exposure to frost can affect the quality and taste of the shallots over time. If your freezer has a defrosting cycle, be mindful of how it may affect the shallots, and consider using freezer-safe containers that offer better insulation.
- Proper sealing: Ensure that the containers are tightly sealed to prevent air and moisture from entering. This helps to minimize the risk of freezer burn and maintains the quality of the shallots during storage. If using resealable freezer bags, squeeze out any excess air before sealing.
- Storage duration: Frozen shallots, when stored properly, can maintain their quality for up to six months. While they may still be safe to consume beyond this period, their flavor and texture may gradually deteriorate over time. Therefore, it’s recommended to use them within six months for the best results. Remember to refer to the date on the labels to help manage their freshness and prioritize their usage accordingly.
Step 7: Thaw and use as needed
When it’s time to use the frozen shallots, proper thawing ensures they are ready to be incorporated into your favorite recipes. Thawing them correctly helps preserve their texture and flavor. Here’s how to thaw frozen shallots:
- Refrigerator thawing: The recommended method for thawing frozen shallots is to transfer them from the freezer to the refrigerator. Place the desired amount of shallots in a container or on a plate and let them thaw in the refrigerator overnight or for several hours. Thawing in the refrigerator is a gentle and gradual process that minimizes the risk of texture loss and maintains the flavor of the shallots.
- Room temperature thawing: If you need to use the frozen shallots quickly, you can thaw them at room temperature. Remove the desired amount from the freezer and place them in a bowl or on a plate. Let them sit at room temperature for approximately 30 minutes to an hour, or until they have thawed completely. However, keep in mind that this method is faster but may result in a slightly softer texture compared to refrigerator thawing.
- Avoid warm water thawing: It’s important to avoid thawing frozen shallots in warm or hot water. Warm water can cause the shallots to become mushy and compromise their texture. Thawing in water can also lead to flavor loss as the natural juices can dissolve into the water. Therefore, it’s best to opt for refrigerator or room-temperature thawing methods.
- Usage after thawing: Once the frozen shallots are fully thawed, they are ready to be used in your recipes. They can be added directly to sautés, soups, stews, sauces, or any dish that calls for shallots. Thawed shallots may have a slightly softer texture compared to fresh ones but retain their flavor and aroma. Feel free to use them as you would fresh shallots, adjusting the quantities as needed.
Thawed shallots should be used promptly and not refrozen to maintain their quality. If you have thawed more than you need, it’s best to incorporate them into your dishes or recipes and store any leftovers in the refrigerator for a short period.
Other related questions
How long can I freeze shallots in the freezer?
When stored properly in the freezer, shallots can be frozen for approximately 6 to 12 months. However, for the best quality and flavor, it is recommended to use them within 6 months. Beyond this timeframe, the shallots may still be safe to consume, but their texture and flavor may gradually deteriorate. Labeling the containers with the date of freezing can help you keep track of their storage duration and prioritize their usage accordingly.
Can I refreeze shallots that have been previously thawed?
It is generally not recommended to refreeze shallots that have been previously thawed. When frozen foods thaw, moisture is released, and the quality of the shallots can be compromised. Refreezing can further degrade their texture, flavor, and nutritional value. Additionally, the freezing and thawing process can promote bacterial growth and increase the risk of foodborne illnesses. It’s best to use thawed shallots promptly or store them in the refrigerator for a short period rather than refreezing them.
How do I know if my frozen shallots have gone bad?
To determine if your frozen shallots have gone bad, you should inspect them for any noticeable changes in appearance, texture, or odor. Look for signs of freezer burn, such as discoloration, dryness, or the presence of ice crystals. If the shallots appear excessively mushy, slimy or have an off-putting smell, it is an indication of spoilage. Trust your senses—if the frozen shallots exhibit any significant changes or an unpleasant odor, it’s best to discard them to avoid any potential foodborne illnesses.
Can I use frozen shallots with fresh ones?
Yes, you can use frozen shallots alongside fresh ones in your recipes. Frozen shallots retain much of their flavor and aroma, making them a convenient substitute for fresh shallots. However, keep in mind that frozen shallots may have a slightly softer texture compared to fresh ones. Adjust the quantities accordingly, as frozen shallots can release more moisture during cooking. Experiment with the combination of fresh and frozen shallots to find the balance that suits your taste preferences.
Can I freeze shallots in a mason jar?
It is not recommended to freeze shallots directly in a mason jar. Mason jars are not designed to withstand the expansion that occurs during freezing, which can lead to breakage. Additionally, the lack of proper air circulation in a sealed mason jar can increase the risk of freezer burn. It is best to use freezer-safe containers or resealable bags specifically designed for freezing shallots.
Can I freeze shallots with other vegetables or herbs?
Yes, you can freeze shallots with other vegetables or herbs. However, it is important to consider the compatibility of flavors and textures. Some vegetables and herbs freeze better than others, so it’s best to research the specific ones you plan to freeze together. Additionally, keeping them in separate portions or compartments within the freezer container can offer flexibility in using them individually as needed.
Can I freeze shallots in oil?
While you can freeze shallots in oil, it is important to exercise caution and follow proper food safety guidelines. Freezing shallots in oil can create an environment conducive to bacterial growth, particularly if not handled correctly. If you choose to freeze shallots in oil, ensure they are properly sterilized, submerged completely in the oil, and stored in airtight containers to minimize the risk of bacterial contamination.
Should I blanch shallots before freezing?
Blanching shallots before freezing is not necessary. Unlike certain vegetables, shallots do not require blanching to maintain their quality during freezing. Blanching can actually alter their flavor and texture. Simply peel, chop, or leave them whole, and follow the recommended steps for freezing without the need for blanching.


