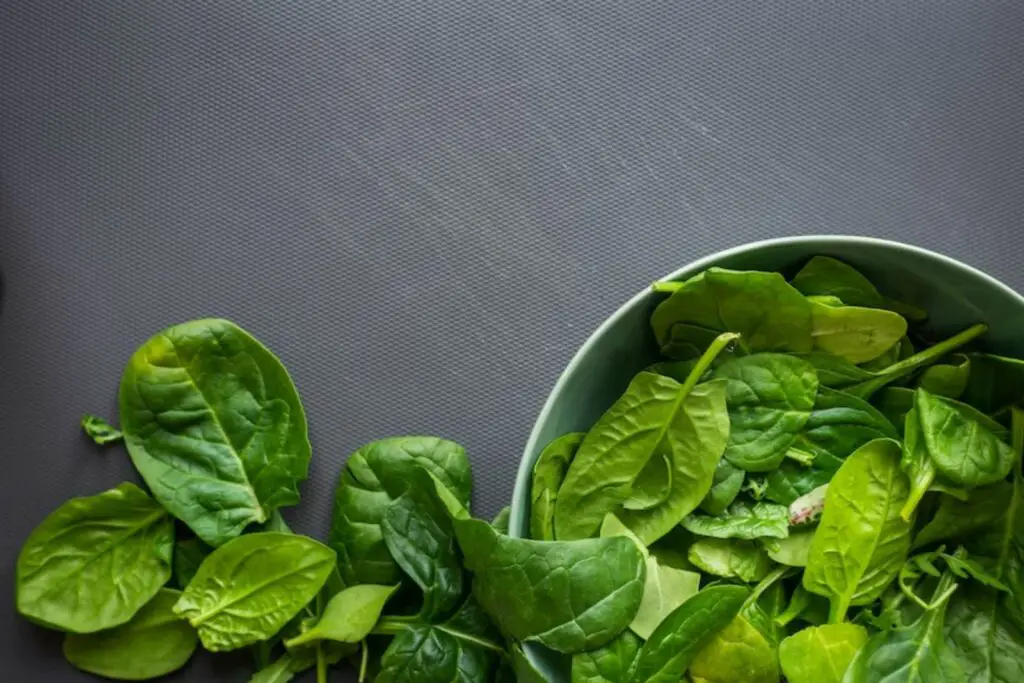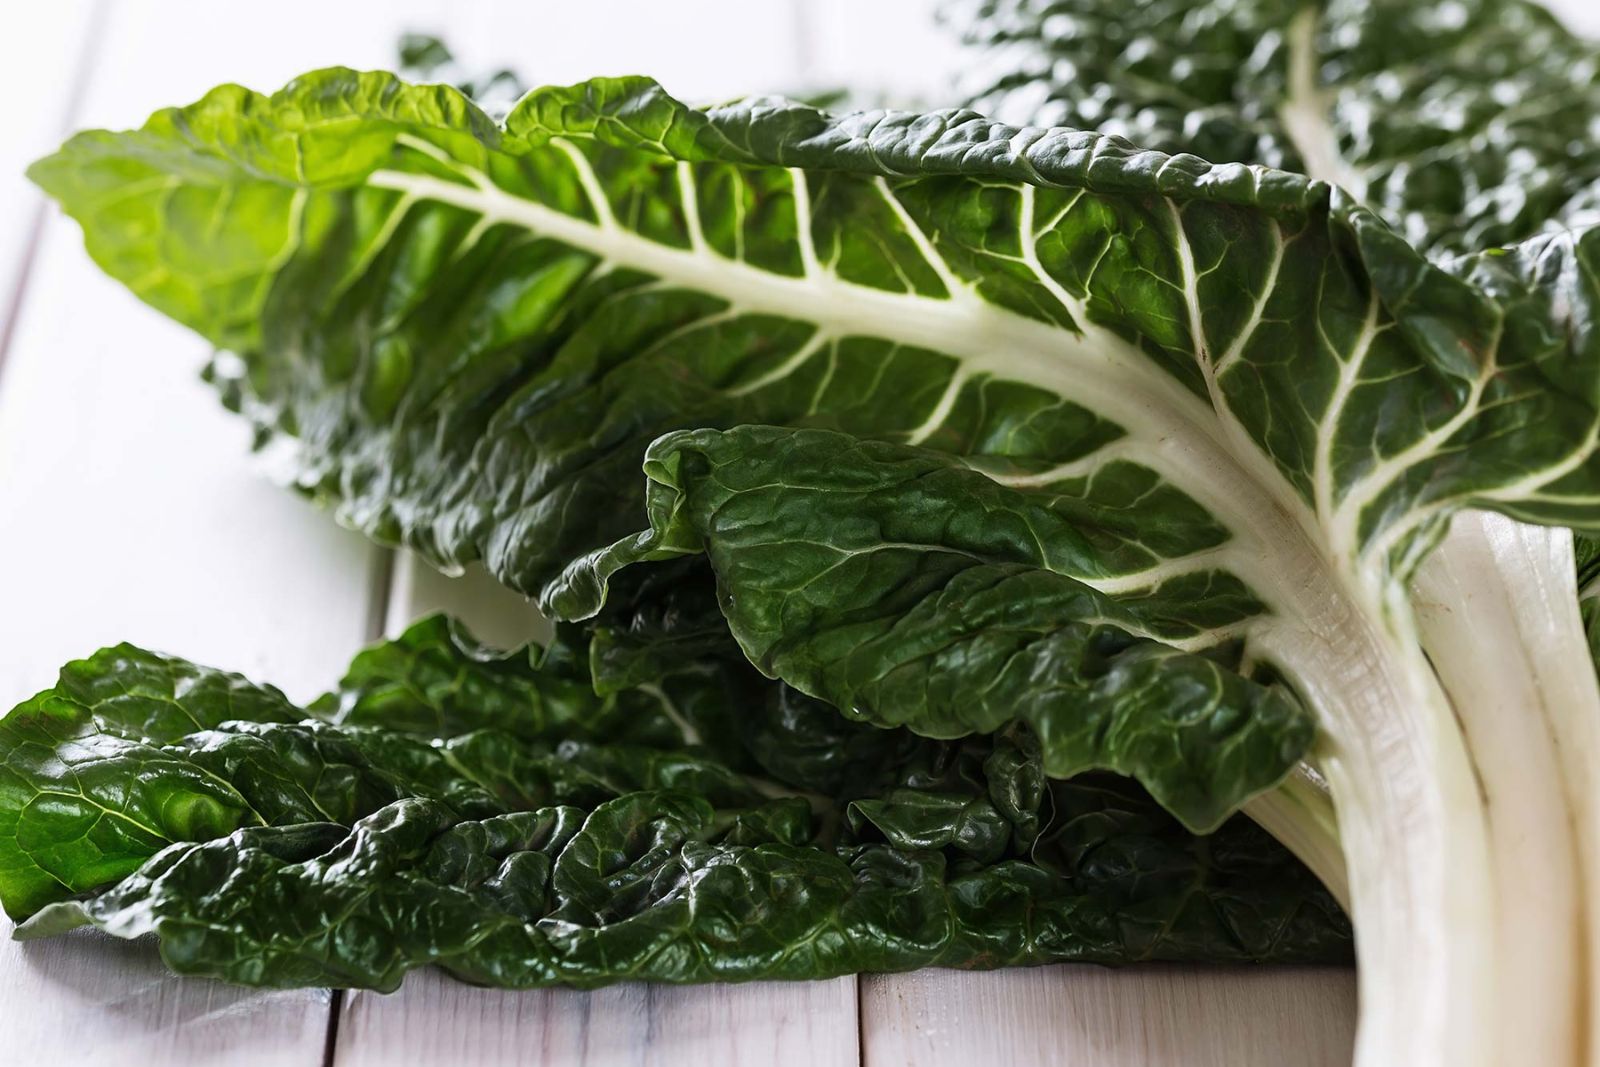
Silverbeet, also known as Swiss chard, is a versatile leafy green vegetable that adds a nutritious touch to various dishes. Whether you’ve grown an abundant harvest in your garden or found a great deal at the local market, freezing silverbeets is an excellent way to preserve their freshness and enjoy their goodness all year round. Freezing silverbeets is a simple process, and by following these steps, you can lock in their vibrant flavor and nutritional value for future culinary creations.
Here’s a guide on how to freeze silverbeets:
- Step 1: Select fresh and healthy silverbeet leaves
- Step 2: Wash and trim the leaves
- Step 3: Blanch the silverbeet leaves
- Step 4: Drain and dry the leaves
- Step 5: Arrange and flash-freeze the leaves
- Step 6: Package and seal the silverbeet leaves
- Step 7: Label and date the packages
- Step 8: Store in the freezer
Step 1: Select fresh and healthy silverbeet leaves
Selecting fresh and healthy silverbeet leaves is essential to ensure the best quality when freezing. Here’s why it matters:
- Flavor and Nutritional Value: Fresh silverbeet leaves have a vibrant flavor and are rich in essential nutrients like vitamins A, C, and K, as well as minerals like iron and potassium. By choosing fresh leaves, you can preserve these valuable nutrients, ensuring that your frozen silverbeets retain their nutritional goodness.
- Texture: Fresh silverbeet leaves are crisp and tender, providing a pleasant texture when cooked or used in salads. On the other hand, wilted or damaged leaves can become mushy and lose their appealing texture during the freezing process.
- Spoilage Prevention: Selecting silverbeet leaves that are free from blemishes or signs of spoilage ensures that you won’t be freezing any damaged or decaying portions. Spoiled leaves can affect the overall quality of the frozen silverbeets and potentially lead to the growth of harmful microorganisms.
- Longevity: Fresh silverbeet leaves have a longer shelf life and will stay in better condition during the freezing process compared to leaves that are already starting to wilt or deteriorate.
Step 2: Wash and trim the leaves
Washing and trimming the silverbeet leaves are important steps in the freezing process as they ensure cleanliness, remove impurities, and help maintain the quality of the vegetable. Here’s why these steps are crucial:
- Cleaning: Silverbeet leaves can often have dirt, sand, or other debris trapped between their crevices, especially if they were grown outdoors. Washing them under cold running water helps remove any surface contaminants, making the leaves safe to consume.
- Food Safety: Properly washing the silverbeet leaves reduces the risk of foodborne illnesses that may arise from ingesting harmful bacteria or pathogens that could be present on unwashed vegetables.
- Retaining Nutrients: While washing, you also eliminate any residue from pesticides or fertilizers that might have been used during the growing process. This ensures that the frozen silverbeet retains its natural flavor and nutrient content without any unwanted chemicals.
- Trim Tough Ends: The stems of silverbeet leaves can be thick and fibrous, especially towards the bottom. Trimming off the tough ends ensures that the freezing process captures the best part of the leaves while making it easier to handle and cook with them later on.
- Discard Damaged Leaves: Removing damaged or yellowed leaves is essential as they may have started to decay, and freezing them could compromise the quality of the entire batch. By discarding these leaves, you guarantee that only the freshest and healthiest portions of silverbeet make their way into the freezer.
Properly washed and trimmed silverbeet leaves not only contribute to better-tasting dishes but also make the freezing process more effective. The cleanliness and removal of unwanted parts result in frozen silverbeets that are ready to use in various recipes, bringing a burst of nutrition and flavor to your meals even during the off-season.
Is it necessary to chop silverbeet leaves before freezing?
Chopping silverbeet leaves before freezing is optional. You can freeze them whole or chop them based on your preference and future recipe requirements. Freezing whole leaves can be more convenient if you plan to use them in dishes that call for whole leaves, such as stuffed vegetables or rolls. On the other hand, chopping the leaves before freezing can make it easier to measure and use them in recipes that require smaller pieces, like soups, stews, or sautés. Ultimately, the decision to chop the silverbeet leaves before freezing depends on your cooking preferences and needs.
Step 3: Blanch the silverbeet leaves
Blanching silverbeet leaves is a vital step in the freezing process, and it plays a significant role in preserving their color, texture, and flavor. Here’s why blanching is crucial for freezing silverbeet:
- Enzyme Inactivation: Vegetables, including silverbeet, naturally contain enzymes that can lead to spoilage and degradation of flavor and nutrients over time. Blanching involves briefly immersing the leaves in boiling water, which helps inactivate these enzymes. By doing so, blanching helps maintain the quality of the silverbeet leaves during freezing, ensuring they retain their nutritional value and taste.
- Color Retention: The high temperature of boiling water used during blanching helps to set the vibrant green color of the silverbeet leaves. This step prevents the leaves from darkening or becoming dull during freezing and storage, resulting in visually appealing frozen silverbeet.
- Texture Preservation: Blanching briefly softens the cell walls of the silverbeet leaves. This not only helps maintain their tender texture but also makes it easier for the leaves to freeze uniformly and retain their texture after thawing.
- Cleansing Action: While blanching, any remaining dirt or surface contaminants that might have been missed during the initial washing process are further eliminated, promoting food safety and hygiene.
- Halting the Cooking Process: The quick transfer of blanched silverbeet leaves to the ice water bath rapidly cools them down. This halts the cooking process and helps maintain the bright color, crispness, and overall freshness of the leaves.
Can I freeze silverbeets without blanching?
While blanching is recommended for the best results, you can freeze silverbeets without blanching. However, be aware that the leaves may lose some of their texture and color during storage.
Step 4: Drain and dry the leaves
Draining and drying the blanched silverbeet leaves is a crucial step after blanching, as it helps remove excess water and ensures that the leaves freeze properly without becoming icy or clumped together. Here’s why draining and drying are important:
- Preventing Excess Moisture: After blanching, the silverbeet leaves tend to retain some water. If they are frozen with excess moisture, ice crystals can form, leading to freezer burn or sogginess in the leaves. Draining the leaves in a colander allows the excess water to escape, preventing these issues during freezing and storage.
- Uniform Freezing: By laying the drained leaves on clean kitchen towels, any remaining moisture is further absorbed, ensuring that the leaves freeze more evenly and do not stick together. This prevents the formation of ice clusters, making it easier to separate individual leaves when needed for cooking.
- Retaining Quality: Properly draining and drying the silverbeet leaves before freezing helps preserve their texture and overall quality. This step ensures that the leaves maintain their tenderness and prevent the formation of ice crystals that could compromise their taste and appearance.
- Facilitating Handling: Dry silverbeet leaves are much easier to handle when it comes to portioning and packing for freezing. They are less likely to clump together or become messy, making the freezing process smoother and more organized.
- Hygiene: Laying the leaves on clean kitchen towels ensures that no contaminants or impurities are transferred to the leaves, maintaining food safety and hygiene standards.
Step 5: Arrange and flash-freeze the leaves
Arranging and flash-freezing the silverbeet leaves is a crucial step in the freezing process, ensuring that the leaves freeze individually and quickly, which helps preserve their quality and makes them easier to use in various recipes. Here’s why arranging and flash-freezing are important:
- Individual Freezing: By arranging the silverbeet leaves in small bundles or separate portions on a baking sheet, you allow each leaf to freeze individually. This prevents them from sticking together during freezing, making it convenient to take out just the required amount when cooking later on.
- Faster Freezing: Flash-freezing involves freezing the silverbeet leaves quickly at a very low temperature. This rapid freezing process helps to form smaller ice crystals within the leaves, minimizing cell damage and preserving their texture and flavor better compared to slow freezing.
- Preserving Nutrients: Flash-freezing helps lock in the essential nutrients present in the silverbeet leaves, ensuring that they retain their nutritional value for an extended period.
- Avoiding Clumping: By ensuring that the leaves do not touch each other on the baking sheet, you prevent them from freezing together in large clumps. This makes it easier to store the frozen leaves in airtight containers or freezer bags without worrying about them becoming difficult to separate later.
- Improved Convenience: Once the silverbeet leaves are flash-frozen on the baking sheet, you can transfer them to freezer-safe containers or bags for long-term storage. This organized method of freezing allows you to easily grab the required quantity of leaves whenever you need them, without having to thaw the entire batch.
Step 6: Package and seal the silverbeet leaves
Packaging and sealing the flash-frozen silverbeet leaves in airtight containers or freezer bags is a crucial step in the freezing process, as it helps protect the leaves from freezer burn and maintains their quality over an extended period. Here’s why packaging and sealing are important:
- Preventing Freezer Burn: Freezer burn occurs when moisture from the food evaporates and then refreezes on the surface, creating ice crystals. This can lead to dehydration of the silverbeet leaves, causing them to become dry, discolored, and less flavorful. Airtight containers or freezer bags provide a protective barrier, reducing the exposure of the leaves to air and preventing freezer burn.
- Maintaining Texture and Flavor: Properly sealed containers prevent the loss of moisture and flavor, helping the silverbeet leaves maintain their original texture and taste. This ensures that the leaves stay tender and vibrant, resembling their fresh counterparts even after months of freezing.
- Efficient Use of Freezer Space: Airtight packaging allows you to neatly stack and organize the frozen silverbeet leaves in the freezer. This efficient use of space helps avoid unnecessary clutter and makes it easier to find and access the leaves when needed.
- Avoiding Odor Transfer: Sealing the silverbeet leaves in airtight containers or bags helps prevent the absorption of unwanted odors from other frozen foods in the freezer. This ensures that the leaves retain their natural aroma and do not acquire any off-flavors.
- Prolonged Shelf Life: Properly packaged and sealed silverbeet leaves can last for several months in the freezer without significant loss of quality. This allows you to enjoy the nutritional benefits of silverbeets throughout the year, even when they are out of season.
Step 7: Label and date the packages
Labeling and dating the packages of frozen silverbeet leaves is a simple yet crucial step in the freezing process. It helps you keep track of the contents and freezing date, providing valuable information that ensures the best quality and usage of the frozen silverbeets. Here’s why labeling and dating are important:
- Identification: When you label each package with “silverbeet leaves,” it makes it easy to distinguish them from other frozen items in your freezer. This helps prevent confusion and ensures you can quickly locate the silverbeets when you need them.
- Rotation and Usage: By including the freezing date on the label, you establish a system of first-in, first-out (FIFO) rotation. This means using the oldest packages before the newer ones. As silverbeet leaves can retain their quality for several months in the freezer, this labeling practice allows you to use them in a timely manner and avoid any potential food waste.
- Quality Control: Knowing the freezing date helps you gauge the freshness and potential shelf life of the silverbeet leaves. While frozen silverbeets can remain safe to eat for an extended period, labeling enables you to assess their quality and make informed decisions about how long to keep them in the freezer.
- Recipe Planning: Having labeled packages with freezing dates allows you to plan your meals effectively. You can estimate the quantity of silverbeet leaves available and incorporate them into your recipes accordingly, ensuring you always have enough on hand.
- Food Safety: Proper labeling reduces the risk of accidental consumption of spoiled or expired silverbeet leaves. It helps you identify how long the leaves have been in the freezer and whether they are still safe to use.
Step 8: Store in the freezer
Storing the properly packaged silverbeet leaves in the freezer at the recommended temperature is the final step to ensure the best quality and longevity of the frozen greens. Here’s why storing them correctly is important:
- Preservation of Quality: Freezing silverbeet leaves at a constant temperature of 0°F (-18°C) or below helps maintain their texture, color, and flavor. The low temperature prevents the growth of microorganisms and enzymatic activity, ensuring the leaves remain in optimal condition for an extended period.
- Prevention of Spoilage: Storing silverbeet leaves at the recommended temperature prevents bacterial growth that could lead to spoilage. Proper storage ensures that the leaves do not become contaminated and remain safe for consumption.
- Retention of Nutrients: Freezing at the ideal temperature helps retain the nutritional value of the silverbeet leaves. The low temperature minimizes nutrient degradation, preserving the vitamins and minerals essential for a healthy diet.
- Safe Food Storage: Storing the silverbeet leaves at 0°F (-18°C) or below ensures that they are kept at a temperature that prevents the growth of harmful bacteria, reducing the risk of foodborne illnesses.
Remember to keep the freezer door closed as much as possible to maintain a consistent temperature. Frequent opening and closing of the freezer door can cause temperature fluctuations, potentially affecting the quality of the frozen silverbeet leaves.
How long can I store frozen silverbeets?
Properly frozen silverbeets can maintain their quality for about 6 to 12 months when stored at 0°F (-18°C) or below. However, for the best flavor and texture, it is advisable to use them within the first 6 months after freezing.
Other related questions
How do I defrost silverbeets?
To defrost silverbeets, transfer the frozen leaves from the freezer to the refrigerator. Allow them to thaw slowly and gently for several hours or overnight. Once defrosted, use the silverbeet leaves in your desired recipes, ensuring their texture and flavor are preserved. Avoid defrosting at room temperature to prevent bacterial growth and maintain their quality.
Can I use frozen silverbeets in soups and stews directly, or should I thaw them first?
You can use frozen silverbeet leaves directly in soups and stews without thawing them first. When added directly to hot liquid during the cooking process, the frozen leaves will quickly thaw and cook. This ensures that the silverbeet leaves maintain their flavor and texture while blending seamlessly into the dish. Using frozen silverbeets directly in soups and stews is a convenient way to incorporate them into your recipes without the need for pre-thawing.
Can I refreeze silverbeets?
Refreezing silverbeets is not recommended. Once silverbeets are thawed, their quality and texture may be compromised due to changes in cell structure and moisture content. Refreezing can lead to a loss of flavor, nutrients, and overall freshness, affecting the taste and texture when used in dishes.
How do I know if the silverbeets have gone bad after being frozen?
To determine if frozen silverbeets have gone bad, look for signs of freezer burn, such as discoloration or dried-out patches on the leaves. Spoiled silverbeets may have an off odor or unusual appearance, like mushiness or excessive ice crystals. If the leaves appear or smell unusual, it’s best to discard them to avoid any potential foodborne illnesses.
Can I freeze silverbeet stems separately from the leaves?
Yes, you can freeze silverbeet stems separately from the leaves. Just blanch and freeze them following the same steps as the leaves. Stems may take a bit longer to cook, so freezing them separately allows you to use them in specific recipes or stocks when needed.
Can I freeze cooked silverbeets?
While it is possible to freeze cooked silverbeets, it is generally recommended to freeze them raw for better results. Cooking can cause a change in texture, and thawed cooked silverbeets might become mushy. Freezing raw silverbeet leaves preserves their natural freshness and nutrients.
Can I use frozen silverbeets in salads or smoothies?
Yes, you can use frozen silverbeets in salads or smoothies. Thaw the leaves in the refrigerator and drain any excess water before incorporating them into your recipes. However, note that frozen silverbeets are best suited for cooked dishes, as their texture may change slightly after freezing.
Can I season silverbeet leaves before freezing them?
It’s best to avoid seasoning silverbeet leaves before freezing, as flavors may intensify during freezing and affect the taste when used in recipes. Add seasonings during the cooking process instead.

