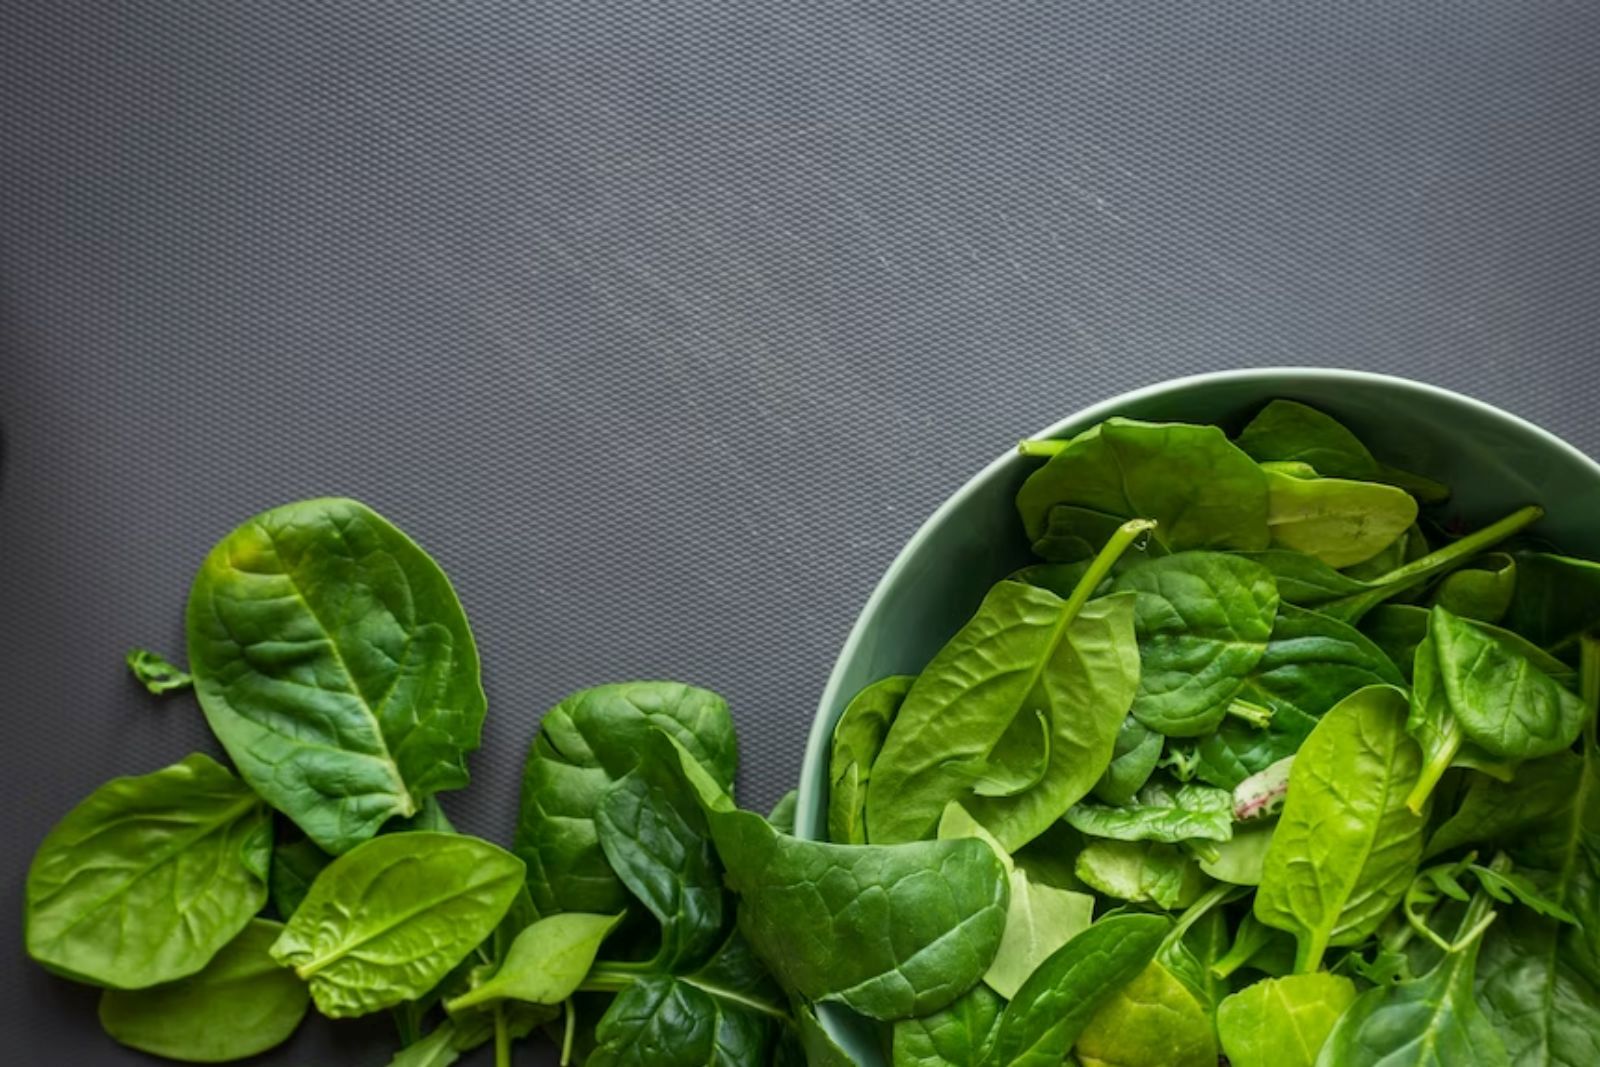
Spinach, with its dark green leaves and nutrient-rich profile, is a beloved vegetable that offers numerous health benefits. Whether you have an abundant harvest from your garden or want to take advantage of a great deal at the store, freezing spinach can help you prolong its shelf life and maintain its freshness. By properly freezing spinach, you can ensure a convenient supply of this versatile ingredient for use in smoothies, soups, stews, and a variety of other dishes throughout the year. In this article, we will walk you through the process of freezing spinach, preserving its vibrant color, delicate texture, and essential nutrients, so you can enjoy its best even when it’s out of season.
Here are the simple steps to freeze spinach:
Step 1: Choose Fresh High-Quality Spinach
When it comes to freezing spinach, the quality of the leaves you select plays a crucial role in the final result. Follow these guidelines to ensure you choose the best spinach for freezing:
- Look for Freshness: Opt for spinach with crisp stems and vibrant, dark green leaves. Avoid any signs of wilting, yellowing, or sliminess, as these are indicators of deteriorating quality.
- Check for Firmness: Gently squeeze a few leaves to assess their firmness. Fresh spinach should feel firm and spring back when lightly pressed. Avoid limp or mushy leaves, as they won’t freeze well.
- Examine the Color: Choose spinach with a bright, deep green color. This indicates a high chlorophyll content, which translates to better flavor and nutritional value.
- Consider Organic Spinach: If available, opt for organic spinach to reduce your exposure to pesticides and other potentially harmful chemicals. Organic produce is grown without synthetic fertilizers and pesticides, making it a healthier choice.
By selecting fresh and high-quality spinach, you set the foundation for excellent frozen spinach that retains its flavor, color, and nutrients. Remember to inspect the spinach thoroughly and trust your senses when making your selection.
Step 2: Clean and Prepare the Spinach
Properly cleaning and preparing the spinach before freezing is essential to remove any dirt, grit, or residue that may affect the quality of the frozen spinach. Follow these steps to ensure your spinach is thoroughly cleaned and ready for freezing:
- Fill a Bowl or Sink with Cool Water: Begin by filling a large bowl or sink with cool water. Make sure there is enough water to completely submerge the spinach leaves.
- Immerse and Swish the Spinach: Place the spinach leaves into the water and gently swish them around. This motion helps to dislodge any dirt or impurities that may be clinging to the leaves.
- Drain Excess Water: After swishing the spinach, remove the leaves from the water and transfer them to a colander. Allow the water to drain off the leaves, but do not shake or wring them excessively, as this may damage the delicate leaves.
- Trim Tough Stems: Once the excess water has drained, examine the spinach leaves for any tough stems. Using a sharp knife, carefully trim the stems close to where they attach to the leaves. Alternatively, you can use your hands to tear the leaves away from the stems, discarding the tough stems as they may become chewy when frozen.
By cleaning and removing the tough stems from the spinach leaves, you ensure that only the tender and flavorful parts of the vegetable are preserved when freezing. Properly draining the spinach after cleaning helps prevent excess moisture, which can lead to freezer burn or deterioration in quality during freezing. Taking these steps will result in frozen spinach that maintains its taste and texture when thawed and used in various recipes.
Step 3: Blanch the Spinach
Blanching spinach before freezing is an essential step that helps preserve the vibrant green color, texture, and nutritional value of the leaves. Follow these instructions to blanch spinach effectively:
- Prepare Boiling Water and Ice Water Bath: Fill a large pot with water and bring it to a rolling boil. Meanwhile, prepare a bowl or basin filled with ice water. This will be used to rapidly cool the blanched spinach and stop the cooking process.
- Add Spinach to Boiling Water: Carefully add the spinach leaves to the boiling water. Ensure that the leaves are fully submerged in the water.
- Blanch for 1-2 Minutes: Allow the spinach to blanch in the boiling water for 1-2 minutes. This brief cooking time is sufficient to deactivate enzymes that can cause flavor and nutrient loss. Overcooking can result in mushy spinach, so it’s important to monitor the blanching time carefully.
- Transfer to Ice Water Bath: Using a slotted spoon or tongs, immediately transfer the blanched spinach from the boiling water to the prepared ice water bath. Submerging the spinach in ice water rapidly cools it down and preserves its vibrant green color.
- Cool in Ice Water for 2-3 Minutes: Let the spinach sit in the ice water bath for 2-3 minutes. This ensures that the spinach is thoroughly cooled and helps retain its texture and color.
- Drain Excess Water: After the spinach has cooled in the ice water bath, remove it from the water using a slotted spoon or by pouring the contents of the bowl through a colander. Gently shake off any excess water or pat the spinach leaves dry with a clean kitchen towel.
Blanching the spinach before freezing not only helps maintain its appealing color but also prevents the loss of nutrients and minimizes the enzymatic activity that can degrade its quality. By following these steps, you’ll have blanched spinach ready for the next stage of the freezing process.
Step 4: Drain and Pack to Freeze
After blanching the spinach, it’s important to remove excess water before packaging it for freezing. Follow these steps to drain and package the blanched spinach properly:
- Thoroughly Drain the Spinach: Start by draining the blanched spinach to remove as much excess water as possible. You can use a colander or sieve to gently press the spinach leaves against its sides, allowing the water to drain off. Alternatively, you can place the spinach on a clean kitchen towel and gently roll it up, applying light pressure to absorb any remaining moisture.
- Ensure Spinach is Dry: The drier the spinach leaves, the better they will freeze. It’s crucial to remove as much water as possible to prevent the formation of ice crystals and maintain the quality of the frozen spinach.
- Divide into Portion Sizes: Once the spinach is thoroughly drained, divide it into portion sizes that suit your needs. Consider how you typically use spinach in recipes and package it accordingly. For example, you can portion it into smaller quantities for smoothies or larger quantities for soups or stews.
- Choose Freezer-Safe Packaging: Select suitable freezer-safe bags or containers to store the spinach. Ensure they are airtight to prevent freezer burn and maintain the spinach’s quality. It’s recommended to use high-quality freezer bags specifically designed for long-term freezing.
- Remove Air from Packaging: Before sealing the bags or containers, try to remove as much air as possible. Excess air can lead to freezer burn and deteriorate the texture and taste of the spinach. Press out any air pockets or consider using a vacuum sealer for optimal results.
- Label and Date the Packages: Don’t forget to label each package with the date and contents. This helps you identify the spinach easily and ensures you can use it in a timely manner. Use a permanent marker or labels to clearly mark the packages.
By draining the blanched spinach thoroughly and packaging it properly, you are setting the stage for successful freezing. Removing excess moisture and using appropriate packaging materials will help maintain the spinach’s texture, flavor, and nutrient content during its time in the freezer.
Step 5: Freeze and Store in the Freezer
After packaging the spinach, it’s time to freeze it properly to maintain its quality over an extended period. Follow these guidelines for freezing and storing the spinach:
- Arrange in a Single Layer: When placing the packaged spinach in the freezer, start by arranging them in a single layer. This allows for quicker and more even freezing. Make sure there is enough space between the packages for the cold air to circulate freely.
- Fully Freeze the Spinach: It’s important to freeze the spinach completely before stacking or placing other items on top. This typically takes several hours overnight, depending on the thickness of the packages and the efficiency of your freezer. Check the packaging instructions for recommended freezing times.
- Stack for Space Efficiency: Once the spinach is fully frozen, you can stack the packages to save space in the freezer. Ensure that the packages are stable and won’t topple over. Consider using bins or shelves to keep them organized and prevent any damage to the packages.
- Optimal Storage Time: To enjoy the best quality, it’s recommended to consume frozen spinach within 8-12 months. While the spinach may still be safe to eat after this period, it may experience some texture and flavor changes. Therefore, it’s best to use the spinach within the recommended time frame to ensure optimal taste and quality.
- Prevent Freezer Burn: Freezer burn can occur when frozen food is exposed to air, resulting in dried-out and deteriorated quality. To prevent freezer burn, ensure that the spinach packages are tightly sealed and free from air pockets. Properly sealed and airtight packaging helps maintain the spinach’s texture, flavor, and overall quality.
Freezing properly you can safely freeze and store your spinach for an extended period. Proper freezing techniques and storage conditions will help preserve the spinach’s taste, texture, and nutritional value until you’re ready to use it in your favorite recipes.
Step 6: Thaw the Frozen Spinach
Once you’re ready to use the frozen spinach, it’s important to thaw it properly to maintain its texture and flavor. Follow these steps for thawing and using frozen spinach:
- Retrieve from the Freezer: Remove the desired portion of frozen spinach from the freezer. Keep in mind that it’s best to thaw only the amount you need to minimize food waste.
- Thaw in the Refrigerator: Place the frozen spinach in a container or on a plate and let it thaw in the refrigerator overnight. Thawing spinach in the refrigerator allows for a gradual and even thaw, preserving its texture and minimizing any potential loss of moisture.
- Use Thawed Spinach in Recipes: Once the spinach is fully thawed, it is ready to be used in various recipes. Thawed spinach works well in soups, stews, smoothies, omelettes, pasta dishes, and more. It can be added directly to the recipe without any additional cooking or preparation.
- Avoid Refreezing: It’s important to note that previously frozen spinach should not be refrozen. Refreezing can lead to texture deterioration and compromise the quality of the spinach. Plan accordingly and thaw only the amount you intend to use to avoid the need for refreezing.
By safely thawing your frozen spinach and incorporating it into your favorite recipes. Thawed spinach adds nutritional value, vibrant color, and a distinct flavor to a wide range of dishes. Enjoy the convenience and versatility of frozen spinach while ensuring its optimal quality.
Can I use frozen spinach directly in recipes without thawing it?
While it is possible to use frozen spinach directly in recipes without thawing, it is generally recommended to thaw it first for optimal results. Thawed spinach blends more easily into dishes and distributes evenly. However, in some recipes with longer cooking times, such as soups or stews, frozen spinach can be added directly, allowing it to thaw and cook simultaneously.
Other related questions
How do I know if the spinach has gone bad after being frozen?
To determine if frozen spinach has gone bad, look for signs such as a strong odor, discoloration, or an off taste. Thawed spinach that appears slimy or has developed mold should be discarded. Trust your senses and if in doubt, it’s safer to dispose of spinach that exhibits any unusual or unpleasant characteristics.
Does freezing spinach affect its taste and texture when cooked?
Freezing spinach can affect its taste and texture to some extent when cooked. The freezing process can cause slight changes in the cell structure of spinach, leading to a softer texture. Additionally, freezing can result in a mild loss of flavor, although the impact is generally minimal. Properly blanching and storing frozen spinach can help mitigate these effects and still provide a nutritious and convenient ingredient for various dishes.
Is frozen spinach just as healthy as fresh?
Frozen spinach is generally considered to be just as healthy as fresh spinach. However, some minimal loss of certain nutrients may occur during freezing, but overall, frozen spinach remains a nutritious option and can be a convenient alternative to fresh spinach, particularly when fresh spinach is not readily available.
Does freezing spinach affect its nutritional value?
Freezing spinach can cause some minimal loss of nutritional value, but it remains a nutritious option. The freezing process may slightly reduce the levels of certain vitamins and antioxidants, particularly if not blanched beforehand. However, frozen spinach still retains a significant amount of its nutrients and can be a convenient and healthy addition to meals even after freezing.
Why does frozen spinach taste bitter?
Frozen spinach can sometimes taste bitter due to natural compounds called oxalates. Oxalates are found in spinach and other leafy greens and can become more concentrated during the freezing process. These oxalates can interact with the taste buds, resulting in a slightly bitter flavor. However, not all frozen spinach exhibits a bitter taste, and factors such as the spinach variety, freshness, and cooking techniques can influence the taste profile.

