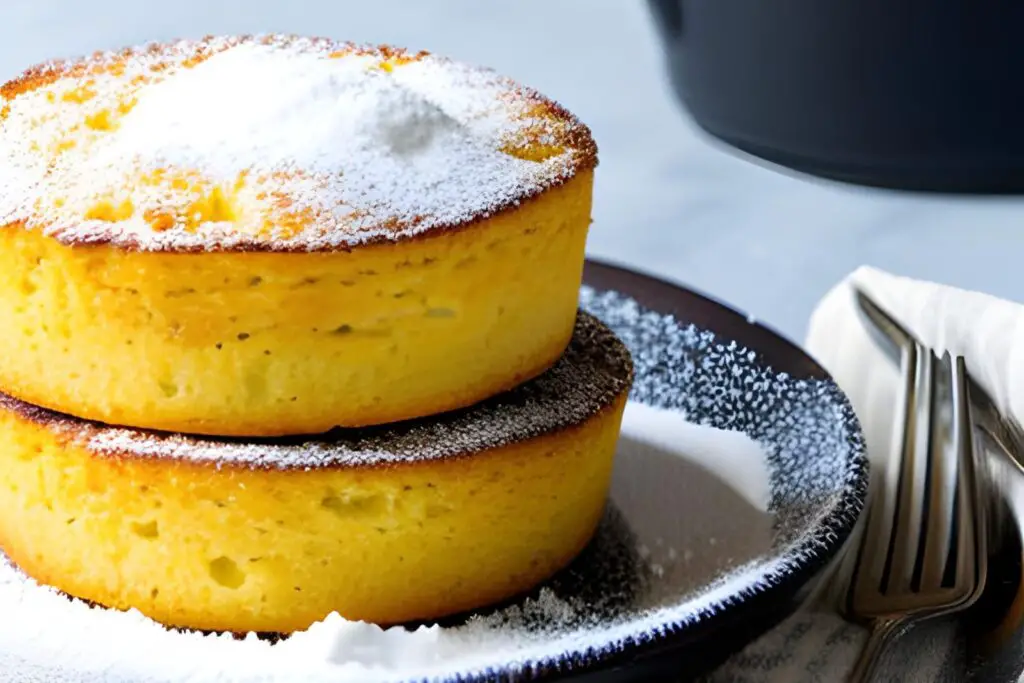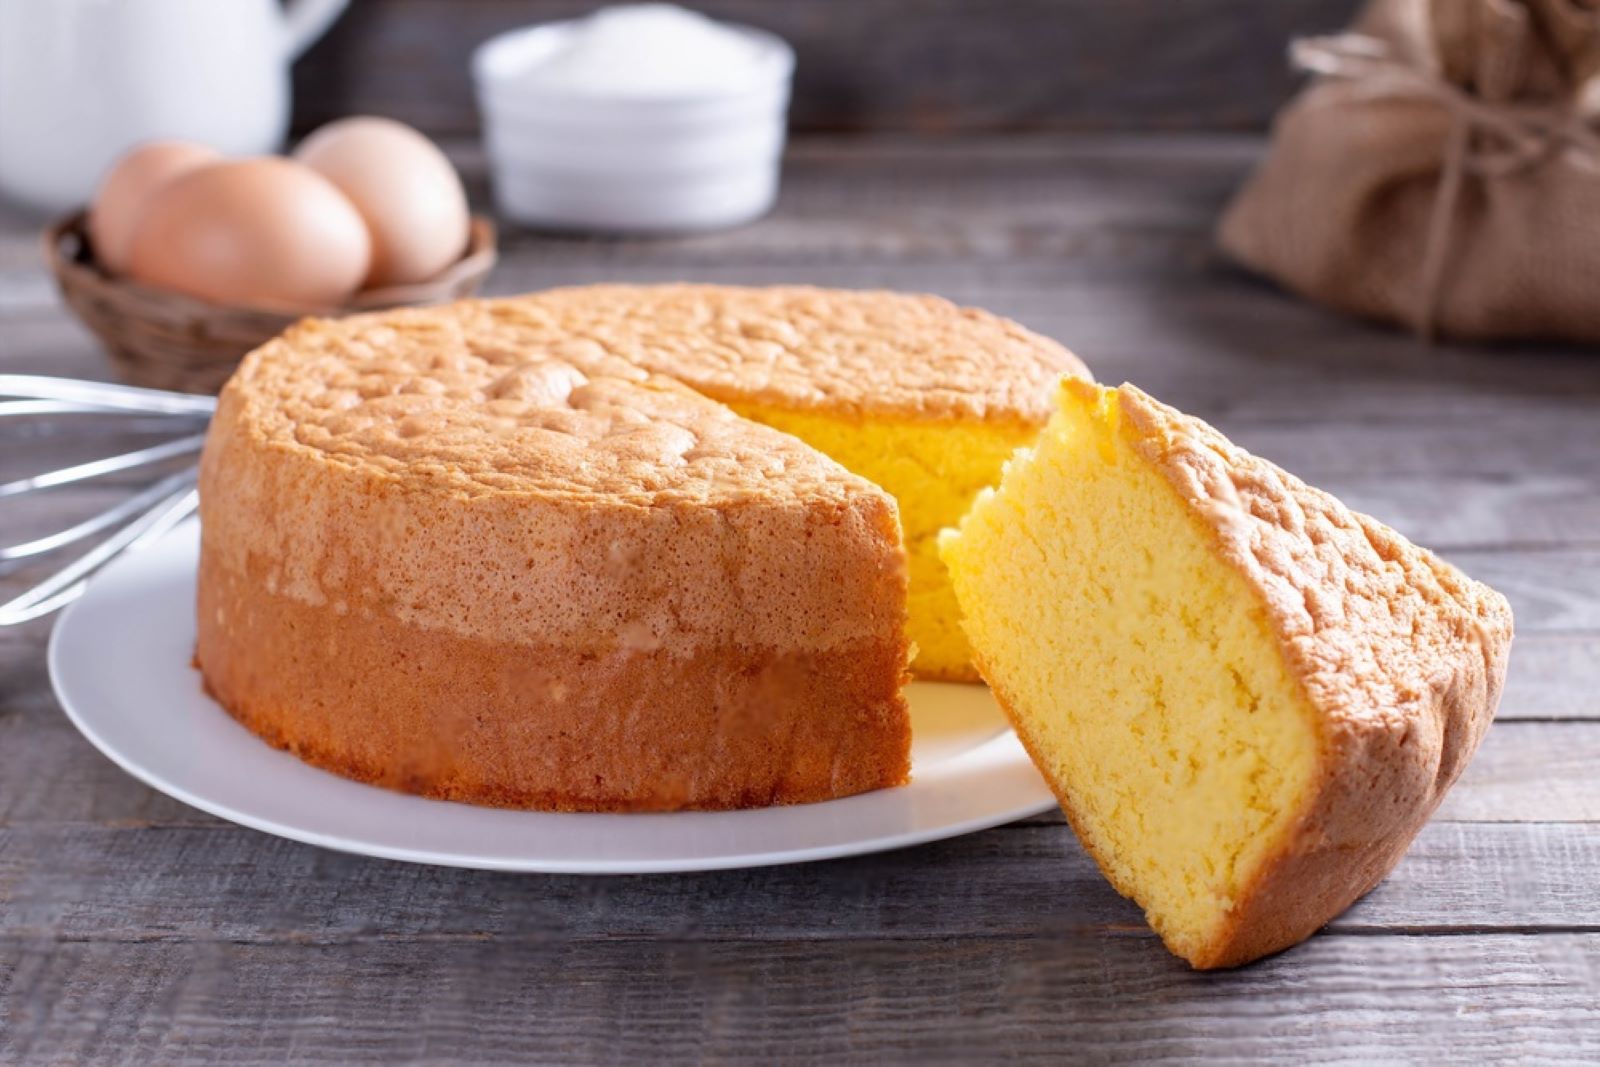
Sponge cake is a delicate and airy dessert known for its light texture and versatility. Whether you’ve baked a homemade sponge cake or have leftover store-bought slices, freezing can be a great option to extend its shelf life and enjoy it at a later time. Freezing sponge cake properly preserves its taste and texture, allowing you to savor its delectable goodness whenever you crave it. In this article, we’ll provide you with a step-by-step guide on how to freeze sponge cake while maintaining its delightful quality.
Follow these steps to freeze sponge cake:
Step 1: Prepare your sponge cake
Freezing sponge cake is a fantastic way to preserve its delightful texture and flavor for future enjoyment. However, the process should begin with careful preparation to ensure the best results. Before you embark on freezing your sponge cake, take the time to follow these important steps:
Why room temperature matters:
Whether you’ve baked the sponge cake from scratch or purchased it, the temperature of the cake plays a crucial role in the freezing process. If you’ve just taken the cake out of the oven, it’s essential to allow it to cool to room temperature before attempting to freeze it. This cooling period is important for several reasons.
- Preventing condensation: When a warm cake is placed directly into the freezer, the temperature difference between the cake and the freezer’s environment can lead to condensation forming on the cake’s surface. This moisture can adversely affect the cake’s texture by causing it to become soggy or sticky. Allowing the cake to cool to room temperature first minimizes the risk of condensation forming during the freezing process.
- Texture preservation: Sponge cakes are cherished for their light and airy texture. Rapid temperature changes, such as moving a warm cake into a freezing environment, can cause the cake’s structure to contract suddenly. This contraction can result in a loss of moisture, leading to a dry and less enjoyable texture. Allowing the cake to cool gradually helps it retain its intended softness and lightness.
- Packaging integrity: Placing a warm cake in packaging for freezing can lead to excess moisture being trapped within the packaging. This moisture can compromise the cake’s quality and even create ice crystals on its surface. By starting with a cooled cake, you enhance the effectiveness of the packaging in preserving the cake’s integrity during freezing.
How to cool your sponge cake:
After baking your sponge cake, remove it from the oven and let it sit in the baking pan for a few minutes. Then, gently transfer the cake to a wire rack. The wire rack promotes airflow around the cake, allowing it to cool evenly and prevent the bottom from becoming damp. It’s recommended to let the cake cool for at least an hour before proceeding to the next steps of freezing.
Step 2: Portion the cake
Once your sponge cake has cooled to room temperature, the next step in the freezing process involves deciding how you want to freeze it. This decision centers around whether you intend to freeze the entire cake or opt for individual slices. Each approach has its benefits, and the way you choose to portion the cake can impact the convenience and quality of your frozen treats. Here’s why this step is essential and how to proceed:
Why portioning matters:
- Convenience: Freezing the entire cake might be a suitable option if you plan to serve it at once during a special occasion. However, if you foresee enjoying the cake gradually or for small gatherings, portioning it into slices before freezing is a more convenient choice. Pre-sliced cake allows you to defrost only the amount you need, reducing waste and allowing for spontaneous treats without thawing an entire cake.
- Thawing flexibility: Individual slices thaw more quickly and evenly than a whole cake. This is particularly important for sponge cakes, as they can absorb excess moisture during the thawing process, potentially affecting their texture. By freezing slices, you can thaw just what you need, ensuring that each piece maintains its light and airy texture.
- Presentation: Portioning the cake into slices before freezing also maintains the cake’s presentation. Once a cake is sliced and frozen, the delicate layers and toppings remain intact. This is especially valuable if your sponge cake features decorative elements that you’d like to preserve.
How to portion and slice:
Using a sharp knife, carefully slice the cooled sponge cake into your desired portion sizes. You can opt for traditional triangular slices, rectangular bars, or any other shape that suits your preference. To ensure even slices, it’s a good idea to clean the knife between cuts and use a gentle sawing motion to avoid compressing the cake.
If freezing the entire cake: If you choose to freeze the entire cake, consider placing a sheet of parchment paper or plastic wrap between the layers to prevent sticking. Wrap the entire cake securely in plastic wrap and, if desired, place it in an airtight container or wrap it in aluminum foil for extra protection.
If freezing individual slices: For each slice, wrap it tightly in plastic wrap to prevent freezer burn and maintain its moisture. You can also place wrapped slices in a resealable plastic bag for additional protection.
Step 3: Wrap the slices
As you move forward in the process of freezing your sponge cake, the careful wrapping of individual cake slices is a crucial step to ensure their optimal quality and taste upon thawing. Properly wrapping the slices serves to protect them from freezer burn, preserve their moisture, and maintain their delicate texture. Here’s why this step is important and how to effectively wrap your sponge cake slices:
Why wrapping is essential:
- Prevention of freezer burn: Freezer burn occurs when the moisture in the food evaporates and forms ice crystals on its surface. This can lead to a change in texture and flavor, leaving your cake less appealing when thawed. By tightly wrapping the slices, you create a barrier that helps prevent the loss of moisture and the formation of ice crystals, safeguarding the cake’s integrity.
- Moisture retention: Sponge cakes are known for their light and airy texture. Proper wrapping helps maintain this texture by preventing excessive moisture loss during freezing and thawing. This is particularly important as sponge cakes can absorb moisture easily, potentially resulting in a soggy or dense texture if not adequately protected.
- Preservation of flavor: The quality of your sponge cake’s taste is also closely tied to its moisture content. When moisture is lost due to improper wrapping, the cake can become dry and less flavorful. By wrapping the slices tightly, you create an environment that preserves the cake’s moisture and, consequently, its delicious taste.
How to wrap your sponge cake slices:
- Prepare plastic wrap: Cut pieces of plastic wrap that are slightly larger than the size of your cake slices. This will ensure you have enough wrap to securely cover each slice.
- Place the slice: Lay an individual cake slice in the center of the plastic wrap, positioning it lengthwise.
- Wrap carefully: Starting with one side of the plastic wrap, gently fold it over the slice, tucking the cake securely. Then, fold over the sides and the other end, forming a snug and protective enclosure around the cake slice.
- Secure the wrap: Press down on the wrapped slice to remove any excess air, which can lead to freezer burn. Twist the ends of the plastic wrap to seal it tightly.
To group slices before wrapping:
If you prefer, you can group several cake slices together before wrapping them. This approach can save time and reduce the amount of plastic wrap used. Place the slices side by side, slightly overlapping, and then wrap the entire stack with plastic wrap. Remember to press out any excess air and seal the wrap securely.
Step 4: Double wrap (optional)
As you embark on the journey of freezing your sponge cake slices, you have the option to take an extra step that can provide an added layer of protection and ensure the highest quality when it’s time to enjoy your frozen treats. Double wrapping involves placing the individually wrapped cake slices into a resealable plastic bag before freezing. While this step is optional, it offers valuable benefits in terms of guarding against freezer odors and moisture. Let’s explore the reasons behind double wrapping and how to carry it out effectively:
Why consider double wrapping:
- Enhanced protection: Resealable plastic bags create an additional barrier against potential threats such as freezer odors and moisture. While plastic wrap provides a secure layer, a resealable bag offers an extra level of insulation that can shield the cake slices from any unwanted external elements.
- Reduced risk of freezer burn: By using a resealable plastic bag, you can further minimize the risk of freezer burn. These bags are designed to provide an airtight seal, preventing air and moisture from entering and affecting the quality of the cake slices.
- Efficient space utilization: Storing several individually wrapped cake slices in a single resealable bag can help you optimize freezer space. Neatly organized bags can be stacked or laid flat, making the most of the available storage area in your freezer.
How to double wrap your sponge cake slices:
- Prepare resealable bags: Ensure you have clean, food-safe resealable plastic bags ready for use. Choose bags that are appropriately sized to accommodate the number of cake slices you intend to freeze.
- Place wrapped slices into the bag: Take each individually wrapped cake slice and insert it into the resealable bag. If you’re placing multiple slices in a single bag, arrange them in a single layer for even freezing and easy thawing later.
- Squeeze out air: Before sealing the resealable bag, gently press down on the bag to remove as much air as possible. This step is crucial to prevent the formation of ice crystals and freezer burn. A vacuum-sealed effect helps maintain the quality of the cake slices.
- Seal the bag: Once you’ve removed excess air, carefully seal the resealable bag. Run your fingers along the seal to ensure it’s closed tightly and securely.
When placing the wrapped cake slices into the resealable bag, you can either stack them or lay them flat, depending on your preference and the available space in your freezer.
Label the resealable bag with the freezing date to help you keep track of how long the cake slices have been frozen.
Is vacuum-sealing sponge cake necessary?
Vacuum-sealing sponge cake isn’t necessary but can enhance protection against moisture and odors during storage. Proper wrapping suffices, but vacuum-sealing is beneficial for longer storage periods. Ensure airtight packaging for optimal cake preservation.
Step 5: Label the packages
As you progress through the process of freezing your sponge cake slices, it’s essential to incorporate an organizational element that will make your future cake indulgence effortless and enjoyable. Labeling the packages may seem like a minor step, but it plays a crucial role in helping you keep track of your frozen treats, ensuring they remain safe to consume and maintain their best quality. Let’s delve into the significance of labeling and how to do it effectively:
Why labeling is crucial:
- Tracking freezing time: Freezing your sponge cake slices introduces a time element to their storage. Over time, frozen foods can potentially undergo changes in taste and texture. Labeling your packages with the freezing date enables you to have a clear record of how long each slice has been in the freezer. This information empowers you to prioritize consuming the oldest slices first, ensuring nothing goes to waste.
- Preventing food waste: The “first in, first out” principle is particularly relevant when it comes to frozen food. By using the oldest cake slices before newer ones, you reduce the risk of slices being forgotten and becoming freezer-burned or losing their optimal quality due to extended storage.
- Taste consistency: Different food items have varying optimal storage durations in the freezer. By labeling the packages, you can ensure you’re consuming your sponge cake slices at their peak quality. This step helps maintain the cake’s intended taste, texture, and overall satisfaction.
How to label your packages:
- Choose a marker or adhesive labels: Select a marker with permanent ink or adhesive labels that are designed to adhere well to packaging materials in cold environments.
- Indicate the contents: Write or print the words “Sponge Cake Slices” on the label or packaging. This ensures that the contents are easily recognizable, especially if you have various items stored in your freezer.
- Add the freezing date: Beside or below the “Sponge Cake Slices” label, include the date on which you froze the slices. Use the format of Month/Day/Year for clarity. This date serves as a reference point for determining the duration of storage.
If you have multiple batches of cake slices in the freezer, consider using different colored markers or labels for each batch. This can help you quickly identify the oldest slices.
Step 6: Arrange in the freezer
As you proceed with the process of freezing your sponge cake slices, the arrangement of the wrapped and packaged slices within your freezer plays a pivotal role in ensuring their preservation and accessibility. This step involves carefully placing the wrapped slices in a manner that promotes even freezing and prevents them from sticking together. Let’s explore the importance of this step and how to arrange your cake slices effectively:
Why arrangement matters:
- Even freezing: Properly arranging the cake slices in the freezer helps ensure that each slice freezes uniformly. When items are evenly spaced and not touching, the cold air within the freezer can circulate around them, preventing uneven freezing and the formation of large ice crystals that could affect texture and quality.
- Prevention of sticking: Placing the wrapped slices in the freezer with some distance between them minimizes the risk of them sticking together. Sponge cake slices can be delicate and prone to sticking when they come into contact with each other. Keeping them separated initially prevents this issue and allows for easy retrieval later.
- Accessibility: An organized arrangement enhances accessibility. When the slices are neatly placed, you can easily locate and remove the desired number of slices without disturbing the others. This convenience ensures that you can enjoy your frozen cake without unnecessary hassle.
How to arrange your cake slices in the freezer:
- Select a flat surface: Choose a flat area within your freezer where you can lay out the wrapped cake slices. Clear a space on a shelf or in a drawer to accommodate the slices.
- Lay them flat: Lay the individually wrapped cake slices flat on the surface. Position them side by side without touching. Leave a small gap between each slice to facilitate airflow around them.
- Initial spacing: It’s particularly crucial during the initial freezing stages to ensure that the slices do not touch. This prevents them from sticking together and allows the cold air to effectively circulate around each slice.
- Revisit arrangement if needed: After the slices have frozen for a few hours and are no longer at risk of sticking, you can adjust the arrangement if necessary. You might consider arranging them more closely to save space, but still, ensure they’re not tightly packed.
If your freezer space is limited, you can arrange the wrapped slices on a baking sheet or tray and place the entire tray in the freezer. Once the slices are fully frozen, you can transfer them to a more compact storage arrangement.
Step 7: Freeze thoroughly
As you near the final stages of the sponge cake freezing process, ensuring that the cake slices freeze thoroughly is essential to maintain their quality and prevent potential issues such as sticking together. This step involves allowing the slices to go through a process known as “flash-freezing.” Let’s delve into why this step matters and how it contributes to preserving the integrity of your frozen sponge cake slices:
Why thorough freezing is important:
- Shape preservation: Sponge cakes have a delicate structure that can be easily affected by changes in temperature and moisture. Freezing the slices thoroughly helps to lock in their shape, ensuring that they retain their distinct layers and overall presentation. Proper freezing prevents the cake slices from becoming misshapen or collapsing during storage.
- Texture maintenance: Flash-freezing aids in preserving the texture of the sponge cake slices. Rapid freezing reduces the size of ice crystals that can form within the cake, minimizing the risk of damage to its delicate structure. This ensures that when you thaw the slices later, they maintain their light and airy texture.
- Prevention of sticking: If the cake slices are placed in the freezer without proper spacing, they can stick together due to the moisture present in the slices. Thorough freezing, achieved through flash-freezing, reduces the likelihood of slices adhering to each other. This makes it easier to remove individual slices from the freezer without causing damage.
How to flash-freeze your sponge cake slices:
- Arrange the slices: Lay the wrapped and labeled cake slices on a baking sheet or tray. Ensure that the slices are not touching each other, allowing for adequate airflow around each slice.
- Place in the freezer: Carefully transfer the baking sheet or tray with the cake slices to the freezer. Position it on a flat surface to ensure the slices freeze evenly.
- Freeze for a few hours: Allow the cake slices to freeze for several hours. The exact duration can vary depending on the thickness of the slices and the temperature of your freezer. Ideally, aim for at least two to three hours, or until the slices are completely frozen.
If you’re freezing multiple batches of cake slices or other items, you can rotate the baking sheet or tray halfway through the freezing time to ensure even freezing.
Step 8: Store in the freezer
After your sponge cake slices have been thoroughly frozen, you’re ready to move on to the final step of the freezing process. This step involves arranging the slices in a way that suits your freezer space and organizational preferences. Proper storage ensures that your frozen cake slices remain in optimal condition and are easily accessible whenever you’re ready to enjoy them. Here’s why this step matters and how to carry it out effectively:
Why final storage matters:
- Efficient use of space: Once the cake slices are thoroughly frozen, they can be arranged more closely in the freezer. This allows you to make the most of the available freezer space, optimizing the use of shelves or drawers.
- Prevention of freezer odors: Properly storing the frozen cake slices helps prevent them from absorbing odors from other foods in the freezer. By arranging the slices neatly and possibly using a designated container, you create a barrier that minimizes the risk of unwanted flavors infiltrating the cake.
- Easy access: Well-organized storage makes it simple to locate and retrieve the cake slices you want to thaw and enjoy. Whether you prefer stacking the slices or placing them in a container, a systematic approach ensures that you can access each slice without disturbing the others.
How to carry out final storage:
- Assess your freezer space: Before arranging the cake slices, take a moment to evaluate your freezer’s layout and available storage options. Consider factors such as shelf height, drawer size, and the amount of space you have.
- Arrange slices more closely: Once the cake slices are fully frozen and no longer at risk of sticking together, you can rearrange them for more compact storage. Place them side by side, stacking them if desired. Keep in mind that you should avoid overpacking to ensure proper airflow around the slices.
- Consider a designated container: If you prefer a more organized approach, you can place the cake slices in a designated container before storing them in the freezer. Choose a container that is appropriately sized and fits your freezer space. This can help protect the slices from physical damage and external elements.
- Label the storage container: If you opt for a container, label it with the contents (“Sponge Cake Slices”) and the freezing date. This labeling ensures clear identification and allows you to practice the “first in, first out” principle when retrieving slices.
If you’re stacking the cake slices, you can place a small piece of parchment paper between each slice to prevent sticking.
How long can I keep frozen sponge cake?
Frozen sponge cake can be stored for around 2-3 months while maintaining its quality. After this period, taste and texture might decline. Proper packaging and labeling help track storage time for optimal enjoyment.
Other related questions
How do I defrost sponge cake?
To defrost sponge cake, transfer it from the freezer to the refrigerator. Allow it to thaw slowly for several hours or overnight, preserving its texture. Avoid using heat or microwaves to prevent moisture loss and maintain its deliciousness.
What’s the best way to reheat frozen sponge cake?
To reheat frozen sponge cake, allow it to thaw in the refrigerator first. Once thawed, you can gently warm it in the oven at a low temperature to restore some of its original texture and flavor.
Can I refreeze sponge cake?
It’s generally not recommended to refreeze sponge cake once it’s been thawed. Repeated freezing and thawing can affect texture and taste. To maintain cake quality, consume it after initial thawing.
How do I know if the sponge cake has gone bad after being frozen?
Signs of a frozen sponge cake gone bad include changes in color, texture, or aroma. Look for freezer burn, sogginess, or an off smell. If in doubt, err on the side of caution and discard if quality appears compromised.
Can I freeze frosted sponge cake?
Yes, you can freeze frosted sponge cake. However, it’s best to freeze the cake without frosting, as frosting can sometimes change in texture during freezing. Add frosting after thawing for optimal taste and appearance.
Can I freeze store-bought sponge cake?
Yes, store-bought sponge cake can be frozen successfully. Ensure it’s at room temperature, wrap it tightly in plastic wrap, and place it in an airtight container or resealable bag. Thaw in the fridge for best results.
Can I freeze sponge cake with fruit filling?
Yes, sponge cake with fruit filling can be frozen, but note that the texture of the fruit might change upon thawing. Freeze the cake without the filling, then add the fruit filling after thawing for better results. Consume within recommended storage time.
Can I freeze sponge cake with cream or custard?
Freezing sponge cake with cream or custard can alter texture upon thawing. It’s recommended to freeze the cake without cream or custard, then add them after thawing. This maintains cake quality and filling integrity.
Can I freeze gluten-free or vegan sponge cake?
Yes, gluten-free or vegan sponge cake can be frozen. Follow the same freezing steps, ensuring proper wrapping to maintain texture and flavor. Thaw in the refrigerator for best results.

